For as open and freeform as The Legend of Zelda: Tears of the Kingdom is, even allowing you to skip essentially every quest in the game and go straight to the final boss, you will be missing a ton by doing so. At the very least, most players will want to complete all the main quests before marching into the final encounter, which will take many hours. One quest is taking some adventurers a long time to complete, not due to its difficulty, but because they have no idea how to complete it.
The Fifth Sage quest is one of the most enigmatic in the entire game in what you’re supposed to do to complete it. You’re only given a single clue, and it’s not a very helpful one at that.
Note: There will be some minor spoilers if you have not reached this part of the story in Tears of the Kingdom.
How to complete the Fifth Sage quest
The Fifth Sage is the main quest you get after defeating Phantom Ganon inside of Hyrule Caste. This is where Purah informs Link that there could be a Fifth Sage somewhere in Hyrule, with the only clue you’re given on where to look being to “find the ruins from the Age of Legends.” If you hadn’t noticed, Hyrule is full of ruins in Tears of the Kingdom, so that doesn’t exactly narrow things down. Here’s what you need to do to get everything done:
Find the Ring Ruins
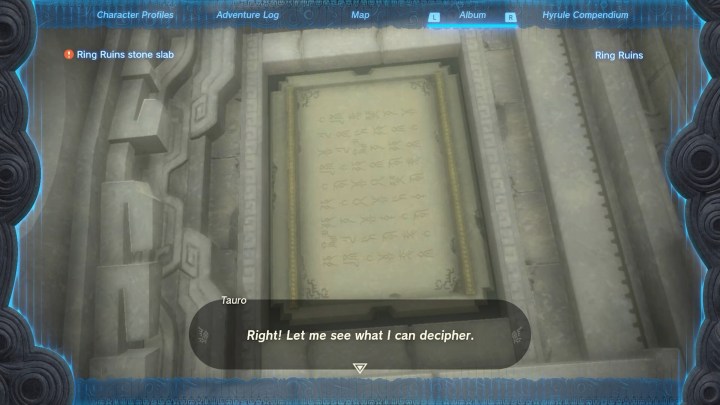
The specific ruins you want to find are the Ring Ruins in Kakariko village. These ruins are to the north by Paya and Tauro. If you speak to them they will ask you to check out what’s inside the ruin they’re studying. Use your Ascend ability to get inside and find the stone slab. Whip out your Purah Pad to snap a picture and show the pair to get your next clue.

Travel to Polpla Foothills Skyview Tower
Make your way to the Polpla Foothills Skyview Tower to find Calip. They will let you know Tauro has already gone inside the ruins, who you need to follow and speak to next. They set up camp at Dracozu Lake.
Obtain the Changed Armor Set
After talking to Tauro, open the chest near them to get the Changed Shirt, which you should equip, and speak to Tauro again. Now you will need to travel down the river (which Tauro calls a dragon) looking for the rest of the set.
The trousers are in a side passage you need to clear with bombs or a hammer, and the headdress is behind some vines you need to burn further down.
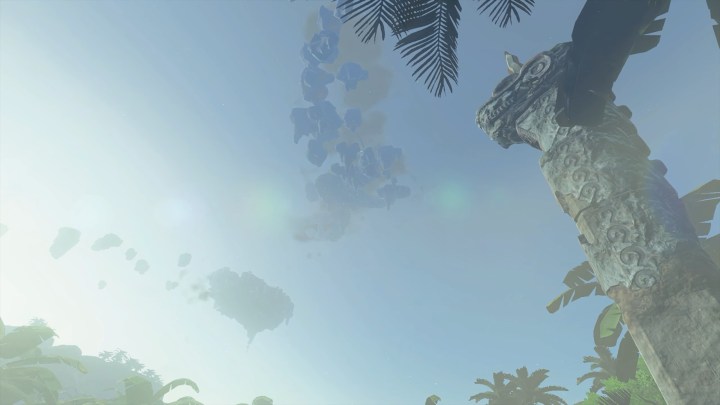
With the full Changed armor set on, continue to the end of the river and into the ruins. Place a Zonai charge on the altar to begin a cutscene that parts the clouds and reveals Thunderhead Isles.

Explore the Thunderhead Isles
Gliding from Popla Foothills Skyview Tower is the easiest way to the isles, but you can also use Recall on some fallen debris if you spot any. While up here, make sure you don’t have any metallic items equipped or you will get struck by the constant lightning storms.
Fight your way across the islands, dropping down to lower levels as you go, until you drop all the way down to the Joku-u Shrine. Enter and complete the Shrine.
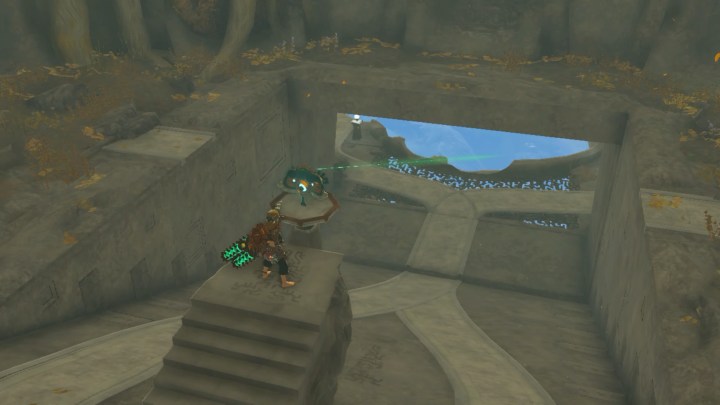
After exiting the Shrine, burn the vines blocking a path in the ruins to a big circular door. Opening this door requires at least 10 heart containers, so make sure you’ve buffed your health enough before now! When you’re inside, head up the stairs and interact with the mask. This will trigger a cutscene where the mask points a laser in the direction you need to go. Pick it up and take it with you on the nearby flying device, plus some fans, to fly to where it guides you. Place the mask on the pedestal, watch a cutscene, then put it on the second to activate an elevator taking you into the Depths.

Complete Mineru’s golem
Now you must collect all four pieces of a golem for Mineru. Go to each of the four storehouses and solve each puzzle to collect each part and bring them back.
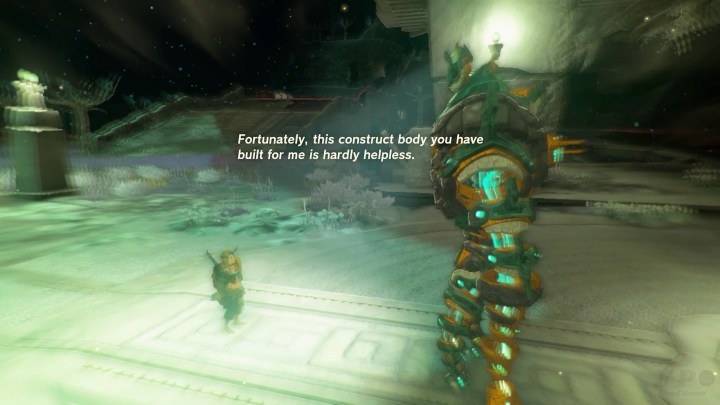
Once Minaru is repaired, you can mount it and ride it to the waypoint to the Spirit Temple. It will be too steep for the golem to climb up, so use the nearby rockets to fly the two of you up. Interact with the owl statue inside.
The final challenge
Your final challenge is the Sized Construct boss battle, which you get to fight using Mineru.

Make it through this battle, collect your Heart Container, and trigger a final cutscene with Mineru, who will send you to get the Master Sword (assuming you haven’t already acquired it). Once you have it, and now all five Sage abilities, you can speak to Purah at Lookout Landing to finally conclude this lengthy quest.
Editors' Recommendations
- The best Power Armor in Fallout 4 and where to find each set
- What is dragonsplague in Dragon’s Dogma 2 and how is it cured?
- Elden Ring: How to find and use Rune Arcs
- How (and where) to trade Poes in Zelda: Tears of the Kingdom
- All Legendary Schematics in Palworld and where to find them


