Understand how it works
The first thing to do before you go through the process of going solar is to understand just exactly what a solar-powered home entails. Solar panels are photovoltaic cells that harness the power of sunlight and transform it into energy. The panels then send the energy into an inverter, which converts the sunlight into electricity which can power your house. And yes, even those who live in cloudy areas can benefit from solar panels, as these panels will continue drawing energy from indirect sunlight even when the skies are cloudy. Do additional research on your own to understand solar power more deeply, and talk to friends and neighbors who have gone solar.
Hire a professional
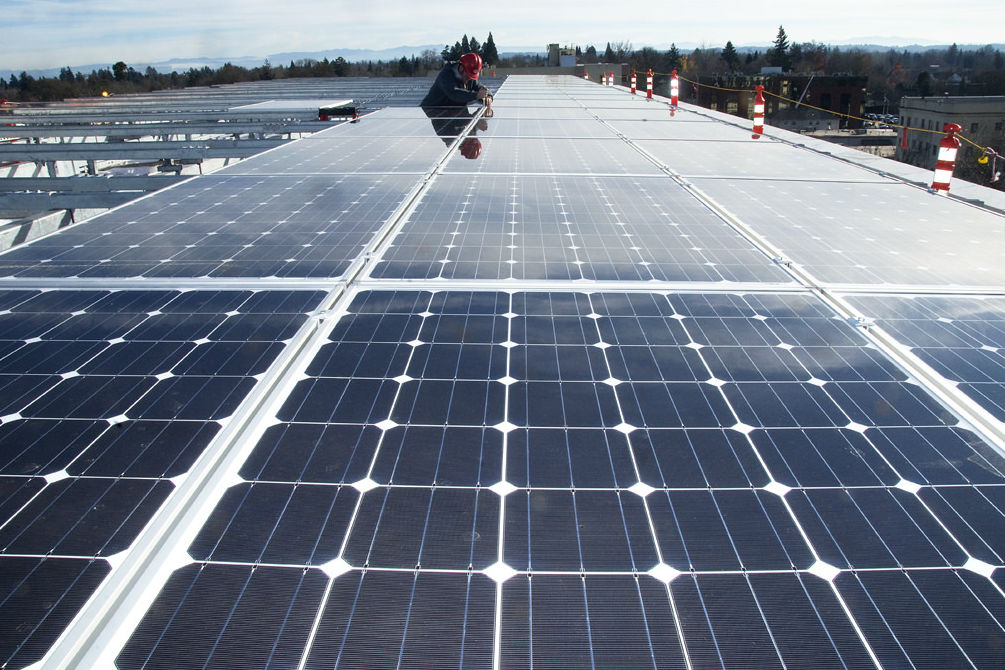
Installing solar panels isn’t generally something people do for themselves, as the process isn’t quite as simple as slapping some cells on the rooftop. You need additional wiring and accurate panel placement in order to create the most efficient system. There are a few factors you want to keep in mind when deciding who to hire. Be sure to choose a professional who offers a strong warranty; ideally, the inverter should be covered for a decade, and the panels should be covered for 20 to 25 years. It is also important that the panels are made by a U.S. manufacturer, so your warranty will still cover you even if the manufacturer goes out of business. Lastly, check that the solar pro is licensed and bonded, and hasn’t received any significant complaints with the Better Business Bureau. As a bonus, it never hurts to check out customer references to be sure you are hiring the right person.

Evaluate costs
Going solar often comes with its share of financial incentives, including tax credits and reduced energy bills. But you also want to be sure you can afford the upfront costs of the solar panels. Since the beginning of 2011, the price of solar panels has dropped significantly, by about 60 percent. Today, the national average up-front cost of solar panels is about $17,000 — taking into account federal and local tax incentives. Keep in mind that local tax incentives vary by location, so do your due diligence to ensure you’re utilizing all the subsidies that are at your disposal.

Come up with a financial plan
When it comes to funding your solar panels, there are a few ways you can go about it. Solar leases are a popular option for those looking to dilute the upfront costs a bit. Leasing companies also frequently take care of the costs of repairs and maintenance. If you decide to go with the leasing option, try to get your loan payment lower than your usual electricity bill, to ensure you’re still saving some money every month. On the other hand, a permanent installation comes with tax credits and can also increase the value of your home.
Installing the panels
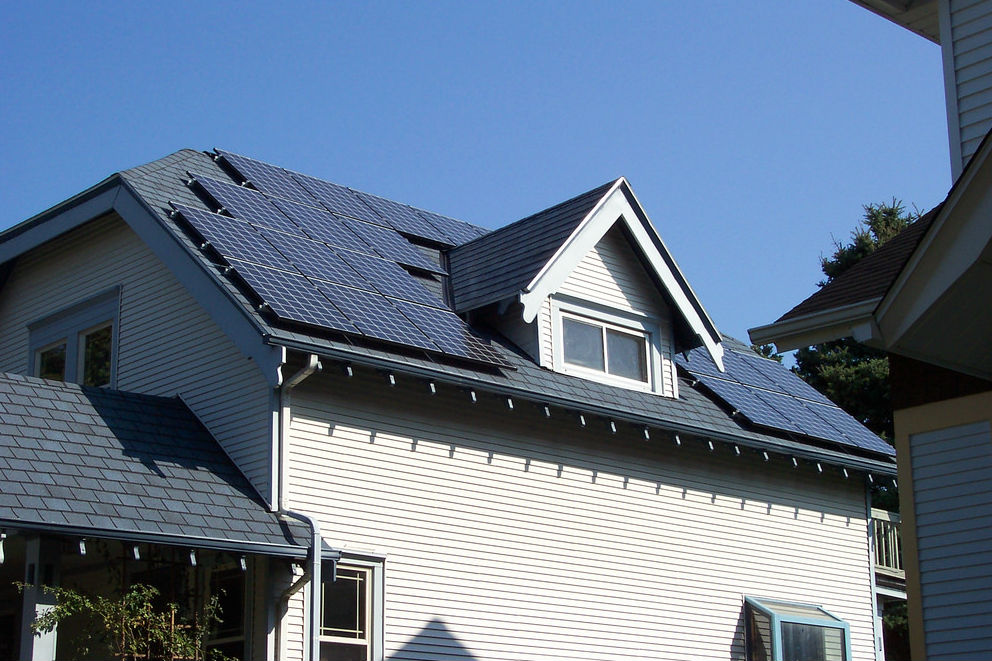
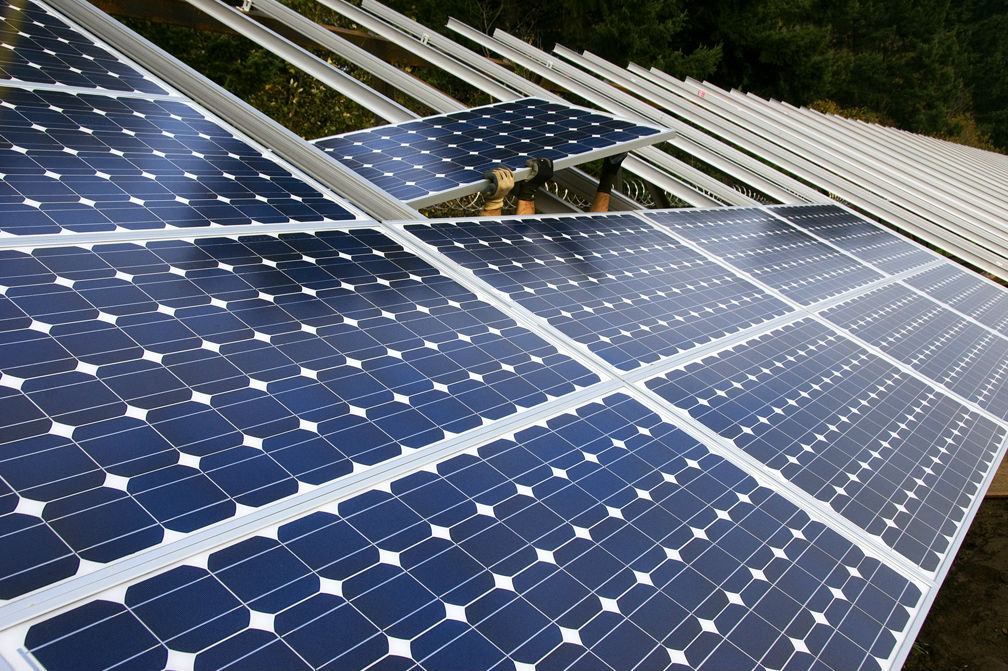
This may go without saying, but to have the most efficient system, it’s important to ensure that your roof receives direct sunlight during the time of day when the light is strongest. This time period is usually between 10 a.m. and 2 p.m. Factors like trees, tall neighboring buildings, and a rooftop chimney can all affect the light exposure your home receives. Your installer will discuss with you to find the optimal panel placement and panel number.
It will also help for you to determine your household’s energy usage before meeting with the installer. Take a look at your recent energy bills to determine how many kilowatts are used up on an average day.
Once you’ve determined the size and placement of your solar-powered system, the process of wiring and installing the panels usually takes just a few days. But the time between signing the contract and going through with the installation can take as long as a few months. That is largely because you need to get a permit before you can go solar. The costs and types of permits vary by location and the installer will usually help you obtain them.
And before you know it, you will be running on solar! You can watch your energy bill and your carbon footprint go down, and you can proudly say that you’re playing your small part in helping fix climate change.
Editors' Recommendations
- GoSun’s new portable power stations use the sun’s ray to charge devices
- For thirsty campers, GoSun’s water purifier purges germs with power of the sun