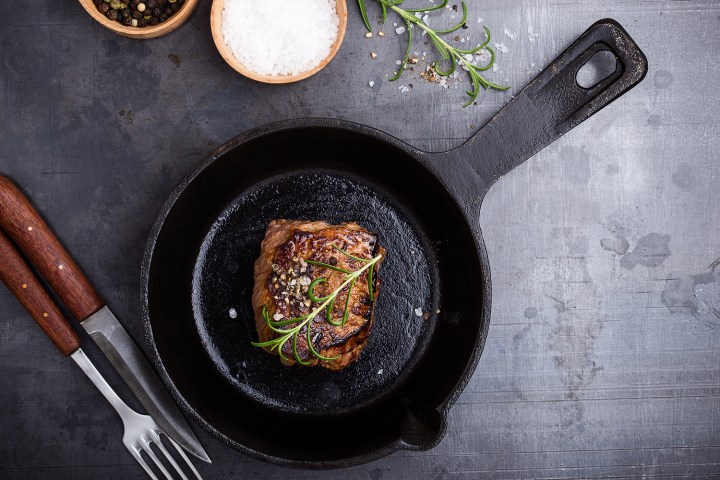
Have you ever cooked in a cast-iron skillet? You hear the sizzle of meat searing to perfection, and then toss the same pan right in the oven to finish it off. You smell the scent of cornbread that’s baked just right. Few cooking pans can cook a perfect steak, then turn around and act as the ideal baking pan. That’s part of the magic of cast iron.
Cast-iron pans have a lot to offer. Beyond their rustic charm and presentation, they’re also durable, versatile, and they help to create excellent culinary creations.
Some people may remember seeing their grandparents cooking with cast iron as a child. Cast iron has been around for longer than you may think. According to Encyclopedia Britannica, the Chinese produced cast iron as early as 6th century B.C.
These unique cooking pans are made of an iron alloy that contains two to four percent carbon, as well as silicone, magnesium, and trace amounts of other components. The liquid iron goes into a mold and hardens.
One of the best things about cast-iron pans is the natural non-stick surface, or seasoning, that makes the skillet cook delicious food so easily. A raw cast-iron pan doesn’t automatically come seasoned, unless you purchase a pre-seasoned pan. So, how do you season a pan? Read on.

What you’ll need
- Vegetable shortening like Crisco or a cooking oil without a strong flavor (think vegetable oil or flaxseed oil)
- Aluminum foil
- Dish soap
- Paper towels
- An oven
How to season a cast-iron pan
Step 1: Preheat your oven to 375 degrees.
Step 2: Refer to the manufacturer’s instructions on how to clean your cast-iron pan before the first seasoning. In most cases, you clean the skillet with soap and hot water, and rinse the soap residue from the pan completely. Dry the pan completely with a paper towel or dish towel. Make sure to fully dry the outside and any crevices as well.
Step 3: Using a paper towel, coat the entire inside of the pan with a light coating of melted shortening (you’ll need about a tablespoon). You can use a liquid oil like vegetable oil or flaxseed oil, but this may give the pan a bit of a sticky feel.
It’s also a good idea to lightly coat the outside and bottom portions of the pan with shortening also. This helps to prevent rust, and it helps prevent foods from sticking to the pan’s exterior.
Step 4: Place the pan upside down on the center oven rack. Place a layer of aluminum foil on the rack underneath to catch any oil drippings.
Bake the skillet on 375 degrees for one hour in a preheated oven. Make sure you put on the exhaust fan, because there will be smoke. The smoke should subside about half-way through baking.
Step 5: After the one hour time period, turn off the oven and allow the pan to cook completely in the oven.
Step 6: Start cooking!

Cast iron troubleshooting
- Food sticks after seasoning – You may need to repeat the seasoning process three or four times to build up enough fat molecules to get a good coating. If you’re getting a lot of sticking after your initial seasoning, season again.
- Can’t remove the wax coating – Does your cast-iron skillet’s seasoning seems splotchy? Some manufacturers put a rust protectant waxy coating on cast-iron pans. This protectant coating is not the same as seasoning, and you can’t effectively season over the coating. You need to remove it. If it didn’t come off all the way when you initially cleaned the pan, you can try washing it in hot soapy water again. If the coating won’t come off in water, try putting the skillet on in the oven on 500 degrees. Remove the pan from the oven when it stops smoking (it should be in the oven for less than 10 minutes though). Then, wash the pan again in soapy water and start the seasoning process over.
- Rust – If you have a rusty cast-iron pan, you can scrub the rust out with a steel wool pad.
- Scratches or patches – If you have scratches or patch areas on your skillet, place the pan on the stove top over medium heat and wipe the scratches gently with an oil-soaked paper towel.


