
How to use Siri to control Apple HomeKit

So you like the idea of controlling your home from an iPhone or iPad with Apple’s new and emerging HomeKit smart home platform, but … er … “Siri, where the &%#!! Are the instructions?”

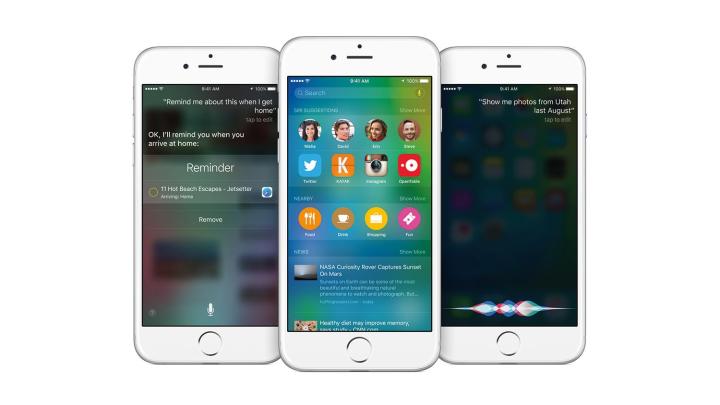
Apple has just released some Siri commands for you to use to control the few HomeKit-compatible devices available. To start, you’ll need iOS 8.1 or later and one of the HomeKit accessories announced earlier this month.

Recommended Videos

HomeKit can work with the ecobee3 smart thermostat, Elgato’s Eve sensor platform (door, window, weather, etc.), and an iHome smart plug. Insteon hub and Lutron smart lighting bridge and products.

One you pair the accessory and iOS device with the set-up code that comes with a HomeKit-enabled product, Apple says you can use the following commands:

  • “Turn on the lights” or “Turn off the lights.”
  • “Dim the lights” or “Set the brightness to 50 [or another] percent.”
  • “Set the temperature to 68 degrees [or another temperature].”
  • “Turn on the coffee maker.”

Apple says you may also be able to group accessories together in homes, rooms, or scenes. This is useful if you want to control a group of accessories with a single Siri command. You’ll need to set up these groups within the third-party app, and some apps might not have this option.

Here are sample commands for different rooms and zones:

  • “Turn on the upstairs lights.”
  • “Turn off Chloe’s light.”
  • “Turn down the kitchen lights”
  • “Dim the lights in the dining room to 50 percent.”
  • “Make the living room lights the brightest.”
  • “Set the Tahoe house to 72 degrees.”
  • “Set the thermostat downstairs to 70.”
  • “Turn on the printer in the office.”
  • “Set up for a party, Siri.”
  • “Set the dinner scene.”
  • “Set my bedtime scene.”

Siri commands for some accessories won’t work while your iOS device is locked.

You can also your HomeKit-enabled accessories when you’re away from home using your iOS device and an Apple TV (third-generation or later) with software version 7.0 or later. According to Apple: “Sign into iCloud with the same Apple ID on your iOS device and Apple TV, and you’ll be able to use Siri commands to remotely control your accessories. If your remote access isn’t working, sign out of iCloud on your Apple TV, then sign back in.”

If you have security issues you can delete your home data from iCloud.

Steve Castle
Former Digital Trends Contributor
Steve Castle’s fascination with technology began as a staff writer for luxury magazine Robb Report, where he reported on…
Did the Apple HomePad just get leaked by Apple itself?
A mockup of a HomePod with an iPad attached.

The long rumoured Apple HomePad - a HomePod with a screen - may have just been revealed by none other than Apple itself.

After diving into the iOS 18.4 beta release, it's been noticed by the team over at Macworld that many changes are pointing towards entirely new hardware for Apple, soon.

Read more
Ecovacs reveals robot vacuum with new technology ideal for carpeted homes
The Ecovacs Deebot X8 Pro Omni in a home.

Ecovacs just launched the Deebot X8 Pro Omni in February, which we found to be an excellent choice for hard floors -- thanks to its innovative roller mop that tackles all sorts of spills with ease. For March, it looks like the focus is on carpets, with the newly launched Ecovacs Deebot T50 Max Pro Omni incorporating new technology designed to better extract debris from plush floors.

The Ecovacs T50 Max Pro Omni is the first Ecovacs product to use BLAST Technology. An acronym for Boosted Large-Airflow Suction Technology, the new system uses both suction and optimized airflow to better pull debris, dust, and pet hair from deep within carpet fibers. Using a high-toque 100W motor, Ecovacs says the robot can achieve a 50% higher discharge current while generating 50% less heat than traditional robot vacuums. In other words, it's built to have a longer lifespan while also providing you with a superior carpet cleaning experience.

Read more
How to fix common errors on the Roborock Saros 10
Saros 10 docked

The Roborock Saros 10 and Saros 10R are two of the best robot vacuums on the market. Capable of mopping, vacuuming, and automatically cleaning themselves, they can go weeks without requiring any manual input. However, like all electronics, they’re not free from issues. And though we didn't run into any serious issues during our testing, a handful of users are reporting minor errors with their products. Thankfully, these are usually quick fixes -- with just a few minutes of maintenance, your Roborock will be back in working order.

Running into any issues with your robot vacuum? Here’s a look at the most common errors on the Roborock Saros 10 and how to fix them. Note that these tips will also work for the Saros 10R.
How to fix Error 5
This error relates to the main brush of the robot. To resolve the problem, make sure the brush isn’t caught on anything and that nothing is blocking it from spinning. This includes removing the brush from the robot and checking its installation chamber, as debris and hair can get trapped inside. Once you’ve cleared out any debris, the error should fix itself.

Read more