Making custom ringtones on our phones isn’t anything new, but with today’s devices, the process is now easier than ever. Here, we’ll show you how to make a custom ringtone for your Android device using a multitude of methods, including RingDroid, GarageBand, and AVCWare Ringtone Maker. Setting your phone to play Ed Sheeran’s newest tune every time your latest Tinder date calls has never been easier.
How to make a ringtone using RingDroid
RingDroid is an intuitive app that lets you create ringtones from any WAV, 3GPP, ARM, AAC, MP4, or MPE3 audio file stored on your Android phone. The process is straightforward and easy to grasp, at least after one or two attempts. The best part? It’s completely free, and you can create ringtones without your computer on hand.
Copy the song to your phone’s internal storage
The song will need to be in your phone’s internal storage before you can turn it into a ringtone. How you do this is up to you, but there are a couple of ways to do it.
- The “retro” way would be to connect your phone to your computer to transfer it over manually.
- Alternatively, upload the song file to your Google Drive account and then download it to your phone.
Create the ringtone using RingDroid
Step 1: Launch RingDroid. You can grab the app for free on Google Play if you don’t have it already.
Step 2: RingDroid will list all the music on your phone when opened. Scroll through the list, or use the search bar at the top, and locate the song you want as a ringtone.
Note: If you can’t find your newly downloaded song, try closing the app and restarting it.
Step 3: Tap the song title to select it and tap Trim to shrink it down.
Step 4: Adjust the markers and select a part of the song you want as the ringtone.
Step 5: Tap the download icon at the bottom-right once you’re satisfied with your selection.
Step 6: Name the ringtone and export it.
Assign the ringtone using RingDroid
First, let’s set the new ringtone using the same app.
Step 1: Tap Use as on the window that pops up immediately after exporting your trimmed tune.
Step 2: Select if you want to use it as an alarm, ringtone, notification, or any combination of the three.
If you’re setting it from the app’s main menu, that’s easy to do as well.
Step 1: From the main menu, tap Trimmed tones, then select the file you saved.
Step 2: Tap More, then Use as.
Step 3: Choose if you want it as an alarm, ringtone, notification, or any combination of the three.
Assign the ringtone through your phone’s settings menu
The process may be slightly different across phones and the installed Android version. For instance, on many Samsung phones, you’ll tap the Settings app, then hit Sounds and vibration > Ringtone.
The following instructions use the standard Android 10 interface.
Step 1: Open Settings and select Sound followed by Phone ringtone.
Step 2: Select My Sounds.
Step 3: Choose your desired ringtone.
Assign the ringtone through your phone’s contacts menu
If you think a number of contacts deserve their own custom ringtones, you can set individual ringtones in the Contacts app. Just follow the steps above to make a ringtone, then assign it in the following way:
Step 1: Open Contacts and select your desired contact.
Step 2: Tap the three dots in the upper-right corner.
Step 3: Select Set ringtone.
Step 4: Choose your desired ringtone for that contact.
Again, the process may be different on your Android phone. For instance, the Samsung Galaxy A10e requires a tap on the contact’s Edit button to change the ringtone.
How to make a ringtone using GarageBand (MacOS)
GarageBand is another free alternative that lets Mac users create their own custom ringtones for Android. It comes bundled with all Macs, so there’s no need for an additional purchase.
Make sure GarageBand is up to date before opening the app.
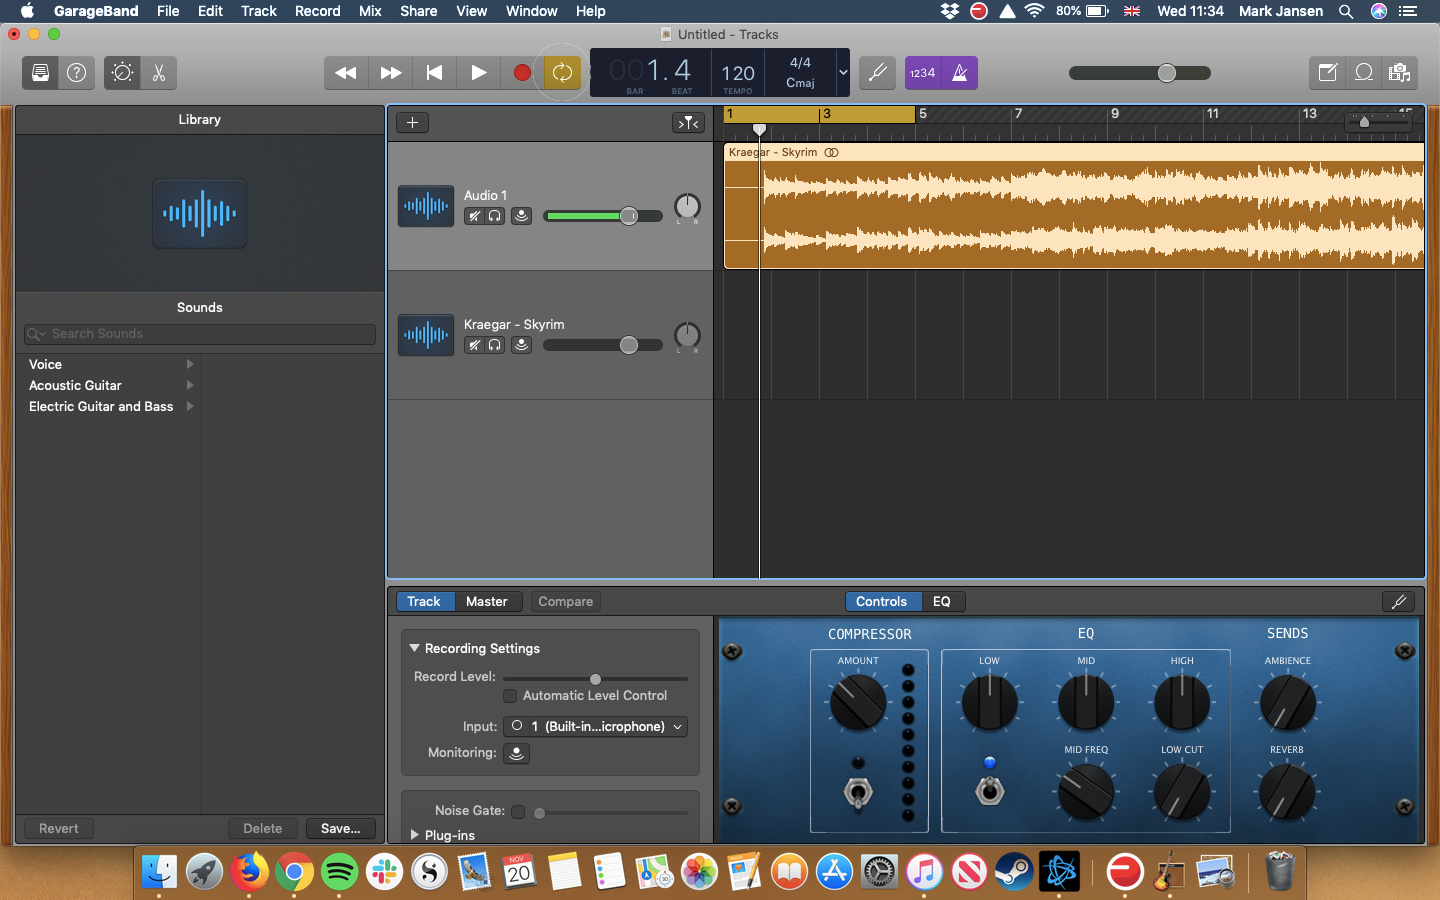
Step 1: GarageBand opens with New Project selected by default and Empty Project highlighted. Click the Choose button to begin.
Step 2: Select the Microphone tile on the pop-up window to import an audio file. Make sure No Input is selected before clicking the Create button.
Step 3: Locate your song using Finder and drag it into GarageBand. It loads into the first (and only) track.
Step 4: Click the Cycle button to the right of the red Record button. Leave this button toggled on until the end.
Step 5: Hover the cursor over the left end of the yellow highlight shown on the number line. Shift the arrow left or right accordingly to set the ringtone’s starting point. Do the same on the right end to set the stopping point.
Note that the cycle is highlighted in yellow so you can see where the clip begins and ends. Remember, Android ringtones typically run in 30-second (or less) loops.
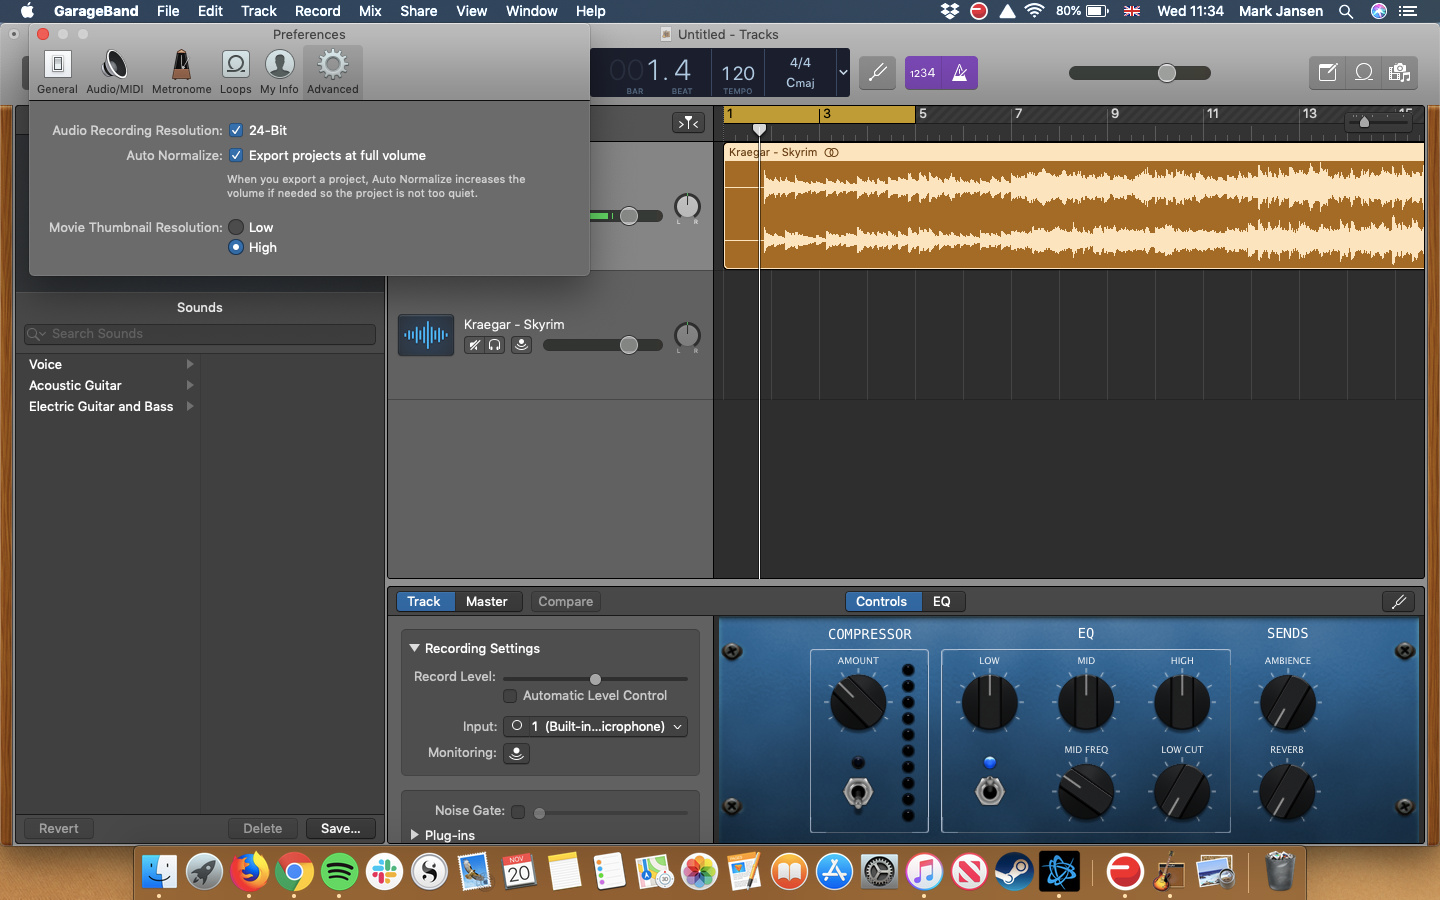
Step 6: On the menu bar, go to GarageBand > Preferences > Advanced and make sure the box beside Auto Normalize is checked.
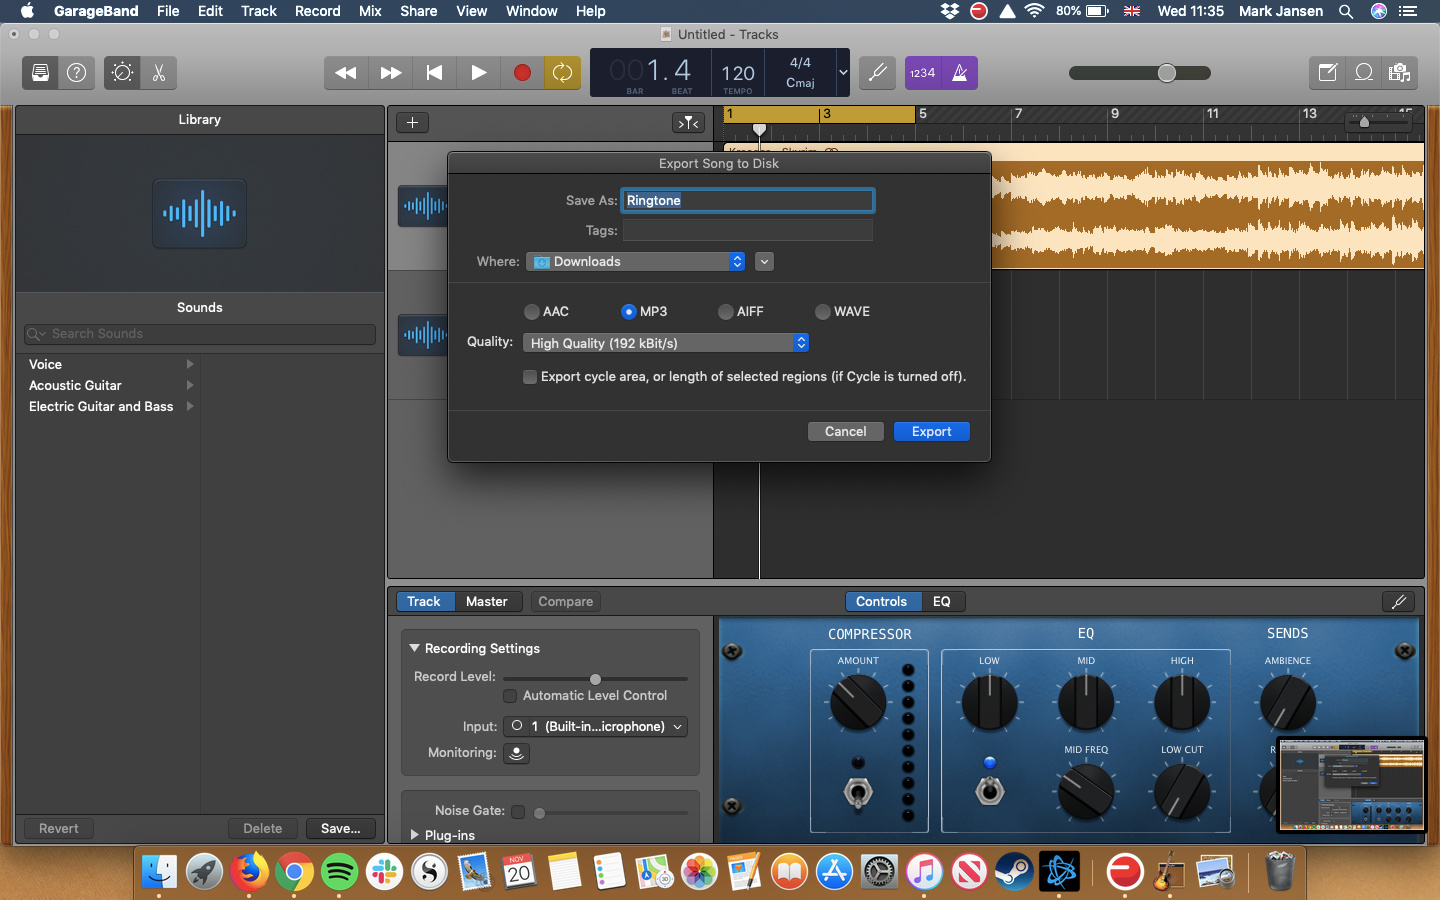
Step 7: Once you’ve settled upon a ringtone selection, click Share on the menu bar followed by Export Song to Disk.
Step 8: Select a name, save location, file format, and quality in the pop-up window.
Step 9: Click Export to finish.
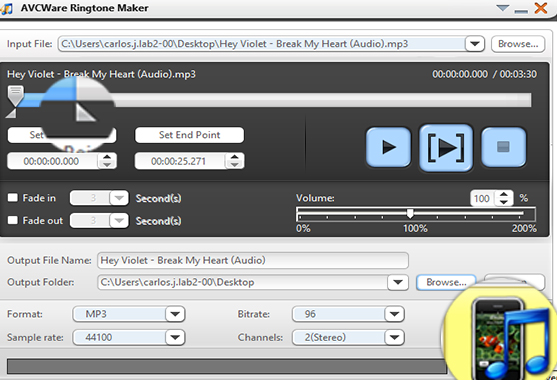
How to make a ringtone using AVCWare Ringtone Maker (Windows)
AVCWare allows you to create ringtones simply by choosing your song, selecting the portion of the song you want to use, and exporting it as an MP3.
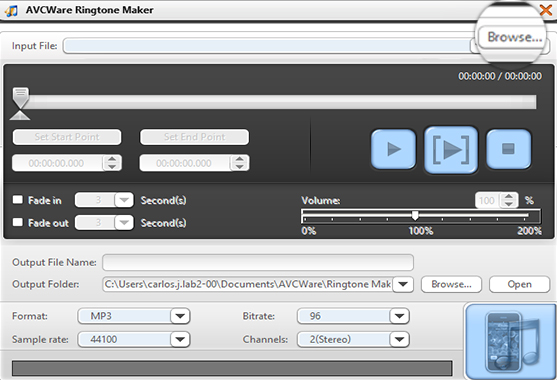
Step 1: Launch the program and click Browse to locate the song you want to convert. If you don’t have the program already, you can snag it here.
Step 2: Move the selection handles to select the portion of the song you want to use. You can also manually input the ringtone’s exact start and stop times if you prefer.
Step 3: Choose the Output File Name and Output Folder to save your ringtone.
Step 4: Click the iPhone icon in the lower-right corner. Once done, follow the steps above on how to set and assign ringtones.
Copying your ringtone to your phone’s internal storage
Once you’re done making a ringtone on your computer, you can upload it onto your phone in a few simple steps. Overall, it’s a relatively easy task:
Step 1: Find a USB cable and plug it into your phone, then plug the other end into your computer to stabilize a secure connection.
Step 2: Wait a few moments for your computer to identify the device. After it acknowledges it, make your way to your phone’s internal storage. From here, open up the Ringtones folder. If you have trouble locating a specific folder with this name, you will need to create one yourself.
Step 3: Disconnect your Android device. Follow the previous step-by-step directions on how to establish and assign ringtones successfully.
An additional possibility for you is to upload the ringtone to a cloud-based account like Google Drive or OneDrive. Immediately after you do that, you can instantly download it to your Android device. The good news is that this process doesn’t require a single USB cable, making it quick, easy, and stress-free.
If you aren’t completely satisfied with the amount of music we’ve just given you, you may want to check out our top picks for the best music apps for Android and iOS users.


