
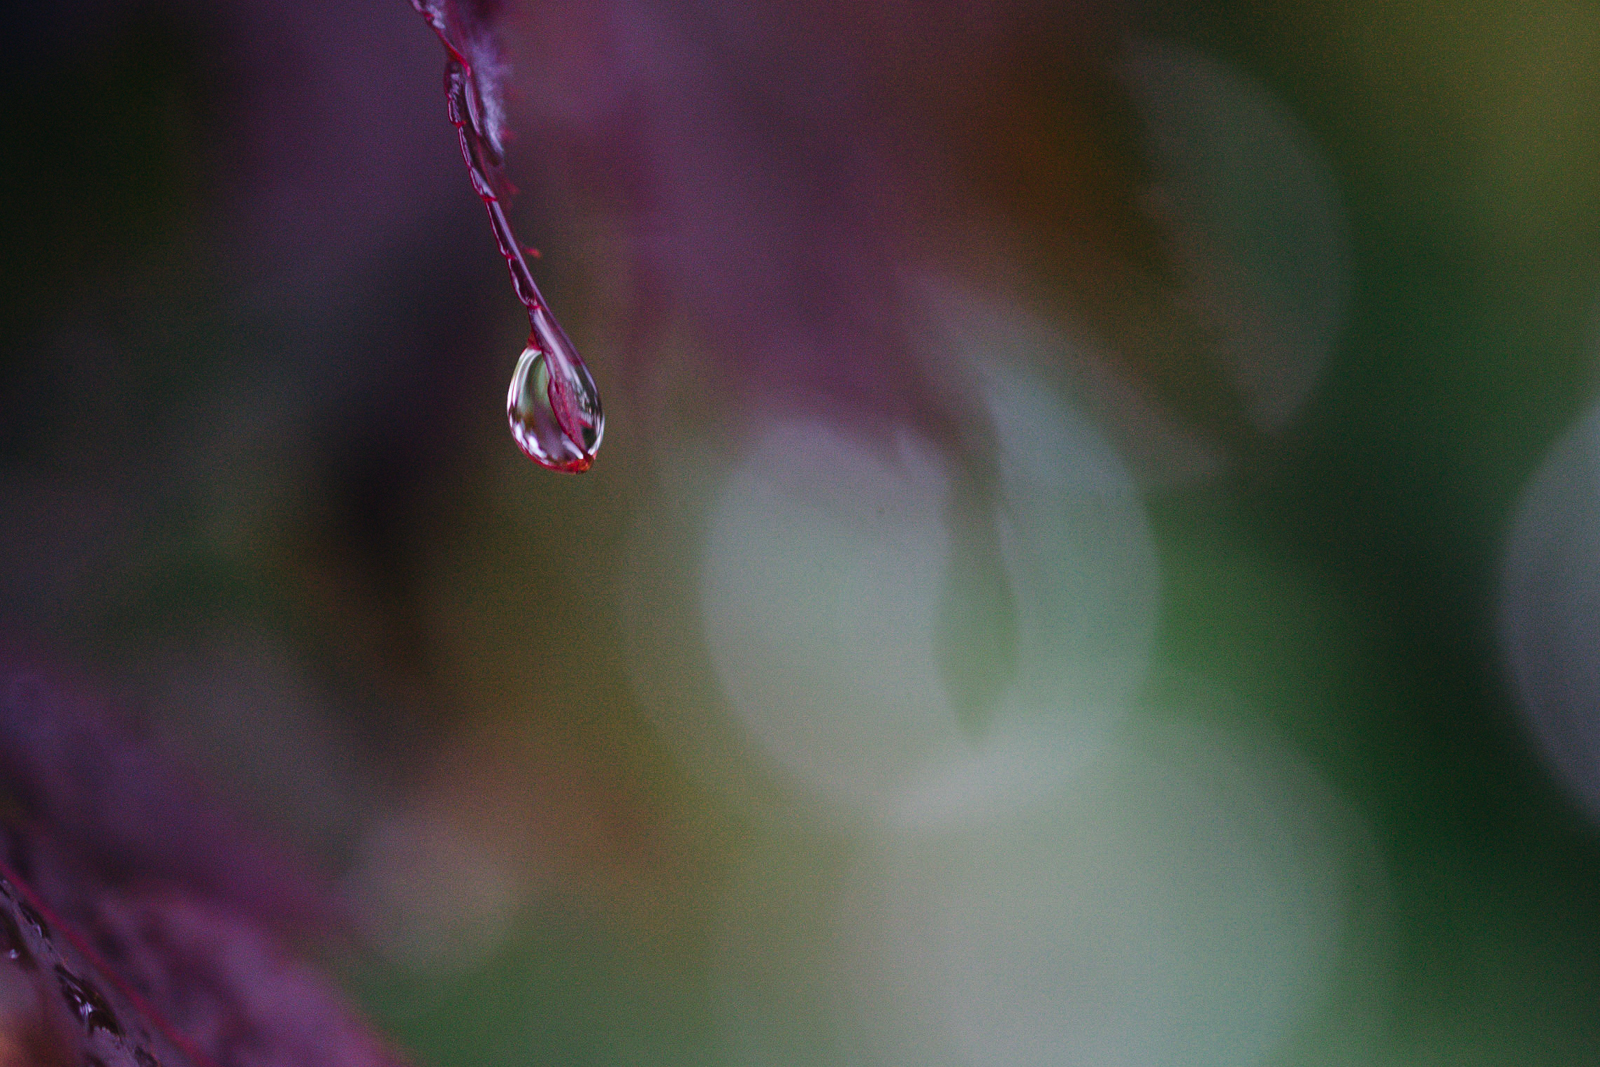
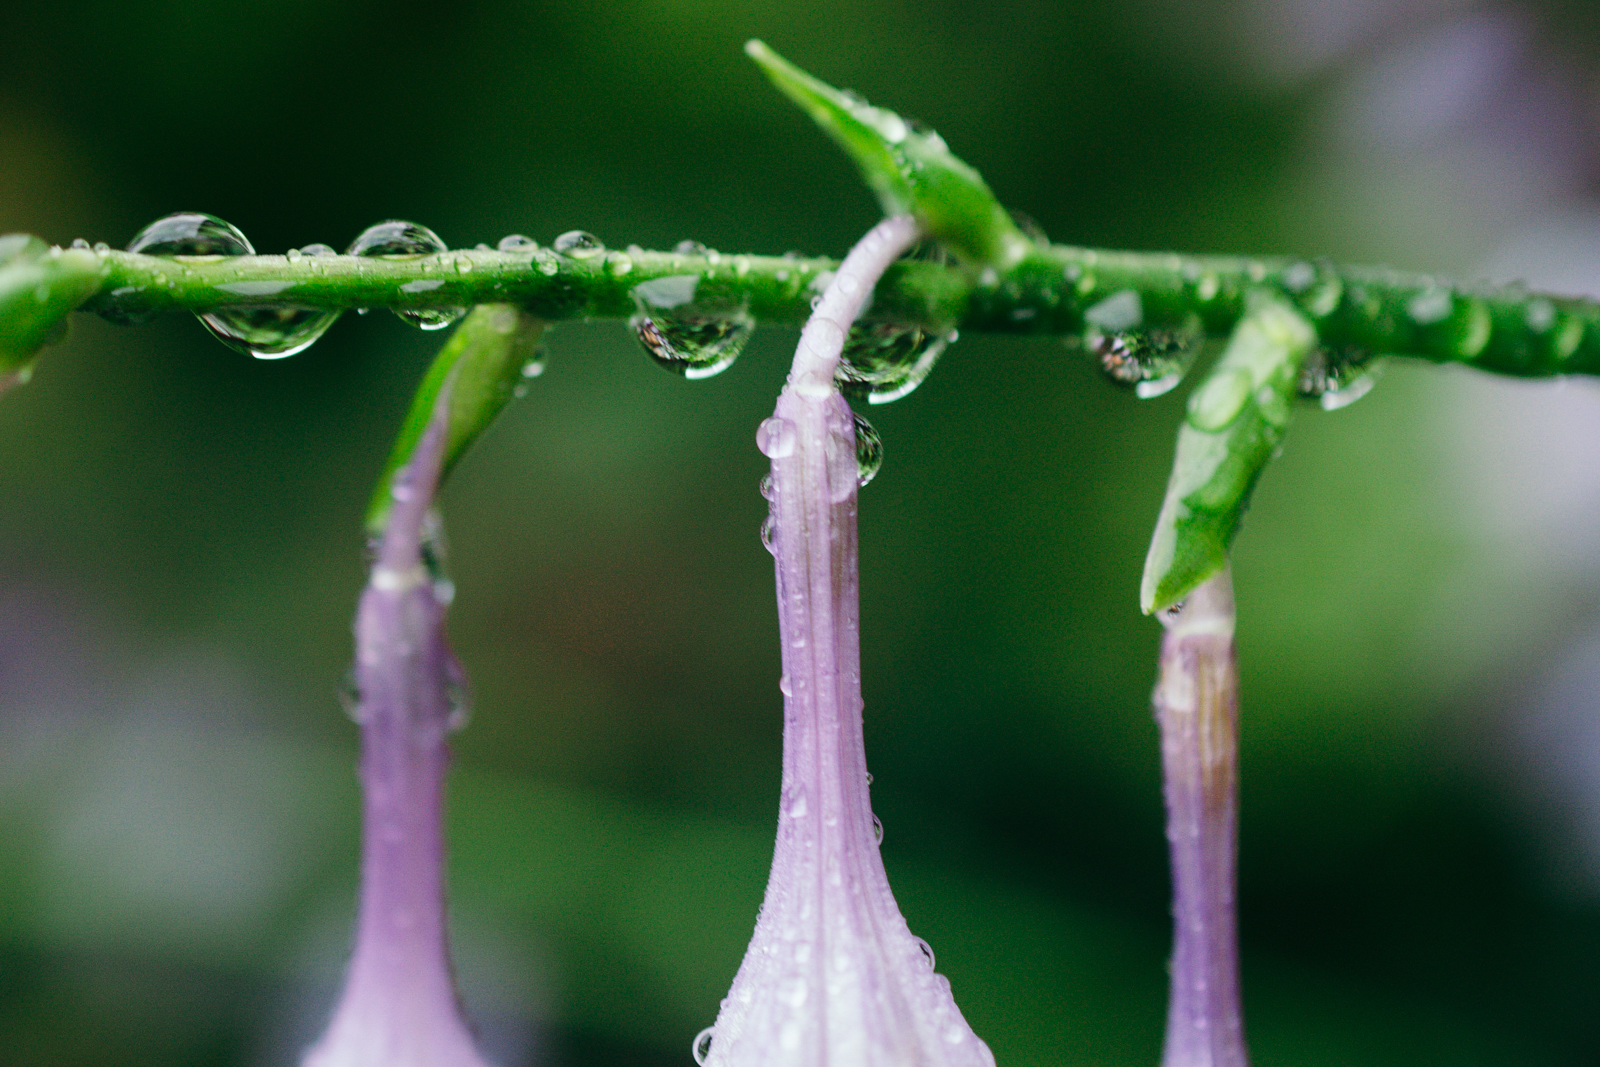
A macro lens is a photographer’s ticket to shooting exotic images without leaving your own backyard — or maybe even your living room. The environment you’ve looked at for years can feel like an entirely different world simply by getting up close to the tiniest subjects.
While macro photography carries big potential, shooting small has several challenges. Macro photography requires specific gear, and because of the way a lens achieves focus, getting a sharply focused macro image is often a struggle for beginners. Here are the best practices for shooting great macro photos.
What do you need for macro photography?
Camera
While a DSLR or mirrorless will get you the best quality, macro photos can be captured on most cameras — even phones. The larger sensor of an interchangeable lens camera can capture more light and thus produce better image quality, but the physics of camera lenses means that the smaller a sensor is, the easier it is to actually get close to a subject. That’s why point-and-shoot cameras often have closer minimum focusing distances than a standard DSLR lens.
Some point-and-shoot cameras, like the Olympus TG-6, can get close-ups of objects as small as snowflakes without relying on any type of macro accessory. To capture a macro shot on a point-and-shoot camera, look for a macro autofocus mode, typically designated by a flower symbol. Not every point-and-shoot camera has a macro option, and if you are shopping for a new camera, you’ll want to look for the minimum focus distance specification. For example, the TG-6 has a microscopic macro mode that focuses from 0.4 inches from the front of the lens.
If you’re using a phone, you’ll just need an add-on macro lens in order to get close — unless your phone already has one built in. Smartphone macro photography is a bit more limited, but possible. Because of the nature of how add-on macro lenses work, the preview will look like a big blur if you’re not at the right distance from the subject. It might take some practice to hold the phone at the just-right distance to get a sharp shot.
A macro lens
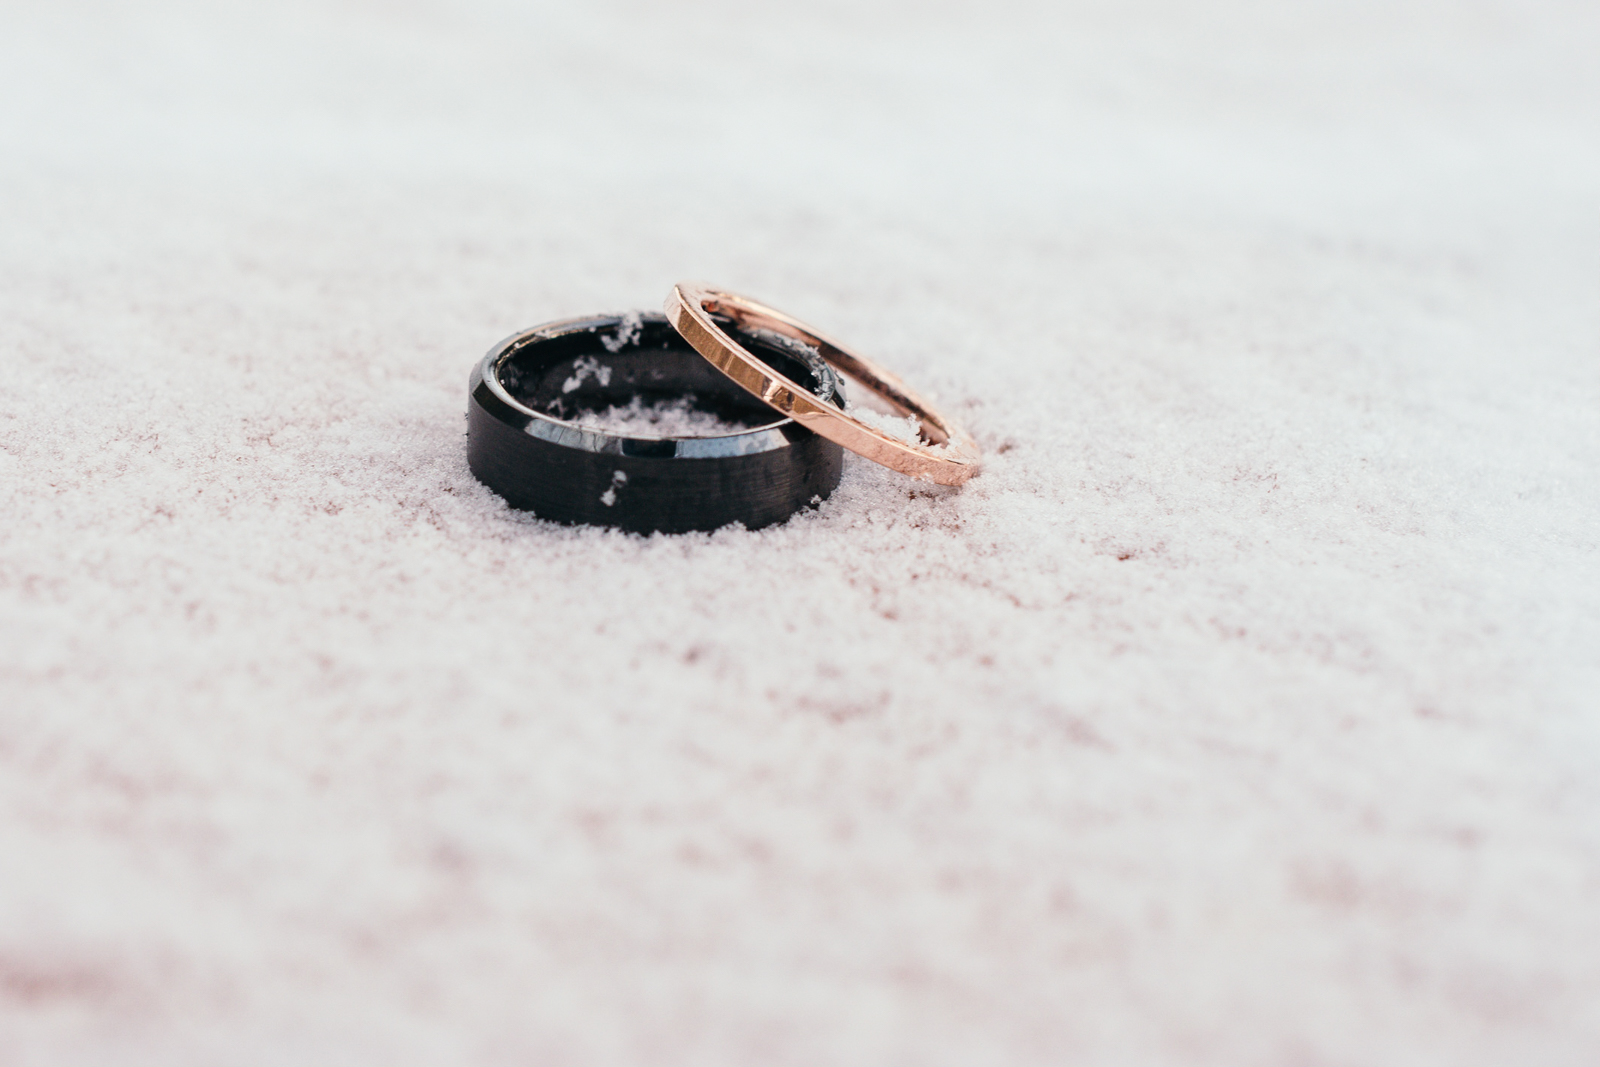
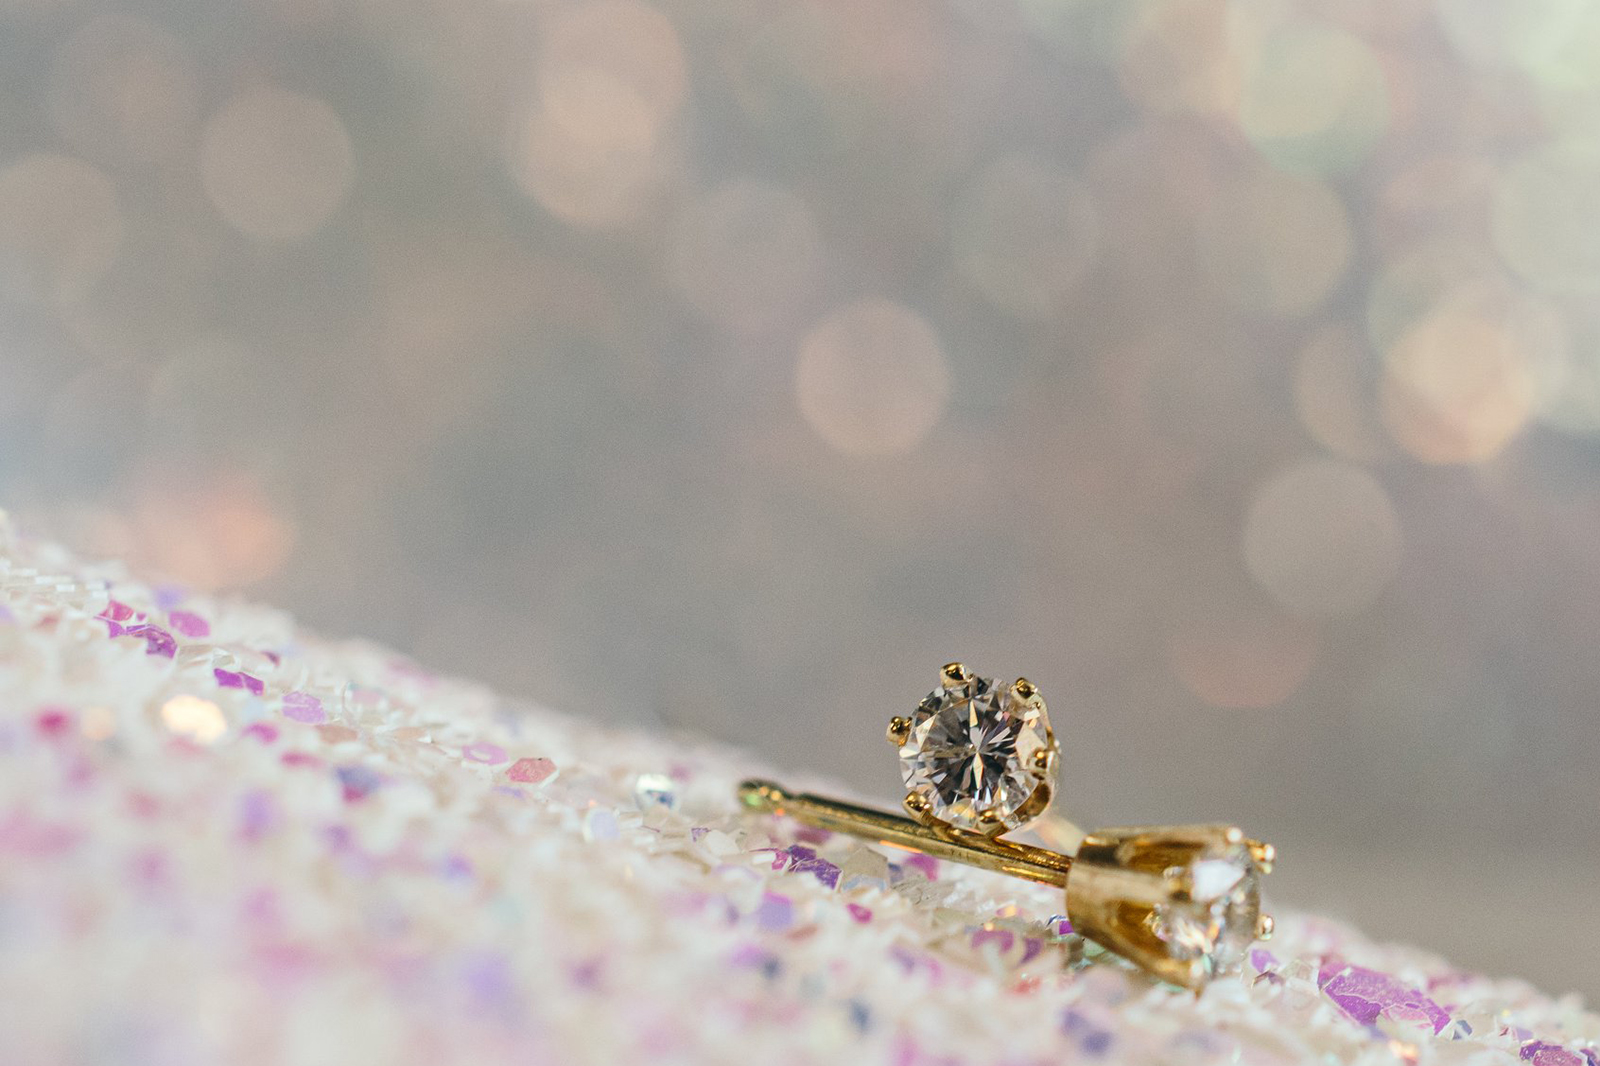
If you are shooting with a mirrorless camera or DSLR, the best gear to capture close-ups is a macro lens. A true macro lens has at least a 1:1 reproduction ratio — this means that when the lens projects an image of the subject onto the camera sensor, it does so at a 1:1 scale. An image of a penny will take up the same area on the camera sensor as if you were to plop that penny right onto the sensor itself. Some budget “macro” lenses are only 1:2, which is good enough for things like flowers or extreme close-up portraits, but may not be enough for smaller subjects like jewelry.
Note that many macro lenses have a focusing range switch that lets you limit, well, the focusing range. By sliding the switch to the close-focus-only position (which will be designated by a distance measurement, like 0.2-0.5 meters) you can potentially speed up autofocus performance by telling the lens to ignore the rest of its range. When shooting subjects at a mix of distances, you’ll want to leave the lens on its full range.
Macro lenses can be expensive, so there are a few accessories that can adapt an existing lens to shoot closer. These solutions tend to be lower quality — your image may be a bit softer than when captured with an actual macro lens, for example. Extension tubes fit between the camera body and the lens to lower that minimum focus distance (at the expense of long-distance focusing). Close-up filters work in a similar way, but attach the front of your lens and simply act as a magnifying glass.
You can also achieve a macro effect by “freelensing,” which means simply holding the lens in front of your camera. The farther away from the camera you move the lens, the closer it will be able to focus. This requires a manual lens that lets you physically adjust the aperture and introduces a host of potential problems from light leaks, but if you want a creative macro effect, it’s a fun photography hack to try.
Optional accessories
Getting close to a subject decreases depth of field, which means macro photography often needs a small aperture to increase depth of field enough to keep the entire subject in focus (more on this below). This, in turn, makes the image darker, so a slow shutter speed is needed to compensate. That slow shutter can make it difficult to hold the camera by hand without blurring the image, so macro photographers commonly use tripods to ensure a sharp shot. When using a tripod, a remote release can also be helpful as even touching the shutter button on the camera may introduce blur. Most modern cameras can do this with a free app over Bluetooth or Wi-Fi.
But a slow shutter speed, even with a tripod, won’t work to freeze subject motion. If you’re trying to photograph anything that isn’t perfectly still, from an insect to a flower in a breeze, you’ll need a different solution. Another way to compensate for a small aperture is to use a flash, but a traditional flash won’t work for close-ups because it can actually cast a shadow from your lens onto your subject. To light a macro shot, you’ll need a lens-mounted ring flash or a small off-camera light (the Lume Cube Panel Mini is a good option). Ring flashes are designed specifically for macro photography, but are typically expensive.
Camera settings for macro photography
Exposure
The main concern with macro photography is depth of field, so the first setting to adjust is the aperture. If you’re new to macro photography, it can be a bit mind-boggling just how different the depth of field is compared to any other type of photography. For example, if you shoot portraits, you probably have some idea about which aperture values will yield a shallow depth of field, probably in the range of f/1.4 to f/4 depending on your camera and lens.
But macro photography? You could push f/11, f/16, or even f/22 and still have a depth of field that is too shallow.
The f-stop you need will vary wildly depending on the subject. Capturing the flat surface of a penny won’t need nearly as much depth of field as the three-dimensional, curved surface of a dragonfly’s eye. A good rule of thumb is to start around the middle of the range, maybe f/8, and work you way up or down from there as needed.
Your camera format also matters. Smaller sensors will naturally have a greater depth of field, which may make macro photography a bit easier on a Micro Four Thirds camera than a full-frame model.
Once you have the aperture locked in, you simply need to compensate with the shutter speed or ISO. You can let the camera do this automatically by using Aperture Priority mode, or you can set it manually if you’re comfortable doing so. Either way, keep in mind the above recommendation for a tripod, as a slower shutter will introduce camera shake. Also note that like depth of field, camera shake is more pronounced with macro photography than other genres. The closer you are to your subject, the more noticeable any blur will be.
Focus
Autofocus can be tricky for macro photography, and some cameras and some subjects will work better than others. For the best results, use single-point autofocus so you can tell the camera exactly where to focus. On mirrorless cameras, or DSLRs in live view, you may even be able to control the size of that focus point. For the most accuracy, set it to be as small as possible. (Consult your camera’s manual for the specifics of how to do this on your camera).
If you’re using a tripod and have a still subject, manual focus is probably the best way to go as you can take the time to make sure it’s perfect. To make focusing manually easier, you can use focus assist features in your camera, like peaking or magnification. With small subjects, it can sometimes be easier to simply move the subject a bit closer or farther from the camera to dial in the perfect focus.
If you can’t get the focus and depth of field you need in a single image, it’s time to try focus stacking. This is an editing technique as much as a shooting process that merges several photos taken at slightly different focusing distances, artificially increasing depth of field beyond what’s possible in-camera. You will definitely want a tripod for this. Focus stacking is an advanced technique, so refer to our full tutorial to tackle the process.
Editors' Recommendations
- How to photograph April’s solar eclipse, according to NASA
- The best camera phones in 2023: our top 9 photography picks
- Insta360’s next camera could be amazing for lowlight photography
- How to use smart lights to up your photography skills
- How to photograph fireworks and capture the colors of Independence Day


