
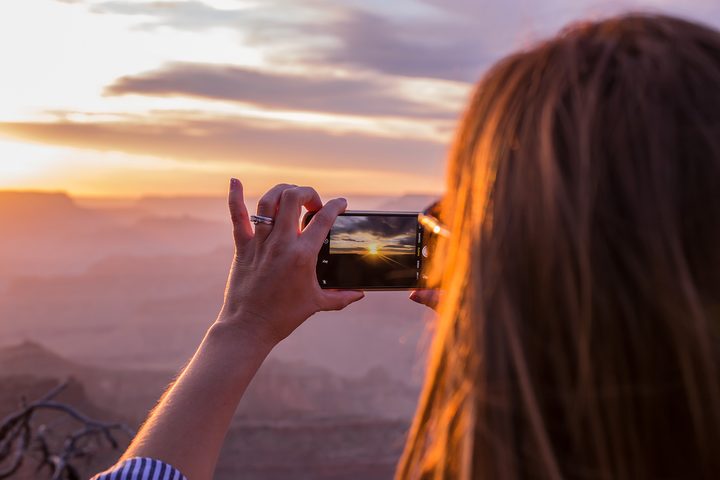
Big cameras mean big features — and trekking to a travel destination with gear heavy enough to put a kink in the neck and extra baggage fees in the airline ticket. Smartphone cameras, on the other hand, are perfect for travel photography. They are easy cameras to pack, because it’s always in your pocket, and the newest models have great specs for capturing great images (and videos) of entire vacations, from start to finish (you can also quickly share to social media to induce instant jealousy from your followers). But, are they ideal for travel photography — do you risk missing out on something by not bringing more advanced cameras?
To find out if a smartphone is up to snuff, we recently joined Adobe in the British Virgin Islands — with the turquoise waters of the Virgin Gorda Baths and Jost Van Dyke as backdrops — where the company challenged photographers to put down their DSLRs and spend an entire day shooting with nothing but our phone (we were guests of Adobe, but all opinions are our own). And while we were happy to return to the DSLR, we found today’s smartphones are indeed capable travel cameras and easier to manage while, say, hiking through beachside caves. For many of you, that’s probably not news. But with any camera, whether a DSLR or phone, photography requires an understanding of the basic ins and outs, which can go a long way. Here’s what travelers planning on wielding only a smartphone camera need to know.
Know your smartphone camera’s limitations
The key to actually getting good travel photos with a smartphone is to understand what your smartphone can do — and what it can’t. Most smartphones have a single lens with a wide-angle focal length, while the dual-lens models have a bit more versatility with a slight zoom. Either way, if you expect to zoom in to the top of the Eiffel Tower with just your smartphone, you’ll be sorely disappointed. Smartphones are simply too small to pack in much optical zoom, and the digital zoom only crops the photo for a pixelated close-up.
If you expect to zoom in to the top of the Eiffel Tower with just your smartphone, you’ll be sorely disappointed.
Smartphones also aren’t as adept in low light and have more limited hardware. Most smartphones can’t use a slow shutter speed for creative blur or low light. The camera sensor is much smaller than what’s inside a DSLR or even an advanced point-and-shoot, and the resolution is typically lower, so if you want to make a giant canvas print of your trip to hang on the walls, a smartphone probably isn’t the ideal travel camera for you.
Understand a smartphone camera’s strengths
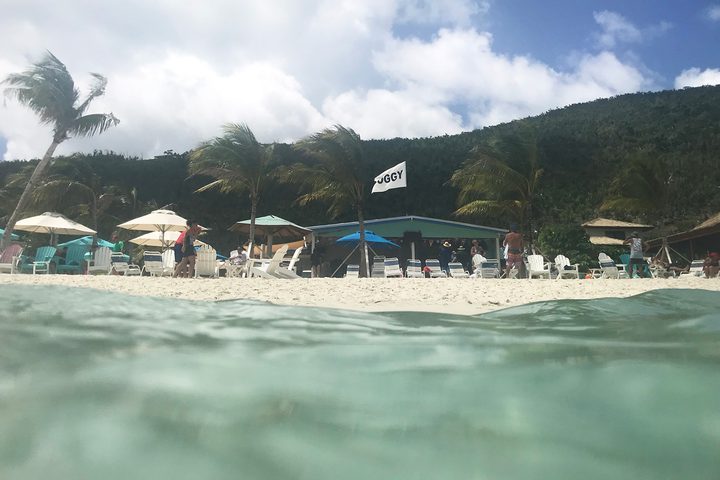
Smartphone cameras may be more limited than dedicated cameras, but that doesn’t mean they don’t have their perks. First and foremost is the size. Besides easily fitting inside your carry-on or a pocket, smartphones are easier to carry around while exploring. Hiking in The Caves at the Baths on Virgin Gorda required fitting through some tight spaces, so shooting with a smartphone was easier than removing a heavy gear bag in order to hike through a crevice.


While a smartphone’s built-in lens means you can’t zoom in to that far-off landmark, their wide-angle focal length are ideal for capturing landscapes. It’s easy to fit the scene in the photo, and if not, to use the built-in panorama mode.
DSLRs have better hardware, but smartphones have better software. As smartphone makers continue to look for ways to improve the camera without allocating any additional space, software solutions like built-in High Dynamic Range and Portrait Mode are born. Besides the in-camera options, there’s no shortage of apps to edit and share those images quickly.
Ditch the native camera app (most of the time)
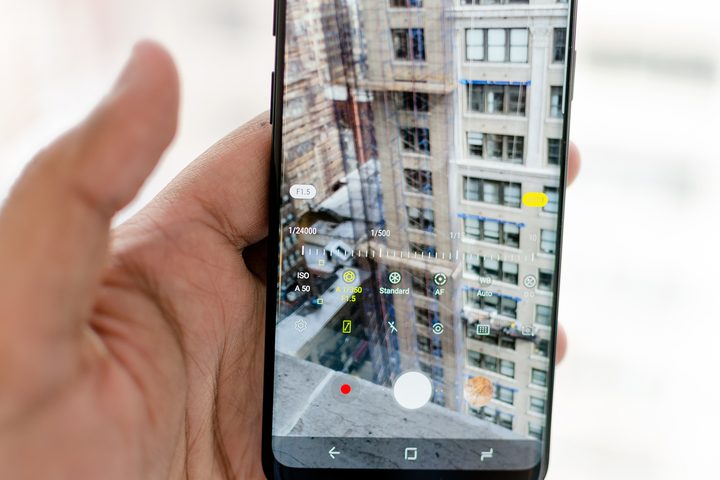
One of the easiest ways to get more from your smartphone camera is to use a good third-party camera app instead of relying on the one that is preinstalled on a smartphone. These non-native camera apps tend to be rich with advanced features, making a smartphone shoot just a bit more like a DSLR with manual settings and the option to shoot RAW, which is an uncompressed file type that offers more flexibility for editing those images. The built-in app is good for casual shots, but when you want to edit travel photos to make them pop, an advanced camera app is great tool.
The shots shared here were taken using Adobe Lightroom CC for mobile, with a few taken with the iOS camera app on an iPhone 7, as well. Besides shooting in DNG (Adobe’s RAW format) Lightroom lets you manually adjust shutter speed, ISO, and white balance. Lightroom also has a built-in HDR mode that’s helpful in difficult light, and there are post-editing tools galore. If you have an Adobe CC subscription, you can sync your photos with your other devices or store in the cloud. The app is free to use, with a subscription required for some of the extra features.
Non-native camera apps tend to be rich with advanced features, making a smartphone shoot just a bit more like a DSLR.
But Lightroom isn’t the only mobile app out there. For example, we’ve recently fallen in love with Moment’s camera app, which provides plenty of manual adjustments and RAW capture, but in elegant and easy-to-use interface. Essentially, look for an app with manual controls, DNG shooting and an HDR mode. Start by reading our guide.
Pack a portable charger
Heavy use of a phone’s camera will wear down the battery quickly. Weak signal strength and heat can also negatively impact battery life, so in remote or hotter regions, having extra juice is very important. Bring a portable USB charger (see our favorites) to keep your phone topped up so you can stay out shooting until sunset. Turning the power save mode on, disabling Wi-Fi and Bluetooth, or turning airport mode on can also extend battery life.
Pack a waterproof case
Many of today’s phones are dust and splash proof, but most can only survive brief and shallow dunks below the surface of water. For waterside destinations, pack a waterproof case (here are our favorite waterproof phones and cases). An inexpensive waterproof smartphone pocket with a lanyard keeps the device safe from splashes, while more rugged cases are designed for submerging the phone.
Leave enough free space for plenty of photos
Nothing quite deflates the moment like getting a pop-up message that you’re out of free space. Save any images on your smartphone to a hard drive to free up space before you leave, and if you have a smartphone with a micro SD slot, use one to keep shooting longer. Naturally, if you have Google Photos or iCloud, you can also back up images to the cloud to free up space on your device.
Take thoughtful compositions


Good photography isn’t as much about the gear as it is about the photographer — that means, with some extra thought, you can improve your smartphone photos without investing in (or hauling) lots of gear. Preview the shot and consider ways to make the image better before snapping the photo. Are there any distracting elements that you can eliminate just by adjusting your perspective? Does the image improve when you kneel or hold the phone higher in the air? Does the image look better with some negative space, or centered on the subject? A few simple composition adjustments can go a long way improving the shots from smaller cameras.
Tap to focus and use exposure compensation
Outside of the small size and software, simplicity expands the list of perks to using a smartphone for photography. If the focus isn’t quite right, tapping the screen adjusts the focus to that point. Most smartphone apps, even the built-in apps, also have exposure compensation, which will lighten or darken the image even if you don’t understand how to use the advanced settings.
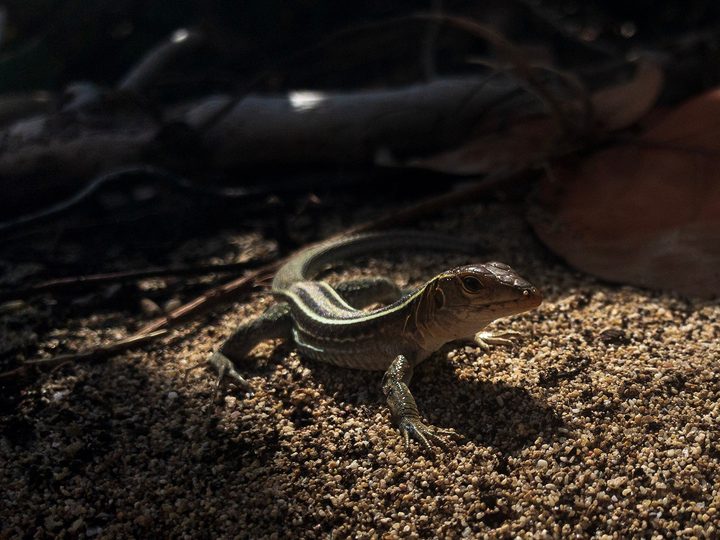
Look for “good” light
Advanced photographers know how to spot or create the ideal light for the shot — but understanding a few basics can help travelers capture most postcard-like scenes. The position of the sun is typically best for photos early in the morning and later in the afternoon, and worst in the middle of the day. Plan to visit the top landmark on your list first thing in the morning or later in the evening.
Plan to visit the top landmark on your list first thing in the morning or later in the evening.
Shooting towards the sun is also tough to do with a smartphone camera, so consider where the sun will be when planning which landmark to see when.
Shoot in DNG and edit for the best results
One of the perks of using an advanced camera app, even if you don’t understand the manual settings yet, is DNG. A DNG is a type of RAW image file that contains more information than the typical JPEG. Because of that extra information, DNG files have more flexibility when editing later. If the image is too dark, for example, you can brighten a DNG file more than you can a JPEG. DNGs will take up a little more space on your smartphone, but the end result is usually worth it.
DNG files are designed for editing. Use a RAW photo editing app to adjust the brightness, color, contrast, and more. Some advanced camera apps, like Lightroom CC, have both a camera and editing tools built in while others are editing only. Other editing apps include VSCO, popular for film simulation effects, and PicsArt, popular for remixing photos.
Consider smartphone lenses and a mini tripod
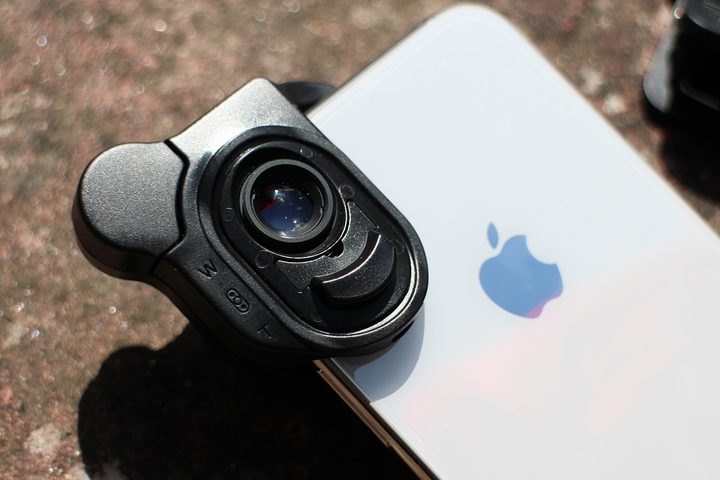
You can’t swap out your phone’s lens for something else, but you can add a lens on top of it for more versatility. Add-on lenses will allow you to capture wider scenes, zoom in on something, or get up close for macro shots. That means packing a bit more, but on some trips, the versatility is worth carrying a pocket full of extra lenses.
A mini tripod can also come in handy for shooting in low light. Tripods also help take less awkward selfies — some advanced camera apps will have a timer in them, or you can try a tripod set with a Bluetooth remote like the Joby GorillaPod.
If the smartphone accessories are essential to getting those shots, tuck them into a carry-on so they don’t end up halfway between paradise and home in a shredded suitcase — which happens to be the reason none of the photos you see here were taken with add-on lenses or a tripod.
When should I pack a different camera?
Smartphone lenses cannot replace advanced cameras, but what they lack in hardware they make up for in size, software, and simplicity. That makes smartphone cameras fine for many different types of travel — but how do you know to invest in a better travel camera? If you want zoom, underwater diving capabilities or you want to make a large print from your adventure, a smartphone probably won’t quite cut it. A bridge-style zoom camera, waterproof compact or a mirrorless camera may be the better choice for those treks.
For snapping wide-angle landscapes without gear sapping your energy on a long hike, you can capture better travel snapshots with a smartphone and a few tricks. Because if there’s anything carrying a 50 pound bag of DSLR gear on top of a fresh sunburn through three airports has taught us, it’s that sometimes, simplicity is a good thing.


