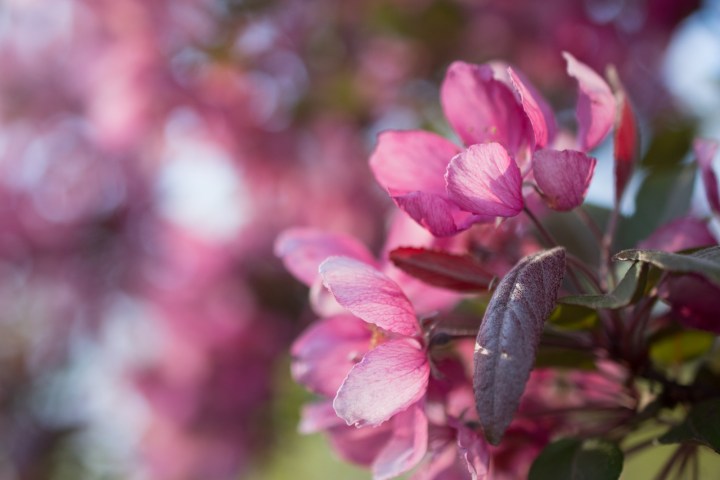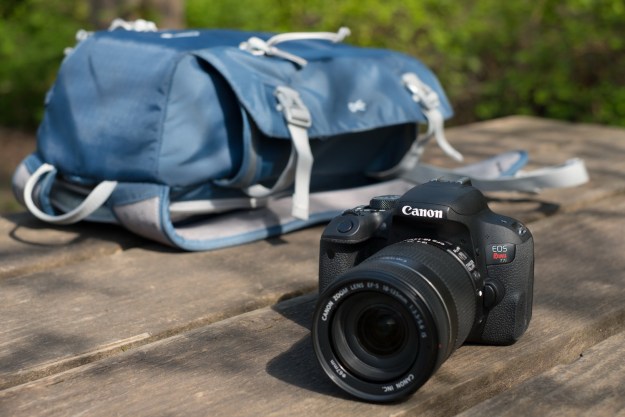
It’s the time of year when bright green buds are popping out of the mud, but spring flowers offer a great opportunity for equally new and bright photographers. Flowers, with their bright colors, intricate details, and penchants for standing still for long periods of time, make for great photographic subjects, and offer new photographers a chance to get their feet wet (figuratively, but sometimes also literally) in the world of macro photography.
So how do you make sure those fresh blooms look every bit as Instagram-worthy as they do in person? Here’s what you need to know to get started in flower photography
Camera gear for flower photography
Flower photography can be as simple as using gear you already own to as complex as high-end interchangeable-lens cameras with specialized macro lenses, extension tubes, and filters. A DSLR or mirrorless camera is going to take better shots than a smartphone or compact camera, but that doesn’t mean you can’t shoot flowers with less expensive gear. Here are some different options, and the benefits and limitations of each.
Good: A smartphone camera and a macro add-on lens. Smartphone cameras won’t capture the same detail, color, or dynamic range as a higher-end camera, but they can still work well, particularly for sharing to social media and viewing from other smartphones, where the advantages of a larger camera may not be noticed as much. The wide-angle lens found on most smart phones isn’t great for close-ups, however, as it causes distortion. Phones that have a second telephoto lens, like the iPhone X, will do better here, but you should really consider a macro accessory lens, which will let you get closer and reveal even more detail in the subject.
Better: A compact camera with a macro mode. The smaller a camera’s sensor is, the easier it is to get up close. That means that, while a compact camera doesn’t have the same resolution or light gathering prowess as a DSLR, it often has better macro capabilities out of the box. The Olympus TG-5, for example, has an excellent macro mode.
Best: A DSLR or mirrorless camera with a macro lens. This combination will yield the most detail and highest quality results, for maximum photo flower power. Macro lenses are designed to focus very close to the subject, but it’s not just closeness that matters. Maximum magnification is the true purpose of a macro lens, and a true macro will have a 1:1 magnification ratio or higher. So minimum focus distance isn’t the only thing you should look for; a 100mm macro lens won’t focus as close as a 50mm macro lens, but it can still provide the same magnification. Some manufacturers will still label lenses as macro even with less than a 1:1 magnification, so take a close look at the specifications before buying a macro lens.
If you’d rather not invest in a macro lens, you can use an extension tube. An extension tube is a simple device that fits between your camera body and your lens. By moving the lens farther from the camera, it effectively reduces the close-focus distance and increases magnification, turning a standard lens into a macro. Results can actually be quite good, but there are two drawbacks. One, and extension tube reduces the total amount of light the lens can transmit, so you’ll need to compensate with a wider aperture or slower shutter speed. Two, the lens will essentially be in a close-focus-only mode, and won’t be able to focus far-away subjects. For these reasons, you won’t want to leave an extension tube on all the time, but it can make for an affordable alternative to a macro lens.

Other accessories often come in handy for flower photography, as well. A tripod isn’t necessarily mandatory, but we would certainly recommend it. Not only can it help get sharper shots and open up advanced techniques like focus stacking, but it will simply make things easier as you won’t have to awkwardly crouch or bend over while holding your camera to get the best angle.
A polarizing filter is another optional accessory. Polarizers cut back on polarized light, and can reduce glare and make colors pop, particularly greens, which is great for flower photography. A small, collapsible diffuser can also soften the light, or be used to help block wind and hold the flower still.
A simple spray bottle is a great way to add a splash of creativity to your picture. Give the flower a light misting, then use a macro lens to zero in on the water drops.
Flower Photography Tips For Better Spring Blossoms
Watch the weather.
Check the forecast before you plan any flower photography shoots. Wind can make flower close-ups frustrating (and focus stacking impossible). A cloudy day will create soft, even lighting, while a sunny day will create more contrast, so you may want to plan your shoot for the light that works best for the shot you have in mind. As with landscape photography, morning and evening are likely to offer the best light.
Experiment with angles.
Like photographing any subject, don’t just stick with the first composition that comes to you. Look at the flower from all angles to find the best vantage point. Different angles will bring out different qualities of the flower. A shot from directly above will bring out the flower’s shape while laying on your stomach and shooting up at the flower will make even the tiniest daisy look powerful. Flower photography composition isn’t just limited to close-ups either — consider taking a step back and photographing multiple flowers together, or the entire field.
As you look for angles that highlight the subject best, look for compositions that also eliminate any distractions in the background to prevent an unnecessary item from competing with the subject.
Find the right balance for depth of field.
The closer the lens is to an object, the shallower the depth of field will be. That means you range of what’s in focus could be very small, particularly with a DSLR or mirrorless camera and a macro lens. Getting the right depth of field can be difficult — the trick is to find a balance that creates a sharp flower and leaves any distractions in the background blurred.

Depth of field is dependent on both how close you are and the aperture setting on the lens, so use aperture priority mode and adjust the aperture to find the right mix of blurred background and a sharp subject. While an aperture of f/4 or f/5.6 may provide significant depth of field for non-macro photography, you will likely find an aperture of f/16 or even smaller will be required for extreme close-ups. Thankfully, digital cameras let you experiment as much as you need to, so try different settings until you get results you like.
Consider focus stacking.
When aperture alone isn’t enough for a sharp subject with a soft background, macro photographers will use the aforementioned technique of focus stacking. This involves taking a series of exposures from the same angle shot at different focal points, and then merging them all together in post to create an image that’s sharper than what you can capture in camera.
It’s an advanced technique, but if you’re interested in trying it, check out our focus stacking tutorial. (Or, if you are shooting with a recent Panasonic camera, use the built-in focus stacking mode.)
Use single point autofocus.
Focus is tricky in any type of macro shot because of the shallow depth of field. To maintain control over exactly what part of the flower is in focus, use single point autofocus (or, focus manually). This allows you to focus on a specific part of the flower, like the center or water drop on a petal.
Single point autofocus is typically located inside the menu options, while some higher-end cameras have shortcuts using physical controls. Check your camera’s manual if you’re unsure.
Try backlighting.
The feel of the sun in the spring by itself is nice — but place the sun behind the flower and the petals will have a surreal, almost magical glow. If you head out when the sun is lower in the sky, such as in the morning or an hour or two before sunset, try adjusting your position so that the sun is directly behind the flower to create this glow.

Backlighting makes exposure tricky, so use the spot or center-weighted metering option in your camera’s menu or shortcut controls. View the shot on the LCD screen, then adjust using exposure compensation if the shot is too bright or too dark (or use manual mode, if you’re comfortable).
Shoot after the rain.
If you’d rather not fake it with a spray bottle, use the real thing. A spring rain shouldn’t keep you out of the garden — in fact, it should encourage you to head out and shoot blooms freshly dotted with rain. Once the rain passes (or during, if you’re daring and can protect your camera from the moisture) head out for some flower photography. Besides the water droplets, colors also tend to have more pop after the rain.
Consider color.
Flower photography often offers an abundance of color, so use the different hues in the image as a compositional tool. Try adjusting your composition with contrast in mind — such as adjusting the angle so that other similar colored flowers aren’t in the background, instead using the surrounding greenery or the sky give you a background of a contrasting color. Look for complementary colors when photographing multiple flowers together.
Flowers make excellent subjects, particularly for beginners eager to jump into macro photography, as they won’t run away from you. Whether you just incorporate the basics or go all-out with a macro lens and focus stacking, remember to look for creative angles and experiment with different settings to help get an image that will stand out from the Instagram crowd.
Editors' Recommendations
- Street photography tips: How to add drama to your images
- Don’t hate your camera flash. Master flash photography with these 4 simple tips


