
Depth of field control is a key attribute of image quality that helps DSLRs and mirrorless cameras stand above pont-and-shoots. Shallow depth of field, the effect that allows you to have a tack-sharp subject against a blurry background, is such a sought-after look that smartphones try to emulate it using multiple lenses and computational photography. But what really is depth of field, and how do you control it?
Deep versus shallow depth of field
Put simply, depth of field refers to how much depth in your image is in focus. If objects both close to and far away from he camera are sharp, then you have a deep depth of field. If the foreground or background is blurred, you have a shallow depth of field. A popular analogy here is a swimming pool: At its deepest, there will be more water. Likewise, a deep depth of field means more of the image is in focus.
An example of when to use a deep depth of field could be a landscape, where the entire image is essentially the subject. This is particularly true if there are both foreground and background elements that you want to keep in focus, as in the following photo:

Shallow depth of field is useful for the opposite, when you have a single subject that you want to isolate from what is in front or behind it. This is commonly used in portraiture and can be especially useful if you have a busy, distracting background.

The dictionary definition of depth of field is adds a word to our above description, calling it the distance between the nearest and farthest points of acceptable focus. Seems simple enough, but you may be wondering to yourself right now — what is acceptable focus?
Acceptable focus is based around the circle of confusion and some other advanced topics, but it basically comes down to what looks to be in focus to your eyes. Technically, a camera’s lens can only focus on a single plane in space, like one slice of bread in a loaf. Everything in front and behind that plane falls is out of focus, or defocused. However, our eyes can only see so much detail, including blur detail. If a point of blur is too small for our eyes to detect, then that area will appear to be in focus.
This quick video from Adorama is a great primer on the circle of confusion and acceptable focus.
How to control depth of field
Depth of field is determined by the relationship of the aperture (f-stop) and focal length of your lens, the distance of the subject in the photo, and the size (format) of the sensor.

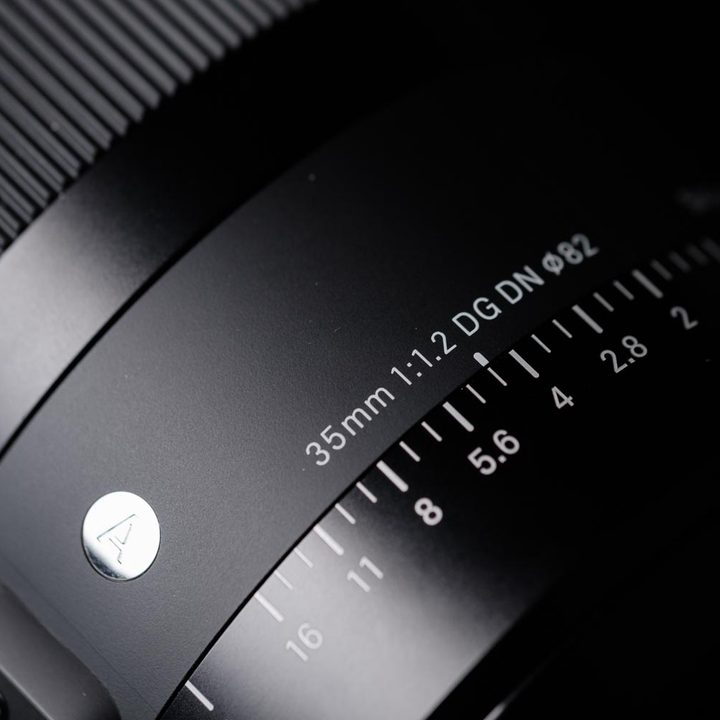
The most common way to change your depth of field is by adjusting the aperture of your lens, which determines how much light your lens allows through it and on to your camera sensor. The narrower the aperture is, the deeper the depth of field. A wide open aperture creates nicely soft backgrounds with a shallow depth of field. Here, the depth of field is sometimes so narrow that your subject’s eye could be in focus but the tips of the eyelashes may be soft. These wide apertures (like f/1.4 or f/2) draw more attention to the subject by blurring out the background, but larger or close-up subjects may not be entirely in focus.
On the other hand, a narrow aperture (such as f/11 or f/16), keeps more of the image in focus. A small aperture is often recommended for landscape photography because you may need to maintain sharpness from very close foreground elements all the way out to distant elements like skylines or sunsets.
You may have noticed that smartphones often have bright lenses with seemingly wide apertures, like f/1.8 on the iPhone 11 Pro — and yet, the depth of field is still very long. Why? This is because sensor size also plays a role in the depth of field. The technical explanation behind this is a bit, well, technical, but the takeaway is this: The larger the sensor, the easier it is to get those nice soft backgrounds. But a large sensor requires a much bigger lens, which simply wouldn’t fit in in a phone.
Smartphones can, however, imitate a blurred background using software, the results of which can be impressively realistic in the right situations, and even allow you to change the depth of field after the fact. However, computational portrait modes still fail in many instances and don’t always work with every type of subject, such as ones that are too close or too far away.
Remember, though, that depth of field is the range of distance that appears acceptably sharp. That means if you’re shooting at your widest aperture with a large sensor camera and the background still isn’t blurry enough, there’s still more that you can do. Move the subject farther away from the background, and that background will appear softer without changing any camera settings.
In a similar manner, the closer the camera is to the subject, the softer the background appears. Macro photographs are often shot at smaller apertures, even when that soft background is desired, because the camera is so close to the subject that the depth of field is shallow regardless of aperture. Some macro photographers even use focus stacking to get more depth of field, which involves taking several exposures at different focus distances and merging them together in an editing program for a sharper shot.
Telephoto lenses also create a shallower depth of field compared to wide-angle lenses. This is one reason why telephoto lenses are often preferred for portraiture, while wide-angles are used in landscapes. Of course, like everything in photography, this is not a hard and fast rule.
Conclusion
While the math that explains depth of field is complex, the techniques to control it are not. To create a softer background, use a wider aperture (lower f-number), use a large-sensor camera, move closer to the subject, or move the subject farther from the background — or maximize the effect with a combination of all those factors. For sharper images with more details intact, use a narrower aperture, move farther from the subject, or move the subject closer to the background.


