A mouse and cursor is a clunky way to make local adjustments to a photograph. Professional editors and Photoshop artists have long used pen displays and tablets as a way around the awkwardness and imprecision of a mouse. But with a four-figure price tag, the Wacom Cintiq Pro series has kept the best tools out of the hands of amateurs.
That’s changing with the Wacom Cintiq 16, a pen tablet with a less glamorous list of features that sits at under half the price of the Pro version. The Cintiq 16 doesn’t offer the same high resolution screen or wide range of colors, but it keeps the same pen technology, which means the $650 version is just as responsive as the $1,500 one, with over 8,000 levels of pen sensitivity.
That’s huge.
The Wacom Cintiq 16 spans multiple applications and even multiple types of creatives, from graphic designers to architects. But as a photographer, I wanted to see how the budget-friendly pen tablet fared when it comes to making detailed edits, like fixing flyaway hairs and removing glare from glasses. (I won’t even pretend I can draw anything better than a stick figure, so if you’re a digital illustrator, this may not be the review for you.)
I tested the pen tablet with Adobe Photoshop and Lightroom, but it should perform similarly in any program that supports pressure-sensitive brushes. The Wacom Cintiq 16 is compatible with Windows 7 and later, and MacOS X 10.2 or later.
Getting started with the Cintiq 16

Having spent decades editing with a mouse, making the switch to to a pen is not without an adjustment period, but compared to the Wacom Intuos (which is just a pen tablet, no screen), the Cintiq feels like second nature. It took much less time to grow comfortable with it.
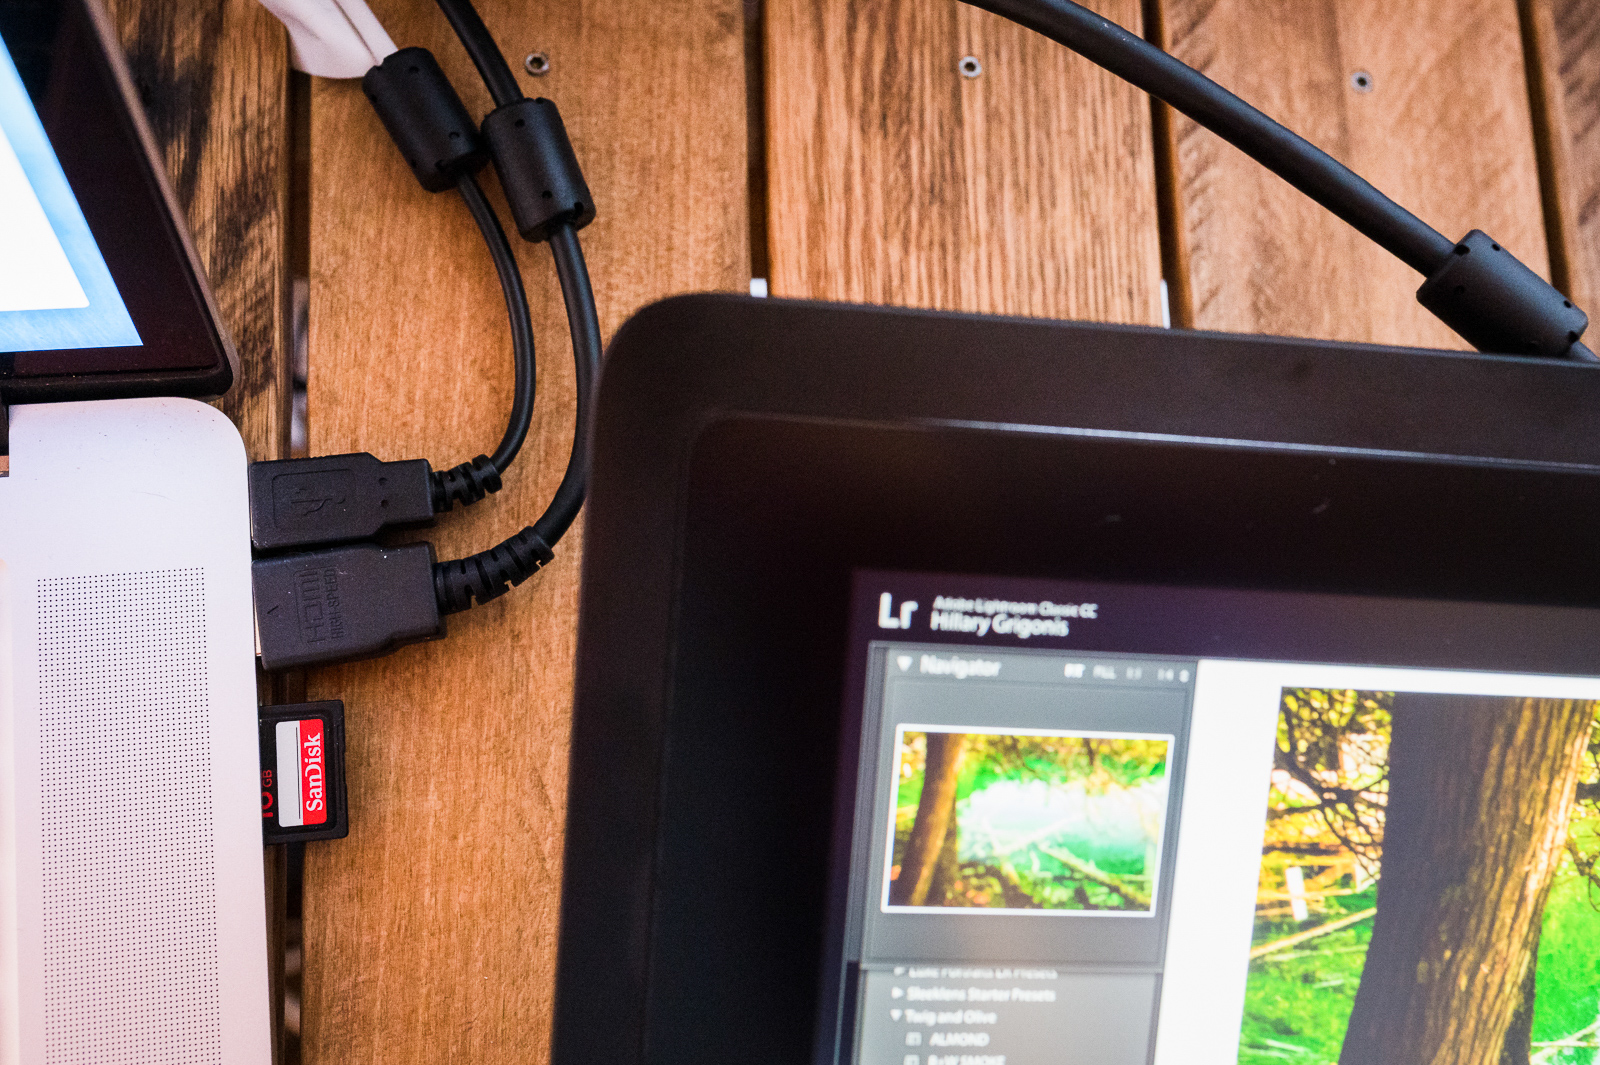
To minimize clutter, the Wacom Cintiq 16 uses a three-in-one cable that both powers the device and connects it to your computer. With one end in a power outlet, the other end splits into three connectors — one that plugs into the Cintiq, and two that connect to USB and HDMI on your computer. This design leaves less of a tangled mess under your desk, but the pricier Wacom Cintiq Pro can use a single USB-C cable without the need for HDMI. (Wacom also advises against using the pen tablet connected through accessories like a USB splitter, which can affect performance, so save the splitter for your other USB accessories.)
A quick trip to the System Preferences (or Display Settings on Windows) makes sure the computer knows where the second screen is placed relative to the main one — anyone who has set up a second monitor before will be familiar with this part of of the process.
The Wacom Desktop Center software starts with default settings and controls, but opens up possibilities for customizing your workflow, from the buttons on the pen to the sensitivity of the screen. The app also allows you to customize the pen controls to each app — so the buttons do one thing in Photoshop and another in Lightroom.
Setting up the screen and pen
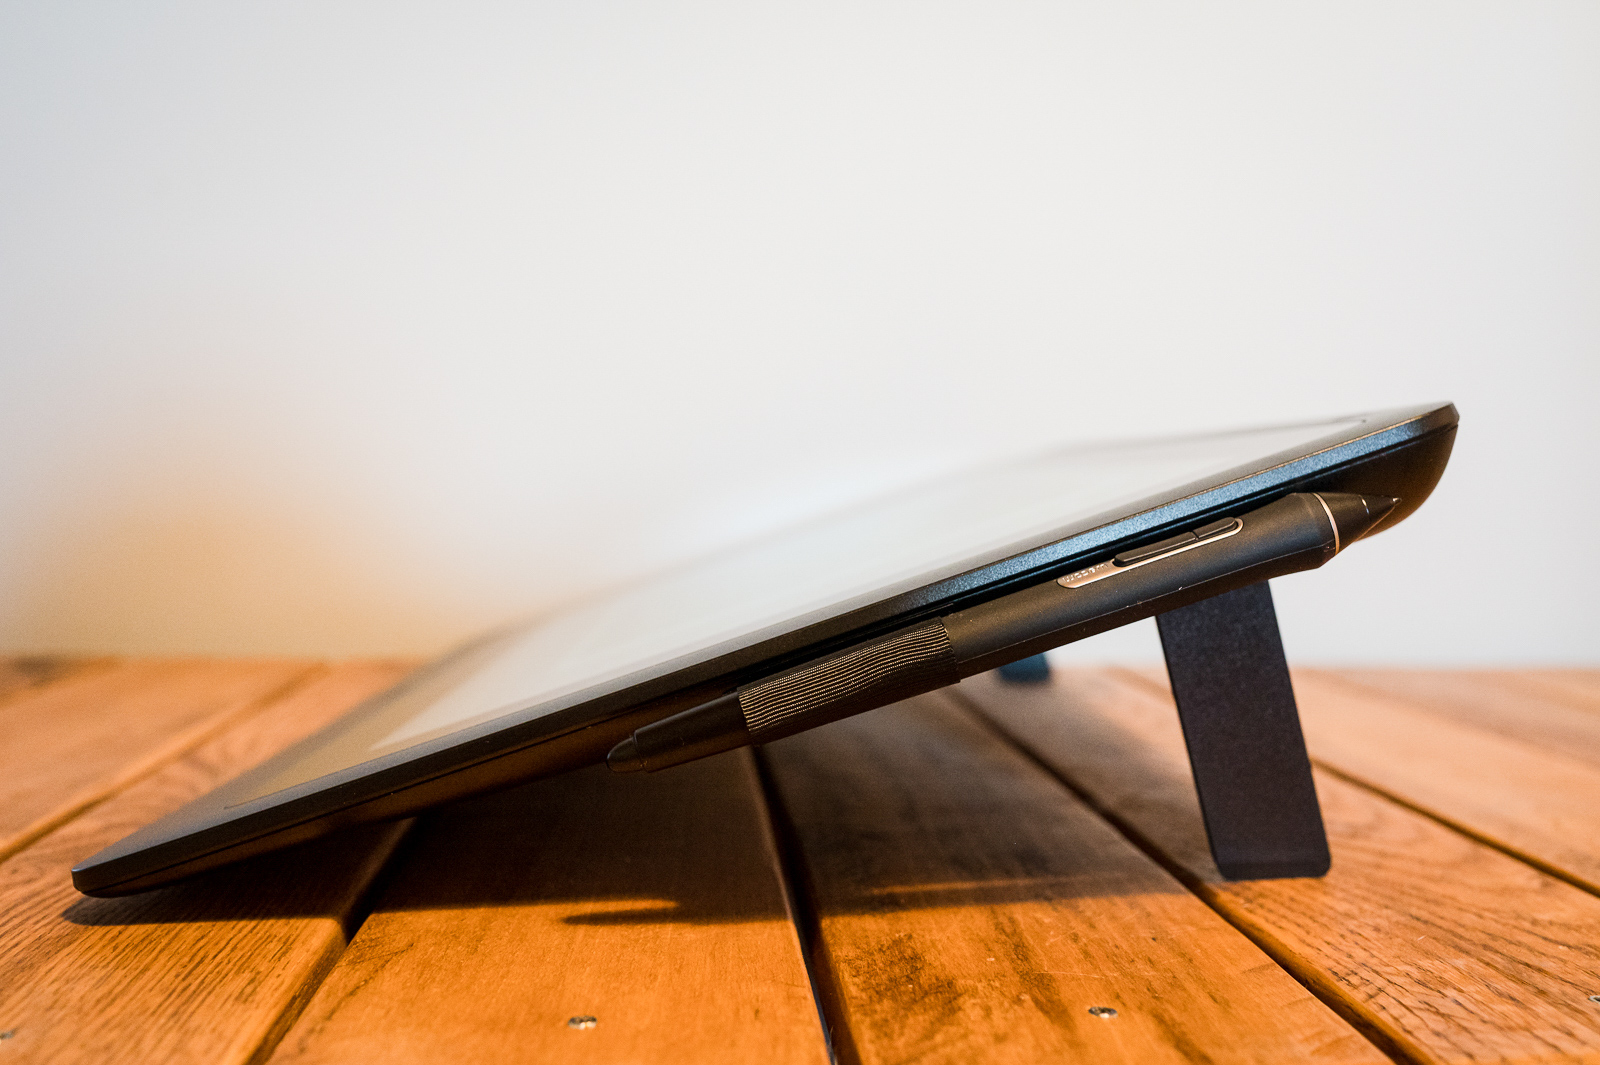
The Cintiq can sit nearly flat on the desk, or two legs pull out from the back to give the editing surface a 19-degree angle. The built-in stand is nice, but after a while, I propped the screen up for even more lift. The perfect position of the tablet will likely vary based on the height of your desk and chair — as well as your own posture habits. If the 19-degree tilt isn’t quite ergonomic enough, Wacom also has a separate stand ($80) that will tilt the pen tablet up to 68 degrees.
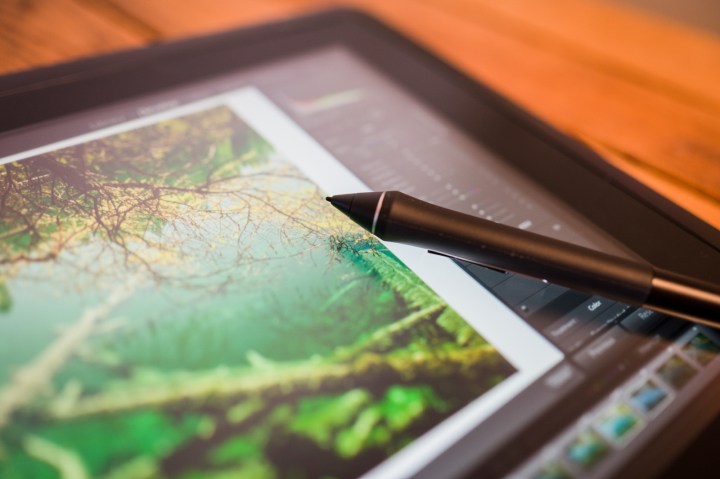
Housing just a single on-off button, the Wacom Cintiq 16 looks like an oversized iPad. The 15.6-inch screen is bordered by large bezels where you can rest your hand or, I don’t know, stick post-it notes. The entire device weighs a bit over four pounds. That might sound heavy, but keep in mind the Cintiq 16 is designated for the desk and not as a mobile editing tool, so the weight is a non-issue.
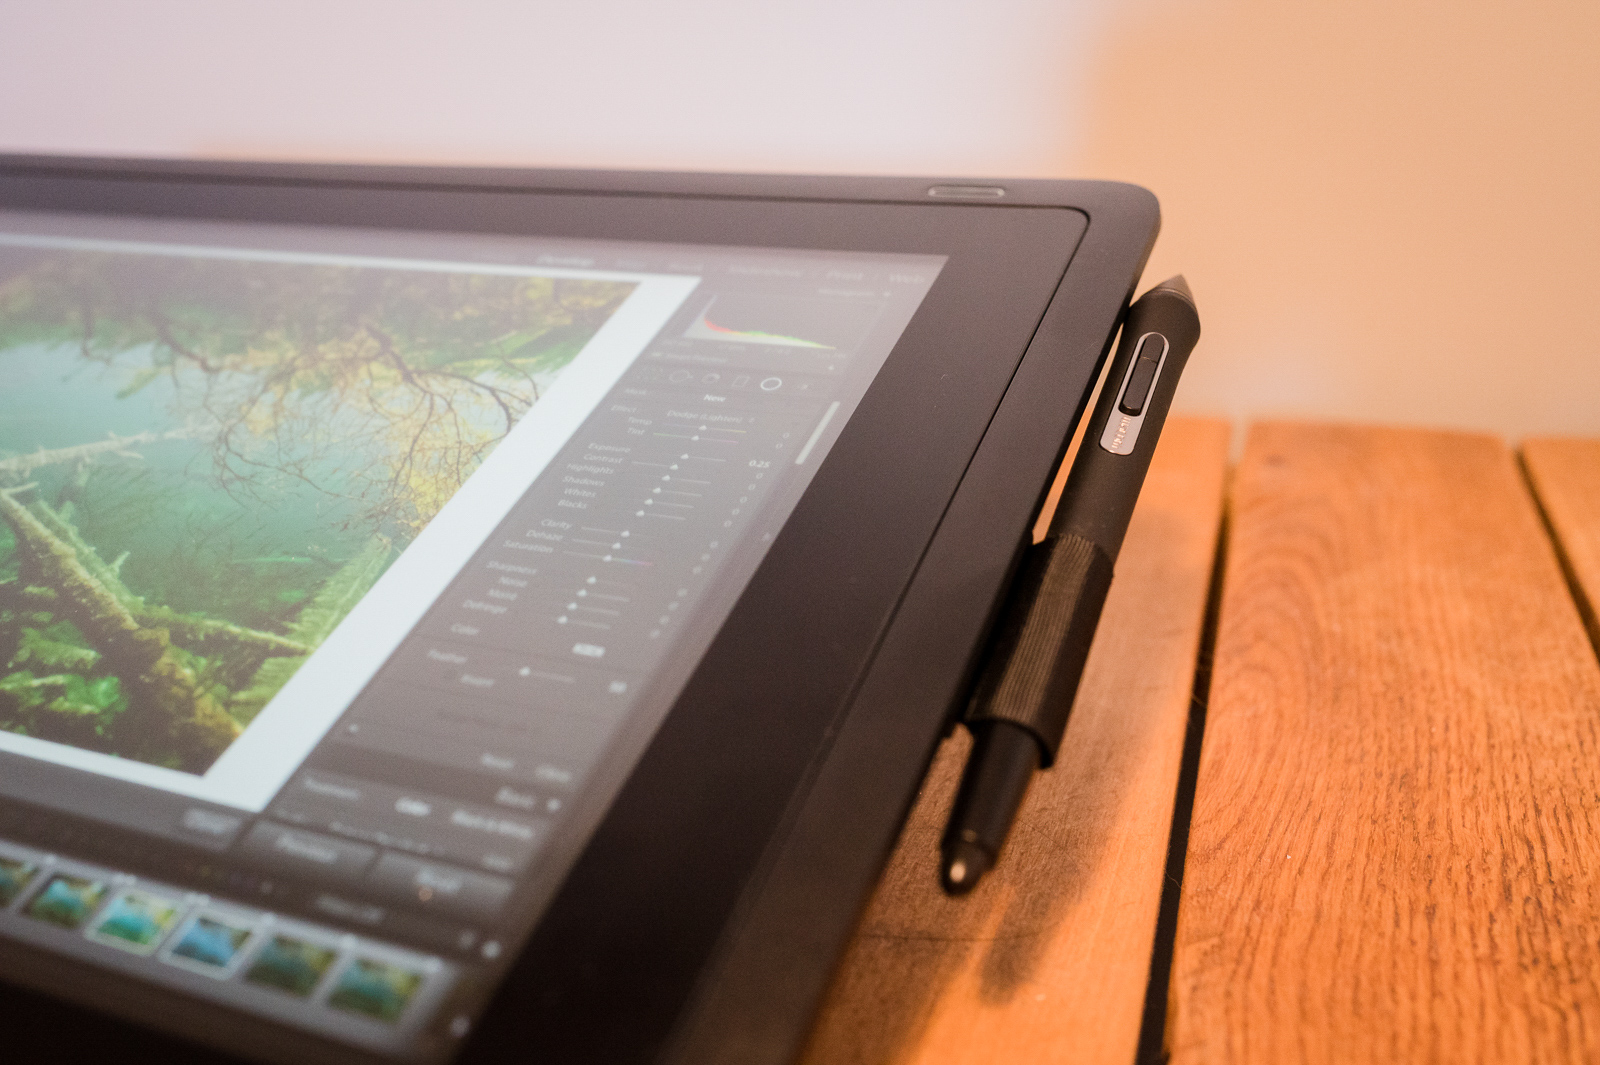
The included Wacom Pro Pen 2 has two customizable buttons, a pen nub at one hand and an eraser on the other, so you can just flip the pen over instead of switching to the eraser tool. The custom buttons make the pen display system faster to work with. In Photoshop, I set mine to control both zoom and the grabber tool, which allowed me to move around the canvas without putting down the pen. If you use the pen in your dominant hand and leave the other near your keyboard, you can combine the pen buttons with keyboard shortcuts for an even more efficient workflow.
The Cintiq 16 is only sensitive to the pen, which means you can lean your hand on the screen without the software responding to your touch. (This does mean no finger painting, however, or gesture controls.) The screen also resists smudges better than the typical laptop display.
And, for anyone who always looses pens (like, ahem, me), the side of the display has a fabric sling to slide the pen into when you’re done. Just remember to use it.
A quick glance at the tech specs will tell you the Wacom Cintiq 16 isn’t a dazzling screen. The resolution is a simple 1,920 x 1,080 Full HD; not bad, but hardly impressive when we have phones with more resolution than that today. It can display 16.7 million colors covering 96 percent of sRGB, but only 72 percent NTSC standards. Between the Cintiq and the 2,800 x 1,800 screen built into my laptop, there’s a noticeable difference in the sharpness of text. The Cintiq is also not as bright.
The anti-glare coating covering the Cintiq’s screen also makes it look a little dull next to the glossy screen of my MacBook, but it cuts down on reflections. Sure, my laptop is brighter with higher resolution, but the Wacom was more effective at battling glare, which is often the bigger problem when it comes to photo editing. Even using an overhead desk lamp, the Wacom Cintiq looked good — it’s not entirely glare-free, but what the anti-glare coating couldn’t block was solved by simply adjusting the position of the display.
While the lower screen specs are noticeable side-by side with a second screen, the lower resolution didn’t seem to get in the way of editing. Even with the smaller details, zooming in with a quick button shortcut on the pen was sufficient enough for making seamless edits that blend in with the surroundings. The lack of resolution is most noticeable with text, so it may be a consideration for graphic designers and other users frequently working with text on the canvas.

Performance
The Wacom Cintiq 16 is not be the company’s best display, but with identical response time and pressure sensitivity as the 16-inch Pro version, Wacom kept what matters most intact. The pen and eraser have 8,192 levels of pressure sensitivity with a 60 degree tilt range, making it feel incredibly natural to use.
Your photos will look better on the Cintiq Pro’s 4K screen, but the cheaper Cintiq 16 ultimately gives you the same end result.
With a pressure-sensitive Photoshop brush, the size of the brush adapts to the pressure on the pen, as well as how well the brush blends with the surroundings. A light touch creates a thin line, while a firmer touch will allow the brush to reach its full size, whatever size you selected in Photoshop. Using pressure to alter brush size makes quick work of adjustments that would otherwise require either lots of back-and-forth mouse maneuvers between the image and the brush settings, or between the mouse and keyboard shortcuts.
The eraser works similarly — when using a pressure-sensitive Photoshop eraser brush, more pressure on the brush will erase larger areas. The ability to simply flip the pen over and erase rather than swapping tools is a big plus.
The Wacom pen doesn’t override the software’s own settings — so while you can use a brush with “pressure” in the name to control brush size with pressure, you can also use a hard brush to restrict the brush to a set size instead of responding by pressure. Using brush parameters, you can control how you want the brush to respond to the pen. Other brushes, like the watercolor brush, for example, will increase or decrease the flow with the pen’s pressure to lighten or darken the color.
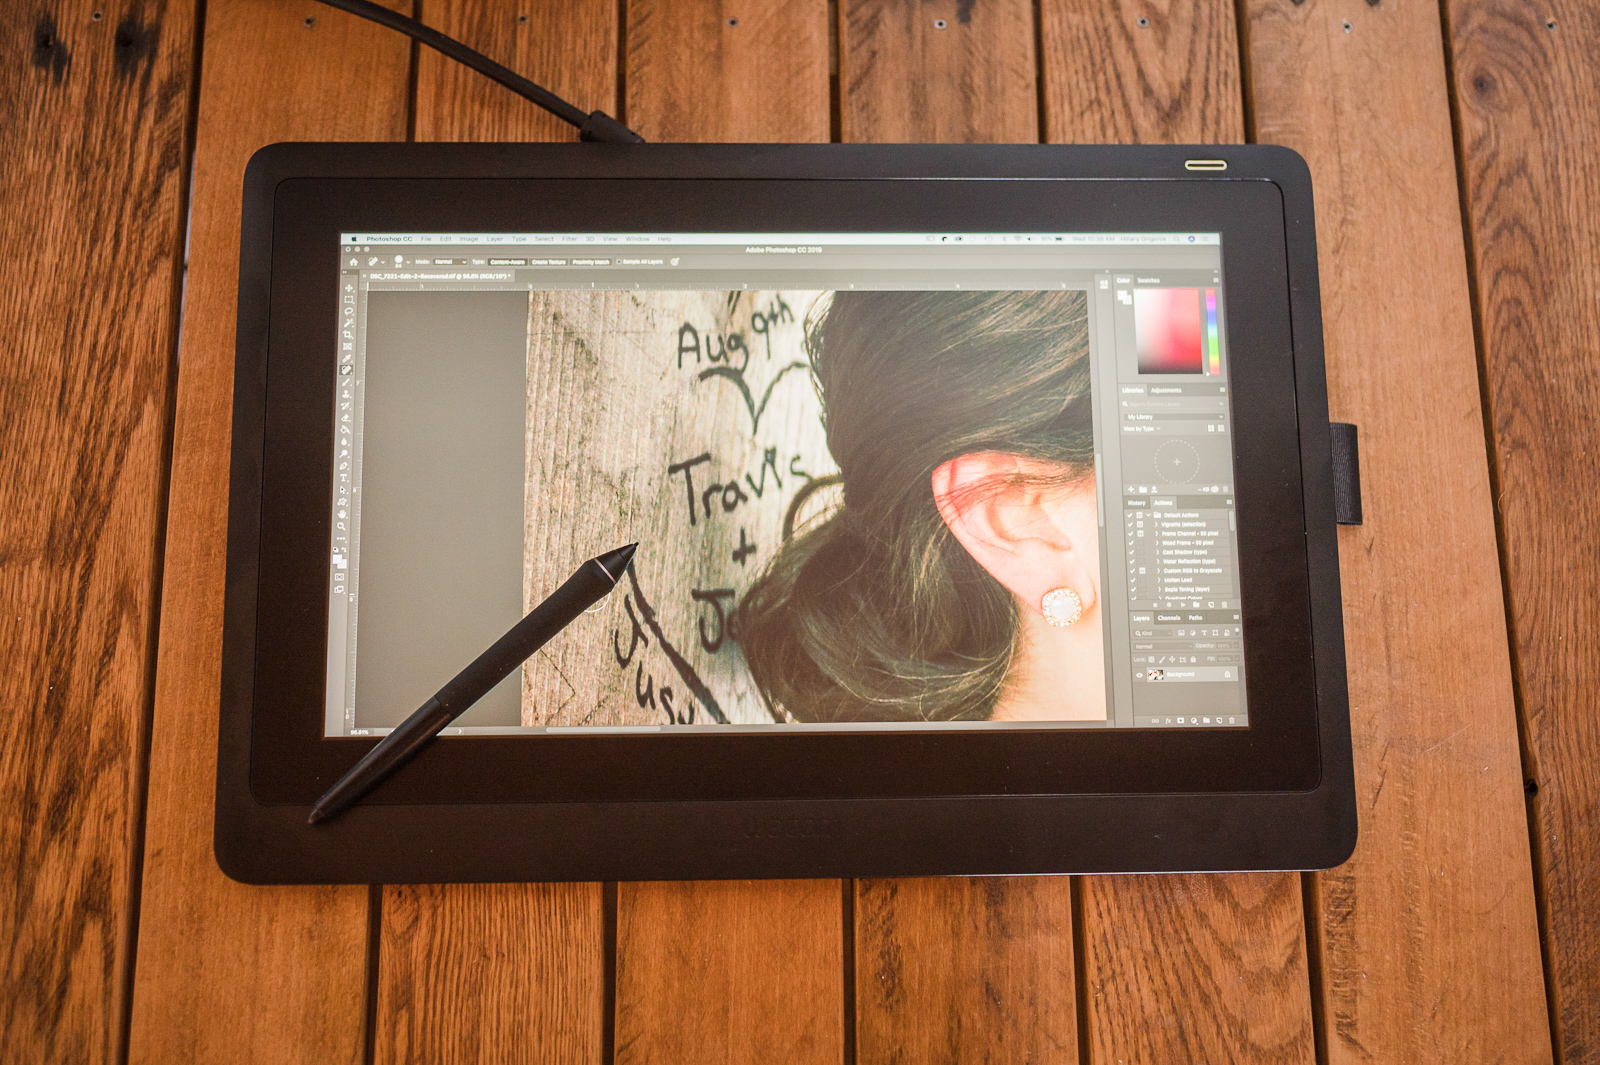
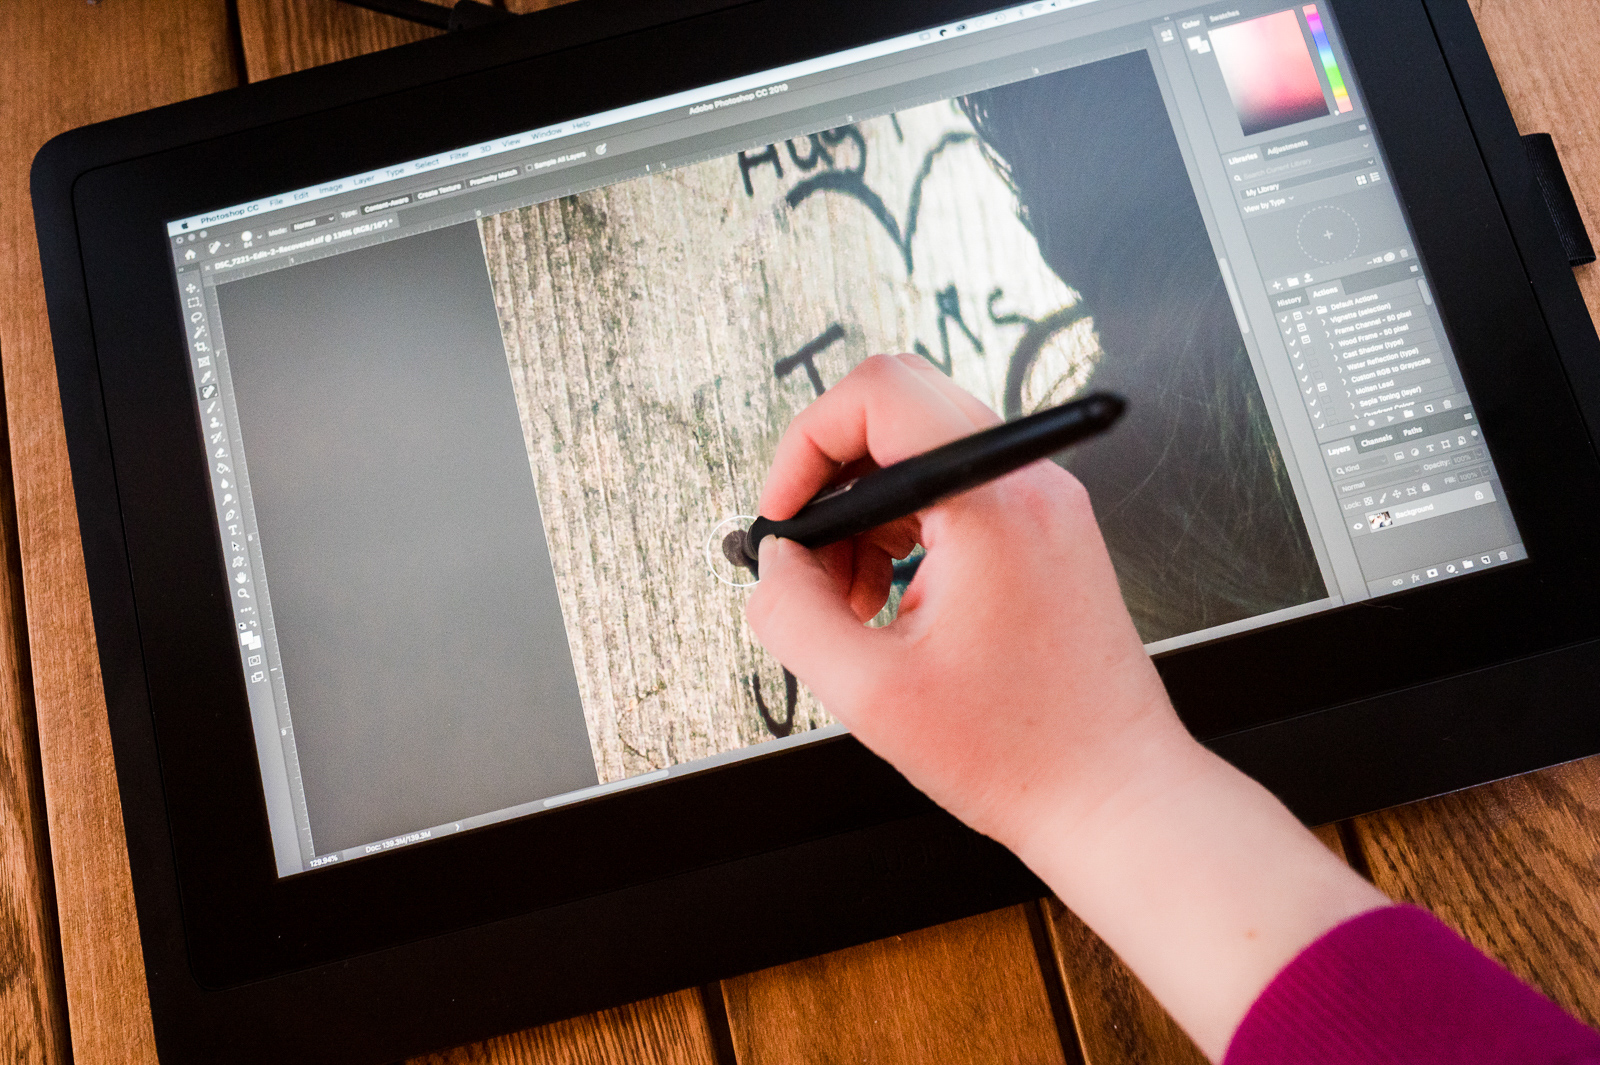
The pen’s sensitivity made quick work of removing graffiti and flyaway hairs, all with the same brush, using pressure to determine the actual brush size. Individual strands of hair are often among the toughest to remove, but using the pen with the healing brush tool made the touch-up surprisingly easy. I was surprised that removing both wind-blown hairs and a few dozen graffiti marks from an image only took five minutes.
The improved ergonomics make the pen better for other tasks, too. When removing glare from glasses (by pasting the eyes in from a second image with the glasses removed), I found erasing along the exact outline of the glasses was much easier to do compared to attempting the same fix with the mouse. Larger-scale adjustments, like dodging and burning, also felt much faster.
But, if there’s a downside to the Cintiq 16’s performance, it’s the slight lag that occurs when using tools like the clone stamp and healing brush. The lag is so small I didn’t notice it right away, but the preview image that displays what the clone stamp will copy sometimes freezes briefly while hovering the pen just above the surface of the screen, preventing you from seeing the full result for a split second. It’s no deal breaker for a budget pen tablet, but it’s worth noting.
All the brains, minus the beauty
The Wacom Cintiq 16 may not be the best pen display on the market, but the budget-minded accessory cuts the frills and keeps what really matters. The screen resolution and colors aren’t great, but it has the same pressure sensitivity and response time as the much more expensive Pro version. What you miss out on is the brighter, 3,840 x 2,160 display with a wider color range, multi-touch gesture controls, and a headphone jack. The Pro is also lighter and requires a single USB-C cable, with an optional HDMI port, instead of requiring both the USB and HDMI from the computer.
Your photos will certainly look better on the Pro’s higher resolution screen, but the cheaper Cintiq 16 ultimately gives you the same creative experience and end result. It’s a great value for amateur and professional photographers, alike.
Pro or not, a pen display isn’t the only option for photographers any more. Photoshop is coming to the iPad, which will turn Apple’s iPad Pro into a real Wacom competitor. The iPad Pro undoubtably has the better resolution screen, but the Cintiq’s is larger. Apple doesn’t offer pen pressure sensitivity specifications, but the Wacom feels like it may have an edge there. As a computer and pen tablet in one, the iPad also costs quite a bit more, and working with iOS comes with some serious limitations, like double-importing images and a lack of native external hard drive support. For photography enthusiasts and digital artists, the Cintiq 16 likely still has an edge.
Of course, its $650 cost still isn’t pocket change. If you seldom use local adjustments, like cloning and healing, dodging and burning, and the paintbrush tools, you likely won’t use the Wacom enough to justify the price. However, if you’re frequently editing flyaway hairs, dodging and burning, or zapping zits, and you want to speed up your edits, the Cintiq 16 may be exactly what you need. It made even my least favorite, most tedious editing tasks feel faster and less of a chore.
Editors' Recommendations
- Is the iPad Pro ready for real photo editing? I ditched my MacBook to find out
- Adobe Photoshop Elements is getting so good, it edits photos for you