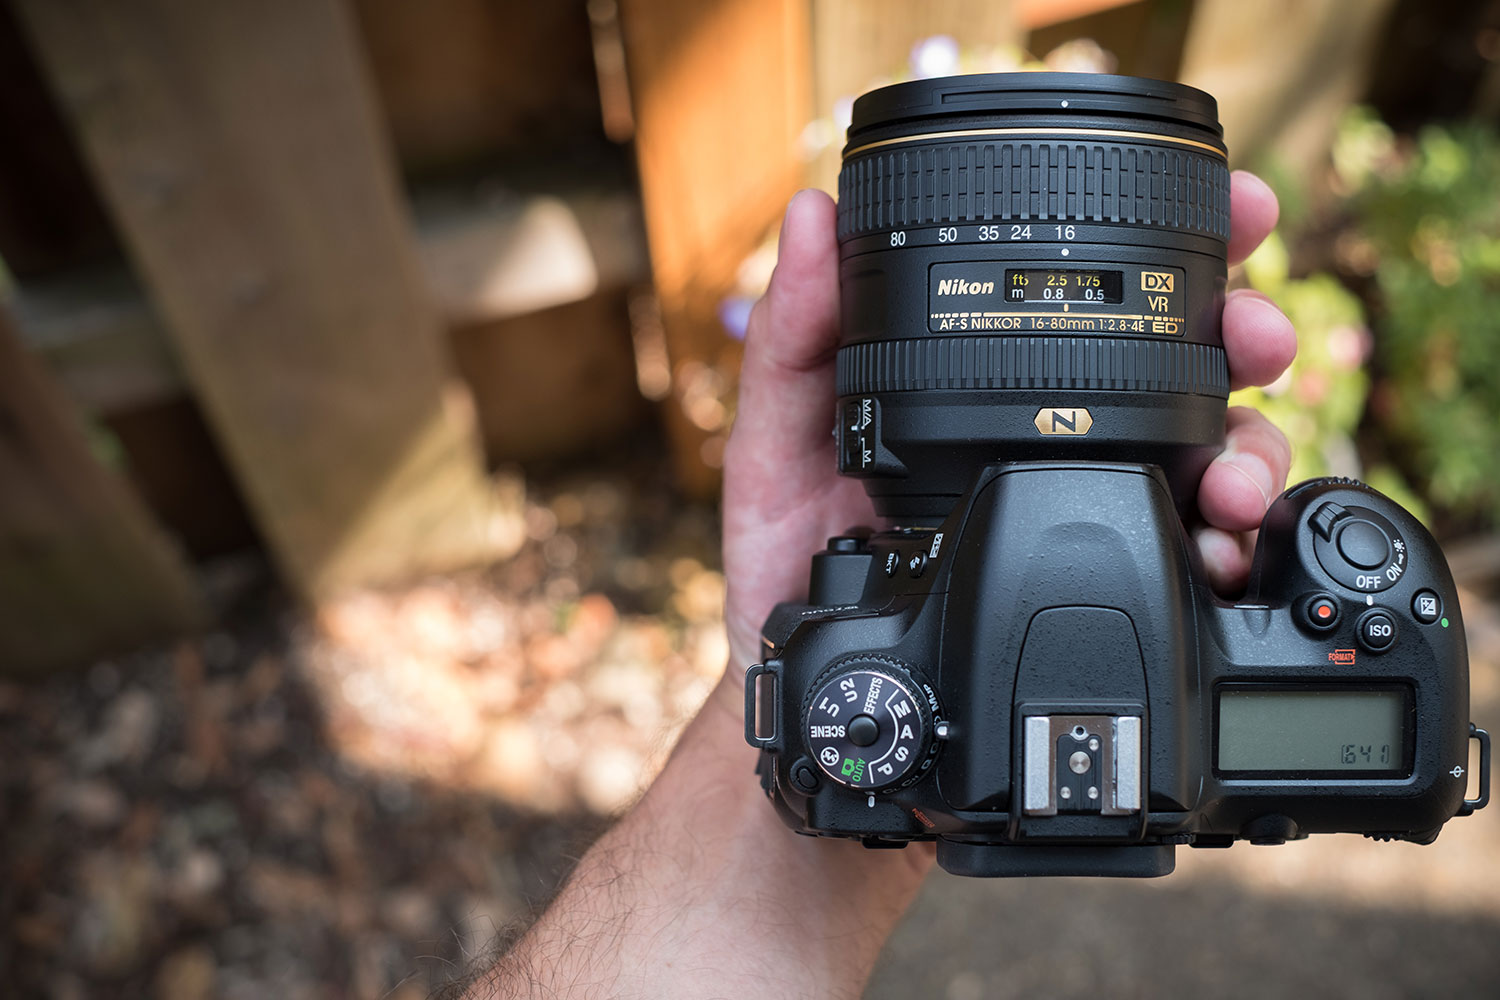
The A on your camera’s mode dial is not for Amateur (and the P is not for Professional, but that’s another story). Aperture priority mode, designated by A or Av on the camera’s mode dial, blends the flexibility of manual control with the convenience of automatic exposure. While aperture priority mode is great for beginners, the semi-automatic camera mode is often used by professionals, as well.
Aperture priority is a favorite setting among many photographers for a variety of reasons, but it isn’t foolproof. Here’s how to use aperture priority mode like a pro, including one little-known setting will help keep the “auto” in “semi-auto mode” from ruining your shots.
What is aperture?

Using aperture priority mode first requires an understanding of aperture. Aperture is the size of the opening in the lens. A narrow opening will let in little light, while a wide opening will let in much more light, just like a big window will brighten a room more than a small window. On a camera lens, a low f-number, like f/1.8, indicates a wide aperture, while a high number, like f/16, is a narrow aperture.
Besides affecting the amount of light in the photo or the exposure, aperture also heavily influences depth of field, or how much of the image is in focus. A wide aperture creates a narrow depth of field, where the focal range is limited, leaving the background and foreground out of focus. A narrow aperture, on the other hand, leaves more of the image in focus, even for objects that are farther from the subject.
What is aperture priority mode?

Aperture priority is a semi-automatic camera mode that allows the photographer to manually select the aperture while the camera automates the shutter speed. It is essentially the opposite of shutter priority mode. The camera can also automatically control ISO in this mode, although you can manually set the ISO if you prefer. Aperture priority is designated by an A on most cameras, but Canon and Pentax use Av (for aperture value).
It’s important to remember that because aperture priority is a semi-automatic mode, your overall exposure is still determined by the camera. That means an image could come out too dark or too bright just as it could in full auto mode. You can use exposure compensation combined with aperture priority to control the overall brightness of the image. The light metering mode will also affect how the camera exposes the scene, and choosing the right one may help ensure your images are not over or underexposed.
Evaluative metering considers the entire image when setting the exposure. In this mode, you’ll get good results on a cloudy day or in even lighting, but if your subject is backlit, you may end up with a silhouette. Spot metering mode instead considers only the subject or where the focal point is to set that exposure — this may over or under expose the background, but will keep the subject well lit. Since the subject is the most important part of the image, many photographers prefer spot metering, though evaluative is sometimes the better choice for landscapes.
Using aperture priority mode, then, really isn’t about controlling exposure — it’s about controlling depth of field. If you want that soft, out-of-focus background and shutter speed is unimportant, aperture priority is the ideal shooting mode. The same goes for keeping more of the image in focus, like when shooting group photos or capturing a landscape image.
The secret to using aperture priority successfully
Shooting in aperture priority is as simple as rotating the mode dial to A or Av, but a setting hidden in your camera’s menu could help you get more out of it.
With auto ISO turned on, you can go into the camera menu and set a limit for the minimum shutter speed. Why would you want to do this? Simple: To prevent blur that may result from the camera selecting a shutter that is too slow to freeze motion. While shutter speed may not be important to a particular shot, there is usually at least a minimum acceptable speed — at least if you’re handholding a camera or photographing a subject that isn’t perfectly still. Setting a shutter speed limit makes sure the shutter speed won’t drop below that threshold, and the camera will instead raise the ISO to compensate when needed.
Generally, auto ISO has three different settings. First, you can choose the lowest ISO and the highest ISO that the camera is permitted to use. We recommend setting the first to the lowest native ISO available in your camera, often ISO 100 or 200. Then, set the highest ISO to the setting that you feel your camera can capture without significantly degrading image quality. This will depend on your specific model of camera, but it’s probably in the range of ISO 3,200 to 6,400.
Once you set the auto ISO range, set the minimum shutter speed based on the gear you’re using and the subject you’re photographing. You can get away with a slower shutter speed on a wide-angle lens than a telephoto lens. Likewise, you can use a slower shutter for landscapes or still life subjects than you can for sports or other moving subjects.
The exact steps for setting up auto ISO depends on the camera model you are using — most cameras have the options in the shooting menu under ISO settings or a similar name. Once the thresholds are set up in the menu, some cameras will also allow you to switch from a set ISO to auto ISO using physical controls. If you’re unsure, you can find the exact process in your camera’s user manual.
Aperture priority is better than shutter priority
Aperture priority is a favorite mode for many photographers. So why does aperture priority stand out over shutter priority? The ability to set a shutter speed limit using auto ISO offers the most control, while still offering the benefits of shooting in a partially automatic mode. (On the flip side, shutter priority does not allow you to set a limit for the aperture). In aperture priority, you can set the aperture and set a limit for the shutter speed, yet the camera will still make adjustments to quickly keep up with changing lighting conditions.
There’s another reason why aperture priority is easier to work with: There are simply fewer f-stops to choose from compared to shutter speeds. There will almost always be a shutter speed to pair with any given aperture, but the reverse is not true. In shutter priority, you could easily select a shutter that is well beyond the ability of the aperture to compensate — it can only open so wide, after all. For this reason, some advanced photographers will even use aperture priority when what they really want is control over the shutter, because they know that by selecting the widest aperture they will get the fastest shutter speed that still yields an appropriate exposure. Simply selecting the fastest shutter speed in shutter priority mode, on the other hand, may lead to an underexposed image if the aperture cannot open wide enough.
Aperture priority mode won’t replace manual mode in the trickiest scenarios, but for many shots, the camera setting gives photographers the most control without adjusting the settings each time the lighting changes. It’s a great first step beyond auto mode for beginners, and a surprisingly powerful tool for experienced photographers.
Editors' Recommendations
- Photography 101: Exposure, aperture, shutter speed, and ISO
- How to use exposure compensation for perfect pictures with your camera or phone
- What is bracketing? Get your best shots with this overlooked camera tool
- What is a prime lens? Here’s why you need one in your camera bag


