Parting it out
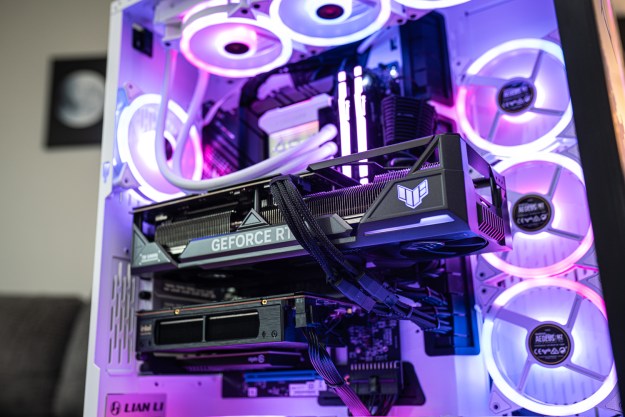
A Raspberry Pi 3 model B sits at the heart of our system. The tiny computer costs less than $40, and is more than powerful enough to emulate not just NES games, but a swath of older consoles and specialized software, including special versions of Minecraft and Doom.
A Raspberry Pi 3 model B sits at the heart of our system.
It doesn’t come with any of the necessary accessories, so we went ahead and picked up a USB power supply, HDMI cable, and MicroSD card, as well as a couple of heatsinks to keep the chips cool. There are kits available for those who don’t feel like sourcing the parts themselves.
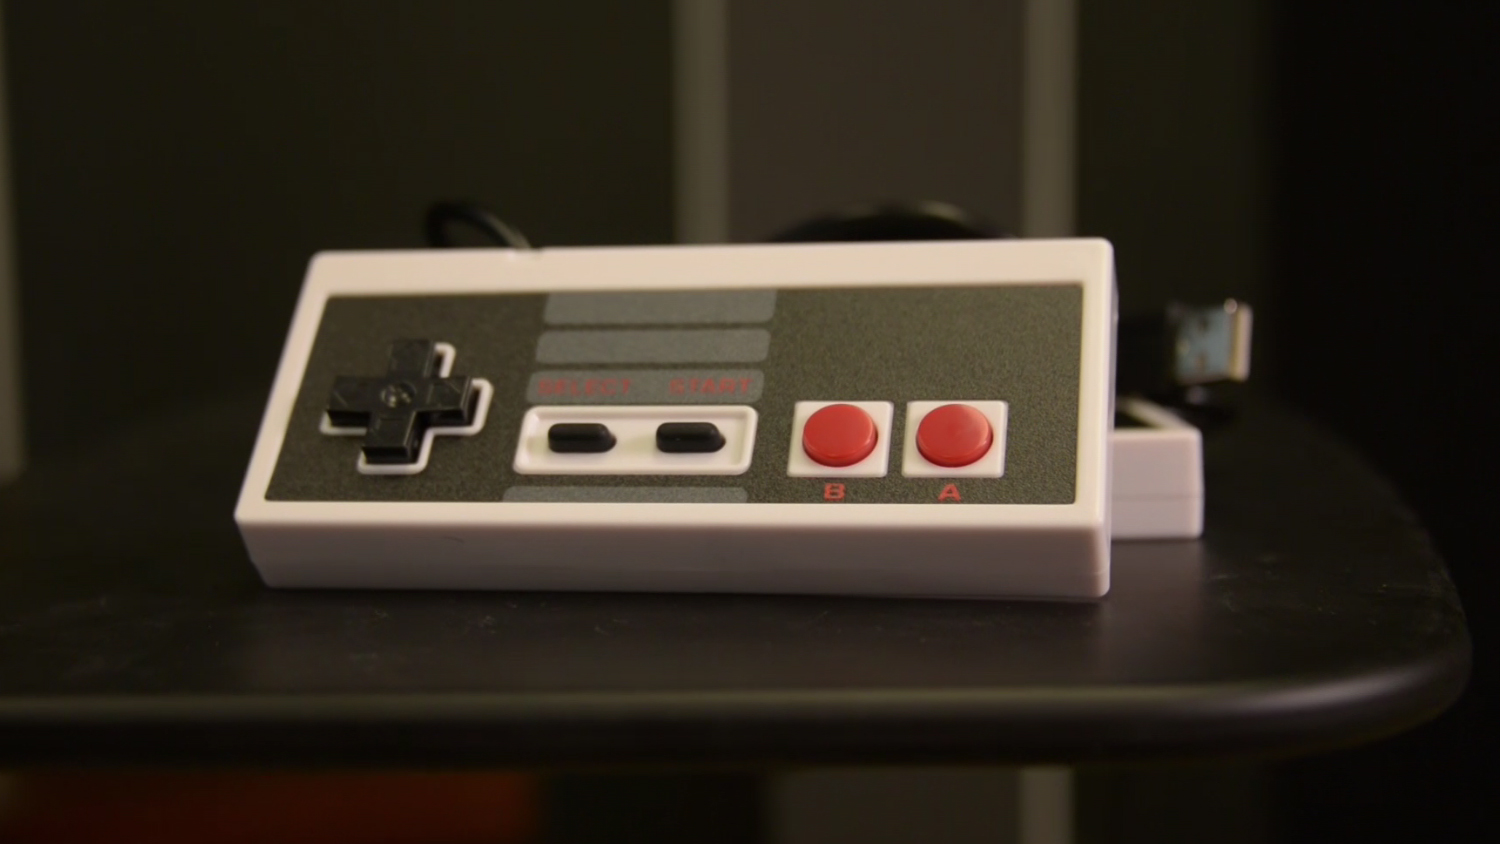
While almost any USB controller will work, we found some that are very reminiscent of the original NES controllers. The Raspberry Pi 3 has built-in Bluetooth, so controllers like the Steelseries Stratus should work as well. It’s even possible to use Xbox and Playstation controllers, if they’re connected over USB.
While setting the naked Pi down next to the TV is certainly an option, a case provides a lot of benefits for ease of use, aesthetic appeal, and cable management. There are tons of options for generic Raspberry Pi cases all over the Internet, but we wanted something that looked like a NES, at least somewhat. With a suite of 3D printers at our disposal, we set about finding a design from Thingiverse and printing out our own.
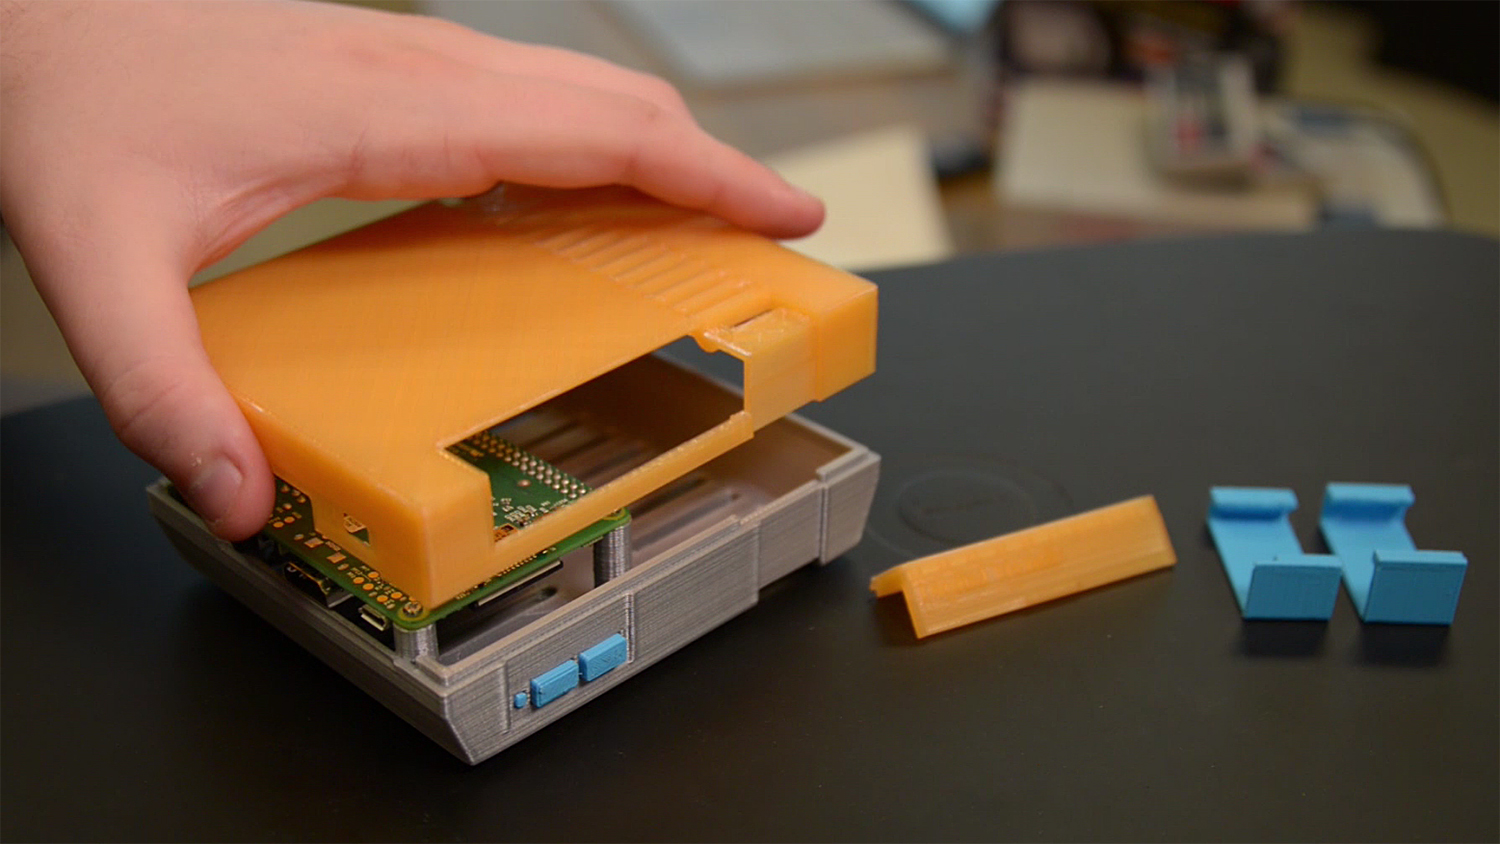
We don’t necessarily recommend that course of action. The 3D printed case looks novel, but we spent a lot of time tweaking the model, printing multiple prototypes, and cleaning the final product of stray plastic strands. Even with experience, and the exceptional Lulzbot Taz, it took us a week of trial and error to print an acceptable case.
Users that don’t have a 3D printer, or just want to skip the tough stuff and start playing Mario, should look to Amazon for NES-inspired Raspberry Pi cases. We picked up an NES-inspired case for just $20 that’s built for just such a purpose.
It charges for the novelty factor, though. Literally hundreds of generic cases can be found for as little as five dollars. There’s even cases designed to attach to your TV, or hang on the wall, which might free up some space on your entertainment center. Buy whatever fits, slap an NES stick on it, and call it a day.
Some assembly required
The Pi should easily cover NES and SNES games.
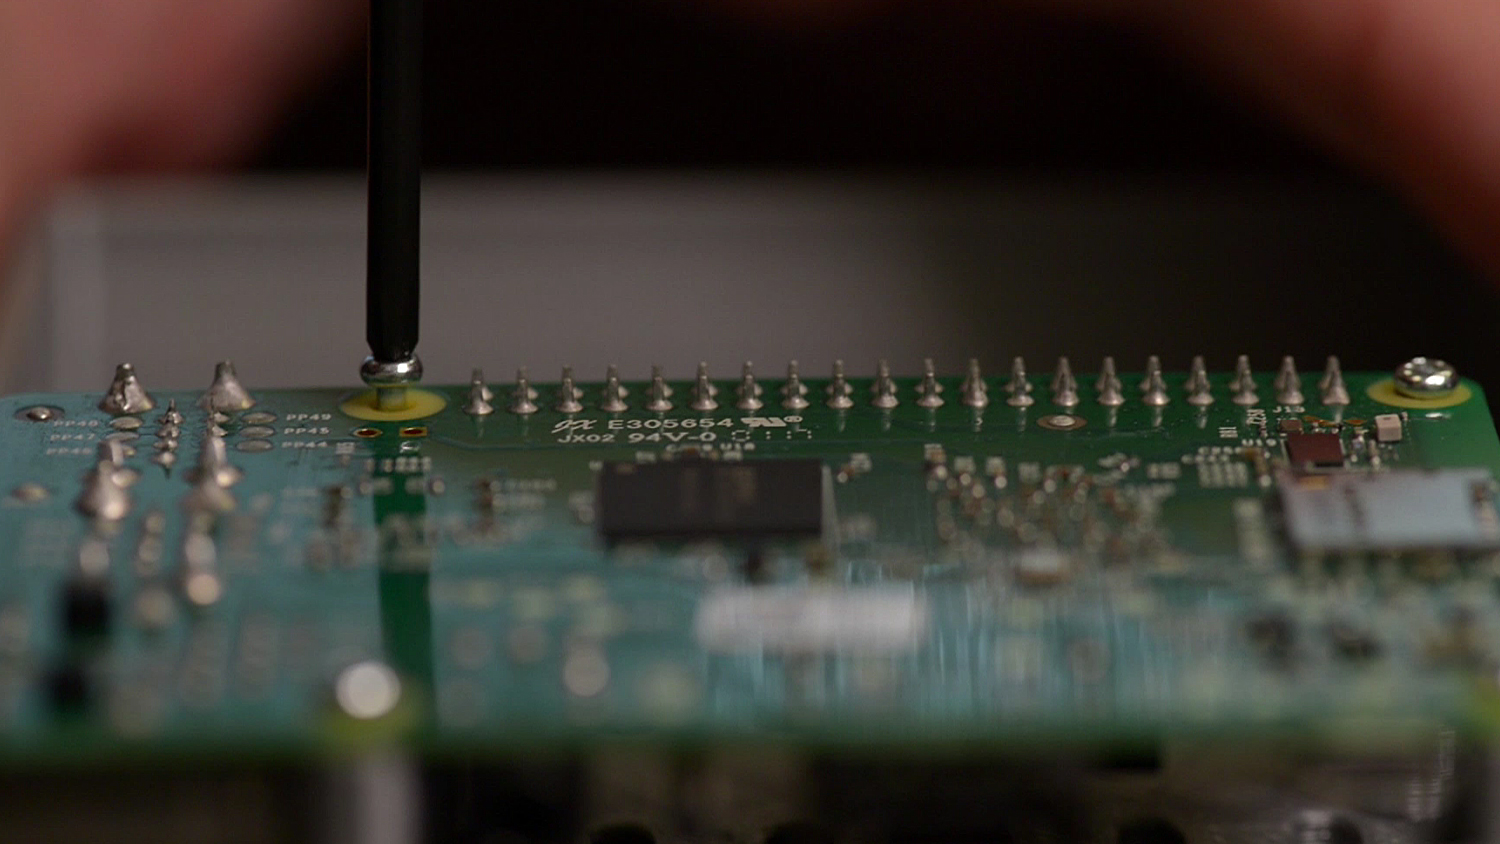
With our parts in hand, it’s time to put everything together. This is the simplest part of the process. Just up the Raspberry Pi with the holes in the case for the screw mounting holes in each corner, and tighten them down in a star pattern. Only apply enough pressure to hold the unit in place. There’s no need to clamp it too tightly.
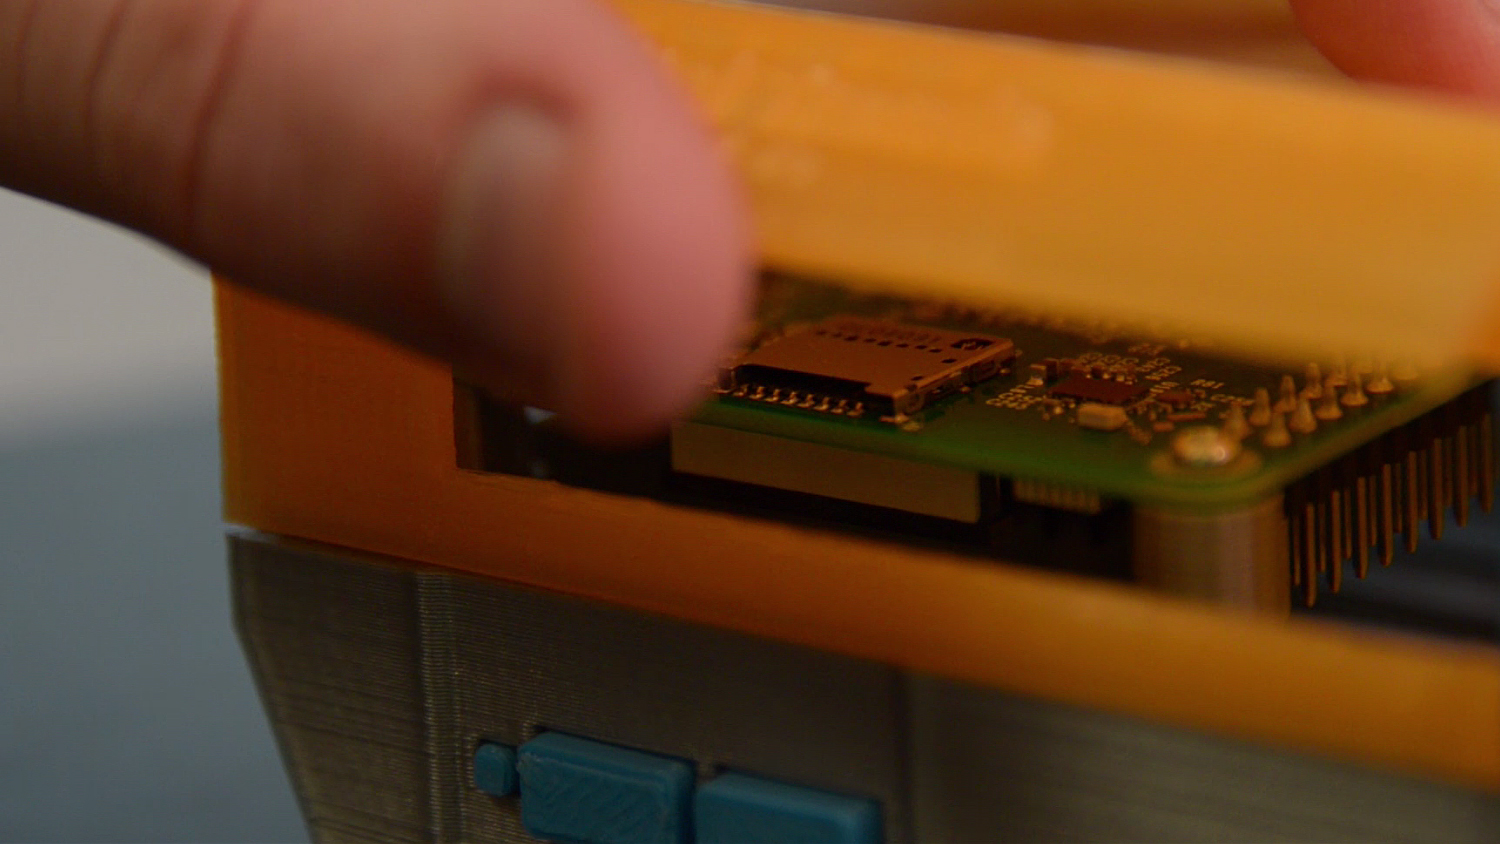
Our 3D printed case used two clamps to keep the upper and lower half together, but that process may differ depending on each case. Again, there’s no need to tighten the mounting screws as much as possible.
Baking the Pi
Thankfully, someone else has done the legwork putting together a version of the Raspberry Pi OS that supports a large set of emulators right out of the box. It’s called RetroPie, and we’ll walk through the steps in general below, while you can find an up-to-date guide with troubleshooting and further details on the RetroPie Wiki.
At arm’s length, the process is simple. Download the complete OS image from the RetroPie site, and use a program to write that image file to the MicroSD card. A free program called Win32DiskImager will ask you to select the image file’s location, and the drive to write to. Keep in mind this will erase the MicroSD card, so backup any files that were already on it before imaging. Once Wind32DiskImager finishes its job, RetroPie is installed to the SD card. Slide it into the slot on the Raspberry Pi and plug in the HDMI and USB power to boot up.
On first boot, the system will head straight into controller configuration for Emulation Station, the name of the software that manages the emulators and configuration. Plug in a controller and follow the steps to define each button and stick on the controller. RetroPie’s installation guide has a few handy diagrams that can help assist with the process.
After configuration is complete, there still won’t be any systems listed in the main menu, but that’s to be expected – Emulation Station only shows systems that have games associated with them. Take a USB drive, formatted FAT32 (which should be most small thumb drives), and create a folder called “retropie” on it while plugged into a computer.
Plug the drive into the Pi, and wait for the green light on the front to stop blinking, indicating the Pi has finished creating a file structure on the thumb drive. Plug the USB drive back into the computer, and a handful of new subfolders will be waiting in the retropie folder. Choose the “roms” folder, then find the appropriate system – NES, in our case – and copy game files into that folder.
Once the transfer is complete, plug the USB drive back into the Pi, and once again wait for the green light on the front to stop blinking. Press whatever button is bound to Start, and choose Restart Emulation Station. The games are now copied to the system, so you can unplug the USB drive and game on.
Emulation software generally doesn’t cause any legal issues, whereas the actual game files tend to be protected by copyright and trademark law. A good rule of thumb is that users can keep a digital backup of a game they physically own, but you’ll want to check local laws and statutes for accurate information on the legality of emulation and ROMs.
Playtime is fun time
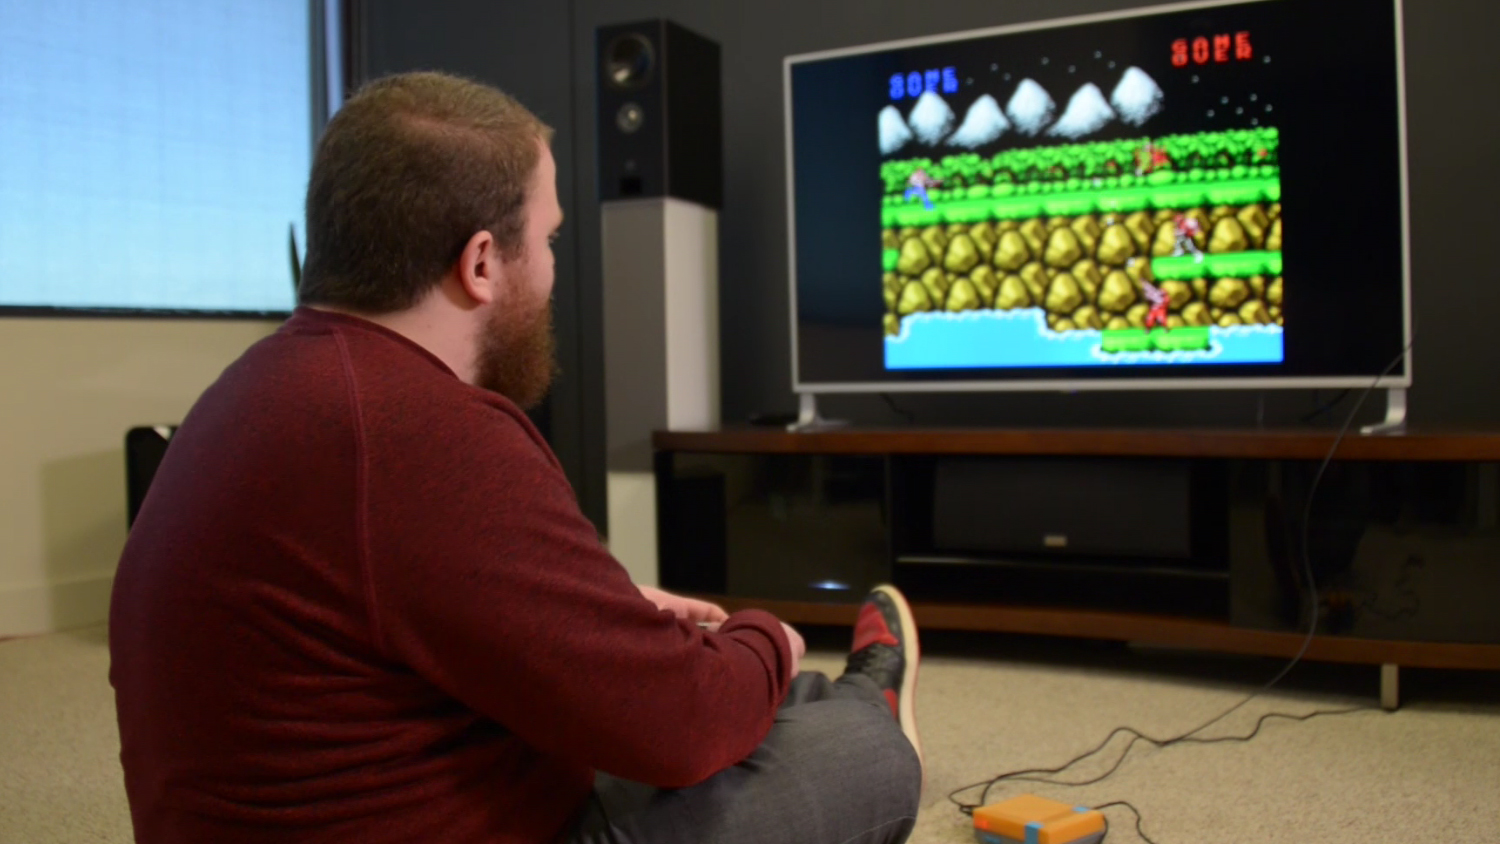
That’s all there is to it. RetroPie supports a wide array of older game systems, and users can add more if need be, assuming the Pi’s performance allows for it. That should easily cover NES and SNES games, and depending on cooling and power, may even include PSP or Dreamcast titles. We’ve selected our favorite emulators for each system, and many them are already included with the RetroPie installation described here.
The homebrew solution might cost slightly more than a NES Classic, depending on which parts are included, but the advantages over Nintendo’s now-discontinued offering are clear. Wireless controllers, a vast library of games, access to more systems, and a personal touch are all part of the package with a Raspberry Pi-based emulation system. With all that included, it seems more than worth an hour of assembly and a little extra legwork.