While DVD and Blu-ray dominate today’s world, VHS tapes ruled supreme in the ’80s and ’90s. It wasn’t uncommon for families to document birthday parties, holidays, sporting events, and other big moments in life with their handheld camcorder, recording the footage onto a trusty VHS tape. Unfortunately, playing those VHS tapes is challenging nowadays, as it’s unlikely that you still have your old VHS player (or that it’s even still in working condition).
That means you’ll need to look into converting your VHS tapes to DVD, Blu-ray, or digital formats to take a trip down memory lane. Even if you’re not interested in checking out the footage today, it makes sense to get the film converted – after all, those VHS tapes are slowly deteriorating, and if they go bad, all that footage will be forever lost.
Thankfully, there are plenty of ways to transfer your VHS tapes to other formats. Here’s a look at all your options, including DIY conversions and professional conversion services.
Disclaimer: It’s illegal to produce copies of commercial films and copyrighted content, but there are no restrictions on copying home videos.
Retail VHS-to-DVD conversion services

For those who’d rather forgo the technical hands-on process, many big-name retail corporations offer VHS-to-DVD (and in some cases VHS-to-digital) conversion services through their photo departments. Stores like Costco, CVS , Walmart, and Sam’s Club offer video conversion, and many of them use the same company for their conversion: YesVideo.
If you head to the YesVideo website, you’ll find conversion services starting from $30 per tape for the first two hours, and then an additional $33 for every two additional hours of converting. But the price you pay at Walmart or Target could be lower. These prices have been trending upward in recent years, so if you’ve been waiting to get your tapes converted, you might want to get on it.
Available transfer formats include everything from VHS to Betamax, and most services will allow you to transfer up to two tapes to a single DVD disc before charging you extra. Alternatively, there are a couple of great websites that offer the same service for a more affordable price if you feel comfortable shipping the VHS tapes yourself.
Companies like LegacyBox offer similar services. Simply mail your VHS tapes in, and they’ll provide you with DVDs, downloadable digital files, or a thumb drive filled with all of your memories, plus the original tapes in return. Prices start at $60 (they often have deals, though), which includes the conversion of two tapes. Have other analog media, like audio cassettes or 35mm slides? LegacyBox can digitize these, too.
Using a VHS-DVD combo or separate VCR and DVD burner
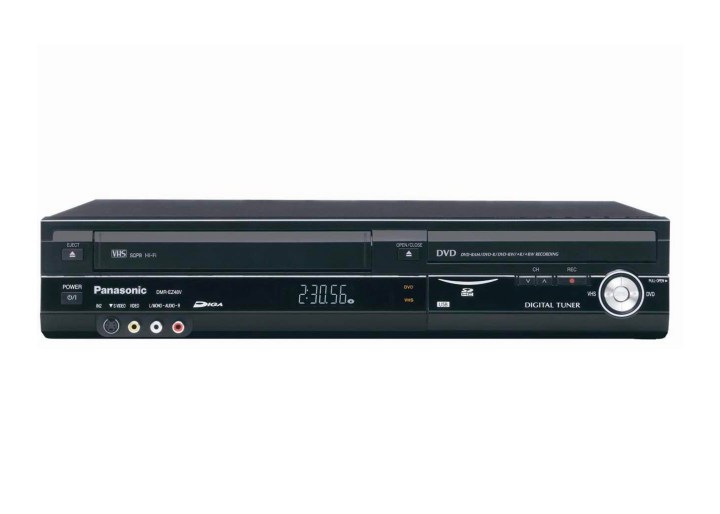
If you’ve got a ton of videos to transfer, you may want to take on the job yourself to save some cash. The best way to convert on your own is with a VHS-DVD combination player/recorder. Today, these are outdated and can be hard to find. You can find dinosaur models online if you look hard enough — try searching “combo deck” or “VHS DVD recorder” on sites like Amazon or eBay or even Craigslist — but these have gotten increasingly expensive over the years, some running upwards of $150 and up (and take forever to ship), worth it if you’ve got a sizeable tape collection.
You also can buy the items you’ll need piecemeal. If you don’t already have a VCR, you might be able to find one online for around $70 to $100, but again, it’s not the easiest task. With the last new VCRs rolling off the assembly line in 2016, used machines are likely your only option. You can try looking on Amazon , but you may need to resort to eBay or even your local Craigslist, though we recommend caution if you go those routes — always make sure your eBay seller has high review scores before proceeding. Then you’ll need a stand-alone DVD recorder, which can also be a challenge to find these days. Securing one will likely require the same methods outlined above.
Once you’ve got the goods, you can hook up the DVD recorder to the VCR by plugging a set of RCA audio/video cables from the VCR’s RCA outputs to the DVD recorder’s RCA inputs. On some models, you might need an RCA-to-HDMI converter to connect the two. This is essentially the same process you’ll need to use if you’re using a VHS camcorder as your playback device — simply connect the camera’s outputs to the DVD recorder via the RCA cables or, if necessary, the RCA-to-HDMI converter we just mentioned. With a combo player, of course, the process is simpler.
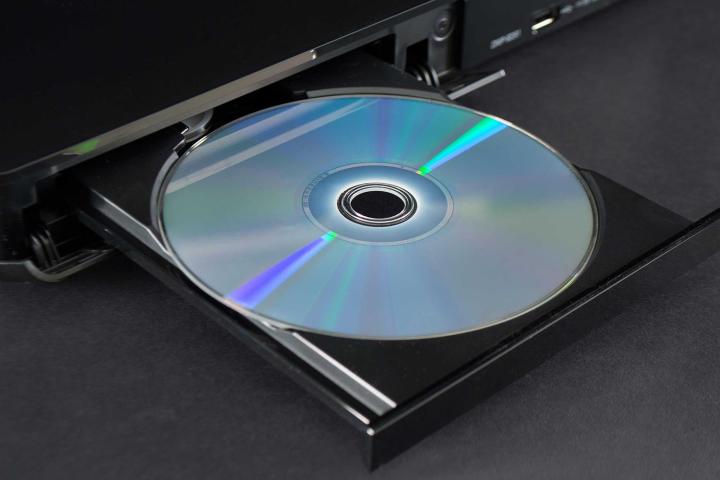
Next is the transfer process. Pop a tape into the VCR and a blank DVD+R or DVD+RW (some units only accept one of these formats, so double-check that) into the DVD player, then begin the transfer process. The method differs between models, but it should be relatively straightforward and generally involves starting the recording mode on the DVD recorder, followed by pressing play on your VCR or camcorder.
You may need to follow the manufacturer’s instructions, but most manuals can be found through a Google search if your components didn’t come with them. Keep in mind, most DVD recorders have two stages: Recording and finalizing. While in recording mode, you can keep adding footage to a single disc as long as you haven’t run out of storage capacity. Finalizing “locks in” the recordings and then makes the disc playable on any DVD player. Once finalized, a disc cannot be used for any further recordings.
Pro tip: It’s always smart to clean your equipment and the tapes you’ll be transferring. The efficacy of different cleaning methods is a point of contention, but the simplest way is to open the cassette’s protective door and carefully remove any visible dust or dirt using a soft cloth or cotton swab. You might also consider cleaning your VCR’s heads by using a VHS head cleaner.
Transferring to DVD, Blu-ray, or digital file on Windows and Mac
This process is more involved and requires a few additional materials, but it has its benefits. Specifically, you’ll be able to transfer your tapes directly from a VCR into digital files as opposed to another physical format, allowing you to preserve them on a hard drive, USB drive, or even in the cloud. You can then copy and save the files wherever you’d like and transfer them to DVDs or Blu-rays.
Assuming you’ve already got a VCR, the first step is to buy an analog-to-digital converter if you don’t have access to one. There are many models out there that are made for both Mac and Windows computers, so be sure to choose the one for yours. These small devices are called “cards” because the original version was indeed a card that needed to be inserted into a computer, but these days they’re all plug-and-play USB dongles.
Digitizing
Once you’ve got one, connect the analog-to-digital converter to your computer and your VCR or camera. Most adapters come with software that walks you through the entire transfer process, including importing the resulting footage into a more comprehensive video editor or burning it straight to DVD. Refer to the installation disc, instruction manual, or manufacturer’s website for more information on installing the software and downloading the necessary drivers.
As with the previous method, we suggest giving your tape and VCR a look-over to make sure each is clean. Particles on the tape can cause blemishes in the video during the transfer, while dirty heads can ruin the entire project.
Now for the main event. Insert the tape into your VCR, and a blank DVD or Blu-ray into your computer (or external player/burner ). The exact steps for conversion vary depending on which device and software you’re using for video capture. Digitizing will happen in real-time, meaning you’ll have to painstakingly sit through the entire length of footage (or go do something else for a while) before you can finish up the project. Once it’s done, however, the contents will be forever preserved in digital format.
You have the alternative option of employing a direct digital converter , which digitizes the VHS content onto an SD card, without the need for a computer. You can then insert the SD card into any device for viewing. Be aware, though — you might need extra cables and a bigger SD card (try 64GB).
Burning
At this point, if all you wanted was the digital file, you’re done; you can edit, move, and name the file as you want. If you’re planning on burning the file to a DVD or Blu-ray disc, you’ve got another step to go. Most conversion software will have an option for burning a DVD or Blu-ray upon completion of digitizing the footage.

If not, locate the resulting file on your computer and open it in iMovie, Windows Movie Maker, VLC, or a similar program that can burn your footage to DVD. You can also use these programs to edit the length of your videos. The burning process will vary depending on what software you choose, so consult instructions for further clarification.
VHS to Blu-ray
To convert old VHS to Blu-ray using a PC, you’ll need a computer with a Blu-ray writable drive and the appropriate third-party software. You’ll need an external drive if your PC doesn’t have one built-in. As far as software goes, we recommend the budget-friendly (free), albeit outdated, program ImgBurn for Windows users. If you want to pay for a better, more modern alternative, we recommend either Opencloner or BurnAware. Leawo Blu-ray Creator is the best and most user-friendly option for Macs.
Other than these differences, the process is the same as we described above for creating DVDs on your computer.
Quality in, quality out
Keep in mind, just because you’re transferring your antiquated VHS tapes to a more modern, digital format, you likely won’t see any appreciable improvement in image quality. The digitizing and burning processes rarely involve any tech wizardry that can create detail that has been lost to deterioration of time or that was never there in the first place. After all, VHS tapes are from the days of 3:4 ratio NTSC video, and you’ll probably end up watching the converted footage on a flatscreen TV with at least 1080p resolution, if not a 4K TV, which will likely make all of the grainy imperfections more noticeable, not less.
Still, as long as you set your expectations accordingly, you’ll have given your most precious memories a new lease on life — one that will hopefully keep them going for at least another 20 years.
What about digital videotapes?
If you’re sitting on a collection of Digital 8, miniDV, or the short-lived D-VHS, you’re probably wondering what can be done to make these recordings more easily viewable. Like their analog cousins, these formats will also degrade over time, so don’t let the word “digital” lull you into a false sense of security.
Unfortunately, if you want to preserve that digital information (without converting it to analog first), you’ll need some very specific products.
- A Digital 8, miniDV, or D-VHS camcorder or cassette deck for playback (if you still own the one you used to film, that’s probably your best option)
- An IEEE 1394 cable (also known as FireWire or i.Link)
- A computer that has an IEEE 1394 input (most older Macs and some PCs have this built-in)
- If your Windows computer can take additional cards, you can buy an IEEE 1394 PCIe card for very little money
Pro Tip No.1: Don’t buy one of the so-called IEEE 1394-to-USB adapters you’ll find by the truckload on Amazon, as they won’t work for transferring digital video from a camcorder to a computer.
Pro Tip No.2: There are several versions of IEEE 1394, including FireWire 400 and 800. Make sure the cable you buy matches the version on your computer, otherwise, you’ll end up having to buy an adapter too.
Once you have your gear collected, connect the camcorder to the computer using the IEEE 1394 cable and follow the instructions that came with your camcorder. Once the tapes have been transferred, they will be in uncompressed digital video files, which can be huge. Using a program like Handbrake, you’ll be able to compress them with virtually no loss of quality but with significantly smaller file sizes.
However, if you choose to burn them to DVD or Blu-ray, it’s best to use uncompressed video files.
Editors' Recommendations
- The best Blu-ray players for 2024
- How much is Spotify Premium, and can you get it for free?
- How much is Apple Music, and how can you get it for free?
- Ultra HD Blu-ray: Everything you need to know
- These are the best 4K Ultra HD Blu-rays to show off your home theater