
How to create a camera timer on your iPhone

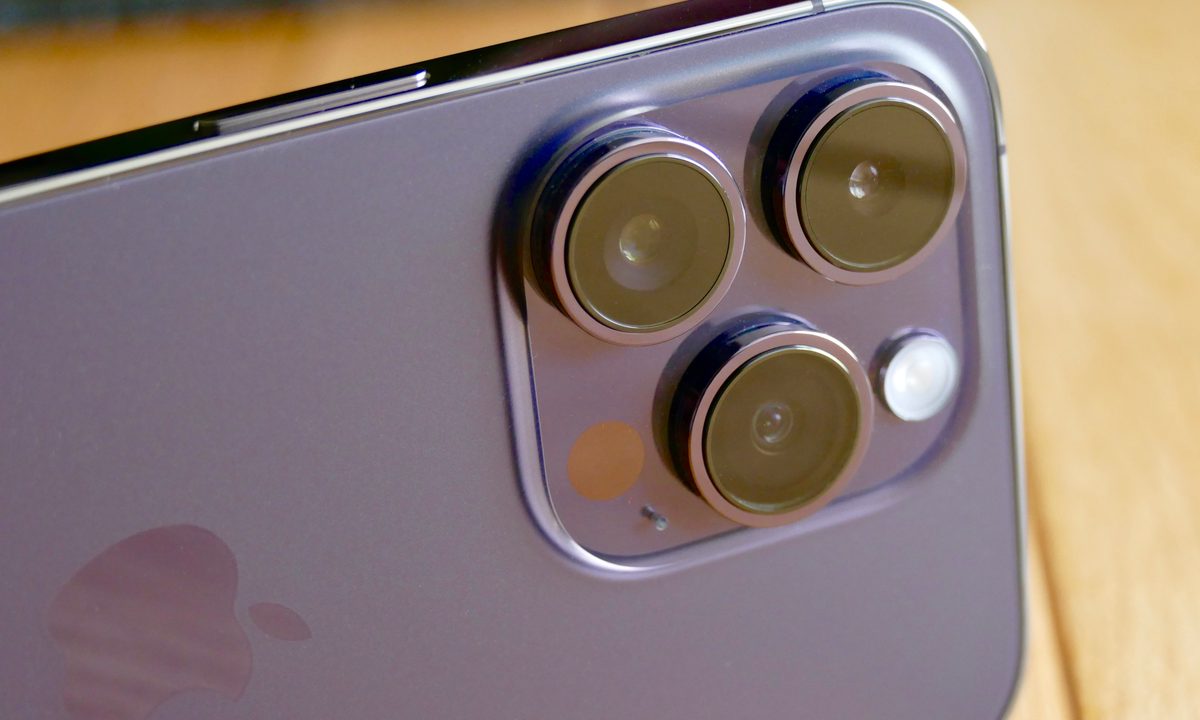
One of the best reasons to have an iPhone is because of the camera. After all, the iPhone 14 Pro is equipped with a mighty fine 48MP main camera, 12MP ultrawide camera, and 12MP telephoto camera. There’s even a 12MP front-facing selfie camera, with the capability to capture wide shots — which comes in handy with big group selfies.

Difficulty

Easy

Duration

5 minutes

What You Need

  • An iPhone

  • The camera app

And it’s not just Apple’s powerful hardware that makes mobile photography a joy. The camera app on iOS 16 is packed with a lot of features — such as Photographic Styles, Portrait mode, panoramas, cinematic video, ProRAW, and so much more. But have you ever wanted to capture a photo of yourself and others, but no one else can help you take the picture? Or maybe you just want to take a photo of yourself that isn’t a selfie, but no one’s around to take that photo for you.

Thankfully, the iPhone’s camera app does have a timer function, but it is tucked away, and Apple doesn’t make it very easy to find. Lucky for you, we’re going to show you how to easily turn on the camera timer on your iPhone, so you can always capture a photo with yourself in it.

The camera module on the iPhone 14 Pro.
Andy Boxall/Digital Trends

How to turn on the camera timer on your iPhone

Apple has a camera timer functionality, but it’s a little hidden, so you may not have known about its existence. But here’s how to access it, and it works for both the rear-facing and front-facing cameras on your current iPhone.

Step 1: Launch the camera app on your iPhone.

Step 2: Make sure the camera you want to use is selected. The timer works on all of the rear cameras (main, ultrawide, and telephoto), as well as the front-facing selfie camera.

Step 3: Either select the arrow button at the top of the camera screen or swipe up on the viewfinder to bring up a hidden settings menu.

Step 4: Select the timer function. The icon looks like a circle with a needle pointing in the 11 o’clock position.

Step 5: Select 3s or 10s, or keep it on Timer Off if you change your mind. The timer can be set for three seconds or 10 seconds.

Set camera timer in iOS Camera app by launching Camera, tap arrow at top or swipe up from above shutter button, tap timer, choose 3 seconds or 10 seconds
Christine Romero-Chan / Digital Trends

Step 6: Position your photo as you want it.

Step 7: Press the shutter button. Now, a countdown will show up on the screen, and the LED on the back will flash with the countdownto make everyone in the shot aware of when the picture will be captured.

When you use the camera timer, the camera app will take a burst of 10 photos in case there is any movement during the shot. You can tap the thumbnail in the bottom-left corner, tap Select, and then go through the images to pick your favorite. As you save the favorite(s), you can also choose to keep everything or only keep the favorites to delete duplicates and clutter.

Editors' Recommendations

Christine Romero-Chan
Christine Romero-Chan has been writing about technology, specifically Apple, for over a decade. She graduated from California…
This one Apple Fitness feature completely changed how I exercise
Someone holding an iPhone with the Apple Fitness app open, showing the Custom Plans feature.

I have a confession to make: I'm not good at sticking to a workout routine. I love running, high-intensity interval training (HIIT), strength training, etc. In the moment of those exercises and in the post-workout euphoria, I feel amazing. But when it comes to waking up early in the morning to do these things before work? Well, that's where I really struggle.

This has been a problem for a while now. I go to bed with the goal of waking up early and going to the gym, but as I groggily open my eyes to snooze the alarm on my iPhone 15 Pro Max, I end up falling back asleep. And I've been repeating this over and over and over again.

Read more
Best refurbished iPhone deals: Get an iPhone 14 for $513
An iPhone 13 in white color option.

The Apple iPhone is one of the best phones on the market, and because of it they don’t often come cheap. There are some great iPhone deals out there, but it’s rare to find significant discounts on newer models without having to commit to a longterm contract with a carrier, and it’s even less frequent you come across one of the best iPhones with a major price drop. This is where shopping refurbished can come in handy. Refurbished iPhones — for the most part — will come backed with a functionality guarantee or extended return window, making refurbished iPhones as safe of a purchase as shopping new. There are a lot of refurbished iPhone models seeing great price drops right now, which is why we’ve done the heavy lifting of rounding up all of the best refurbished iPhone deals. You’ll find them below, as well as some information on which refurbished iPhone might be best for you.
iPhone XR -- from $136

A refurbished model but one that's unlocked and comes with a full one-year warranty, the Apple iPhone XR is still pretty stylish for its age. It has a large 6.1-inch LCD screen with 1,792 x 828 resolution with Liquid Retina technology ensuring it looks super sharp. Powered by the A12 Bionic chip, it's starting to show its age but still has potential. There's also a 12MP back camera that can shoot 4K videos while the front-facing camera is 7MP and ideal for selfie-taking.

Read more
AirTags range: here’s how far the tracker can reach
An AirTag attached on a keyring

Apple AirTags are a helpful tool for tracking valuable possessions like wallets, keys, luggage, and backpacks. These tags employ various technologies that allow you to track your items from short and long distances using your compatible Apple device, such as an iPhone 15 Plus. You might wonder how far you can track your items with AirTags. It's time to find out.
AirTags range, explained

The range of AirTags varies depending on the method you use to locate them. A Bluetooth connection will work when your AirTags are close to your supported Apple device. Otherwise, Apple's Find My network is utilized. Luckily, you don't have to choose the method because it's selected behind the scenes automatically.

Read more