
Clicking on a touchpad or mouse seems natural to all computer users. Mac users have now seen the introduction of the trackpad and Apple Magic mouse. Both of which don’t offer the traditional left and right-click buttons.
If you are experiencing difficulty or are new to the Mac way, this guide is for you. The use of visuals and descriptions will get you clicking efficiently again. Continue reading and get clicking easily again.
MacBook trackpad

Let’s start with the most common (and confusing) method of clicking: The MacBook’s trackpad. The multi-touch trackpad is sensitive, but it doesn’t include any obvious tells or buttons for left/right-clicking, which can confuse Mac newbies. What’s worse, sometimes the rules change for newer MacBooks.
Fortunately, there are a few easy ways to right-click no matter your preferences. All of these techniques also work for Apple’s Magic Trackpad, which is nearly identical to the MacBook version.
Using key commands
The first option is the easiest to use, especially if you’re coming from Windows. Just press the Control key, and tap or click anywhere on the trackpad. The control key can be found on the bottom left corner of the MacBook keyboard, sandwiched between the function and option keys.
As long as it’s held down, the control key switches the trackpad to right-click mode, so just keep your finger pressed to keep right-clicking.
Two-finger click
Next is the one MacBook users use most, due to its ease of access. Because there are no individual buttons on a MacBook trackpad, you’ll need to perform a two-finger click to access right-click functionality. With your index finger resting on the center of the trackpad, click down with your middle finger. It works with other fingers, but this combination is the most accurate and consistent. Once clicked, it should bring up your right-click options immediately, regardless of where on the trackpad you click.
If it isn’t working, you’ll probably need to do some adjusting in System Preferences, which we explain below.
How to change preferences
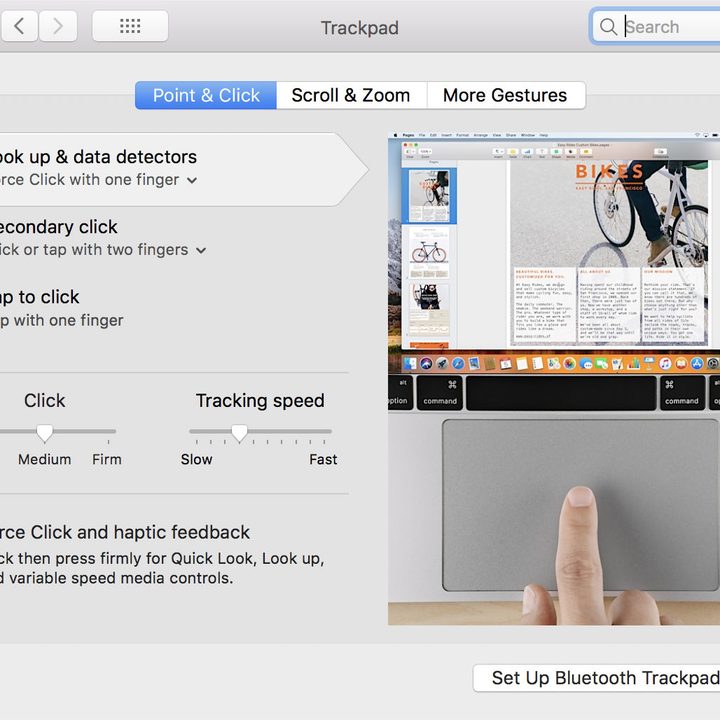
Step 1: Head over to our friend System Preferences, which should be in your menu bar. This time, look for Trackpad, which should be right by the Mouse option. Select it and may sure that you are in the Point & Click tab.
Step 2: Look for Secondary click, and make sure that it is selected. Then choose the dropdown menu and take a look at your options.
Step 3: You should see an option for tapping on the trackpad with two fingers, or tapping on the right/left lower sides to start a right-click. We’re fans of the two-finger approach, which is easy to learn and avoids those problematic times when you accidentally brush against the bottom of the trackpad to start a random right-click. However, feel free to experiment with all options to see which one you like the most.
Note: Newer Macs from 2015 or afterward use what Apple calls the “Force Touch” trackpad. This allows you to open new options based on how hard you press on the trackpad. That includes a Force Click, which happens when you press down firmly with one finger, and this may seem like a natural option for right-clicking.
However, Apple prefers to reserve the Force Click for other features, like previews and editing options. What Force Click does varies by app. It can never fully take the place of a right-click function, but we suggest you look at its features to see if you can use it to supplement other activities and make your work easier.
On the Apple Magic Mouse

Like the trackpad, the Apple mouse isn’t clearly divided into separate click zones and sometimes doesn’t support right-clicking out of the box, which can be frustrating. If you’re a little bewildered by the Apple mouse rules, don’t worry! There are customization options to set the mouse how you prefer it. Let’s look at your options.
Key commands
Like with the trackpad, just press the Control key, and then click your mouse with one finger. This is usually the default method of right-clicking with an Apple mouse. The Control key, when held down, switches the mouse to right-click mode. We know that this sounds a little weird, but some people actually prefer this approach.
Try using this option for a little while and see what you think.
Changing preferences
You can customize your mouse to respond a certain way to match your past habits instead if you prefer. These are found in a different menu than the trackpad settings, so follow these steps:
Step 1: Head to System Preferences in the menu bar, and then select Mouse. For the average Apple mouse, this should open up a window with two tabs. Make sure you are in the Point & Click tab and look for an option that says Secondary Click. This option should be check-marked.
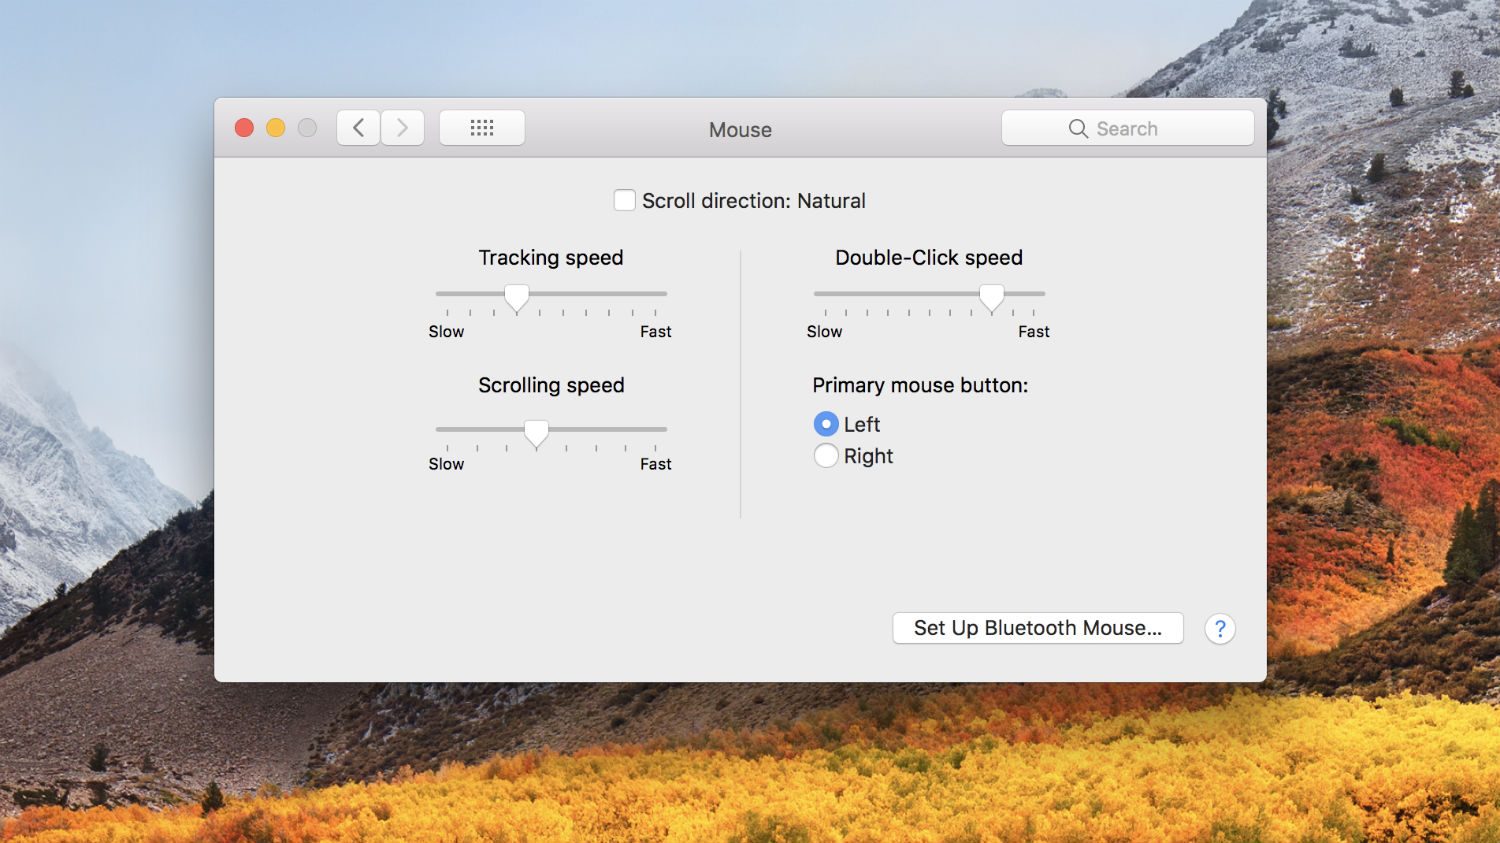
Step 2: There is a dropdown immediately below that selection that allows you to set the secondary click to the right or left side of the mouse. You probably want to choose the right side — Apple has little videos that show you what the current effects are if this gets confusing.
Step 3: When done, exit out and experiment with your mouse!
Unfortunately, there’s no option to directly control the sensitivity of these left/right clicks. We suggest you experiment a little and see if the Apple mouse is working for you or if you need to consider a replacement. After all, there are plenty of alternatives if you want to look outside of Apple hardware.
Now that you’re familiar with your Mac’s system preferences, consider using these tips to speed up your Mac as a whole.


