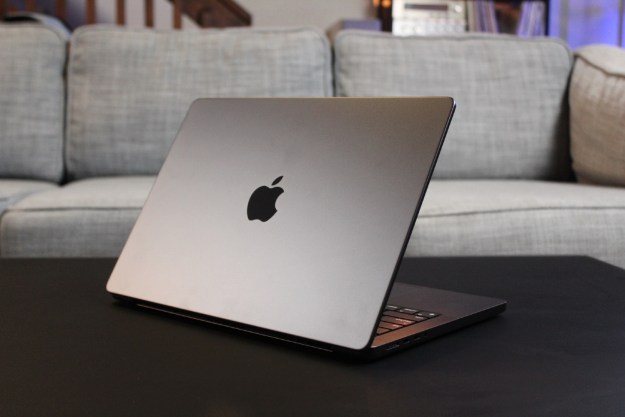
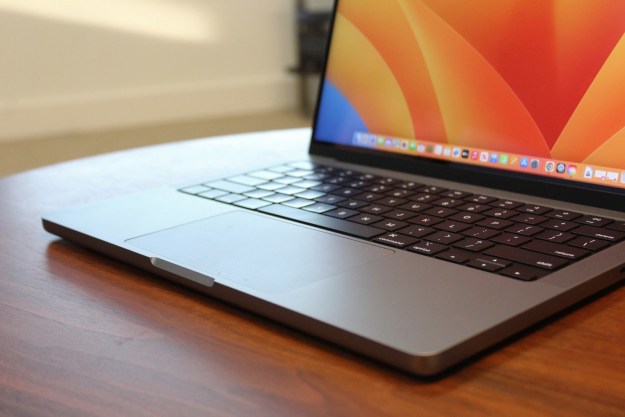
Apple’s macOS Sonoma has brought a bunch of interesting new features for Mac users, and desktop widgets are among the most useful. As the name implies, you can now drag and drop widgets right onto your desktop, giving you quick access to to-do lists, local weather forecasts, smart home controls, and much more. Here, we’ll show you how to use them.
The best part of macOS Sonoma widgets is their interactivity. Now, there’s no need to open a widget in order to use its associated app. Instead, you can just tick off your reminders or play music right from your desktop, just by interacting with your widgets. It’s a great time-saver and works with a range of widgets, including those made by Apple and by third-party developers.
Widgets are now housed in the new widget gallery, which you can access by right-clicking your desktop and choosing Edit Widgets. You also don’t need to have the widget installed on your Mac for it to run, as it will be available if it’s on your iPhone (provided it’s running iOS 17 or later). Just make sure that both devices are using the same Apple ID and Wi-Fi network, and that the iPhone is near your Mac.
In this guide, we’ll show you how to place widgets on your desktop, how to interact with them, and how to change their settings in just a few clicks. Once you’ve mastered this feature, you’ll have a great new way to use macOS Sonoma to get things done.
Add widgets to the desktop
Step 1: To add a widget to your desktop, you first need to open the widget gallery by right-clicking your desktop and selecting Edit Widgets. Or open the Notification Center and choose Edit Widgets at the bottom of the window.

Step 2: This hides your open windows and brings up the widget gallery, which houses all your available widgets.
Step 3: To add a widget, pick an app name in the left-hand sidebar and drag a widget onto your desktop.
Step 4: You can place your first widget wherever you like. For subsequent widgets, you’ll see an alignment box appear as you move the second widget close to the first one. This helps you snap your widgets neatly together.

Step 5: If there are any files or folders on a spot that you want to drag a widget onto, they will wrap around your widget as you place it on your desktop.
Step 6: In addition to the desktop, you can also move widgets from the widget gallery into the Notification Center.
Step 7: Once you’ve finished dragging widgets onto your desktop, choose the Done button in the widget gallery, or simply click your desktop or Dock.
Interact with your widgets
Step 1: Some widgets can be interacted with on your desktop without having to open the app they belong to.
Step 2: For example, place a widget from the Podcasts app onto your desktop. You’ll note that you can play and pause podcasts right from the widget, without having to open the Podcasts app to access these controls. Or try adding a Reminders widget -- and it’ll let you tick off your tasks from your desktop.

Step 3: If you hit an area of the widget that is not interactive -- such as its background, for example -- the app itself will launch.
Step 4: If you select a noninteractive area of a widget whose app is installed on your iPhone but not on your Mac, you will see the message “Open [app name] on your iPhone to continue.”
Edit widget settings
Step 1: Once a widget is in place on your desktop, there are various ways you can tweak it to your needs.
Step 2: To resize a widget, right click it and choose a size from the context menu that appears.

Step 3: Similarly, to remove a widget, you just need to right-click it and select Remove Widget in the menu. Alternatively, you can open the widget gallery and click the - button in the widget’s top-left corner.
Step 4: Some widgets have settings that can be edited (although you can’t do this for every widget). For widgets that can be tweaked, right-click the widget, then select “Edit [app name].” This will bring up a settings window. For example, in the Weather app’s widget, you can change the location used for weather results.
Step 5: If you open the System Settings app and pick Desktop & Dock in the sidebar, you’ll see some more options under the Widgets heading. For example, you can change whether widgets fade out when you are using another app. Or you cab set widgets to disappear until you hide other windows and show your desktop. You can also disable iPhone widgets when you’re using your Mac.

Interactive widgets are a handy addition to macOS Sonoma and should save you plenty of time and clicks in the long run. Place a couple of your favorite widgets on your desktop and you’ll find it much easier to get things done than it has been in the past.
Editors' Recommendations
- How to delete messages on your Mac
- How to type an em dash on a Mac
- How to find a Wi-Fi password on Mac
- Does your Mac need antivirus software in 2024? We asked the experts
- These 6 tweaks take MacBooks from great to nearly perfect


