
When your computer first starts up, it uses the BIOS (or UEFI in more-modern PCs) to find out everything about itself, from the components its running, to the voltages they should receive. Although you rarely need to access the BIOS, it can be useful for changing the way your system works, or updating it when you install a new component.
If you haven't delved into a PC BIOS before, or if you just want a refresher, here's what a BIOS is, how to access it, and how to make changes to it.

What is the BIOS?
The BIOS, or basic-input-output-system, is the firmware that loads when a PC first starts up. Although today it's technically known as the unified extensible firmware interface, or UEFI, BIOS is still the colloquially used terminology and is interchangeable in both this guide and in most conversation.
The UEFI is a more modern version of a BIOS, adding mouse input and a nicer user interface, but they are largely the same. They provide the basic building blocks of how a computer functions and an interface for you to interact with to make fundamental changes to how it works.
Both include options for changing what drives to boot from, what security measures are in place, what speed the processor should run at, what voltage the memory needs, and what the system time and date are, among a range of other options. Most of these can be tweaked and adjusted on more advanced motherboards, though more bespoke systems, like Microsoft's Surface range of devices, for example, include a more stripped-down BIOS that restricts the options you can alter.
A BIOS can (and arguably, should) be updated at least once a year to ensure it has the latest stability adjustments, bug fixes, and feature upgrades.
How to access the BIOS
You can access the BIOS in a couple of different ways, but the most straightforward is through its bespoke key command during startup.
Step 1: Turn your PC on, and immediately start tapping its custom BIOS startup key. This can differ depending on your PC or motherboard manufacturer, but is typically either the Delete key or one of the function keys. F2 is particularly common, but some Sony laptops use F3, some Lenovo PCs use F1, and Dell often uses F12 — but it can differ from PC to PC.
If you don't know your function key, check the screen during startup as it will often tell you. Alternatively, check your motherboard or PC manual or manufacturer's website for more details.
Whatever the key is, keep tapping it about once a second until you enter the BIOS. It shouldn't take more than a few seconds, but depending on how fast your PC starts up it could take upward of 10 seconds, so be patient. If you end up booting to Windows, either you're pressing the wrong key, didn't press it fast enough, or your command isn't being registered by the keyboard or PC.

Step 2: An alternative method for accessing the BIOS is to use the Windows startup menu.
Use the Windows search to look for "Recovery," and select Recovery options from the list. Then select Restart and wait for your PC to boot to the Advanced startup options menu.
Then select Troubleshoot followed by Advanced options > UEFI Firmware Settings > Restart. You will then reboot into the BIOS with no key presses required.


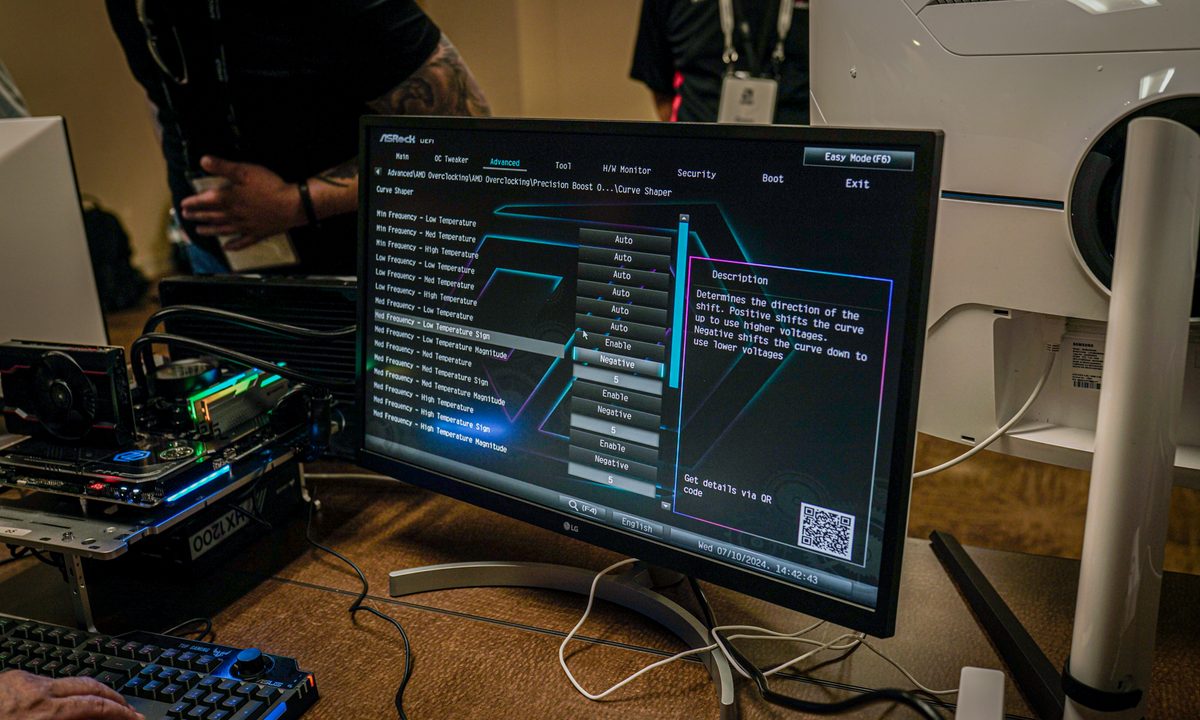
How to overclock using the BIOS
Although there are a number of Windows-based overclocking tools you can use, you can also use the BIOS to overclock your processor and RAM. This can give you much more granular control over the process, although it's a little more complicated and there is greater potential for you to make mistakes that cause a system crash or make it unable to boot (don't worry if you do, you can always just reset your BIOS).
Overclocking in the BIOS can get a bit complicated, though, so we've got specific guides to help you out.
Here's how to overclock your processor, how to overclock your RAM, and what to do if something goes wrong.

How to change boot options in the BIOS
As you can see with this Asus UEFI menu, it's possible to change boot order and boot priority options. This can be useful if you want to make sure UEFI drivers or other specific components are prioritized. That can help you optimize boot speeds, boot a new configuration from a storage device, and more.
Your BIOS options will likely be different, but use the available settings to adjust boot priority to the drive or external media that you want to boot first.

How to adjust fan settings in the BIOS
The CPU/Memory section of this Asus UEFI can constantly show the current processor temperature for easy monitoring. If you'd like to take more direct control of the cooling process, you can also select F3 to open a shortcut menu and then go to Fan Controls.
Fan options allow you to control things like step up and step down limits to control how fans react to PC activity. In the case of very efficient cooling systems, you can even adjust these limits down to help reduce fan noise.
In some BIOS you can set detailed fan curves, but you may be restricted to simply setting a fan profile.
How to update the BIOS
Updating the BIOS is much easier than it used to be. Usually a modern UEFI will have menu somewhere in Tools or Advanced options, where you can use a "Flash" tool to update the firmware to the latest version. You'll need to download the files first, though, and put them on some kind of external media device that the BIOS can read.
For more details, check out our guide on how to update your BIOS.


