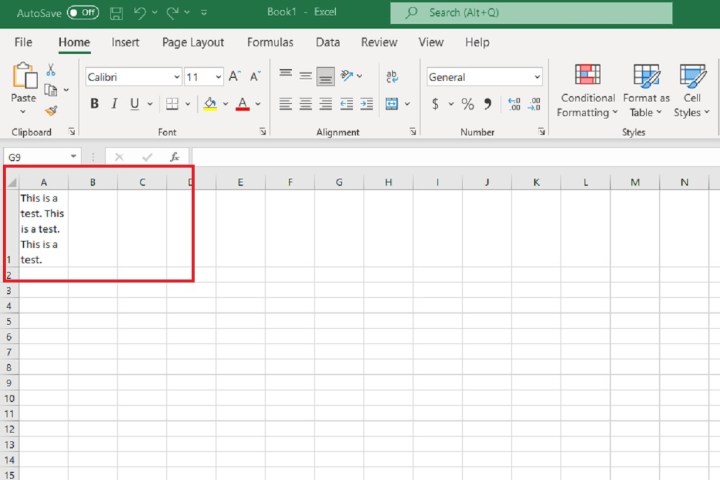
Microsoft Excel may be a productivity app that emphasizes numbers, but it has useful tools for text as well. For instance, that handy spreadsheet app will let you wrap text. And getting it done is a breeze. In this guide, we'll show you how to wrap text in Excel in two ways: Manually and automatically.
How to wrap text in Excel using line breaks
Step 1: Go to the cell where you want to add the line break and double-click on it.

Step 2: Within that same cell, go to where you want to insert the line break, then click on that area.
Step 3: Then press Alt + Enter on your keyboard. A new line in that cell should immediately appear.

How to wrap text in Excel using the Wrap Text formatting button
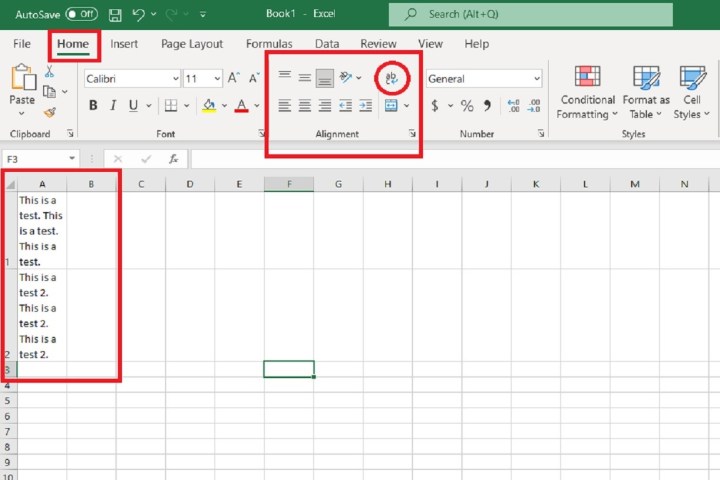
Step 1: Select the cells where you'd like the text to be wrapped. Then navigate to the Home tab of the ribbon menu at the top of the screen.

Step 2: Look at the Alignment section of the Home tab and select the Wrap Text button. (The button has the "ab" on the top row and the letter "c" on the bottom row with a blue arrow between them that points toward the "c".)
This should automatically wrap the text in your selected cells.
Step 3: Alternatively: You can use a keyboard shortcut to automatically wrap text in Excel. To do so: Select your desired cells and then press Alt + H + W on your keyboard.
Don't forget to adjust your cell sizes
You may need to adjust the size of these cells to see the newly wrapped text better.
To do so: Mouse over their respective column and row borders until you see a black double arrow symbol. Then click and drag those borders until you've reached your desired cell sizes.
Editors' Recommendations
- How to keep your Microsoft Teams status active
- How to change margins in Google Docs
- How to delete or hide chats in Microsoft Teams
- How to do a hanging indent in Microsoft Word
- The most common Microsoft Teams problems and how to fix them


