
Don’t let the cute and friendly artstyle fool you, Bravely Default 2 is anything but a simple JRPG. If you never played the original Bravely Default, or Bravely Second, the mechanics of this oddly titled series can be quite a challenge to get a grasp on. Even hardcore fans of the genre may find the systems this game introduces overly complex, especially since it doesn’t bother to hold your hand all that much. However, once you do get a handle on everything the game has to offer, it will all become immensely satisfying.
The early hours of Bravely Default 2 don’t pull any punches, but with a few tips and tricks you can overcome those initial hurdles and fully enjoy this unique JRPG experience. Despite being a sequel, this game has no narrative ties to the first game, so there are plenty of new people jumping in for the first time. If the terms “braving” and “defaulting” don’t mean anything to you, then this beginner’s guide will tell you everything you need to know.
Further Reading
Check the settings
Right off the bat you will want to go into the game’s settings and take a look at some of the options you can tweak. There are some great quality-of-life changes here you can make to just smooth out some of the old JRPG holdovers that don’t really need to exist anymore. For example, the first one we recommend tinkering with is your walking speed. Upon starting the game this will be set to walk, but you can change the setting to run instead. There is going to be a lot of running around in Bravely Default 2, and when your movement speed is set to walk by default you will have to hold the B button to run. Switch this over so your character moves at max speed all the time.
This wouldn’t be a true JRPG without tons of conversations and cutscenes. While the game does have voice acting, you will likely read faster than the actors can deliver the lines. If you would rather go at your own pace, crank up the text speed to fast. While you’re at it, you also can remove the button prompts from showing up during cutscenes for more immersion. Don’t worry, though, even though the prompts are gone you can still press L to skip dialogue or R to skip the entire scene if you want.
Last, and this one is up to personal preference, is to choose whether your characters will wear outfits that match their current job during cutscenes. There are a lot of jobs in Bravely Default 2, and you can swap them out basically all the time, so if you’d rather your characters have some consistency during story moments, you may want to switch this off.
Refer to your Travelogue
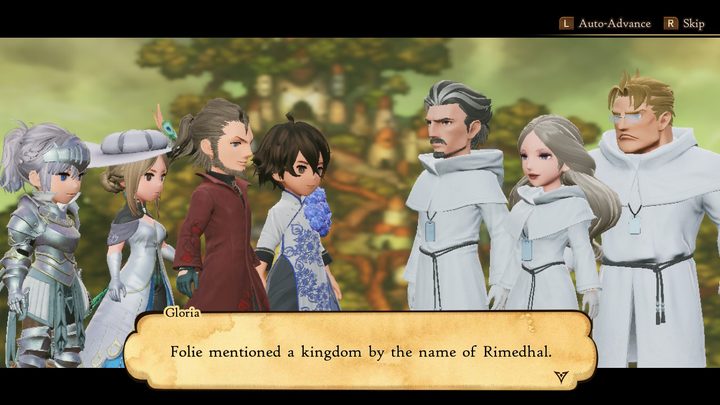
The Travelogue will be one of your most valuable assets in Bravely Default 2. This is where you can refresh yourself on tutorials, quests or objectives you’re working on, review any events or party chats that happened, and more. The Travelogue is a huge asset, especially if you take a break from the game and need a quick way to familiarize yourself with the plot or systems again.
Cut the grass for items
Ever since the Zelda series trained us to cut grass for money and items, it has become almost mandatory for games that allow you to slash at tall grass to result in some reward. Bravely Default 2 is no exception. Early in the game especially you will need every bit of loot you can get your hands on, and while tall grass won’t hide anything amazing, the drops and disposable weapons you do find can make those early battles much easier. And anything you don’t have a use for can be sold to get some extra spending money on better equipment.
Also, be stingy here. Don’t waste any items, especially rare and valuable ones like a Phoenix Down when you can make it to an inn and fully recover your entire party’s HP and MP. Tents, which are consumable items that act like inns, also are way more efficient to use than a bunch of potions and ethers while in the field or at a save point.
Learn the subtleties of battle
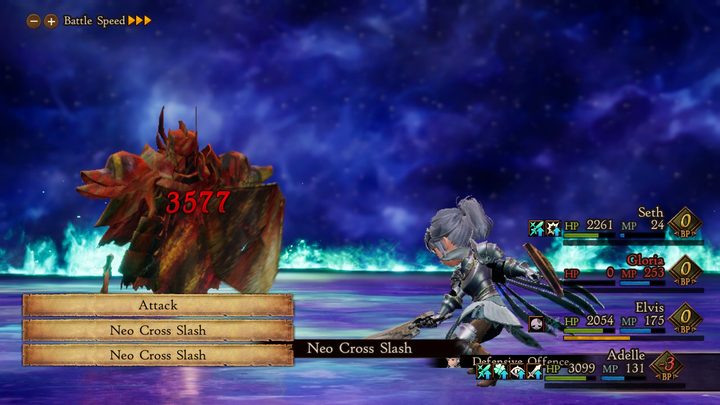
Bravely and Default are more than just two random words slapped together to make this game’s title. They are actually the most unique and differentiating mechanic this JRPG brings to the table, and learning to maximize this system is key to overcoming the more difficult encounters that the game eventually will throw at you. When you choose to default in combat, that builds that character’s Brave Points, or BP. Using Brave will spend four BP to attack four times in one turn. However, you can spend more BP than you have built up and go into the negative, which will force that character to skip their turn until they get back to zero.
If an enemy is low level, or has low enough health, there’s no downside to going right for the brave option. Just make sure you win in that round or you’ll be vulnerable, of course. It’s also helpful to know that in fights with multiple enemies, if you defeat one enemy while braving before the last hit, any remaining attacks you set will carry over to the next enemy to the right. For longer fights, start out defaulting to build up BP and avoid letting the enemy get free turns on you.
You can give yourself a nice BP boost and start with one rather than zero if you manage to get a preemptive strike on the overworld. Hitting Y is good for more than just cutting grass, as striking an enemy to begin the battle will make your team “feel brave” and start with an extra BP right off the bat.
Until you learn what all the enemies are strong and weak to, make sure you examine them with a magnifying glass or the examine skill to get readout on their HP and what works best against them. You can buy magnifying glasses at shops, but the freelance job comes with the examine skill so you shouldn’t need to buy them very often. Once you’ve examined an enemy you can see their stats for free whenever you fight them by selecting Battle Info.
Make sure you’re fully equipped
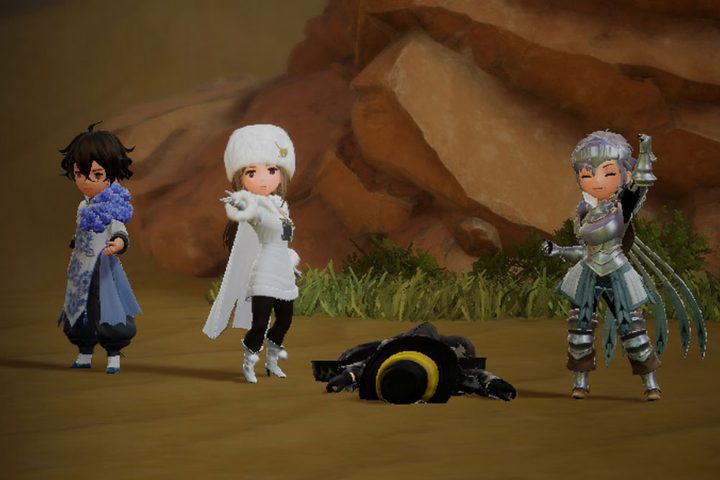
Any JRPG player is familiar with equipment and how important it is to improving your characters. In Bravely Default 2, accessories are even more powerful than they might seem. Not only are they inexpensive and give plenty of bonus stats and effects, but each character can hold two of them. There’s never any downside to filling both slots on each character, and in fact it’s a waste not to do so. You can experiment and combine different accessories to balance out your character, or just give them two of the same accessory to double the effect.
We won’t get too heavy into the job system in this guide — we have another one fully dedicated to that — but we will remind you to also keep on top of your passive abilities these jobs provide as you level them up. You have to manually go in and equip them to gain their effects; just unlocking them doesn’t apply them for you. To equip your passive abilities go into your menu and select the Abilities page. From here you can fill a total of five passive ability slots that relate to that character’s current job and sub-job.
Explore everywhere
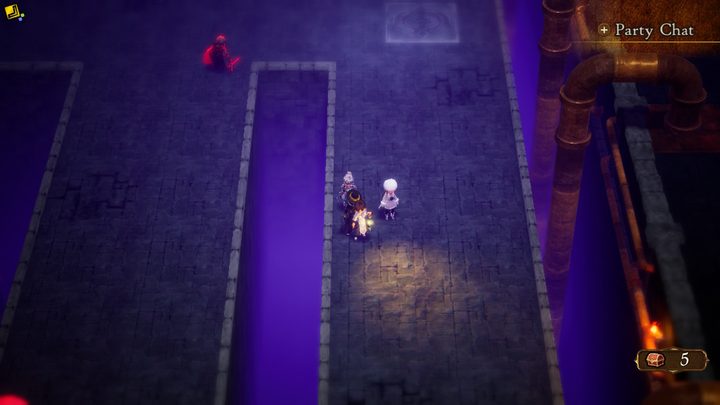
The world is full of dangers, sure, but also tons of treasures and important locations you will want to uncover as soon as possible. This goes double for dungeons. Don’t just try to make a straight shot for the boss, but take your time and check out all the nooks and side paths. Specifically, you are looking for blue teleport circles. Think of these as your mid-dungeon checkpoints. If you use one they will take you right back to the dungeon entrance so you can leave, refresh your HP and MP at an inn, maybe stock up on some items, and then head right back in to pick up where you left off, good as new.
You probably won’t miss the save points in dungeons, but they also are extremely useful to have. Saving is good enough on its own, for obvious reasons, but remember that you can use tents while at a save point to fully heal your party.
Outside of dungeons, make sure you talk to everyone you can in towns. Even if it isn’t your thing to go around speaking to every NPC, it’s definitely worth the trouble in Bravely Default 2 since there are plenty of characters that look totally unimportant that can give you a quest or item if you talk to them.
You even can explore when you’re not playing the game using the exploration feature. While your Switch is in rest mode, you still can earn new items in the down time. This is one of the earlier tutorials the game throws at you, but don’t forget about it and make sure to check in at the exploration headquarters in each town to collect any rewards waiting for you.
Travel safely
Random encounters easily can wear on you — whether that’s your patience, your party’s HP and MP, or both. Thankfully Bravely Default 2 gives you a few ways to mitigate, or outright eliminate, these pesky diversions.
The first option is to use an item called a Ward Light. Using one out in the field will make the random monsters notice you less as you travel. They’re nice to have as a fail-safe if you find yourself low on health and don’t want to risk some random mob catching you and wiping your party.
Speaking of random mobs wiping your party, keep off the roads at night unless you’re ready for a tough fight. The day-night cycle in this game is more than just for looks and variety. Not only are there more monsters out and about under the moonlight, but they’re far tougher. On the other hand, this might be just what you want if you’re looking for a tougher challenge and larger rewards.
To skip any possibility of danger when going from town to town, take advantage of the wagon services. They’re in just about every city and are far and away the fastest way to move between visited locations. Best of all, you don’t even have to pay!
Shorten the grind
No one likes grinding in JRPGs. Well, most people don’t anyway. If you’re more into it for the story but find yourself bouncing off a boss just a bit too high level for you, a little grinding might be in order. To help speed up the process of wiping out waves of low-level enemies, kick things into high gear by pressing the + button to speed up the process.
Grinding is also, funnily enough, way easier on easier difficulties. A nice feature here is that you can raise and lower the difficulty of the game whenever you like. So this can allow you to dial it down for worthless mobs and then crank it back up for boss encounters, or go the opposite route and lower it if a boss is giving you trouble and you’d rather not deal with grinding at all. To change up the difficulty, as long as you’re not in a battle, just open your menu and go into options. At the bottom of the page you can scroll the difficulty between casual, normal, and hard.
Don’t feel like you’re missing out on anything by playing on a specific difficulty level, either. There’s no optional content locked behind playing on hard or anything, so play on whatever setting is the most fun for you.


