When Arena Mode released, it took the Chivalry 2 community by storm. The brand new 3v3 battle has given players a smaller field on which to hone their fighting skills.
Of course, drastically shrinking the playing field means new strategies and battle tactics will have to be picked up if you want to survive. Here are our top tips and tricks for outplaying the enemy in Arena Mode in Chivalry 2.
- 10 essential tips and tricks for Chivalry 2
- Chivalry 2 class guide: Overview, subclasses, and best weapons for every class
- The best weapons in Chivalry 2
What is the Arena?
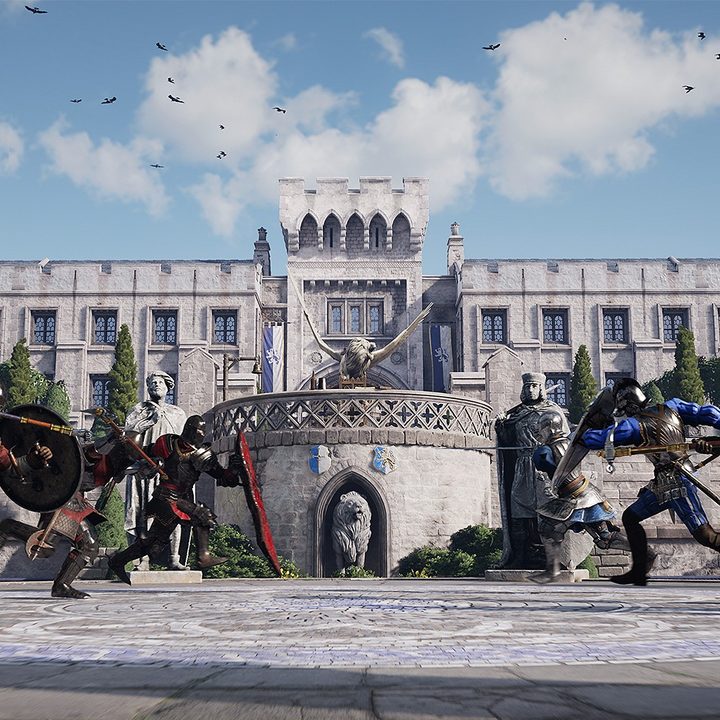
So what is the Arena in Chivalry 2? On sectioned-off areas of Fighting Pit, Tournament Grounds, and Courtyard (new), three Masons and three Agathians fight to the death. The first team to accumulate five wins will claim victory. Perhaps Chivalry 2 took a page out of Apex Legends‘ book? The 3v3 mode in Apex Legends, coincidentally named The Arena, operates similarly.
Unlike Apex, Chivalry 2’s Arena is scaled back and very simple. Players can use any class (even those pesky archers), fight with any weapon, and apply bandages once during the fight. You can play the Arena with a party of three, or players can matchmake to find teammates. You can also join sessions in progress if teams are lopsided. However, teams will not fill up with bots. You’ll encounter several 3v2s and even 3v1s, but we’ll touch on those later.
You’ll earn XP toward your weapons, class, and global rank. Besides being a great place to show off your Chivalry flare, the Arena is the single best way to practice and improve your combat skills without taking a Pole Hammer to the back of the head.
Best weapons and classes for the Arena
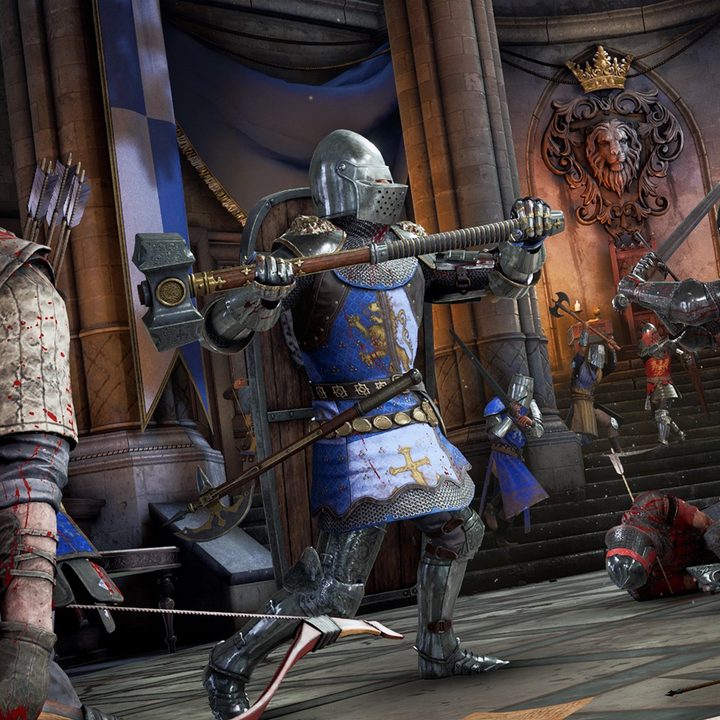
When it comes to the best weapons to use in the Arena, the list doesn’t differ from any of the best weapons in Chivalry 2. While the Messer is by far the best weapon in the game, the Arena will force you to learn when it’s best to switch to a faster one-handed weapon instead.
For example, a decent player sporting a short sword, shovel, or longsword will interrupt your big Messer swings. Switching to a faster weapon will even the playing field, especially if you’re playing the Knight’s Crusader class. However, if you’re stuck with a heavy weapon, keep your distance, and wait for them to swing and miss before launching a powerful attack.
Class-wise, most players are sticking to Knights for maximum health and high damage output. That being said, pay attention to any enemies using blunt weapons like the Heavy Mace or Maul. Blunt weapons deal 50% more damage against Knights. Don’t hesitate to pull out a Two-Handed Hammer or Morning Star to counter a Knight-heavy team. It’s wise to keep a blunt weapon in your secondary slot for these situations.
Kicks and feints
The Arena in Chivalry 2 is where you’ll be perfecting your combat techniques. Mastering kicks and feints will lead to more wins in the Arena, but when should you use these techniques? Ideally, you’ll always be engaged in a 1v1 fight. We’ll go over having chivalry in Chivalry 2 later on. For now, assume you aren’t fighting two or three people at once.
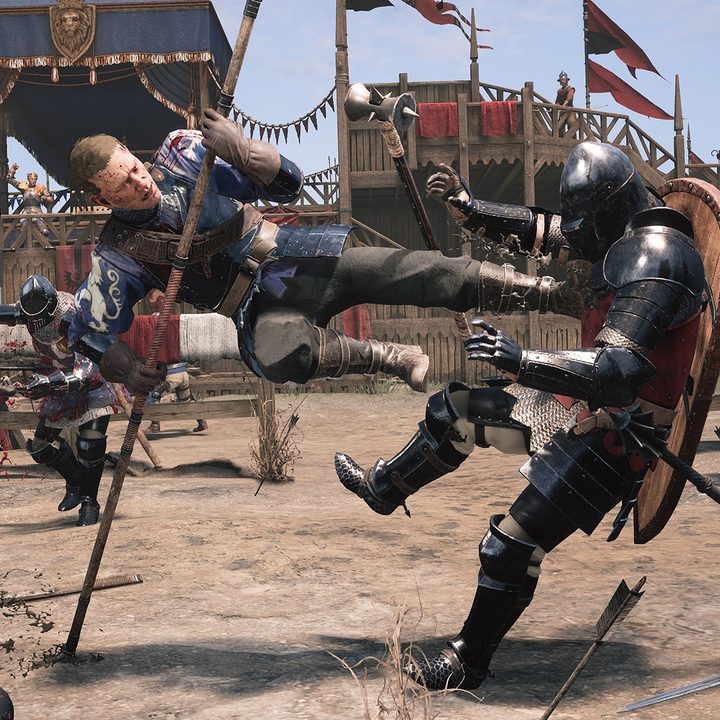
Kicks
The best time to kick is when your opponent is holding up a block or when you anticipate they’re going to block. Let’s say the two of you are locked in a back-and-forth series of swing-block-swing-block. Instead of swinging a third time, kick to break their guard. Then, punish them with a powerful overhead or slash attack. We don’t recommend stab attacks, as they’re difficult to land on a moving target. Most players, when their guard is broken, will move around frantically. Broad swings are your best chance at landing an attack.
Here’s a kicking pro tip for you. After you break their guard and land an attack, kick again! Use your opponent’s panicked state against them. They almost never see the second kick coming and usually go right back into a block after being punished by your first swing. Don’t get greedy with this technique, though. Use it as a surprise combo once or twice during a fight. Ducking is a good way to avoid damage if you’re on the receiving end of a kick. Most players will follow a broken guard with a slash attack, so duck under it to avoid damage.
Feints
Feinting is how you’ll go from being a good Chivalry player to a great Chivalry player. However, knowing when to feint will make you practically unbeatable. It all comes down to whether your opponent is actively blocking or not. Here’s why.
When an opponent is holding up a block, you can assume they’re going for the counterattack or looking to follow up with a riposte. So, begin a slash attack and then feint into an overhead to punish them as they begin their swing. Move left, then drag your overhead attack to the right for an easy hit. Then, immediately follow up with a normal slash attack. An average Chivalry player knows the “rhythm” of battle. Feints throw off that rhythm and make your follow-up attacks occur on a “beat” they aren’t used to. Furthermore, slash attacks are the most common and the easiest to see coming, particularly when swinging a Messer or heavy weapon. Your opponent is thinking nothing but “counter!” when they see that slash attack coming.
Now, when you’re attacking an opponent who isn’t blocking, feints can get risky, especially if they’re using a quick weapon against your Messer or Halberd. Here’s why. When you cock back to swing, your opponent may start a swing of their own. If you feint, they’ll hit you every time. If they’re also using a heavy weapon, you might get away with the feint, albeit risky. In short, use feints to bait your opponent into letting their guard down.
Study your opponent

In large-scale games of Chivalry 2, you’ll encounter the same player a handful of times throughout the match. In the Arena, you and that player will square off a minimum of five times. Study how they play and use their consistencies against them.
For example, if they begin each round with a charged stab attack, you can anticipate and easily counter it. Are they an active or reactive player? Meaning, do they swing first, or do they wait for you to attack? Reactive players are susceptible to feints and kicks. Active players are open to counters and spacing. Backstep, let them miss and then punish them with an attack of your own.
Are they good at feinting? Anticipate the feint, and don’t let your guard down too soon. Kick-happy players are open to punishment as well. It may take a round or two, but you’ll eventually learn how your opponent plays and how to beat them.
Finally, what class are they using, and what weapons can you use to deal bonus damage against them?
Archers in the Arena
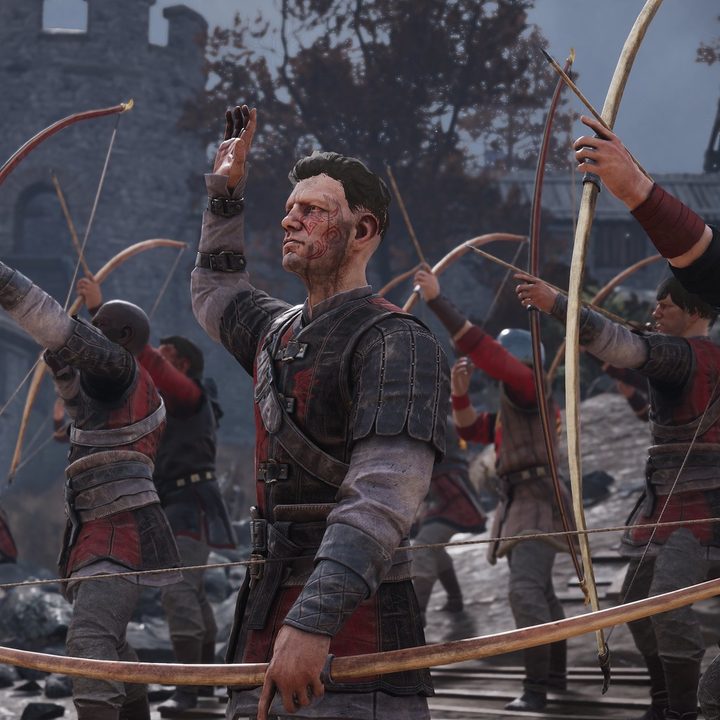
Use the first round to scope out the competition. If nobody on the enemy team is using a shield, you can switch to an Archer and pelt them with arrows at the start of the next round. We advise only doing so if your team wins the first round, though. Archers are very weak, and using one also puts a teammate at a 2v1 disadvantage. The gimmick only works for one or two rounds before the enemy team sets their sights on your Archer.
The best Arena map for Archers is Tournament Grounds. The narrow map makes for easy shots as enemies can only run straight toward you. Don’t bother with Archers on Courtyard, as there are too many obstructions. The Fighting Pit is really up to you. Yes, you’ll be able to get a shot or two off, but the circular shape of the map makes flanking easier for the other team.
Throwables like Axes and Knives are good to keep in your back pocket. A good throw can chip away at your opponent’s health before they ever get in range. Just make sure to switch to your primary weapon once they close the gap.
Have some chivalry in Chivalry 2
Any Dark Souls PvP players out there understand the rules of engagement. Don’t gank and don’t heal mid-fight. For those new to honorable duels, let’s go over some basic rules of engagement.
Don’t gank
To “gank” means to gang up on someone. Popularized in the Dark Souls PvP community, the term applies to Chivalry 2‘s Arena. The Arena is meant to determine who the best team is in a series of 1v1 fights. If you win your fight, let your teammates play theirs. If they lose, then feel free to move in and clean up. However, the chivalrous thing to do is allow your opponent to heal if they still can.
Disconnects happen in the Arena, and the matchmaking isn’t very consistent right now. If you’re stuck in a 3v2 situation, it’s probably going to stay that way. However, if you’re on the team with three people, stay back and let your team fight out their 1v1s. Think of yourself as the “boss battle” once your teammates have fallen. The same is true for 3v1s. If a single opponent can beat all three of you in 1v1 fights, they probably deserve the win anyway. If you show mercy, mercy will be shown upon you.
Use emotes
Use emotes to kindly ask enemy players not to gank you. Tab to the right under the Emote screen and select Beg. It’s pretty obvious when someone is using this emote, as they’ll raise their arms in surrender.
Remember to heal!
Don’t forget to heal yourself after defeating an opponent in Arena Mode. You still get one bandage to apply per round, but that’s it. There are no supply carts to re-up on BandAids. However, there is a pile of fruit in Courtyard that can be eaten for health.
Don’t heal mid-fight; it’s an unwritten rule. For starters, you’re better off healing after defeating your first opponent, as you might have to take on another. Secondly, it’s a dishonorable way to play, especially if you run away from your 1v1 opponent to heal. Finally, the healing animation takes a while, and you don’t return to full health right away. More times than not, healing mid-fight is a sure-fire way to get yourself beheaded.
Coordinate class abilities
You can still use your class abilities in Chivalry 2’s Arena. However, they are few and far between. At most, you’ll use your class ability once during a match, maybe twice if you go the whole nine rounds. Let your teammates know when you’ve got an oil pot, healing horn, or healing flag ready to go to avoid wasting them all on the same round.
So is using class abilities dishonorable? No, because you’ll only use them once or twice in a game, and they’re a strategic way to turn the tide of a fight. Class abilities are part of the game and should be used as intended.