
Destiny 2 Season of the Splicer brings the long-requested transmog feature to the game in the form of Armor Synthesis. The new feature allows you to change the appearance of armor pieces without changing their stats, but you need to jump through a lot of hoops to get there. In this guide, we’ve gathered everything you need to know about the Armor Synthesis transmog system, how it works, and what you need to do to unlock it.
More Destiny 2
- Destiny 2 Season of the Splicer: All seasonal and weekly challenges
- Destiny 2 power leveling guide
- Everything you need to know about Masterwork gear in Destiny 2
What is the Armor Synthesis transmog system in Destiny 2?

Destiny 2 fans have been asking for a transmogrification system for a while. A transmog system lets you change the appearance of a piece of gear without changing its stats. So, if you like the look of one pair of gauntlets in Destiny 2 but the stats of another, you can have the best of both worlds by using the gauntlets you want while having them appear as another set. Bungie has offered this customization for a while through ornaments, which players can purchase from the store.
The problem was that there weren’t ornaments for everything, so players couldn’t apply the look of a piece of armor they liked, even if it was in their collection. Season of the Splicer changes that. Bungie has introduced a transmog system called Armor Synthesis. The gist of Armor Synthesis is that it allows you to turn a piece of armor in your collection into an ornament, which you can apply to other pieces of armor.
As any Destiny 2 player knows, though, things are never that simple. Armor Synthesis has a whole gameplay loop attached to it that’s pretty involved.
How to unlock Armor Synthesis
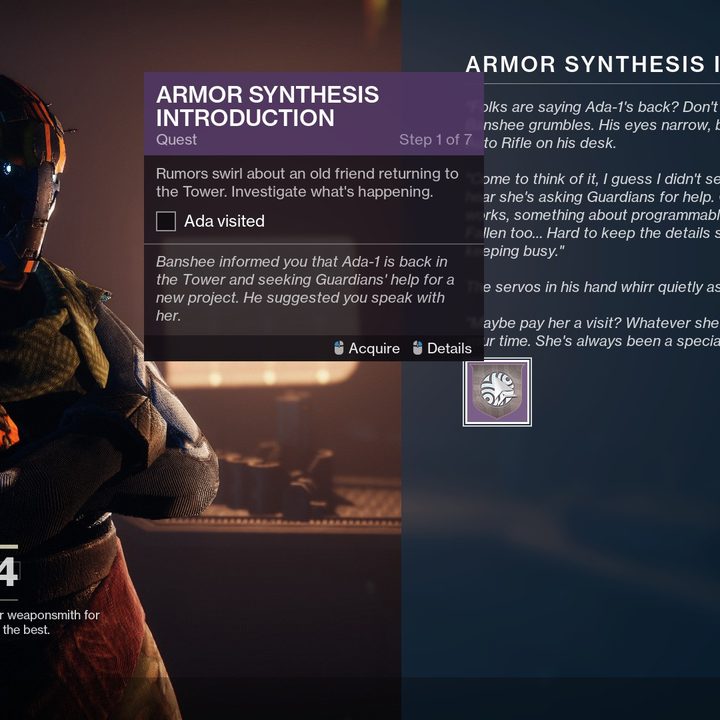
Before you can use Armor Synthesis, you need to unlock it. Head to the Tower and speak to Banshee-44. He’ll give you a quest that’ll send you to Ada-1 (also in the Tower) and to Europa to investigate the Braytech facility. The quest isn’t too involved. Head to the Braytech facility, deal with the few combatants inside and gather the materials marked by the quest.
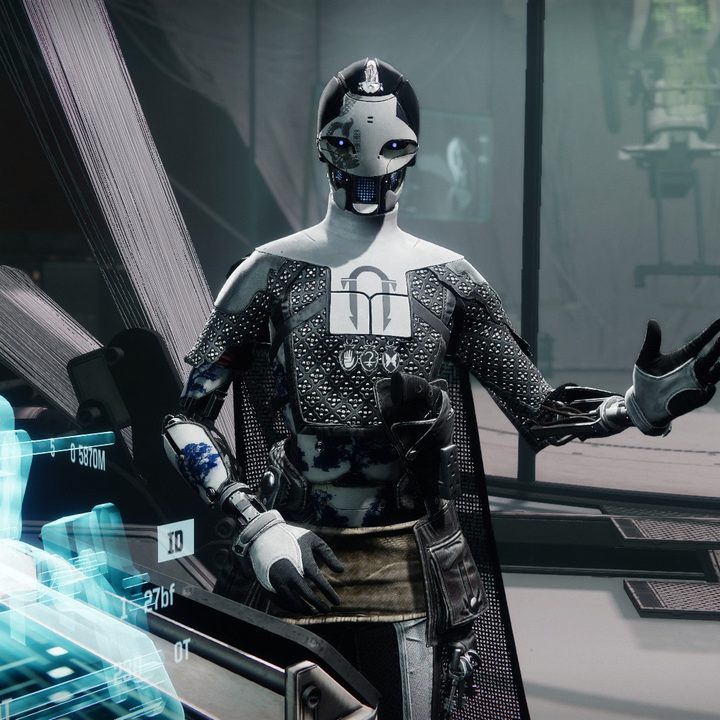
After you’ve gathered everything, head back to the Tower and speak with Ada-1 to finish the Loom. The processor you picked up in the Braytech facility is the final missing piece, and with the Loom created, you can take part in Armor Synthesis. Ada-1 will give you a few starting materials, and you’ll need to use them to apply a new ornament to your armor.
How to use the new appearance customization screen

The end of the quest will leave you in the Appearance Customization screen. You can do a couple of things here. First, you can apply shaders to all or some of your armor pieces. Starting in Season of the Splicer, shaders are no longer single-use consumables. You can use the same shader across your armor set and apply it for the same Glimmer cost. That said, shaders are more expensive in Eververse now.
You can also create an ornament in the Appearance Customization screen. When you select a piece of armor, you’ll see all of the ornaments that you’ve earned from season passes and purchased from Eververse, along with the armor pieces in your collection. The ones in your collection are locked, and you’ll need to spend Synthweave to unlock them. Ada-1 gives you a lot of Synthweave to start, so that shouldn’t be an issue for your first few armor pieces.
This is how Armor Synthesis works in Destiny 2. You can turn a piece of armor you’ve unlocked into an ornament using Synthweave, and you can apply that ornament to another armor piece to change its appearance but not its stats. Synthweave doesn’t grow on trees, though. Talk to Ada-1 again to learn more about two other currencies: Synthstrand and Synthcord.
Synthstrand, Synthweave, and Synthcord explained
There’s a basic loop for earning more Synthweave. First, you need Synthstrand. Ada-1 will give you a bundle to start, but otherwise, you’ll get it naturally just by playing Destiny 2. It’s dropped by enemies you defeat, so you’ll have a huge bundle of it in no time. You can only carry 500 at a time, and your goal should be to get at least 450 before returning to Ada-1.
You can then spend Synthstrand to unlock bounties from Ada-1. They cost 150 Synthstrand a piece, and they’ll each reward you with 100 Synthcord and some XP. There are five types of bounties: Vanguard, Crucible, Gambit, destination, and raid/dungeon. The bounty will give you a random objective for the respective activity, but choose carefully. You can only complete 10 Armor Synthesis bounties per class, per season.
Unfortunately, these bounties are a little more involved than the typical ones you’d pick up for Gambit or Crucible. We picked up a strike one, for example, that required four strikes and 200 enemies defeated with Arc damage. They’re more involved than bounties but not as deep as quests.
After you complete the bounty, return to the Loom. You should have 100 Synthcord now, which is awarded from Armor Synthesis bounties. Turn in your Synthcord at the Loom to earn Synthweave for your class. 100 Synthcord gets you a single Synthweave, so you’re in for a grind if you want to make a lot of ornaments.
To recap:
- Defeat enemies to earn Synthstrand
- Use Synthstrand to purchase bounties
- Complete bounties to earn Synthcord
- Convert Synthcord into Synthweave at the Loom
- Spend Synthweave to unlock new armor ornaments
Synthweave is only good for the class you earned it with, so you can only use Hunter Synthweave with Hunter armor and so on. There is a way to convert armor from any class into a universal ornament, though. In the store, you can purchase Synthweave Templates for 300 Silver a piece or in a bundle of five for 1,000 Silver ($3 and $10, respectively).


