
How to level fast and reach the endgame in The Division 2

Dominate in the Dark Zone with our guide to leveling fast in The Division 2

Leveling | How to level fast and reach the endgame in The Division 2
Image used with permission by copyright holder

Loot shooters like The Division 2 are all about the endgame for some players. In order to participate in high-level challenges and truly feel comfortable in the three Dark Zone PvE/PvP areas, though, you need to finish the story and hit the level cap of 30.

Thankfully, the story missions are quite enjoyable. No matter how you approach the grind to 30, it will be a grind. There’s no way around it. You’re looking at at least 20 to 30 hours working towards the cap, even if you’re an unstoppable Division agent.  But you can come in closer to the lower end of that estimate by sticking to a plan — as in our leveling guide.

For all the best tips and tricks you need to know, check out our Division 2 beginner’s guide and our skills and perks guide.

Prioritize main missions

How to level fast and reach the endgame in The Division 2
Image used with permission by copyright holder

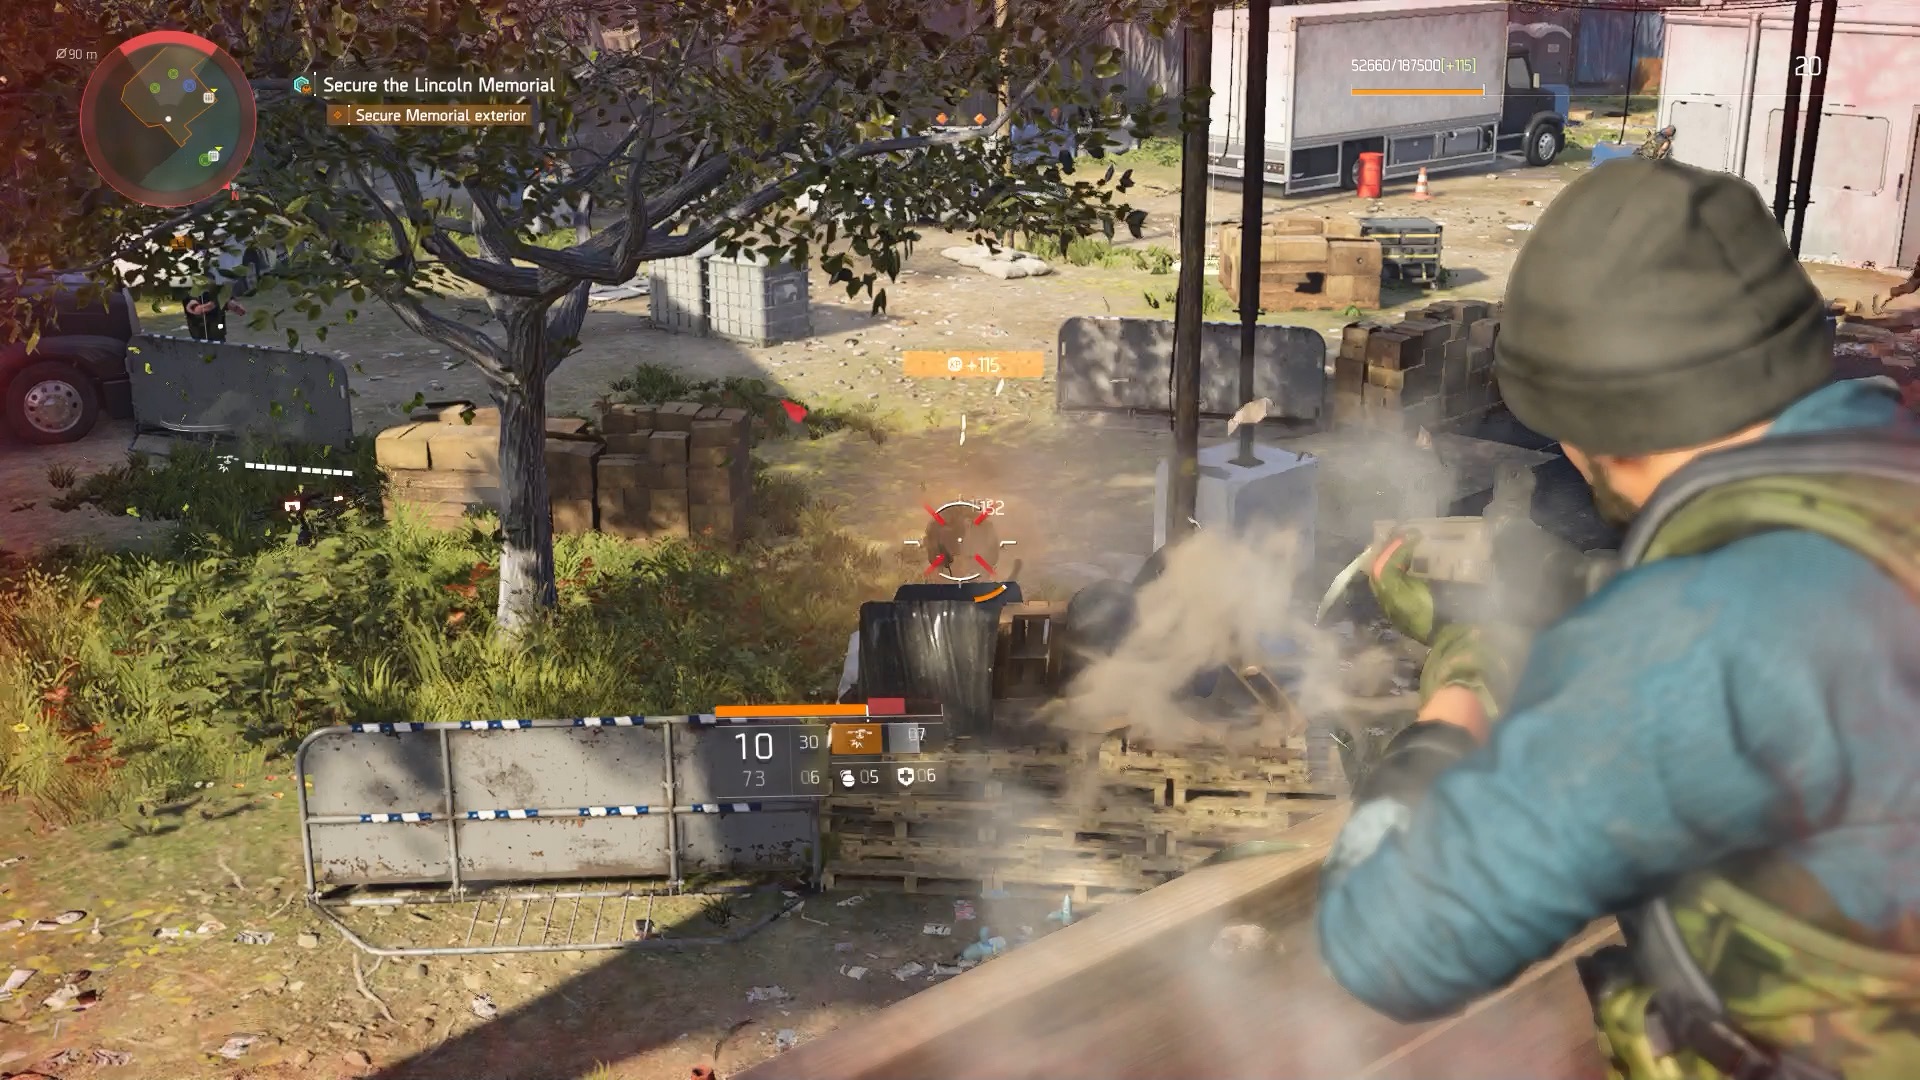
Story missions are the best source for experience points. While that may be an obvious thing to note, there’s another reason why they should be treated as a priority. Story missions do not level up alongside you like other content. That means they offer fixed XP. You’re blocked from entering story missions below the required level, but once you reach the level of the next story mission, you should complete it before doing anything else.

Each and every story mission we’ve completed has provided enough XP for us to level up. But that wouldn’t be true if we engaged with side content and became over-leveled for a story mission. Plus you’re throwing away XP by completing side content before main missions, as all side missions and open world activities level up with you, increasing XP rewards in the process.

Replaying missions doesn’t help with XP

American History Museum | How to level fast and reach the endgame in The Division 2
Image used with permission by copyright holder

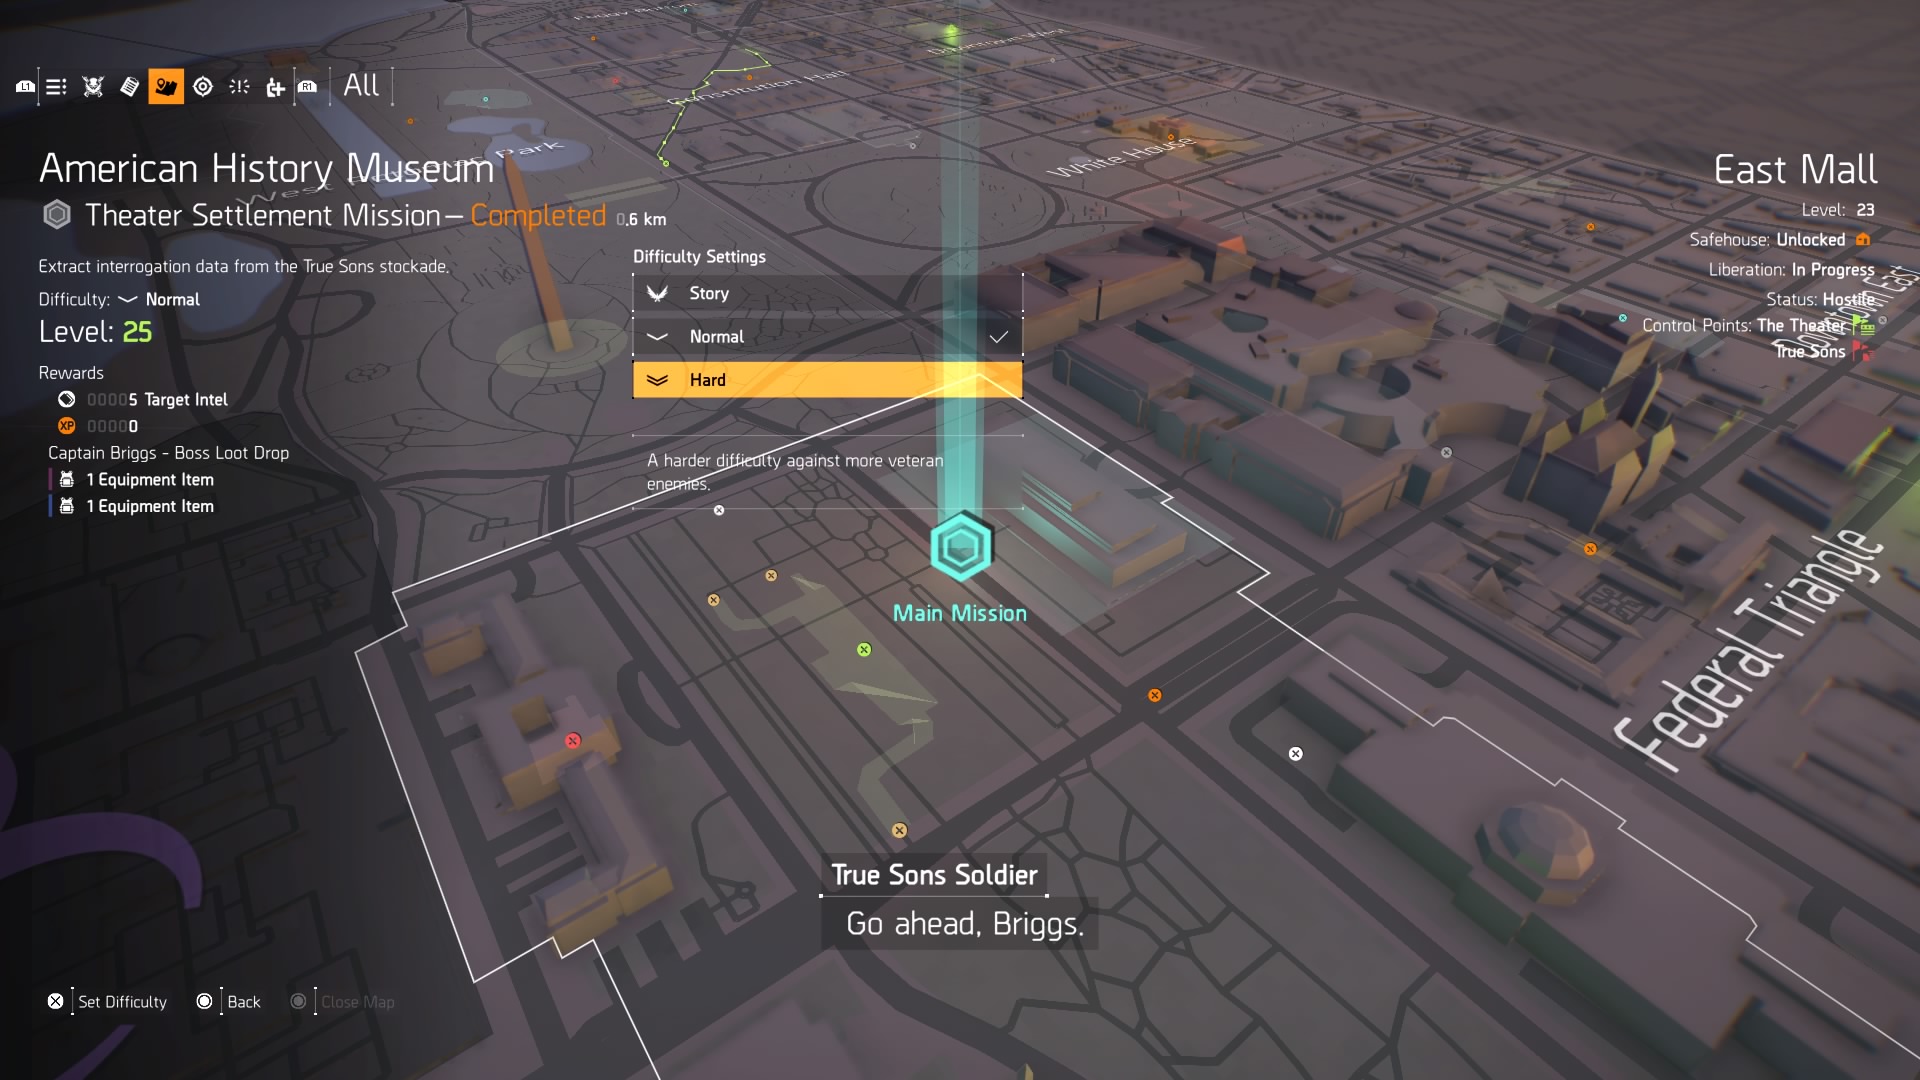
After completing a story mission, you can replay it to earn additional loot on multiple difficulty levels (story, normal, and hard). However, you will not earn the large chunk of XP at the end of the mission, even if you replay it on hard difficulty. You’ll earn XP for defeating enemies as usual, but replaying isn’t worth it if you’re trying to level up quickly.

Play solo or with a squad?

Solo or squad | How to level fast and reach the endgame in The Division 2
Image used with permission by copyright holder

The Division 2 is built as a cooperative endeavor, but you can play through all of the story content solo if you’d like. In terms of leveling, there are two ways of looking at it. When playing solo, you’ll earn more XP for completing missions simply because you have to kill all of the enemies yourself. You only earn XP for the enemies you deal damage to, so you rack up much more playing by yourself.

However, if you assemble a good squad, you can complete missions faster playing in a group. Still, if you’re clearing missions in under an hour solo, you’re doing just fine. You might be able to shave off a couple of hours of the grind by playing with a squad, though.

Purchase Accolade perks

Purchase Accolade perks | How to level fast and reach the endgame in The Division 2

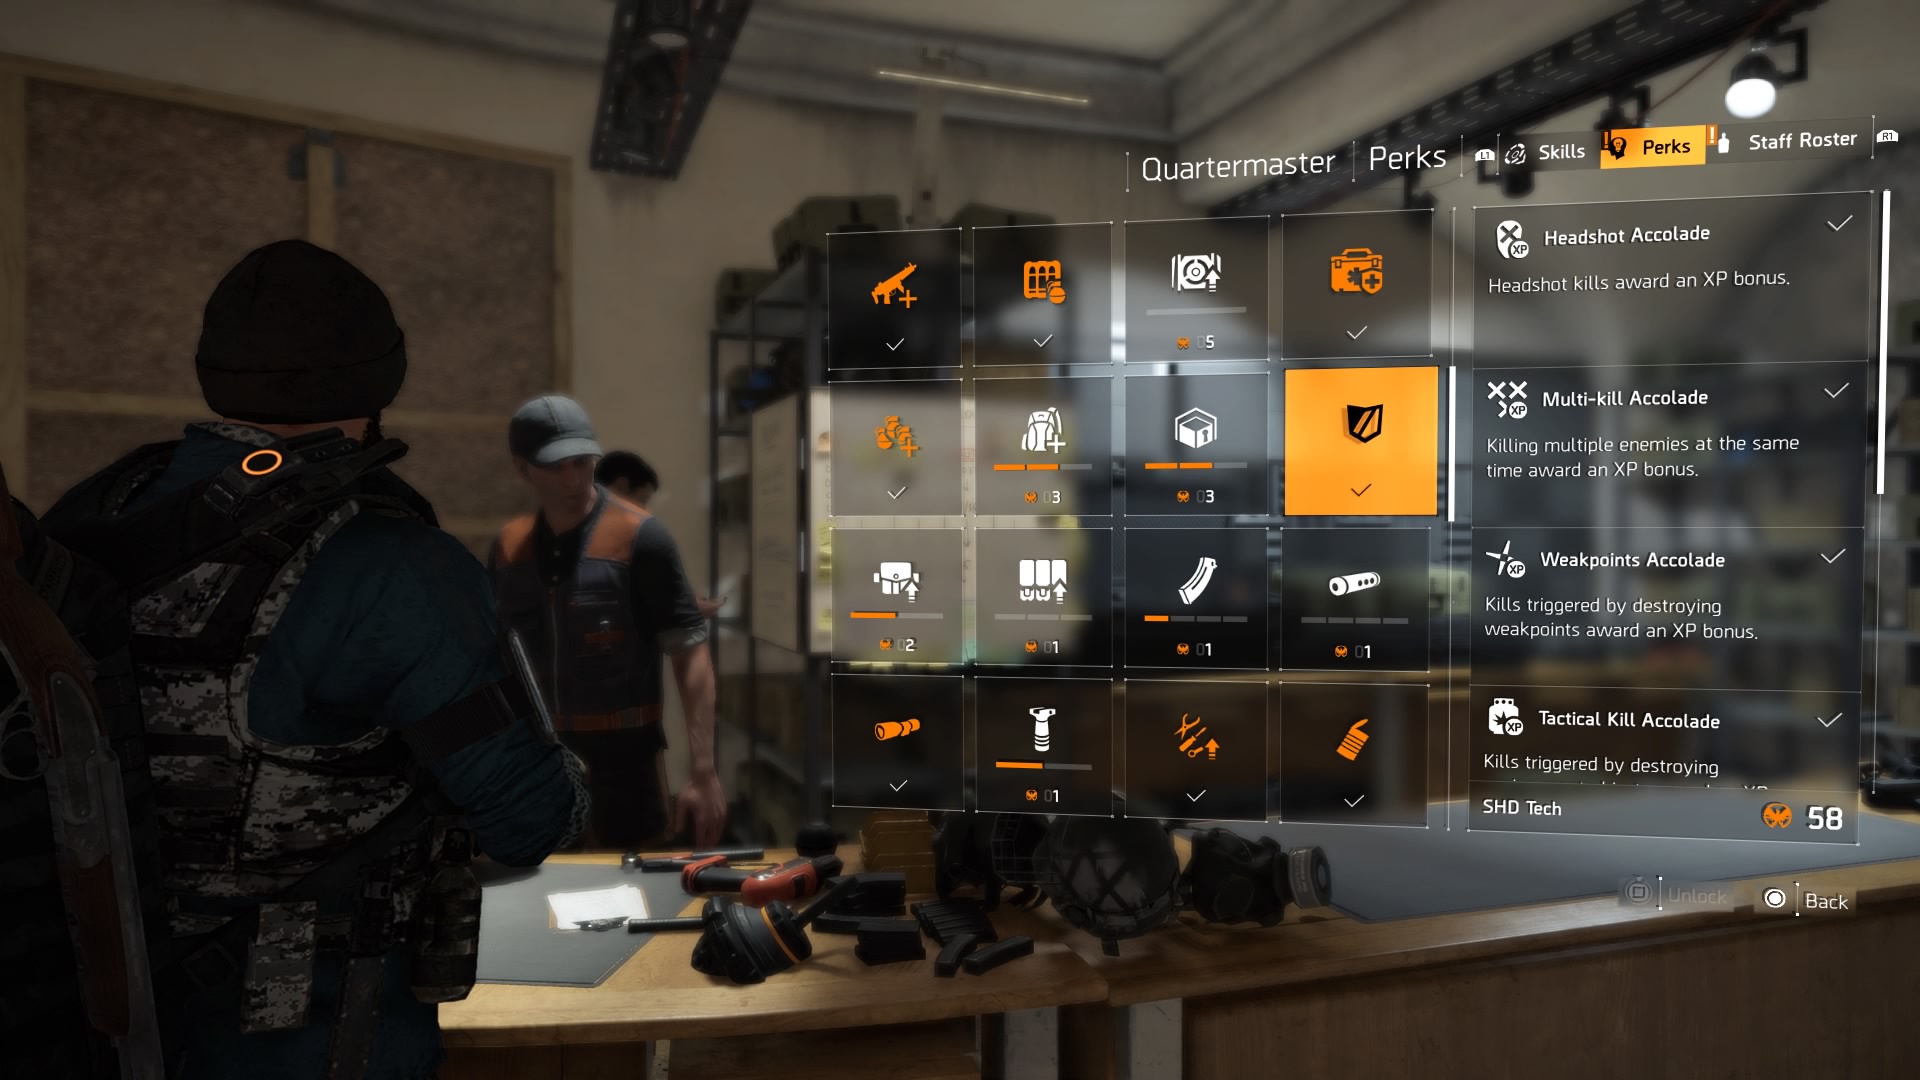
You can earn a sizable sum of additional XP by killing groups of enemies if you have the accolade perks. Purchased from the Quartermaster at the White House with SHD Tech, these five perks really help. The first one costs just one SHD Tech, but they scale up to five by the time you purchase the last one.

  • Headshot Accolade: Additional XP for headshot skills
  • Multi-kill Accolade: Killing enemies in quick succession or simultaneously earns additional XP
  • Weakpoints Accolade: Earned by killing enemies using weak points
  • Tactical Kill Accolade: Triggering environmental objects that turn into kills (like blowing up gas canisters)
  • Survivor: Staying alive for long durations in combat (basically, you earn this after every wave of enemies)

Complete side missions

Complete side missions | How to level fast and reach the endgame in The Division 2
Image used with permission by copyright holder

Side missions, which unlock organically and by talking to folks in Settlements, typically reward you with a third to half the amount of XP given out in main missions. But you can complete side missions much quicker than main missions. In fact, we’ve played a handful that took us no more than 15 minutes.

You’re going to experience a gap between your level and the next main mission, quite often. To fill that gap fast, knock out any and all side missions. But make sure to stop once you reach the level of the next main mission. The remaining side missions will level up alongside you, and their XP rewards will increase.

Capture Control Points

Capture Control Points | How to level fast and reach the endgame in The Division 2
Image used with permission by copyright holder

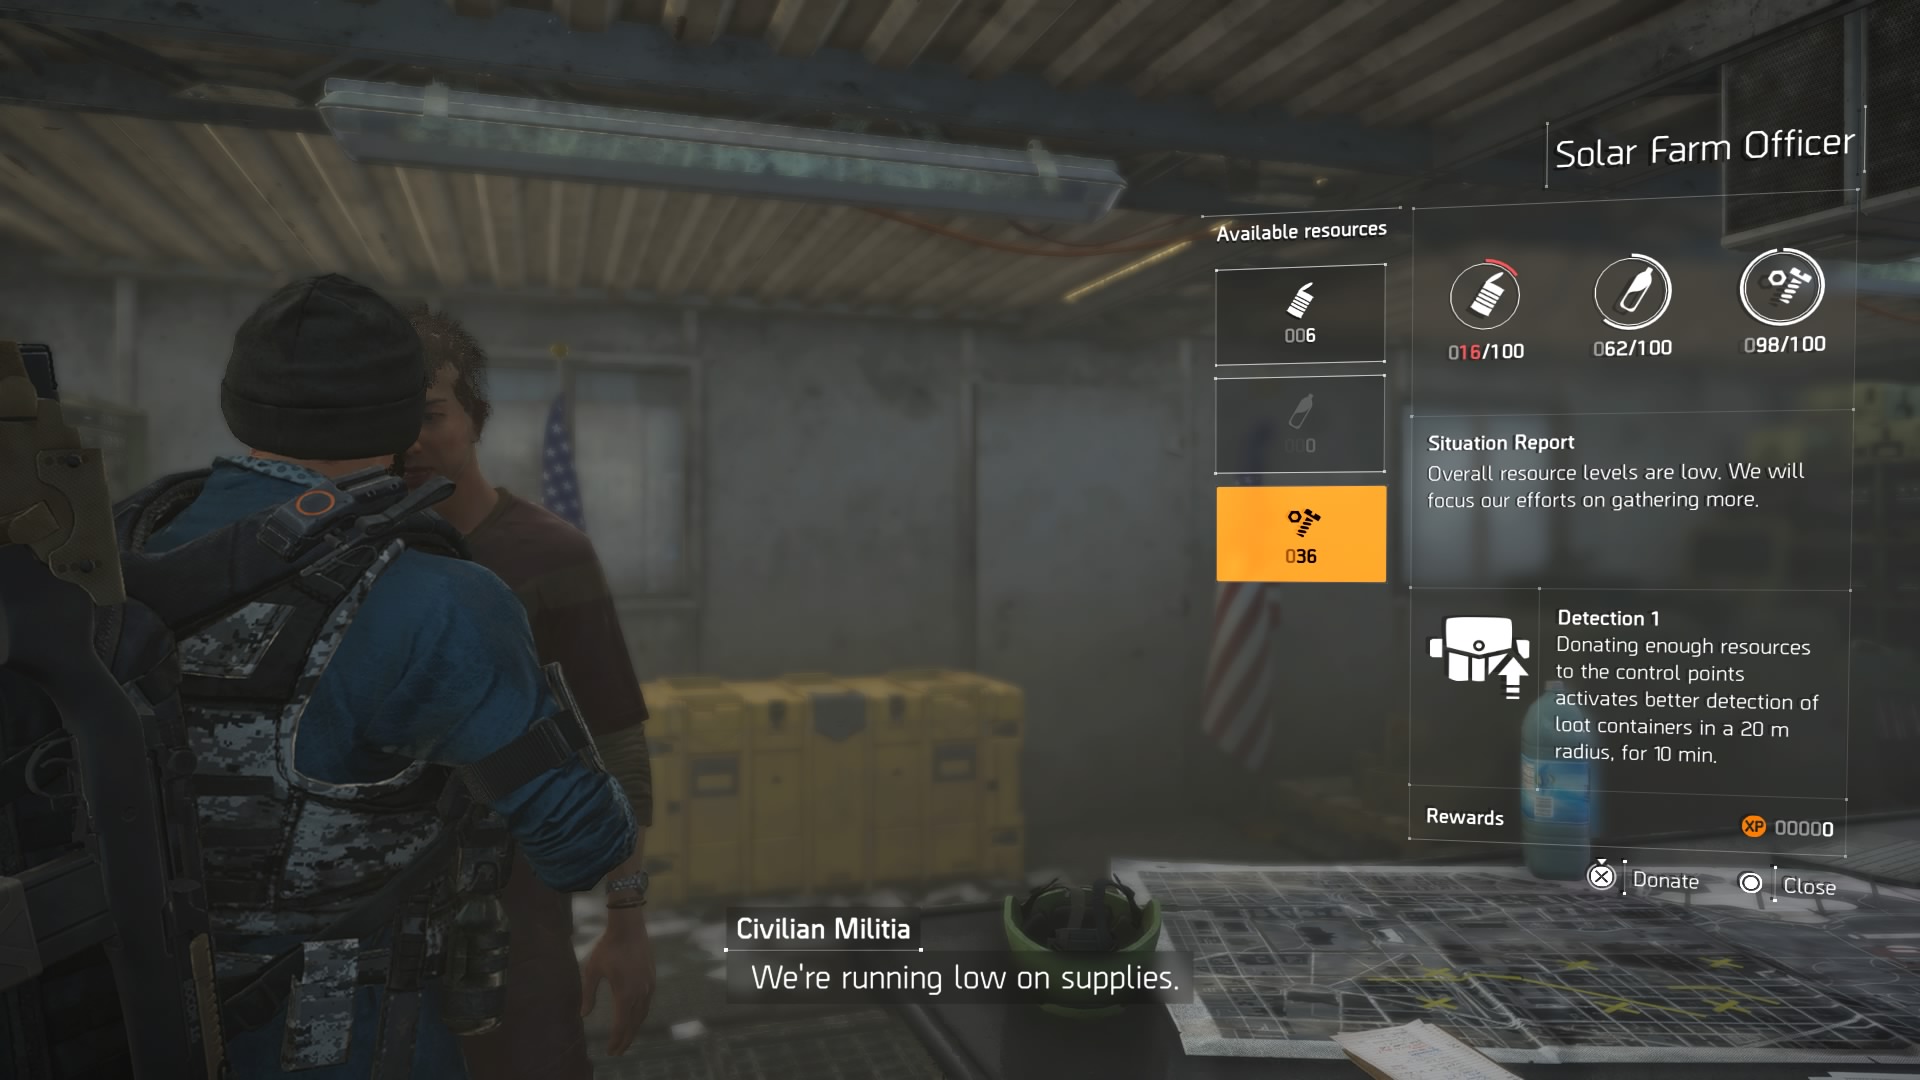
Control Points, marked on your map with a red flag, are entirely optional. However, they are the best source of XP outside of main and side missions. They level up alongside you, so you only want to clear them out when you’re currently under-leveled for the next main mission.

After securing a Control Point, talk to the officer and see what supplies they need. Donating supplies, which you’ll find naturally during your adventure, rewards small sums of XP. Capturing Control Points also really helps your efforts for the next major XP source.

Work towards completing Projects

Work towards completing Projects | How to level fast and reach the endgame in The Division 2
Image used with permission by copyright holder

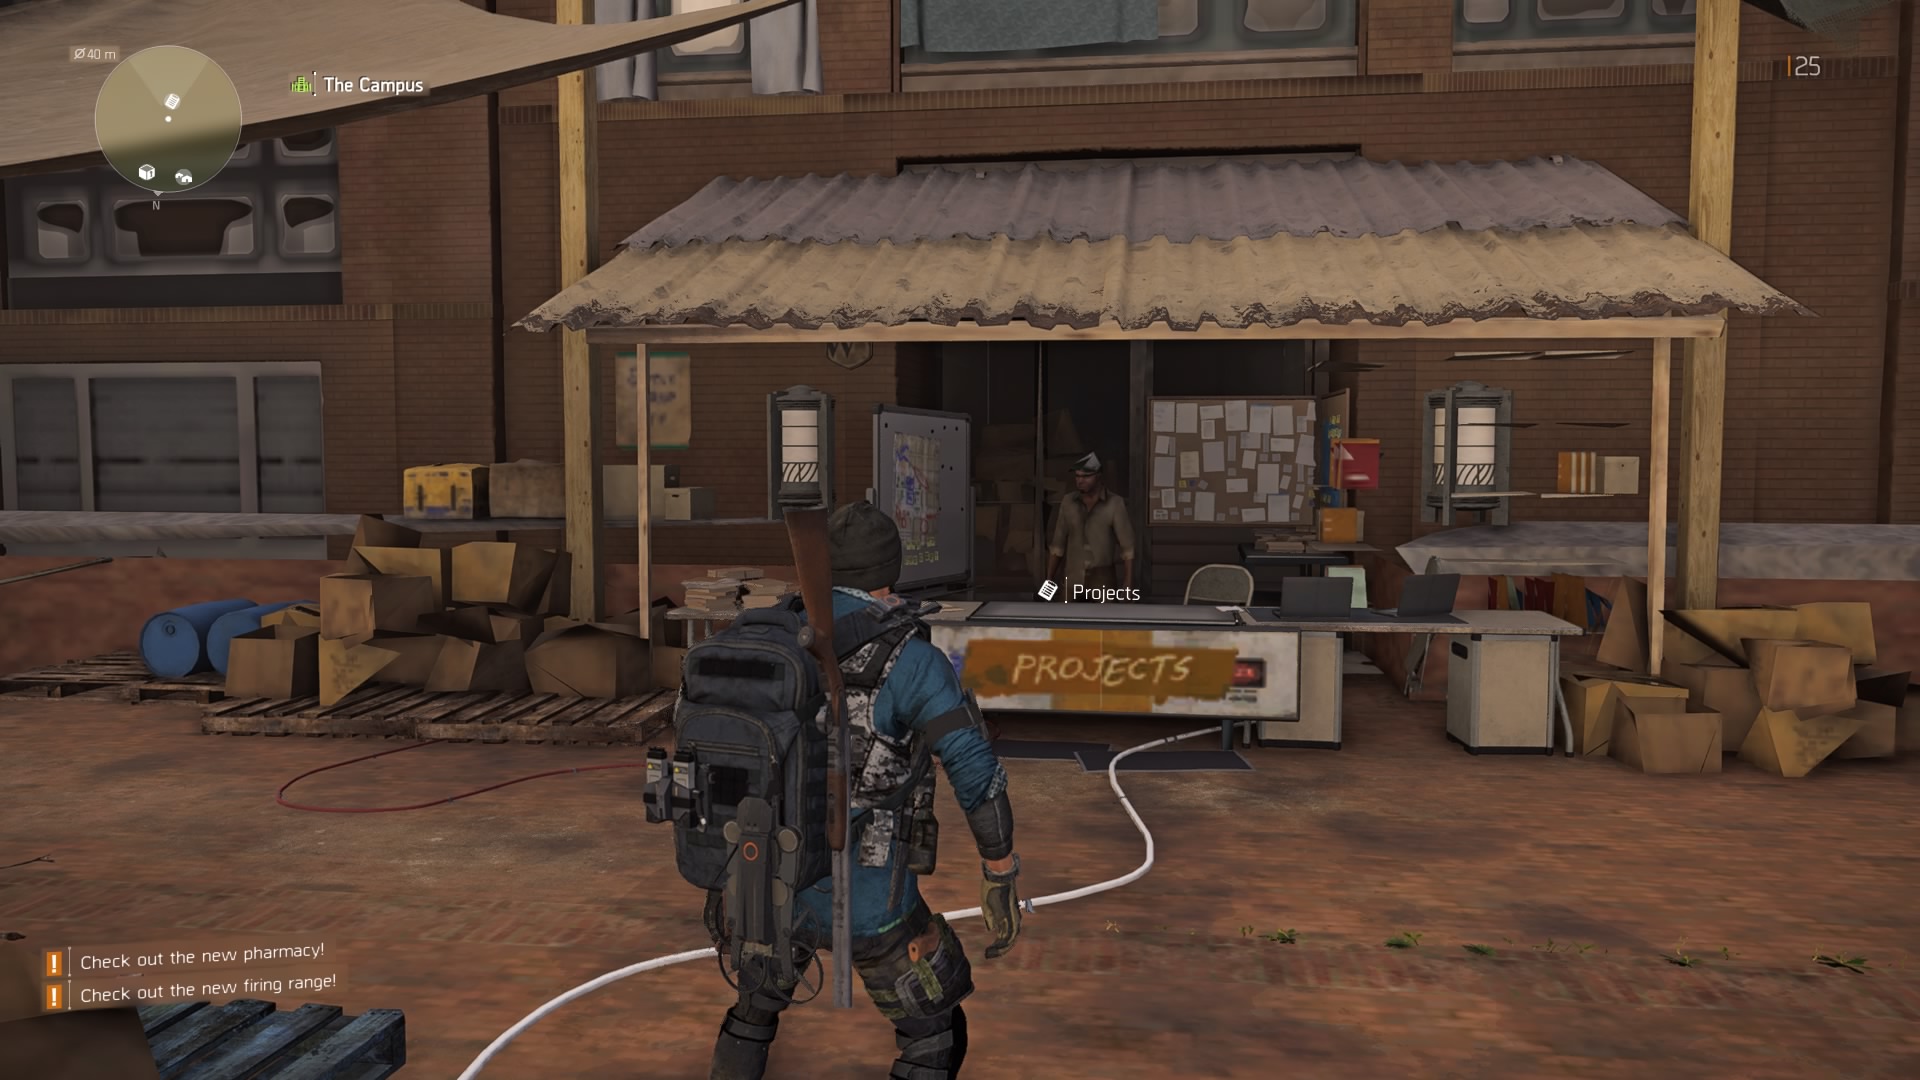
Projects are available in each Settlement for the various regions in D.C. Each Project tasks you with fulfilling three objectives. These range from donating gear and resources to completing open world activities and recovering SHD Tech Cache. Once you reach the upper teens and early 20s level-wise, Projects really start paying. Like side missions, they level alongside you. A good rule to follow is after unlocking a safe house, quickly go pick up all of the SHD Tech in the area. While en route, engage with the ? mark activities on the map. These small-scale events take five to ten minutes.

Trust us, by routinely knocking out open world activities, you’ll save yourself a lot of time. By the time you reach the mid-twenties, Project completion radio calls will start to crop up regularly, notifying you that a big XP reward is coming your way next time you return to the settlement.

Strongholds take you over the top

Strongholds take you over the top | How to level fast and reach the endgame in The Division 2
Image used with permission by copyright holder

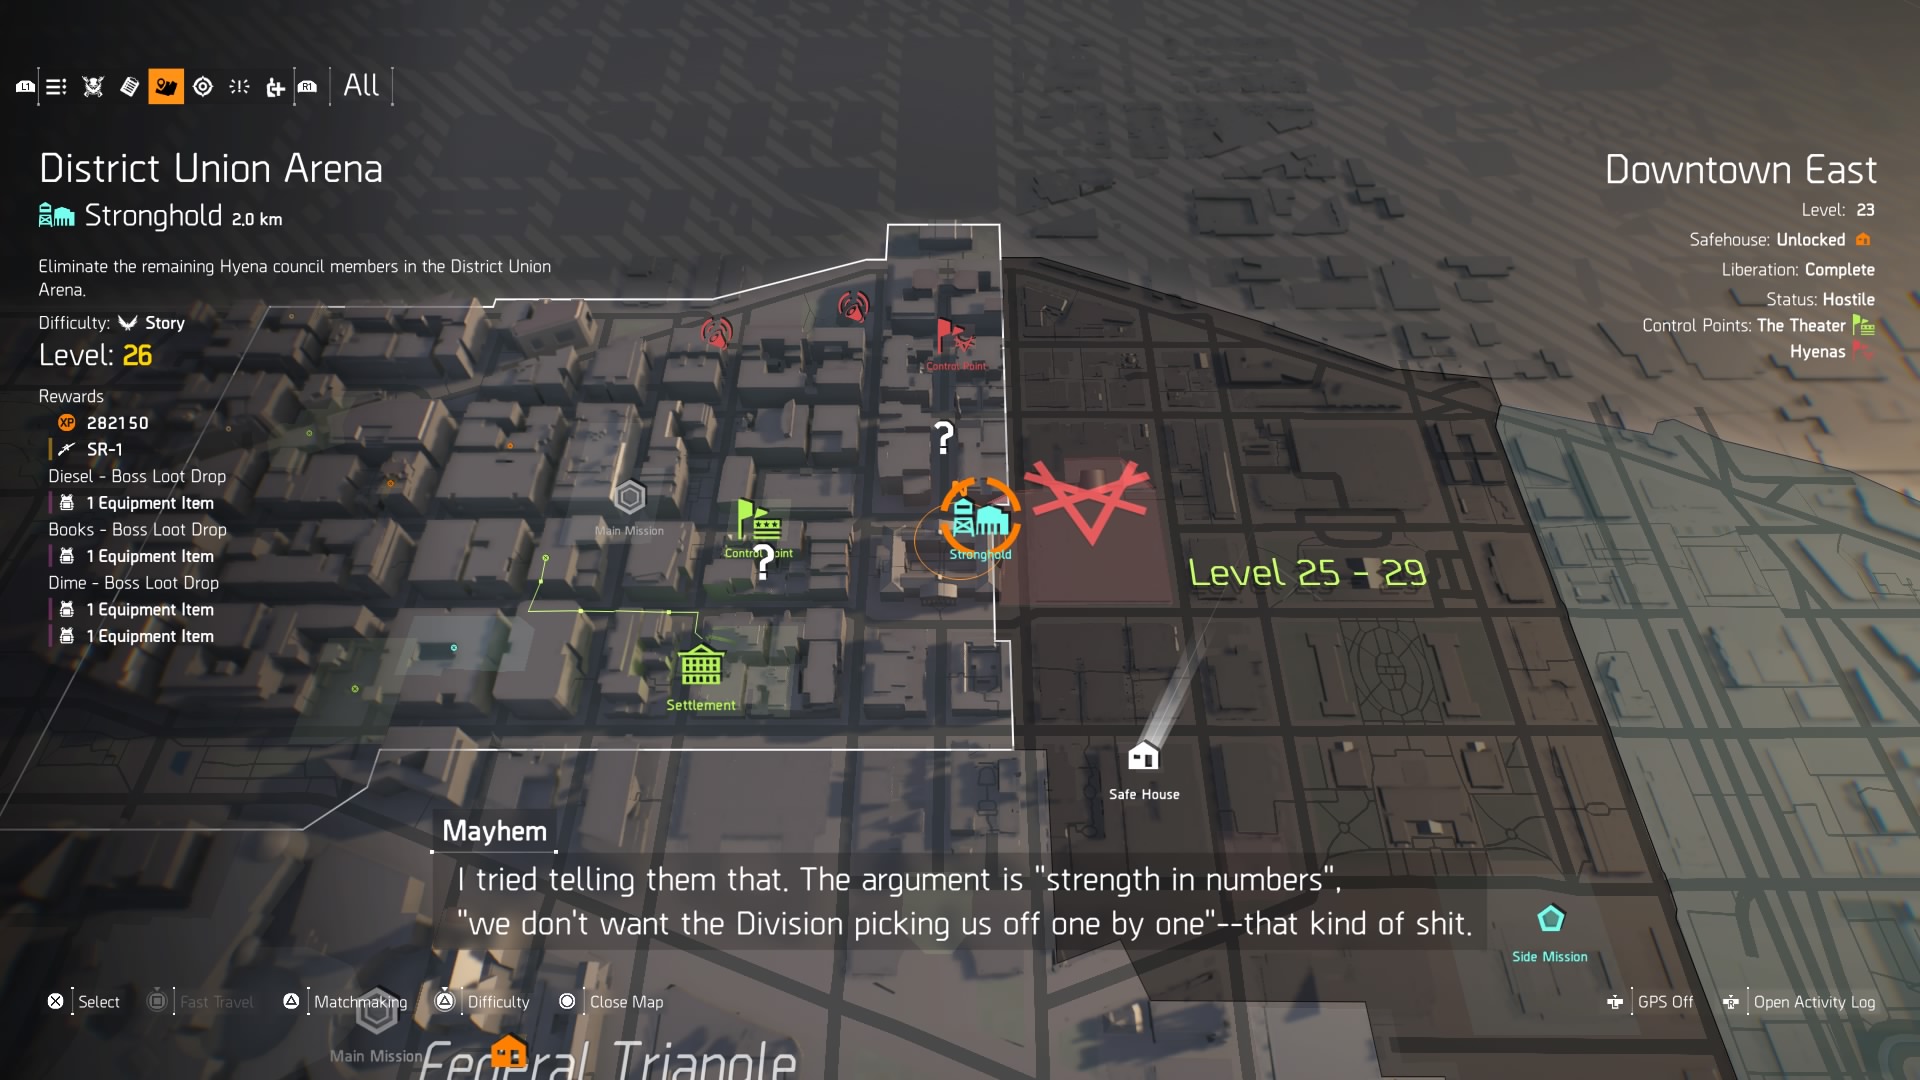
Once you hit level 26, the first Stronghold becomes available in Judiciary Square. District Union Arena asks you to eliminate the remaining Hyena leaders. Doing so will reward you with nearly 300k XP. Once you complete that, you’ll be almost ready for the next Stronghold, located on the western edge of the map.

Roosevelt Island, a level 28 challenge rewards more than 300k experience. After knocking out these two Strongholds, you’ll be very close to the level cap. And once you hit 30, a pair of final Strongholds will be waiting for you to usher you into the endgame.

Editors' Recommendations

Topics
Steven Petite
Former Digital Trends Contributor
Steven is a writer from Northeast Ohio currently based in Louisiana. He writes about video games and books, and consumes…
The best Skill Cards in Dead Island 2
A deck of skill cards.

You may not think a first-person game about bashing zombies with all sorts of melee weapons would be an RPG, but Dead Island 2 is a little deceptive like that. Each of the six playable Slayers has its own base stats, but once you've selected them, there's not much else to worry about in that regard. What will really define your build is the Skill Cards. These act as a mixture of abilities and buffs you can slot into your character, but unlike a traditional skill tree where you simply unlock new skills as you go, cards can be swapped in and out whenever you like. While that's great for versatility, the sheer number of cards can make creating an effective build more intimidating than a swarm of flesh-eaters. Before you take on the horrors of Hell-A, take a look at the best Skill Cards in Dead Island 2.
How to get Skill Cards

Before getting into the deeper aspects of Skill Cards in Dead Island 2, you need to know how to actually get more of these bad boys. You'll start with two Innate Skills for your chosen Slayer, and get your first one when you hit level 2, but the system won't open up to you until you hit level 3.

Read more
Which character should you pick in Dead Island 2?
Dani lights a cigarette as zombies attack her from behind in Dead Island 2 key art.

After a brief introductory sequence showing how each of the playable characters, referred to as Slayers in Dead Island 2, end up on the doomed evacuation plane at the start of the game, you are forced to pick who you will play as. If you hadn't played the first game -- and considering it came out over 10 years ago we wouldn't blame you if you hadn't -- then you may not know that your choice of character is more than just cosmetic. Each of the six playable Slayers not only starts off with its own stat distribution from the others but with two ability cards as well. In a narrative sense, almost nothing is different depending on who you pick, so this decision all comes down to choosing the right character for how you prefer to play. Don't let the excitement of bashing in some zombie heads rush your decision and first make sure you understand just how important this choice is in Dead Island 2.
Can you change characters in Dead Island 2?

This is the main reason your character choice is so important. In Dead Island 2, once you choose a Slayer, you're locked in for the duration of the game. If you want to try out a different character, you will need to start the game over from scratch, so unless you're okay with undoing all your progress, or want to do a second playthrough, give this decision a good deal of thought so you don't have any regrets.
Every character's stats and skills

Read more
All Curveball locations in Dead Island 2
A pipebomb with kaboom written on it.

Your bread-and-butter method for dispatching the undead in Dead Island 2 will always be the strongest blunt or bladed melee weapon you have on hand. There's certainly no shortage of shovels, knives, gardening equipment, and even swords to choose from, but you can also mix things up with some throwable items as well -- and we don't just mean throwing your weapon. Curveballs, as the game calls them, are more like skills that can be equipped than weapons since they work on a cooldown timer rather than ammo. Your character can only hold two at once, but there are 13 in total to experiment with. You'll be given one by default, but the rest are up to you to collect. Here's a full list of all the Curveballs in Dead Island 2 and where to find them.
How to get all the Curveballs in Dead Island 2

We'll list off the Curvballs, their locations, and their effects in the order you should naturally come across them while playing Dead Island 2. If you miss one, you can always fast travel back to the area to collect it later. While you can only have two Curveballs equipped at any time, you can swap them out no matter where you are, so feel free to try them all out and change up your loadout depending on your current situation.
Meat Bait
Given as part of the story by Carlos in Emma's house, this lets you throw out a chunk of meat that explodes on impact into a pool of meat(?) that attracts all nearby zombies to it.
Shuriken
On your way to the Halperin Hotel, the Shuriken are lodged into a car door directly in front of you. Using these throws out three Shuriken in a horizontal spread that travels a short distance before falling. They don't do a lot of damage, but can stagger and even remove limbs if you aim them well.
Chem Bomb
This is the second unmissable Curveball and is given to you inside the Halperin Hotel to put out a fire. It is good for more than just fire control, though, since you can use it to make zombies wet and susceptible to electricity.
Caustic-X Bomb
Keep your eye out for "The Rav-Ages of Caustic-X" sidequest if you want to add this to your arsenal. Completing this quest will reward you with a bouncing bomb that deals some damage, but is mainly used for applying the Melting status on zombies and leaving behind damaging acid.
Electric Star
You'll be taken to the Brentwood Water Reclamation Project plant during the "Justifiable Zombicide" mission. While there, make sure to snag the Electric Star sticking out of the safety sign on the fence. If you missed it, you can also purchase it from Rodriguez later on. This Curvball is a straight upgrade over the Shuriken since it functions exactly the same, but is electrified.
Pipe Bomb
While going through the checkpoints between Beverly Hills and Monarch Studios, keep an eye out for an open crate with the Pipe Bomb in it on one of the tables. This is a basic timed explosive, so toss it into a group for maximum damage.
Molotov Cocktail
When you're brought into the Brentwood Sewer during "The Heart of Darkness" mission, the Molotov will be in the office next to the Filtration Access and Servicing room. If it wasn't obvious, this flaming bottle will light any zombie hit with it on fire, plus leave a lingering patch of fire on the ground.
Electric Bomb
This is another Curveball tied to finishing a sidequest, this time the "Jo's Rainy Day Stash" quest. Think of it as a Pipe Bomb, only replace the explosion with a dome of electricity that is great for stunning groups.
Flashbang
You'll need to pony up $2,500 and buy this Curveball from Rodriquez once you've completed the "Cremains of the Day" sidequest. What you get is a weapon that inflicts Traumatized on zombies, meaning they're stunned and available to be counterattacked.
Sticky Bomb
Bring Dougie at the Serling Hotel $1,500 and he'll part ways with the Sticky Bomb. This is just your old Pipe Bomb, but now it will stick to any surface -- or zombie -- it hits.
Bait Bomb
This is another item Dougie will sell you, this time only after you beat "The Search for Truth" main mission. For just $3,500, you can get what is essentially your Meat Bait and Pipe Bomb stuck together. Zombies will all close in on the bomb before it detonates
Nail Bomb
For the final Curveball you need to invest your cash in, you can buy the Nail Bomb from Ezekiel for $1,500. This is a simple explosive, but with the added benefit of inflicting Bleeding on anything it hits.
Military Grenade
Once you complete the "Boz Makes a Bang" sidequest for Hana, which you can only get after beating "The Rav-Ages of Caustic-X" and "Dez and the Mother of Satan" quests, you will be given the final Curveball in Dead Island 2. This high-explosive detonates on impact no matter what, which could be a good or bad thing depending on the situation. It isn't all that much more powerful than any other explosive, but the utility of it not having a timer makes it useful.

Read more