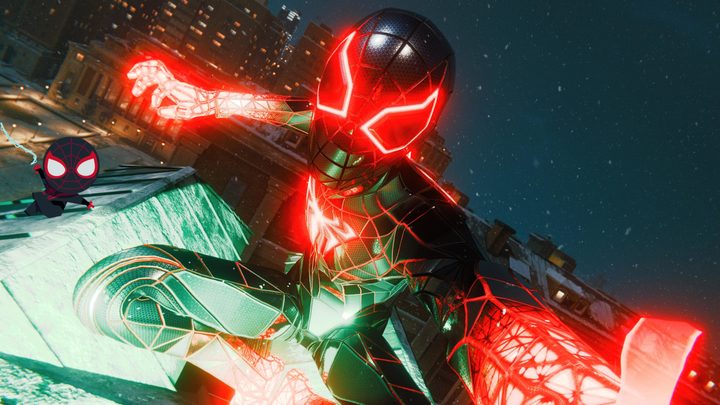
Insomniac Games is back with Marvel’s Spider-Man: Miles Morales for the PlayStation 5 (and PS4), and it’s an absolute blast. Swinging around as this version of Spider-Man feels … dare we say … amazing, and the story and combat are as exciting as ever. Despite being a more condensed game when compared to the last entry, there’s a lot to do across New York City. It’s not easy filling in for Peter Parker, and things can get overwhelming quickly.
Fortunately, we’ve spent a considerable amount of time with Miles Morales and can let you in on a ton of tips and tricks to make your life easier while playing. Here are some basic pointers to help you save New York City while the other Spider-Man is away!
Further reading:
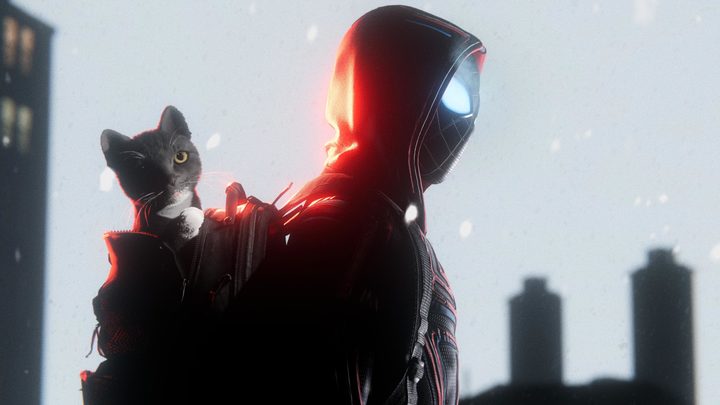
- Spider-Cat is the best reason yet to get hyped for Spider-Man: Miles Morales
- Spider-Man save data will carry over to the PlayStation 5 remaster
- Insomniac shows off Spider-Verse suit coming to Spider-Man: Miles Morales
Take a look at your suit mods, visor mods, and other upgrades to know which to prioritize
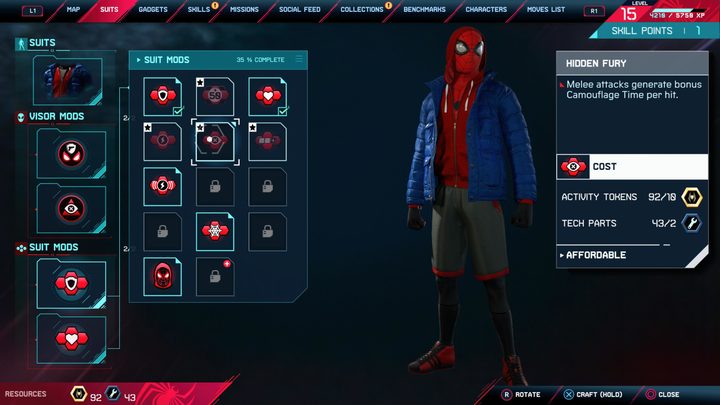
Miles Morales has a different set of mods than Peter Parker, and you’ll want to take a look at them within the game’s menu. You’ll eventually want to get your hands on all of them, but depending on your playstyle, you should prioritize some over others. If you’re a player who likes to take enemies out stealthily, you should pick mods that adhere to that style of play.
Mods like “Eyes on Target,” which helps when determining the enemies that are visible to others, or “Optic Triangulation,” a mod that allows marked foes to stay marked as long as stealth is active, are great choices if you want to remain undetected. There are a ton of mods, so look at them ASAP and spend your Activity Tokens and Tech Parts on them when you can.
Complete side activities to earn lots of Activity Tokens
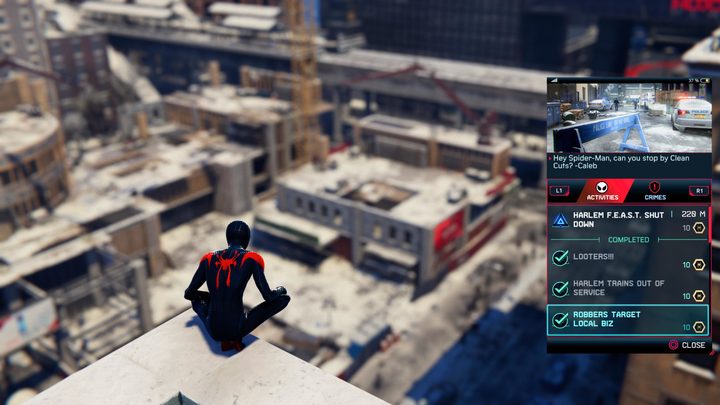
Early on, Miles and Ganke develop the Friendly Neighborhood app, giving the citizens of New York a way to contact Spider-Man in the event of trouble. To view your requests, swipe left on your DualSense’s touchpad. Here, you’ll see all the side missions that are available and how many Activity Tokens they’ll grant you upon completion. Getting through these missions is an efficient way to earn Activity Tokens, as most will reward you with at least eight and can be racked up quickly — far faster than simply finishing petty crime missions. Plus, you get a really cool reward for finishing them all, so make sure you do that!
Remember, some skills are only available in New Game+

In Miles Morales, you’ll need to move onto New Game+ if you plan on unlocking everything the game has to offer. There are three skills — one from each of the main categories that can only be unlocked once you get to New Game+. The skills are “Let’s Go!,” “Bio-Electric Instincts,” and “Unseen Force,” from the Combat, Venom, and Camouflage skill categories, respectively.
Along with that, each of your four gadgets have one upgrade that is only obtainable in New Game+, so don’t plan on gaining access to them in just one playthrough. Finally, the Spider-Training suit is also locked behind New Game+. Your character’s level is capped at 20 during your first run, too — so you’ll need to begin NG+ to get to level 30.
Here’s how to utilize the Spider-Verse aesthetic
Upon reaching level 13 and earning 18 Activity Tokens and four Tech Parts, you can purchase the Animated suit. Doing so will give you the famous suit from the beloved Spider-Man: Into the Spider-Verse film. You might’ve seen other players posting videos of an animated aesthetic, featuring 24 frames-per-second visuals, along with comic book text bubbles that appear when you smack enemies. Simply wearing the suit doesn’t give you these aesthetics, but we’ll show you how to access them.
To unlock the animated aesthetics, you’ll need to equip two mods that are unlocked when you purchase the suit. The first is the “Bam! Pow! Wham!” visor mod. This will give you various comic book text bubbles when you attack enemies, which makes for a really cool and stylized theme. Then, equip the “Vibe the Verse” suit mod to give the game that classic, 24 fps animated feel — just like in the movie!
Fast-travel works well, but if you use it, you’ll miss episodes of the Danikast
Around partway through the game, you unlock the ability to fast-travel. While utilizing the fast-travel system might be tempting (especially with the PS5’s non-existent load times), we advise against it. Aside from the fact that swinging is one of the game’s highlights, you also miss out on podcasts if you opt to take the train. There are two podcasts: JJJ’s podcast and the Danikast — both of which are absolutely worth listening to.
The Danikast in particular is funny and features a well-informed host who — as you progress through the game — will give you news based on events that have just unfolded. It’s a great replacement for music that would play in a car and since you can’t drive in this game, swinging around while listening to a podcast is an ideal way to pass the time. Though, if you do decide to fast-travel, it works insanely fast on PS5.
Certain Underground Caches are only available during Roxxon Lab and Underground Hideout missions
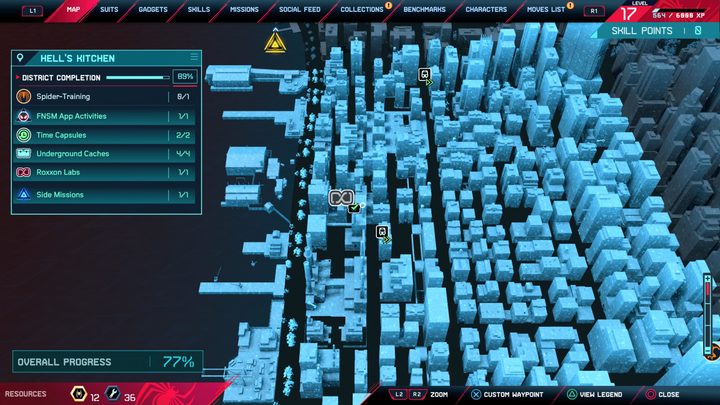
Once you unlock Underground Caches on your map, you’ll find that some of them cannot be marked. These are the Caches that are found within Roxxon Labs and Underground Hideout missions. So, don’t wrack your brain trying to find these collectibles without starting the nearby mission. You’ll know the Underground Cache is part of a mission if it’s located right next to a mission icon. For example, the Cache by the Roxxon Lab — West mission in Hell’s Kitchen can only be obtained if you start that activity and is found within the base. Once you’re within the mission itself, make sure you scan the environment by pressing R3. This will highlight the cache for you.
Use these combat tips to steamroll the competition
When you aren’t swinging around or enjoying the game’s story, the bread and butter of Spider-Man: Miles Morales is its fast and fluid combat. Fighting bad guys is surprisingly challenging and nuanced, so use these tips to come out ahead.
Take out as many enemies as possible stealthily before you engage
In many cases, Miles will infiltrate a base full of enemies who are unaware of his presence. Use this to your advantage by taking out as many foes as you can while remaining undetected. If you have to engage, try to prioritize the deadlier foes — like those with huge weapons — and eliminate them stealthily before you begin hand-to-hand combat. Use the environment and your gadgets to your advantage, and remember to cloak yourself if you think you might be seen. The stealth mechanics are almost as fun as the actual combat, so don’t miss out!
Focus on disarming enemies
When you do have to engage, you should make it a point to disarm your opponents first. This will make your life easier when trying to maintain a high combo or if you simply want to clear out the enemies quickly. To do so, hold the Triangle button, and you’ll web up an enemy’s weapon and pull it away from them. The enemies with guns, rocket launchers, and shields will be a nuisance if you don’t disarm them, but you’ll be fine if you make this a priority.
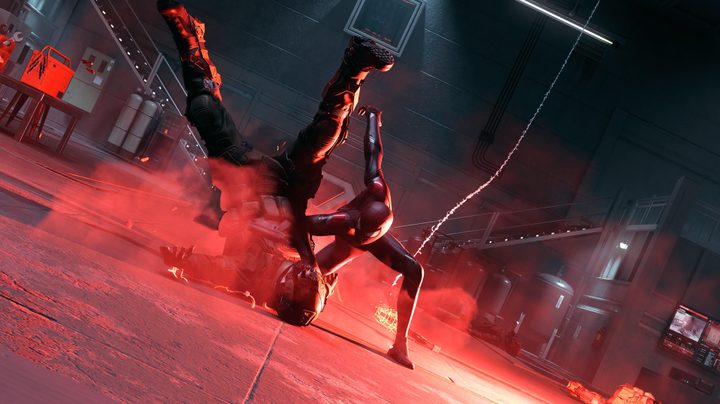
Take advantage of invulnerability frames when using finishers
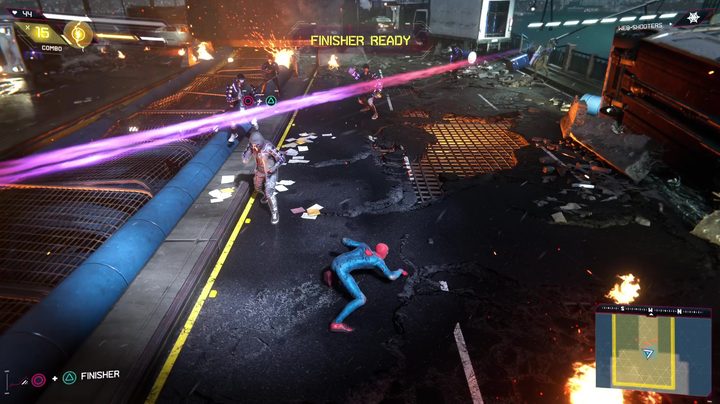
During the heat of battle, things can start to get tough. To make your life easier, always have a Finisher available to get you out of trouble. The game makes you invulnerable while using a Finisher (or Venom Strike), so if you’re about to get hit, quickly press Circle + Triangle to begin the animation. This will prevent you from taking damage and will boost your combo so you can heal. Remember, Venom Strikes work the same and you can earn them by attacking or dodging.
Upgrade your Venom uses to have more during combat
Speaking of Venom Strikes, you can upgrade its effectiveness from the Skills menu. Definitely go out of your way to upgrade these skills, as they will give you a tremendous leg-up during combat. Eventually, you’ll unlock the ability to have multiple Venom Strike uses — giving you more than just one bar to fill up.
Use the environment to your advantage
Certain enemies are pretty tough, but typically the objects that surround you can make a huge difference if used properly. We recommend to web up anything you find, like boxes, fire extinguishers, and other items that deal high damage. If you’re having trouble connecting with an attack, try throwing an object at an enemy to stun them for a few moments — allowing you to strike. You can also swing the objects around, which will knock down any nearby enemies — a great tactic for damaging several foes at once.
Tips for using the photo mode
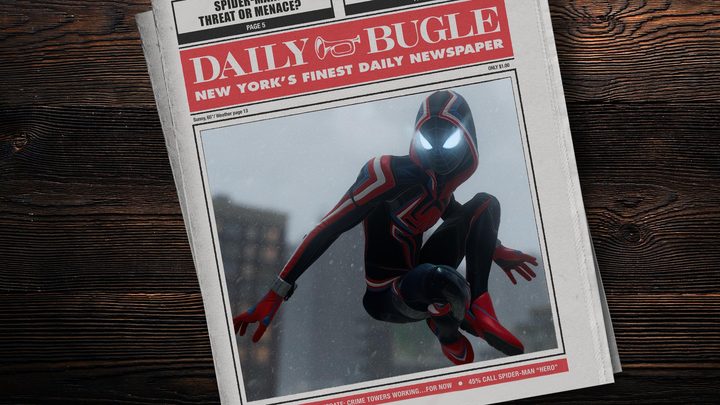
One of the best features of Spider-Man: Miles Morales is its robust photo mode. When you dive into it, you’ll find a slew of options and ways to customize your photo. One thing we learned is that lighting makes all the difference in the world. By pressing Square, you’ll enter the Light Mode, and you’ll be able to manipulate the light in the scene — from its color to intensity and position.
Depending on the shot you’re going for, you might also want to take a look at the various frame selections available. There are lots to choose from, like a newspaper frame and even one where Spider-Man seems to be viewing the scene on his phone. We also really like the personal touch of the selfie Camera Type, which is available in the Camera settings from within the photo mode. Also, don’t forget to change the time of day by going into Settings > Game > Time of Day. This will allow you to personalize the visual aesthetic even further. And don’t forget to hide your UI by pressing Triangle from within photo mode before grabbing the shot!
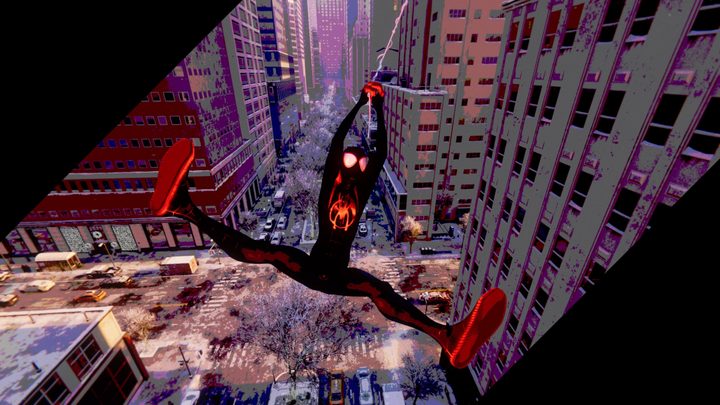
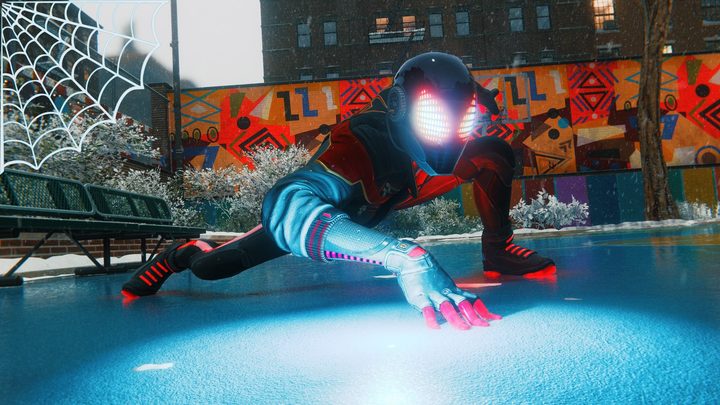
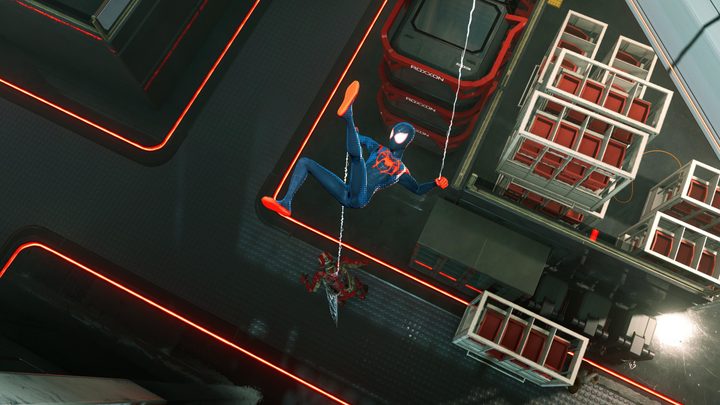
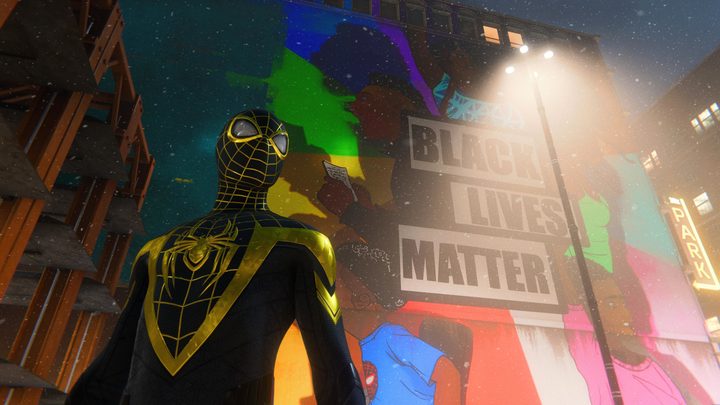
Photos from the community
Finally, let’s swing through some of the beautiful shots from the community. It’s incredible to see such stunning images that are all created by using the game’s photo mode, so let’s give some of the best photos a shoutout here!