As in the original game, blue request notes are scattered throughout the remake of Resident Evil 4, each asking you to track down and shoot five blue medallions in the respective area. Doing so is worth the effort, too, as you’ll be able to earn Spinels as a reward, which you can then use for trading with the merchant. So, if you’re ready to round up all of the blue medallions, we’ll tell you where you can find them below.
Request No. 1: Farm Blue Medallions
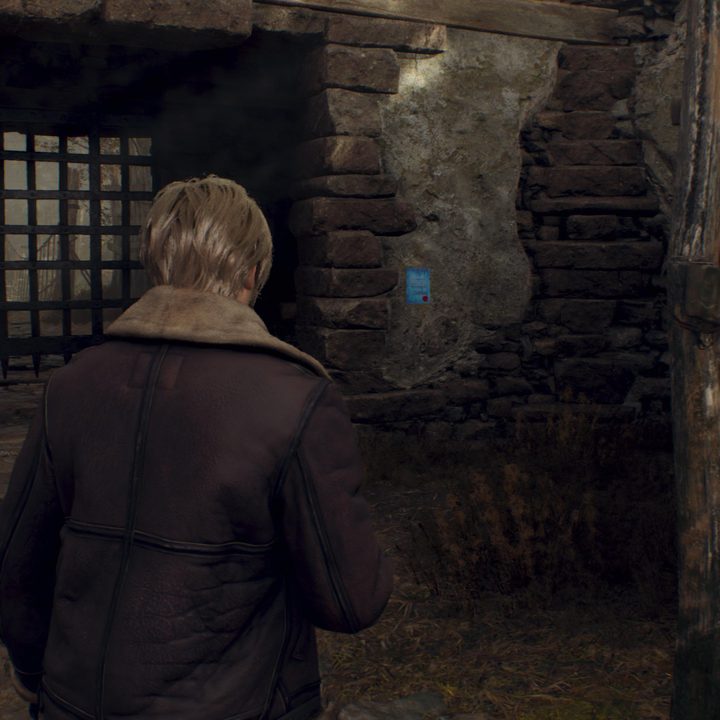
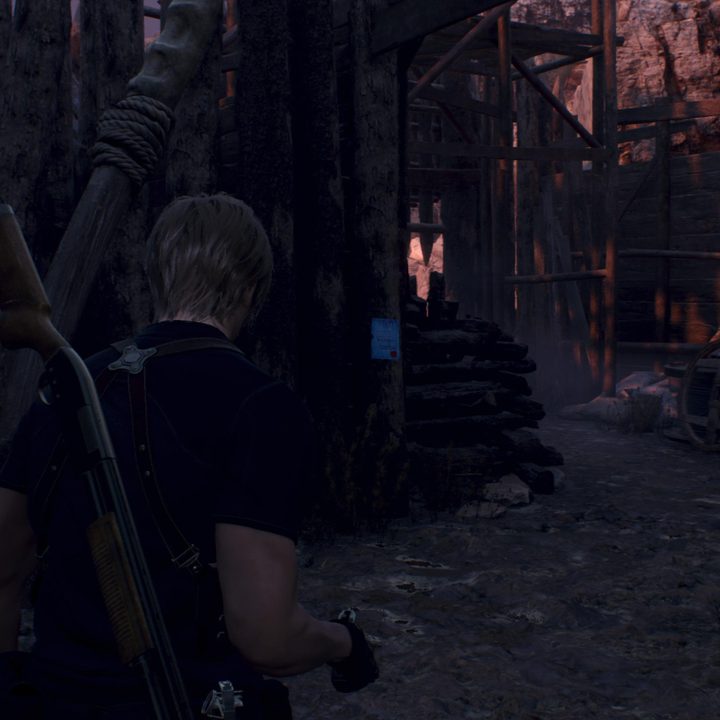
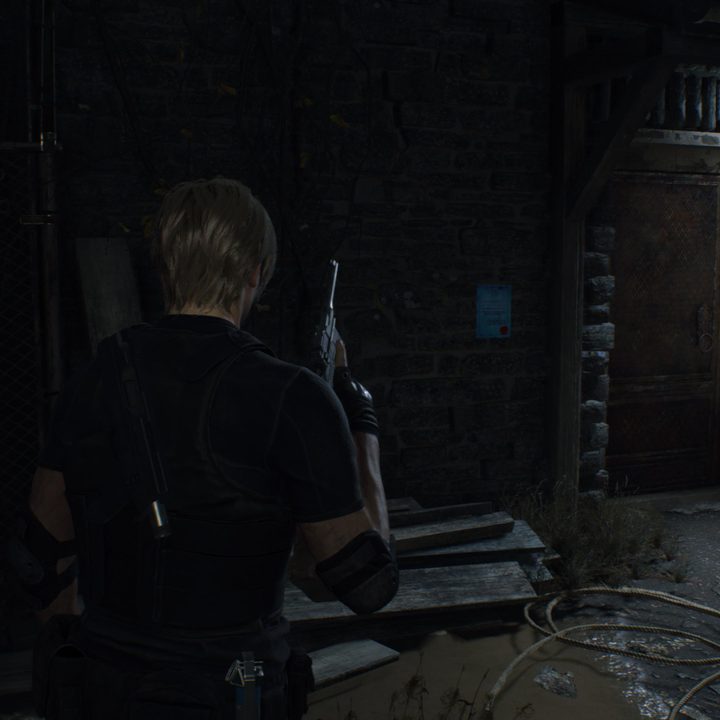
The request note for this challenge is found as you enter the farm area, where you’ll see it hanging on a wall near the gate that must be opened after finding the wooden cog.
Blue Medallion No.1
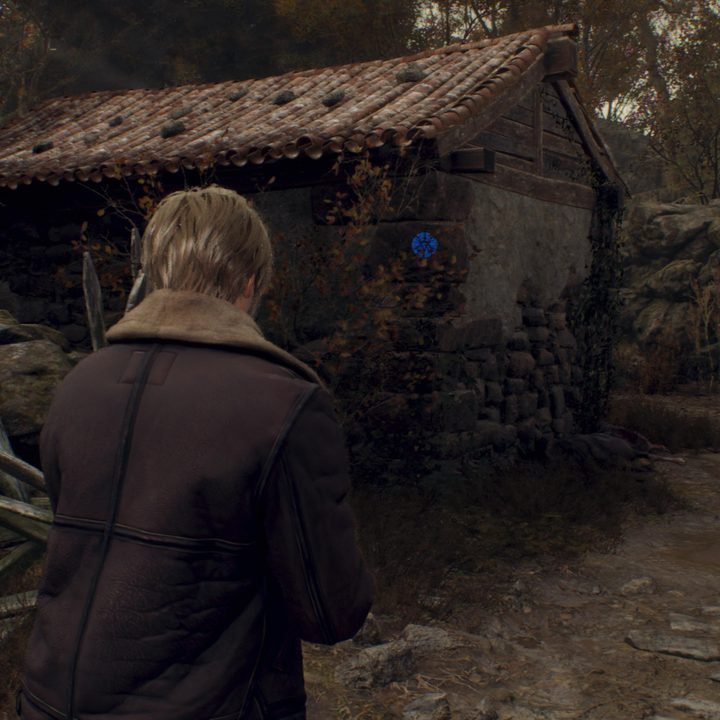
From where you first enter the farm area, the first medallion is hanging on the small building to the right. It’s in clear sight and hard to miss, but walk around and face it head-on before trying to shoot it.
Blue Medallion No.2
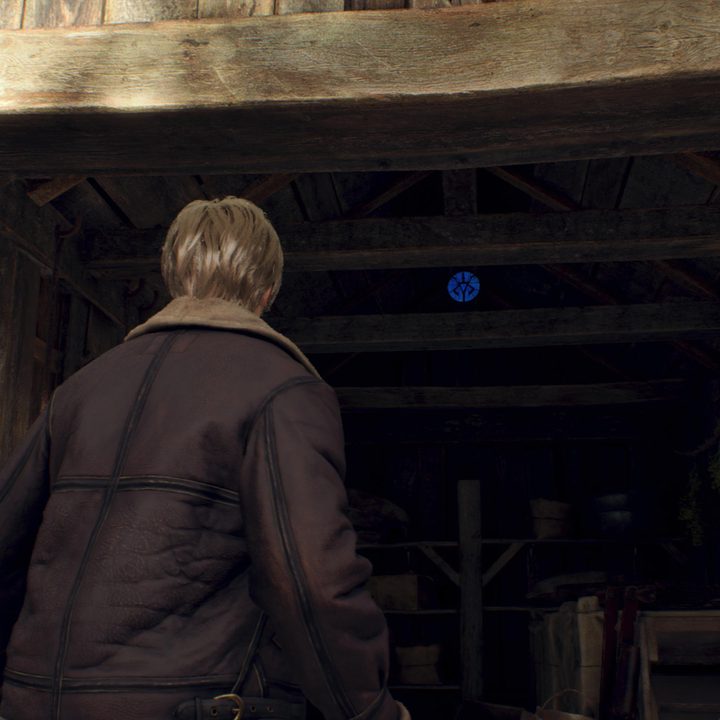
Return to where you enter the farm area and face forward, then look to your left and hop the fence into the section with all of the animals and a grotesque corpse pile. Immediately after doing so, look into the nearby building to find the second medallion hanging on a pillar.
Blue Medallion No. 3
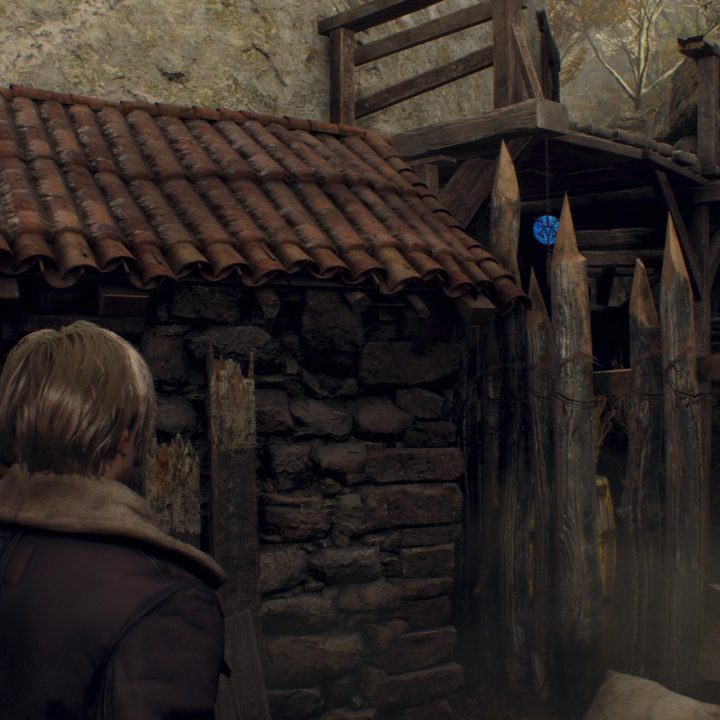
From the last medallion, look for a small shed across from the last building. Approach it and look up to see the third well-hidden medallion hanging from the ceiling.
Blue Medallion No. 4
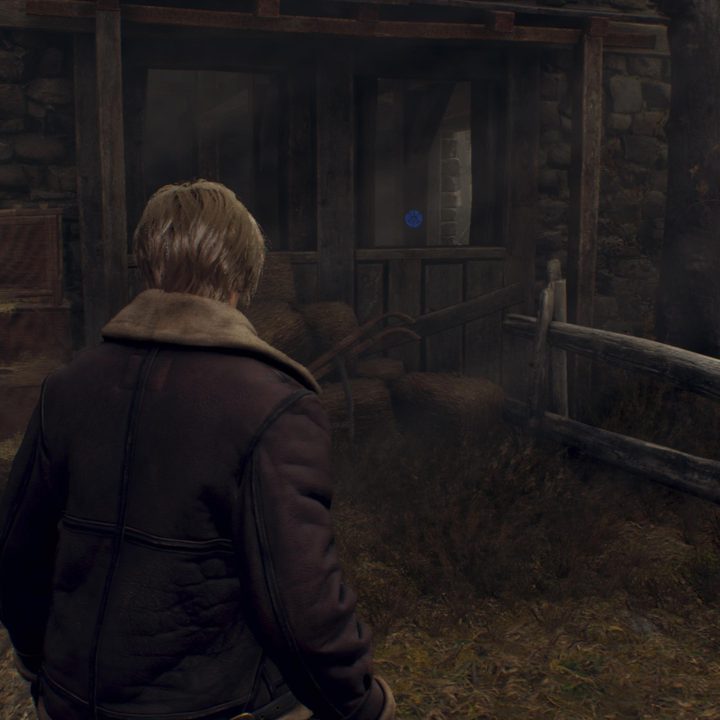
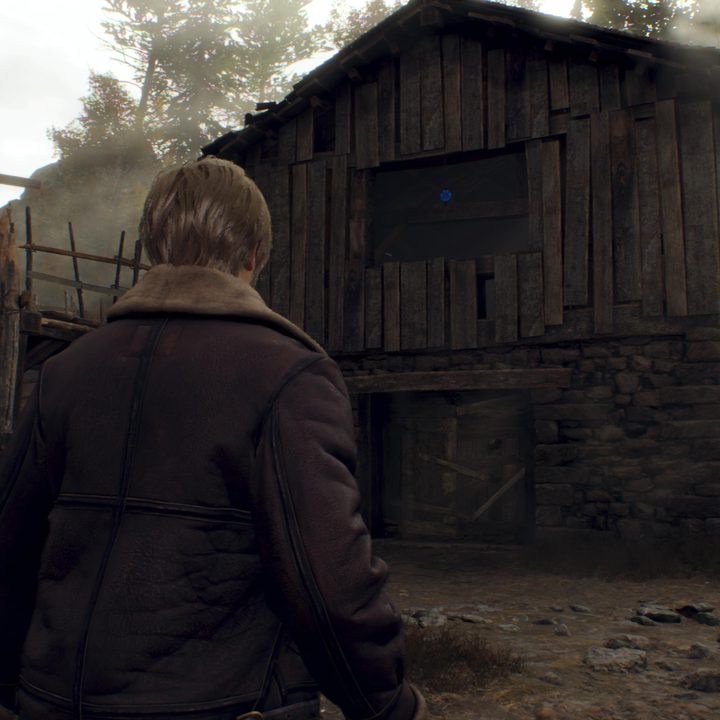
Once you’ve obtained the third medallion, move forward a bit and look up into the giant window of the large building ahead. You should be able to easily spot the fourth medallion hanging there.
Blue Medallion No. 5
While still looking at the last medallion, head forward and to the left to go behind the large building. Look behind the fence here to find the final medallion hanging from beneath a decrepit bridge.
Request No. 2: Quarry and Fish Farm Blue Medallions
The blue request note for this challenge is easily spotted as you first walk into the quarry.
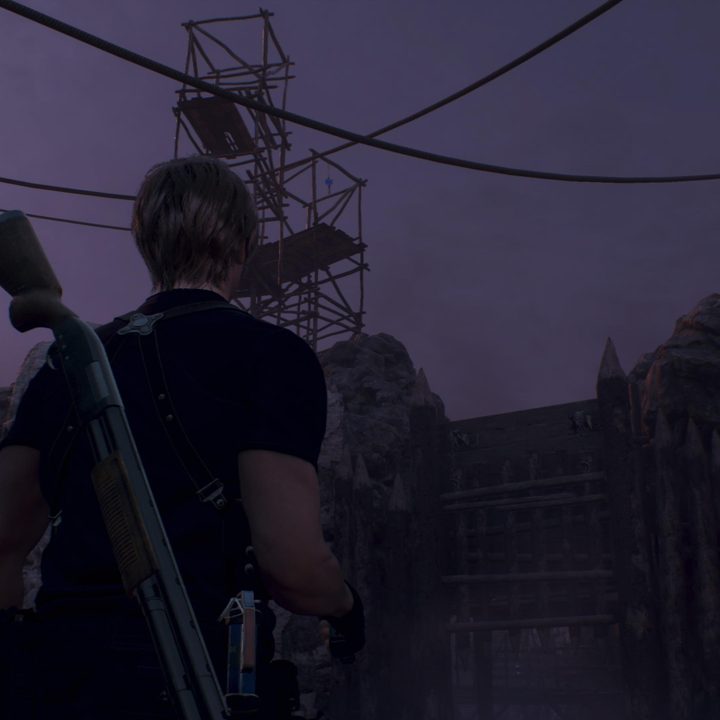
Blue Medallion No. 1
The first medallion can be seen high up on the scaffolding at the beginning of the quarry just after the note.
Blue Medallion No. 2
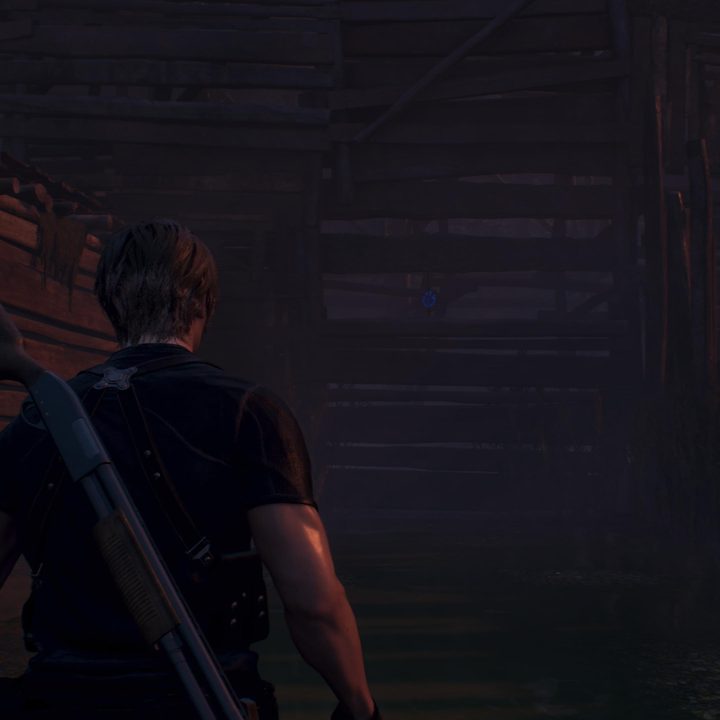
Shortly after encountering the merchant in this chapter, you’ll head through some double doors and down to a dock. Before going through the cave toward the fish farm, head down the ladder and head down to the very end of the dock by the boat. Turn around to see the next medallion beneath the dock.
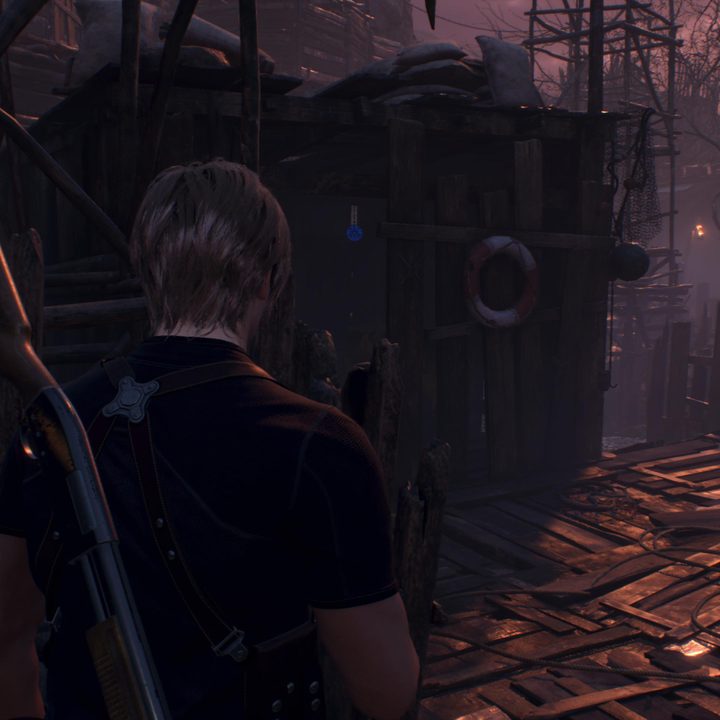
Blue Medallion No. 3
After heading through the cave, you’ll come to the fish farm. As you emerge out of the water at the beginning and onto the dock here, you’ll be able to spot the third medallion hanging in a small shack.
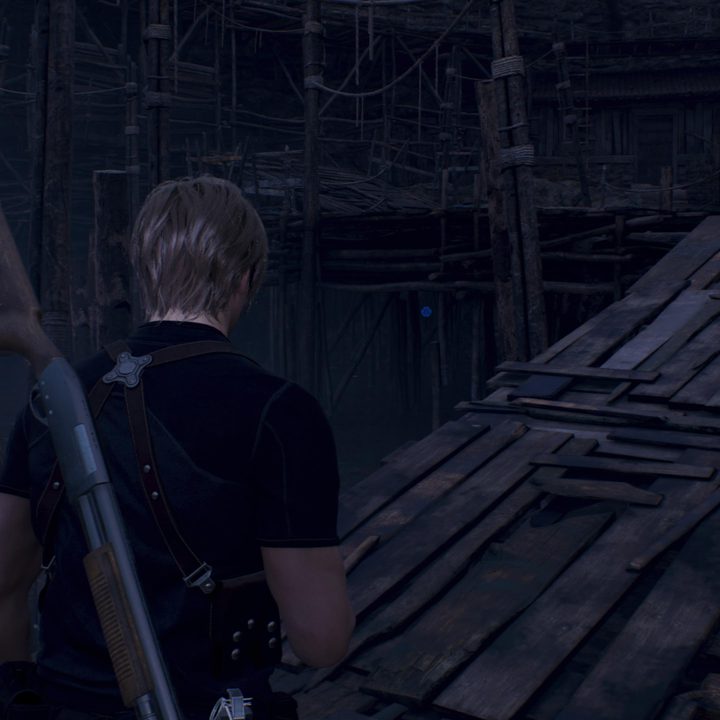
Blue Medallion No. 4
After grabbing the medallion from the shack, head into the water beside it and wrap around to the other side of the large ramp here to find the next medallion hanging about halfway up the wall.
Blue Medallion No. 5
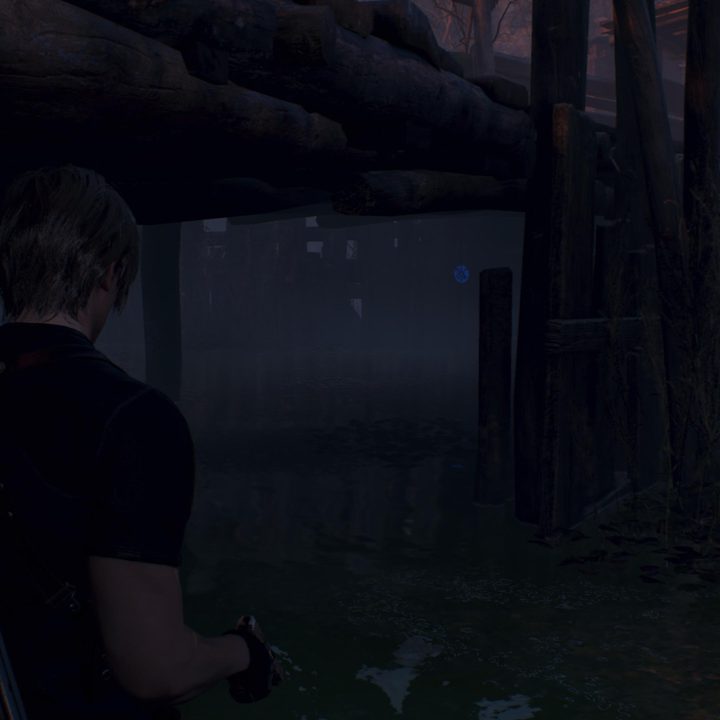
Continue on through the fish farm until you reach the final section – there will be a building here housing some much-needed gasoline for the boat. Before entering the building, wade into the water here and look beneath the nearby dock to see the final medallion.
Request No. 3: Castle Gate Blue Medallions
The blue request note for this challenge can be found next to a door after blowing open the castle gates with the cannon.

Blue Medallion No. 1
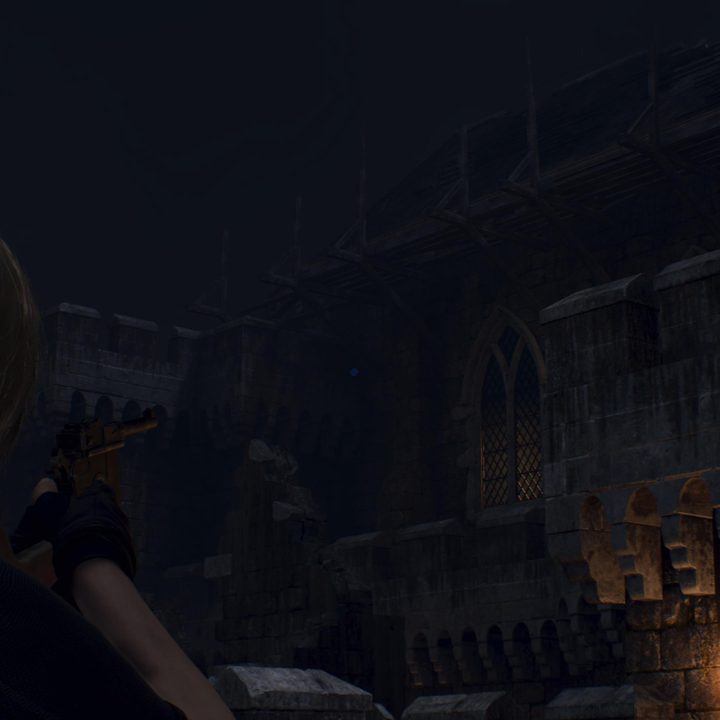
Stand where the castle gates were destroyed, then look up and to the right to spot the first medallion far in the distance. You’ll want to be sure to use a pistol or rifle to make such a long shot.
Blue Medallion No. 2
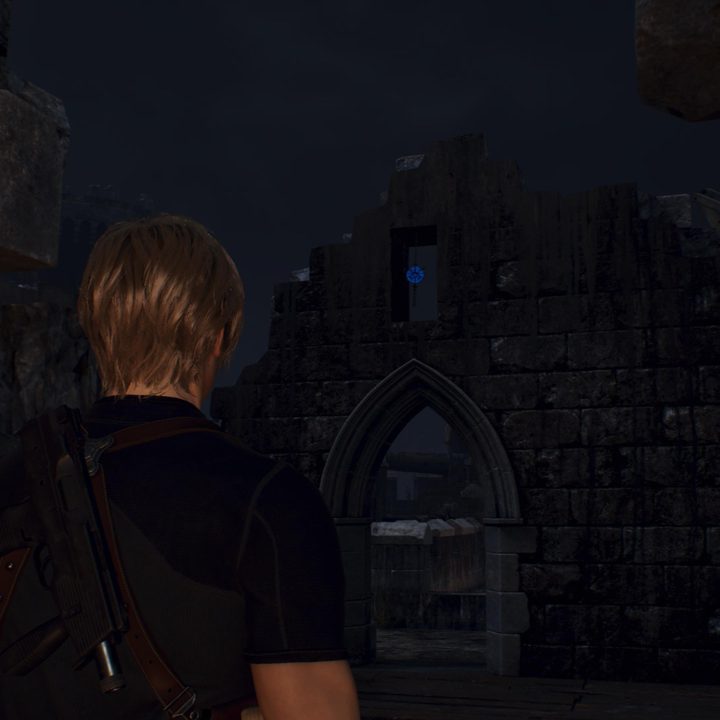
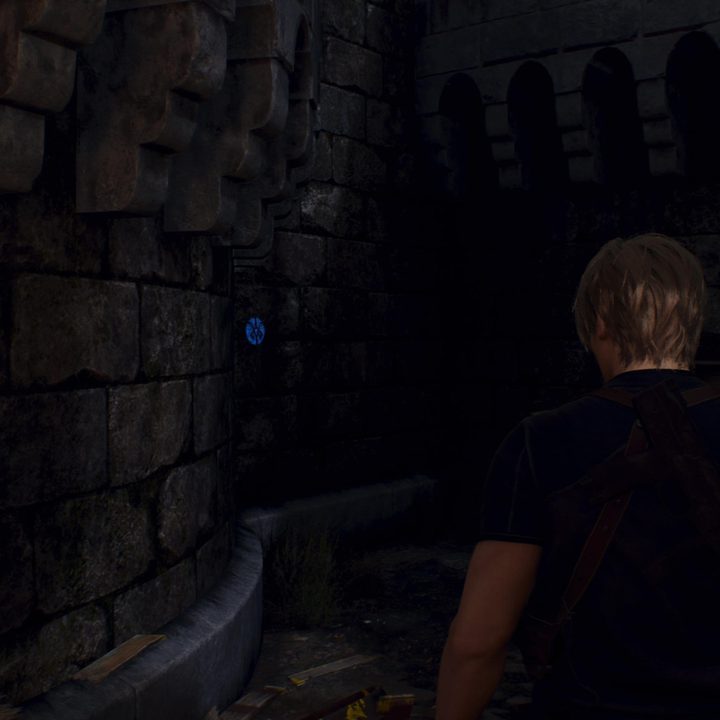
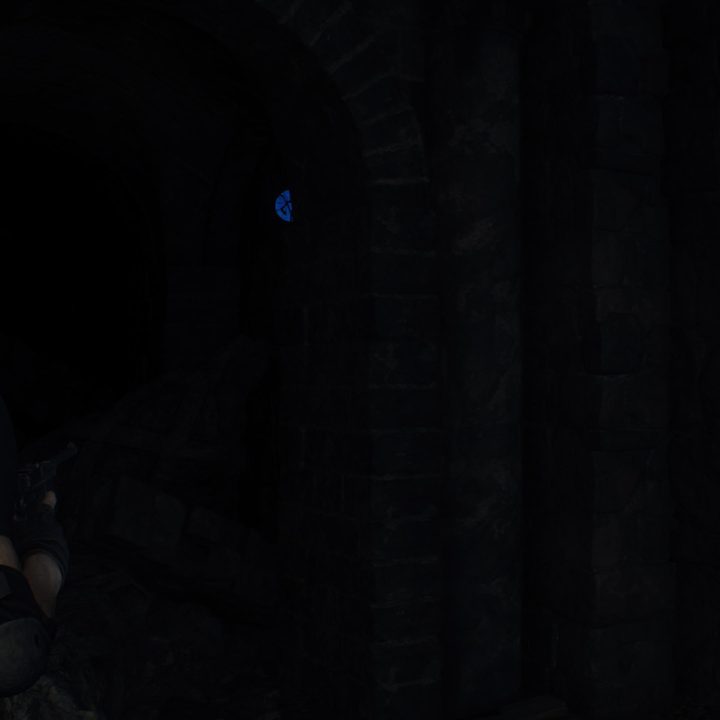
From the destroyed castle gates move ahead across the tiny bridge and around the right side of the structure here. As you enter the structure from a crumbled part of the wall, you can see the second medallion hanging in front of you.
Blue Medallion No. 3
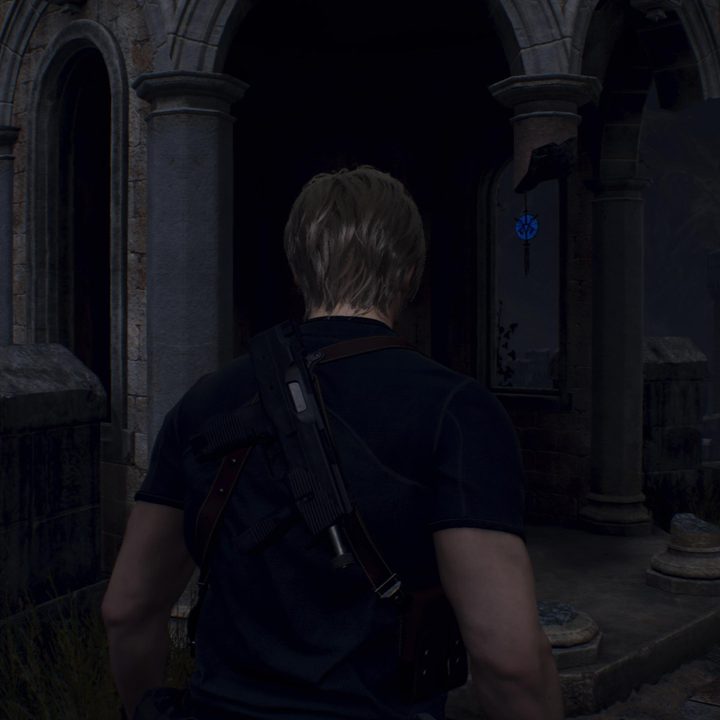
Go through the wooden door here (provided you unlocked it from the other side during the catapult fight) and look immediately to the right. The third medallion is hanging here next to the chest containing an elegant bangle.
Blue Medallion No. 4
Now head all the way across the long bridge toward the cannon. In the decorative alcove here is the fourth medallion.
Blue Medallion No. 5
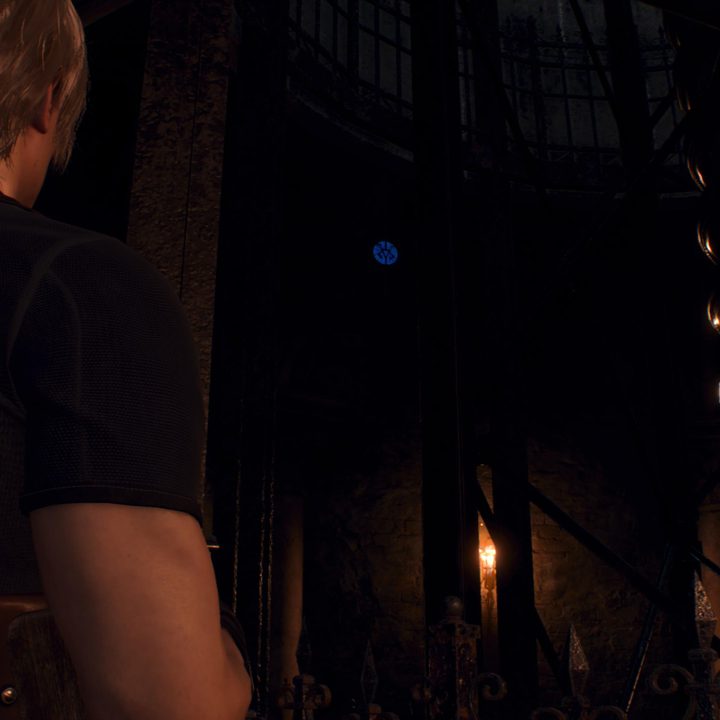
Drop down beside the cannon into the room below, then look up to spot the fifth medallion.
Blue Medallion No. 6
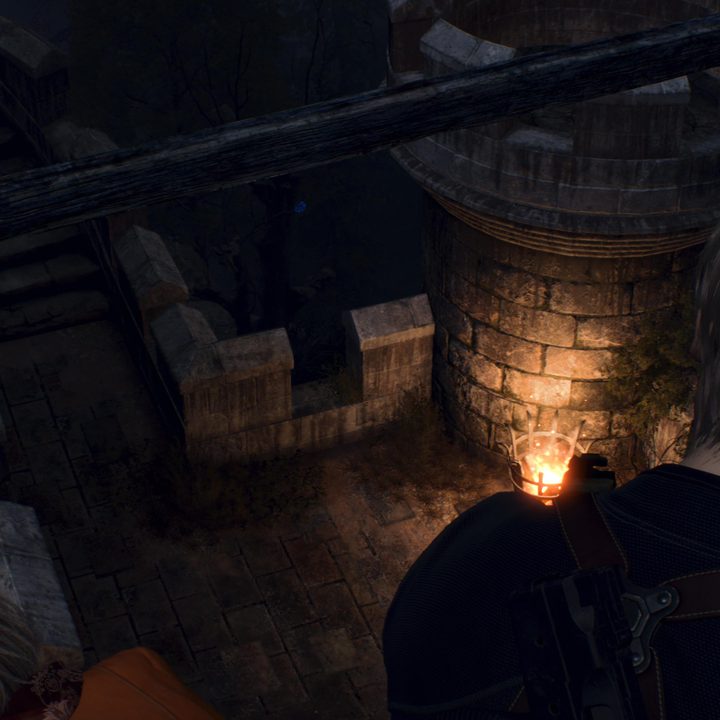
Continue onward through the next room and up a ladder. While standing on the scaffolding here, look down over the ramparts to see the final medallion hanging from a tree off in the distance.
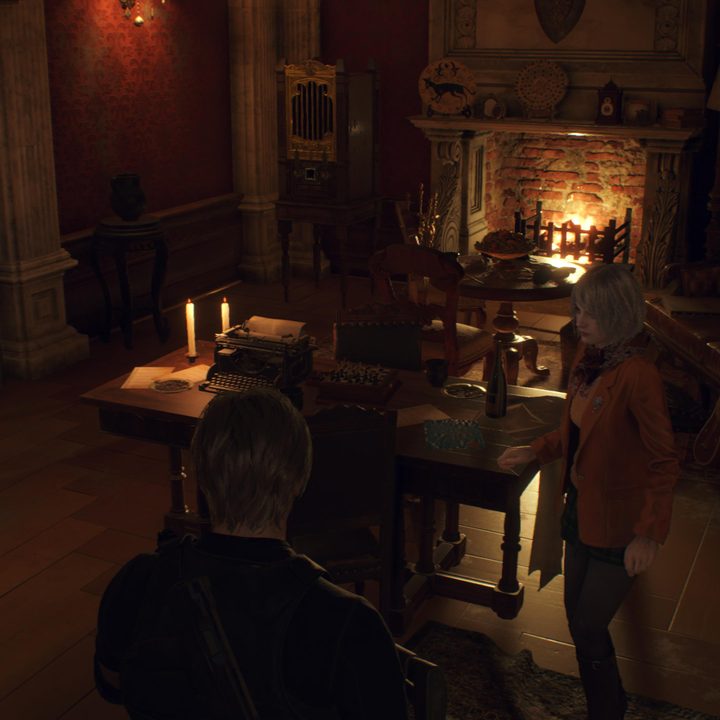
Request No. 4: Grand Hall, Dining Hall, Armory, and Gallery
The request note for this challenge is located in the merchant’s room right after first entering the grand hall.
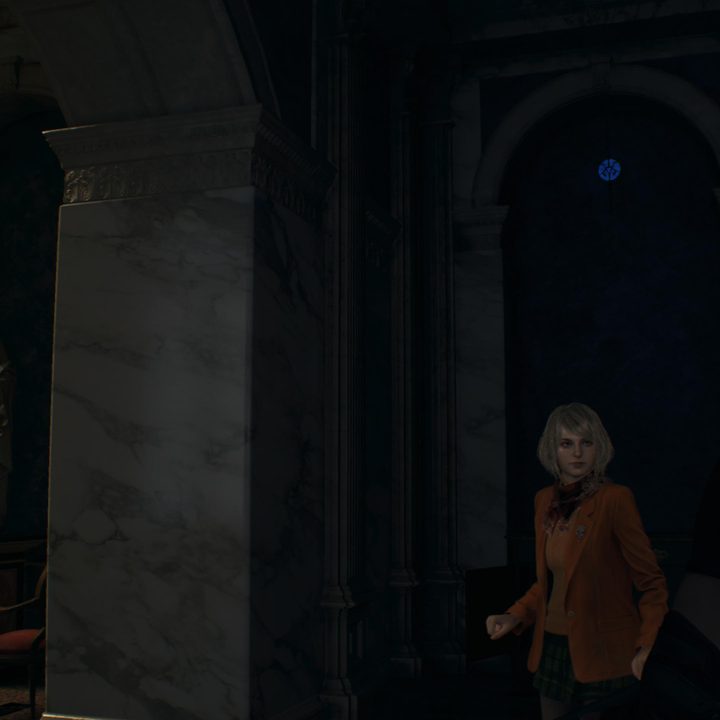
Blue Medallion No. 1
Backtrack from the merchant’s room and face the giant door you passed through to enter the grand hall. You’ll spot the first medallion hanging in an alcove on your left.
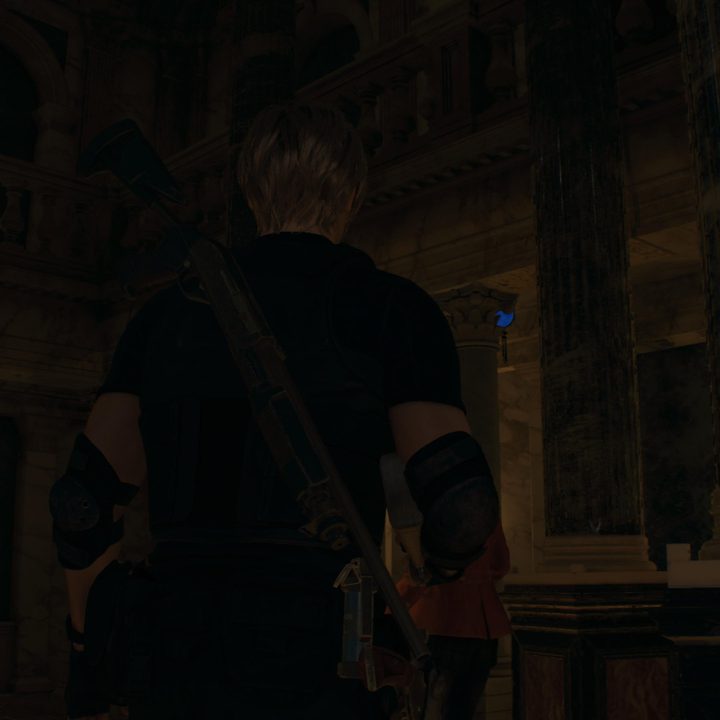
Blue Medallion No. 2
Head up the stairs to the chimera statue and look behind it for the second medallion.
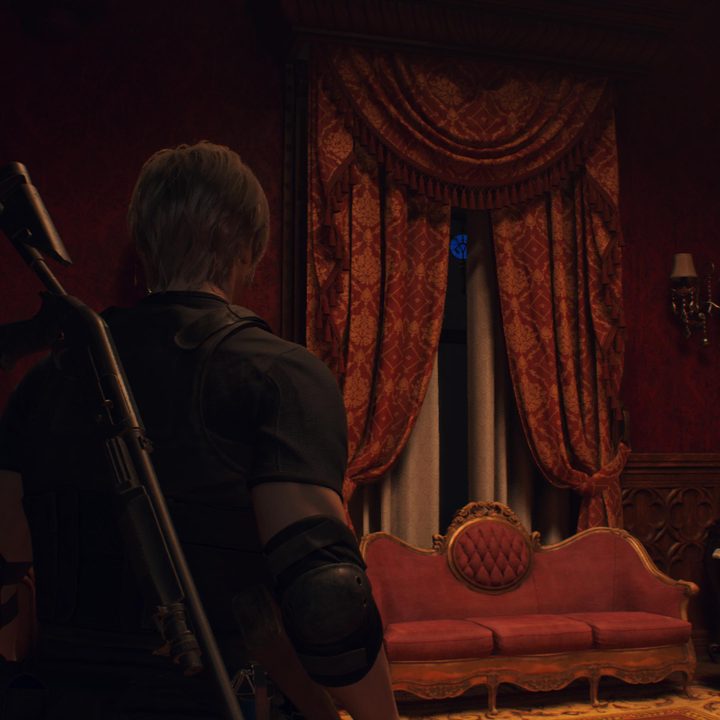
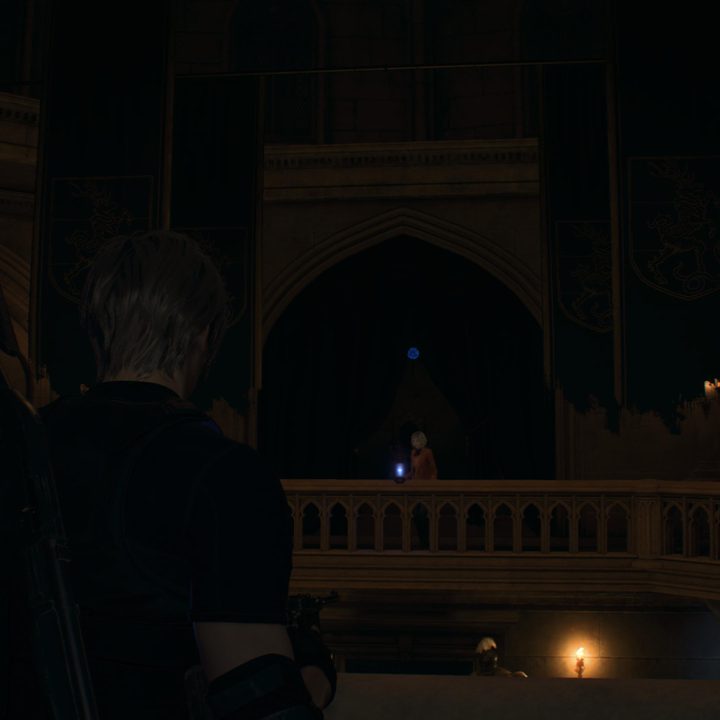
Blue Medallion No. 3
Go through the door near the statue into the dining hall. Head to the back of the room and look into the curtains at the end to find the third medallion.
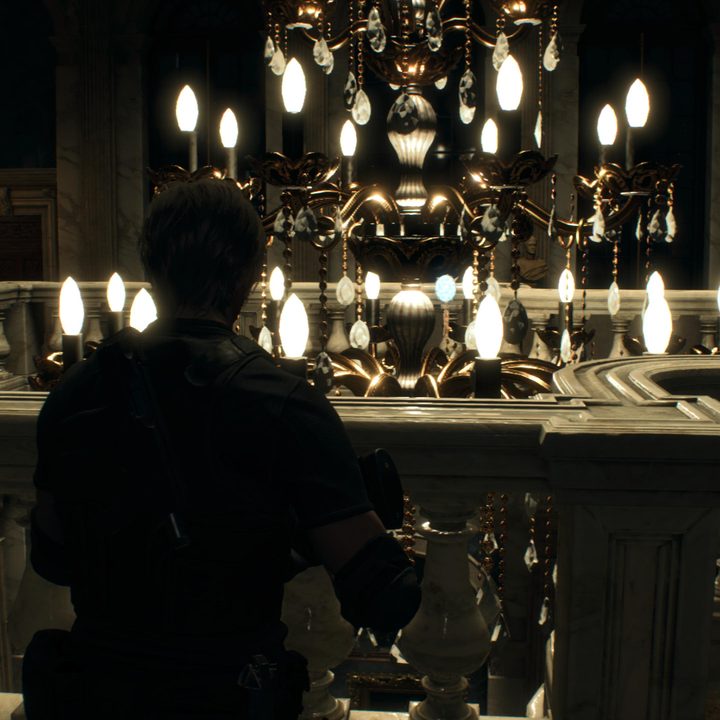
Blue Medallion No. 4
Leave the dining hall and go up the stairs on the right. Look at the large central chandelier to spot a well-hidden medallion hanging amongst the light bulbs.
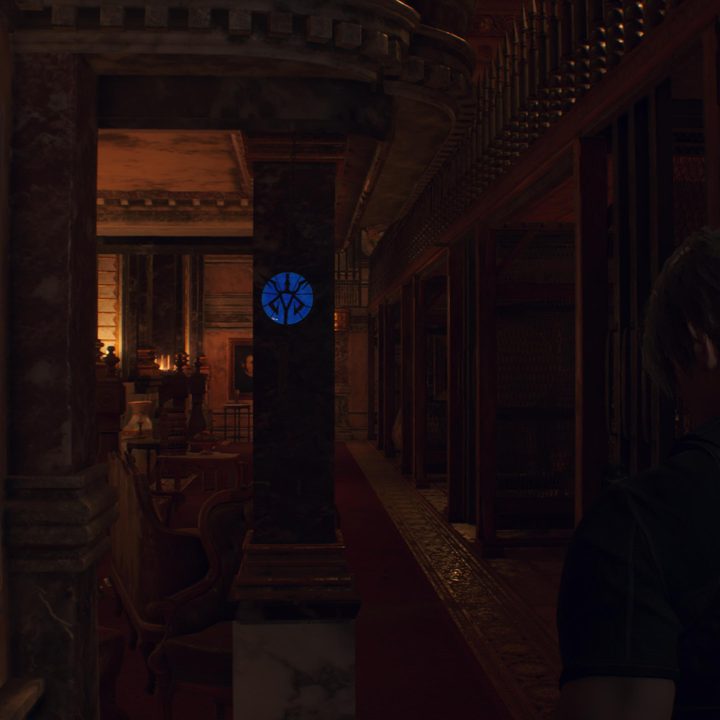
Blue Medallion No. 5
Go through the door on the right side of the upper hall to enter the armory. Head through the hallways until you reach a circular room surrounded by banisters and a section missing. Before you descend down into the room below, go left and then face across to the other side to see a medallion.
Blue Medallion No. 6
After making your way through the armory, head back upstairs and go through the left door to enter the gallery. After clearing the room of a mass amount of challenging foes, check behind a pillar on the bottom floor for the final medallion.
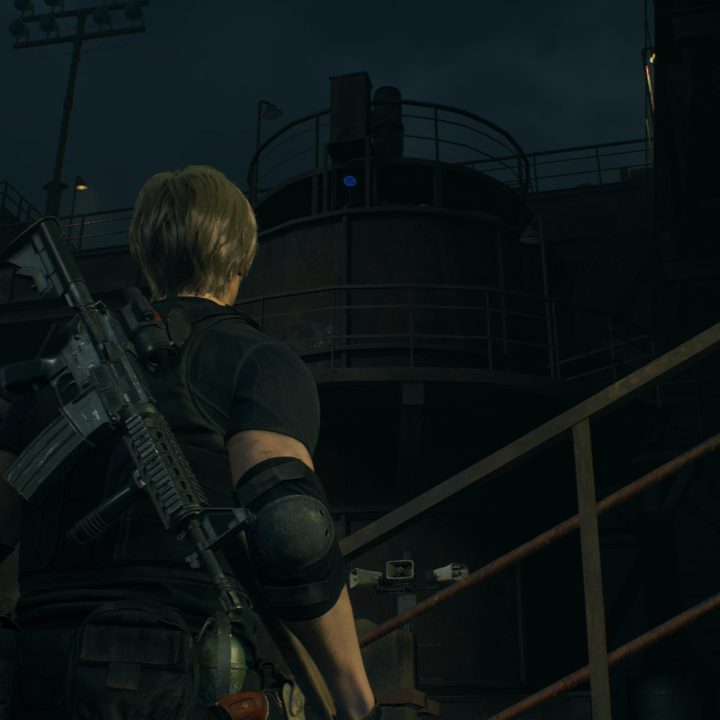
Request No. 5: Cargo Depot
The request note for this challenge is located by a door near the merchant in this area.
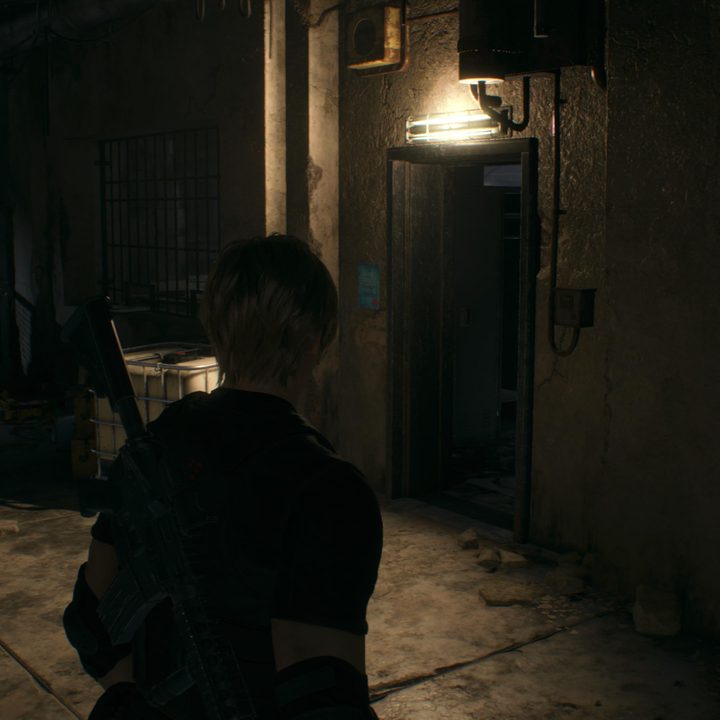
Blue Medallion No. 1
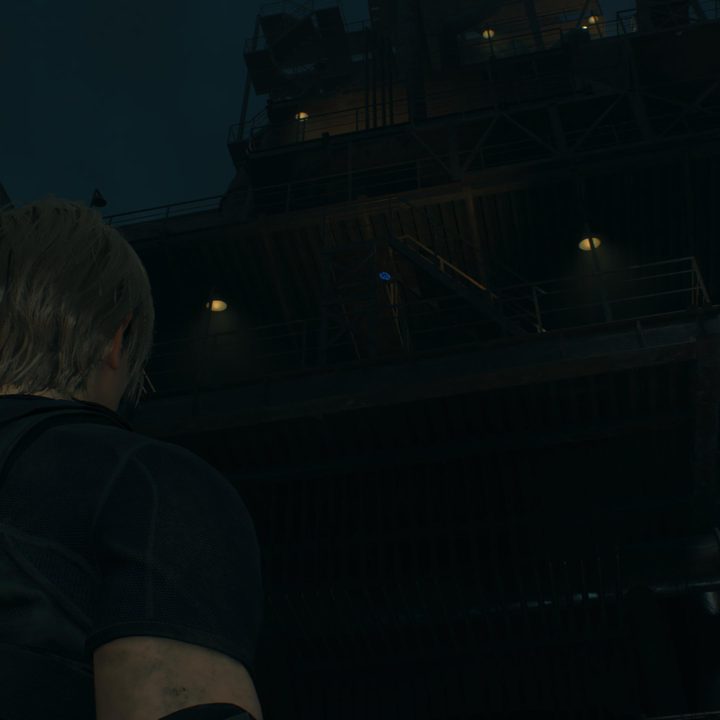
Head past the merchant through the double doors into the main Cargo Depot area. When you get outside, turn around and look high up above the doors for the first medallion.
Blue Medallion No 2
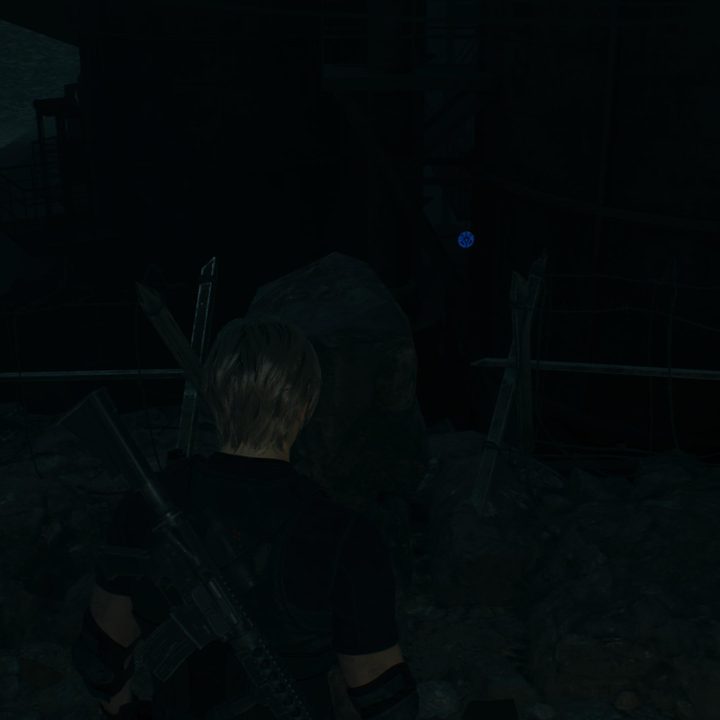
While facing the doors you came through, look left over the nearby fence to spot the second medallion hanging there.
Blue Medallion No. 3
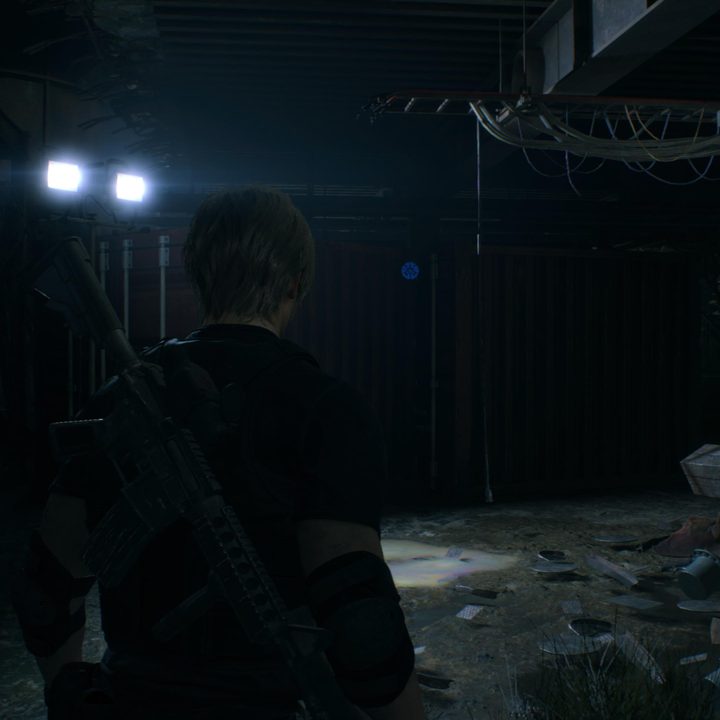
Go up the nearby stairs and then drop down the ladder. Enter into the underground section here, dispense of the wandering enemies, then check the left side of the area for a medallion hanging by some shipping containers.
Blue Medallion No. 4
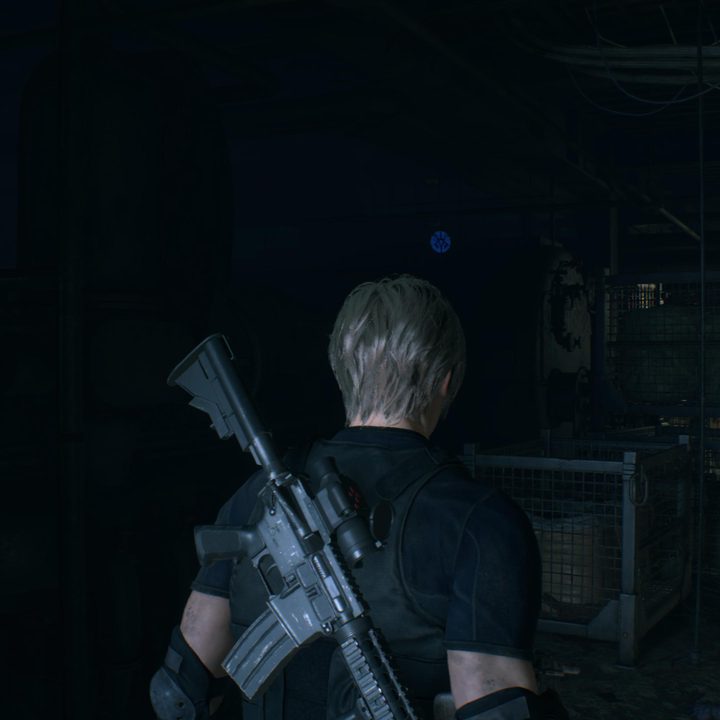
While in the same area, don’t go up the next set of stairs yet. Instead, check to the right of the stairs for a medallion hanging over some metal crates.
Blue Medallion No. 5
Now go halfway up the stairs, then look up to the left to find the final medallion.
Request No. 6: Cliffside Ruins
The request note for this challenge is located next to a door on the right of the Cliffside Ruins right after the helicopter crashes.
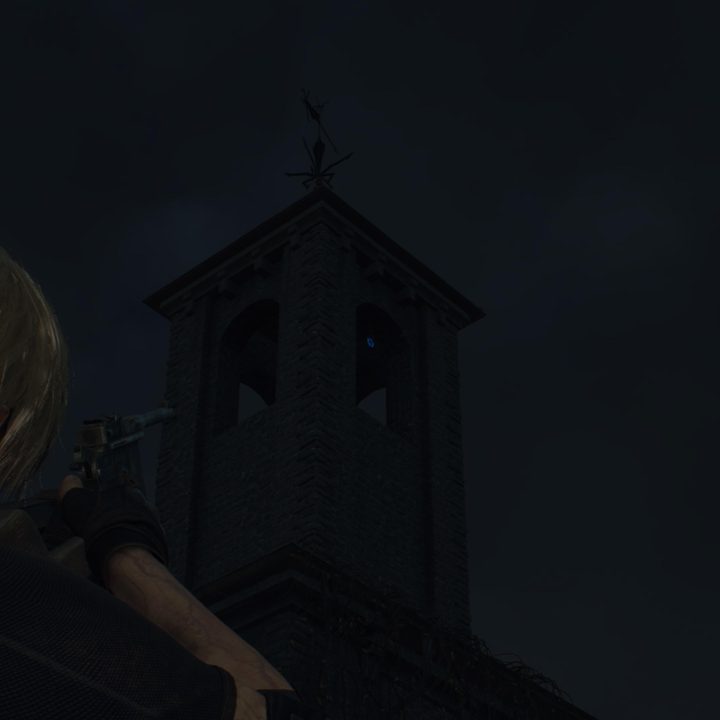
Blue Medallion No. 1
From where you accepted the request, simply turn and look up far above the door to see the first medallion hanging in a tower. Use a rifle to hit it, if possible.
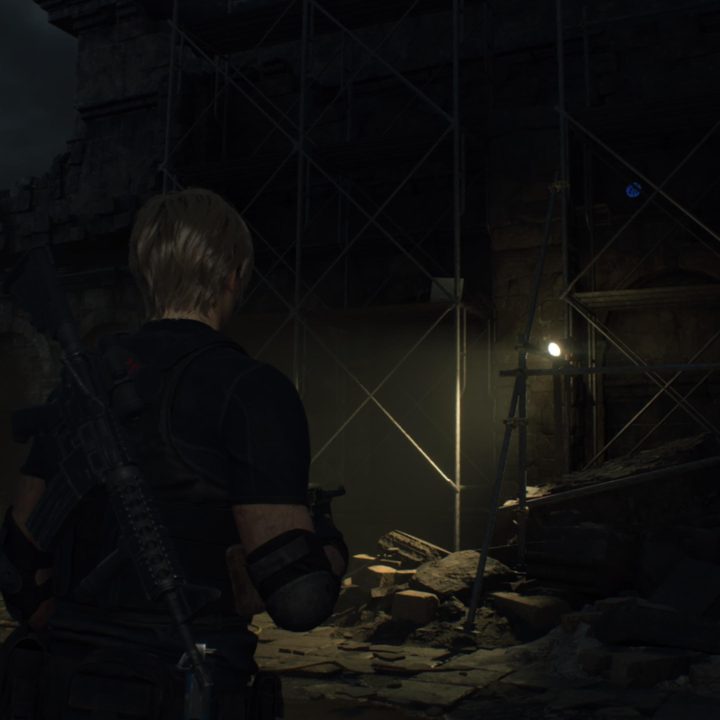
Blue Medallion No. 2
After shooting down the first medallion, turn back around and walk forward back towards the front of the ruins, but stop after a few paces and shoot the medallion in the scaffolding on your right.
Blue Medallion No. 3
Head around and enter the front of the ruins. Before descending the ladder here, look just behind it for a medallion hiding away in the alcove.
Blue Medallion No. 4
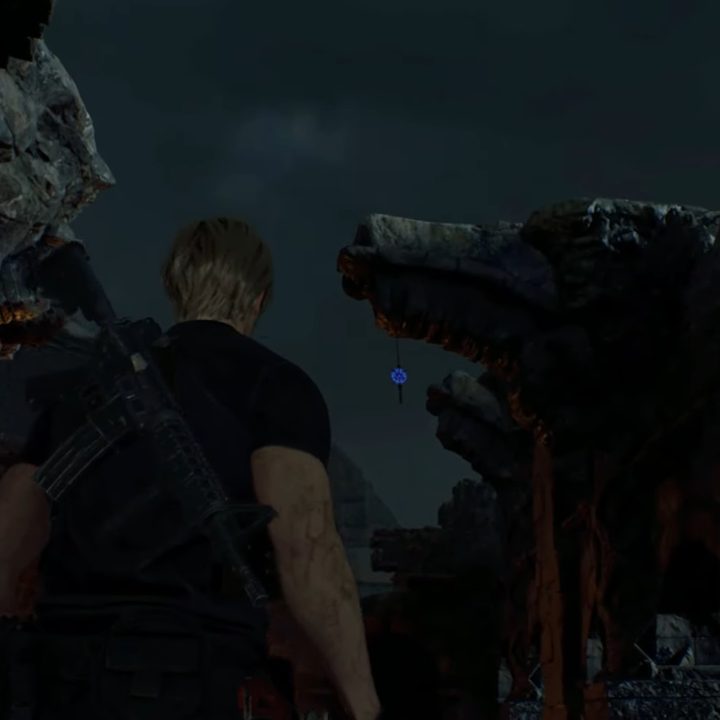
Descend the ladder, follow the linear pathway, and then look up to see the fourth medallion dangling from a piece of the ruins above.
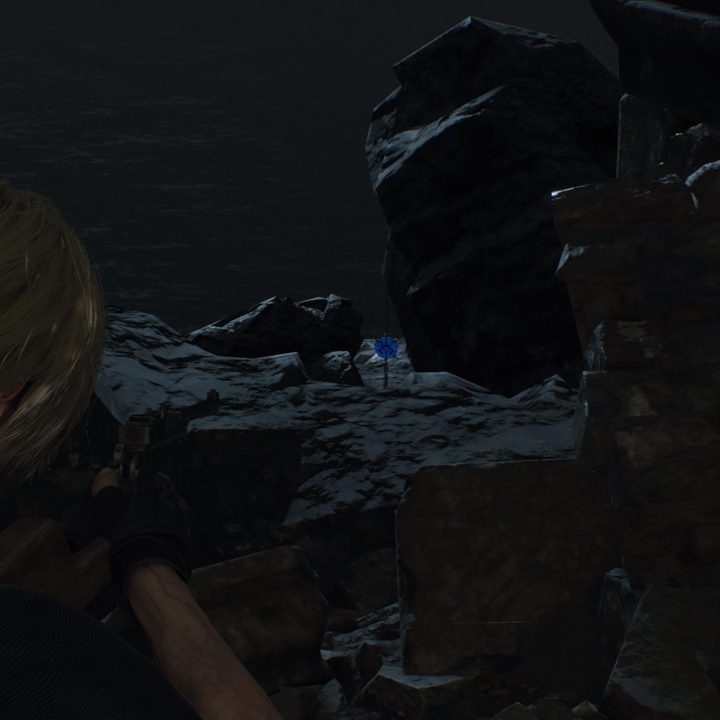
Blue Medallion No. 5
The final medallion can be found in the same area as the last one. Look out of the first gap in the ruins down here to spot it on some rocks against the cliffside.