
One of the most exciting parts of diving into a brand new sci-fi universe like Starfield is discovering all the new futuristic technologies. There are of course spaceships and jetpacks, but what you’ll be using most often will be the suite of weaponry. We haven’t gone completely beyond the use of traditional guns as we recognize them, but that doesn’t mean there aren’t more exotic and exciting weapons to find. All weapons fit into a few major categories, but there are many unique variants that have far better stats or special traits that put them above the rest. Here is a quick list of some of the best weapons in Starfield.
Best weapons in Starfield
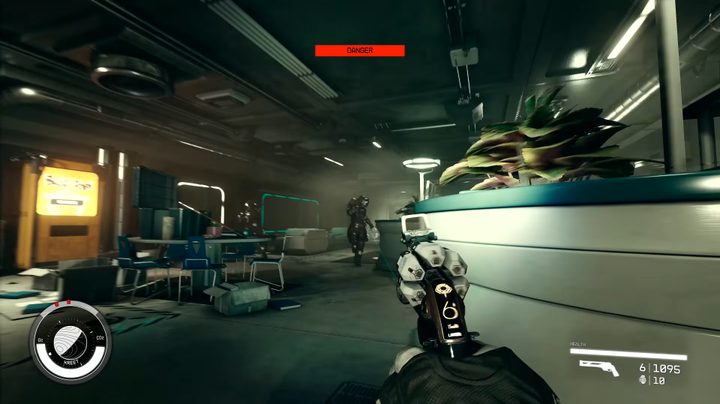
Magshear
Rifles are among the most common weapons in Starfield, and also the most reliable. They’re good at most ranges, tend to have a good rate of fire, and can be tweaked with plenty of mods. The Megshear rifle in particular is one of the most powerful of its class we’ve encountered. It uses .50 MI ammo, meaning it’s going to pack a heavy punch of 12 damage per shot, which is quite high when you consider it has a fire rate of 300. It has a standard range of 40, which is typical, but has five mod slots you can use to tune it to your liking.
Razorback
Let’s face it, plenty of you are going to be role-playing a Han Solo-style bounty hunter in Starfield. As such, you will want to be backing the best pistol possible. Pistols may not be viable in most shooters, but there are plenty that can not only hold their own here but even be some of the best weapons in the game. The Razorback, for example, hits like a truck at 61 base damage. This is a revolver-style gun, though, so you have to deal with a very low fire rate of 12 and only six shots per mag, but with eight mod slots, you can turn this hand cannon into just about anything you want.
N67 Smartgun
We all know that scene in Aliens where the Marines pull out the huge smartguns and unload on the xenomorphs swarming them, right? The N67 Smartgun looks more like a traditional chaingun than that but is functionally just as effective. Each round does 11 damage, but when you’re spitting bullets out at a fire rate of 350, that adds up very quickly. Each mag holds 300 bullets, with a decent range of 40, but you’re trading off accuracy which is just below half at 49.3% so you want to be close. This is a unique gun, meaning it comes with Shattering, which makes it super effective against armor, plus has two mods already installed: a Compensator and Armor-Piercing Rounds.
Technophile’s Pacifier
There’s not much to say about shotguns in Starfield that you don’t already know. Still, if you want to get the most bang for your buckshot, go with the Technophile’s Pacifier. Each blast kicks out 93 damage at a decent fire rate of 20. The range, as you would expect, is only 17, but you can up it some thanks to six available mod slots. It is also pretty accurate off the bat at 55.9% and holds seven shells before reloading.
Assassin’s Beowulf
Back to rifles, but this time we’re looking at more of a sniper-style gun. The Assassin’s Beowulf is perfect for scoping out an outpost and picking off targets from the shadows. It deals 44 damage with great range and accuracy. It comes with eight mod slots open, so you will need to tinker with it to add on a scope, long barrel, suppressor, and whatever else you like, but it can easily become your most trusty sniper.
Brawler’s Equinox
We weren’t going to leave out any of the laser weapons on a list like this, and if you’re going to go full sci-fi, grab yourself a Brawler’s Equinox. Obviously, this will deal energy damage as opposed to physical, which doesn’t really mean much except that you won’t get flung around when shooting this weapon in zero-G. This is a rare version of the regular Equinox rifle, with the perk of dealing twice as much melee damage as normal, which may or may not come in handy for you. Regardless, it is basically the laser equivalent of the Magshear in that it is a perfect all-around weapon to keep on your quick-select.
Ember
One of the coolest pistols in the Settled Systems has to be the Ember. Sticking to laser weapons, this one actually has the special effect of shooting ignition beams that can ignite enemies. In terms of raw stats, you’re looking at 12 energy damage at a good 25 firing rate, but a low base range of 24. Still, you have seven mod slots to work with, which is well worth it to take advantage of those awesome ignition beams.
Poison Barrow Knife
Just because we have all kinds of new guns and lasers doesn’t mean a classic knife isn’t worth keeping handy for when things get tough or your ammo runs dry. Rather than pick something like an axe, we opt for knives, specifically the Poison Barrow Knife. This is a very rare drop, but absolutely worth hunting down. It will only do 22 damage per hit, but you can probably guess by the name that it has a bit more going on. First is that this deals an extra 30% damage to aliens, which isn’t all that useful, but the second perk will give each hit a random chance to inflict poison on an enemy. Poison, if you’re unaware, will slowly drain a target’s health, but also slow their movement speed.


