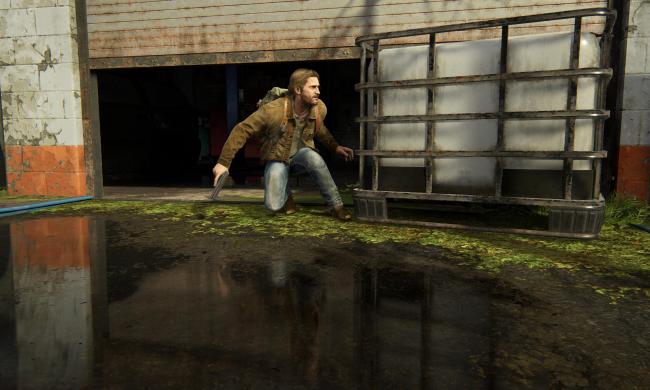
The Last of Us Part 1: All toolbox locations

Survival in The Last of Us Part 1 will come down to equal parts stealth, skill, and resource management. As Joel and Ellie go farther and farther west, the challenges they face will only become more daunting, asking more from the player in terms of all of these attributes. Aside from upgrading Joel himself with a few skills, the main way you will keep up with the harsher conditions of the game is through upgrading your weapons. However, you will realize very early on that many upgrades are locked.

The only way to fully upgrade your arsenal is by finding five toolboxes. These simple tools all unlock a new level of upgrades for your weapons, but just like anything else in The Last of Us Part 1, they’re very easy to overlook as you’re sneaking through an area or just admiring the amazing environments. Since there’s no backtracking in this game, missing one means you won’t be able to max out any upgrades on your first playthrough, so make a note of all the toolbox locations in The Last of Us Part 1 listed here.

First tool location

The first toolbox won’t come until you make it to Chapter 4 of the game, called Bill’s Town. After navigating his traps (or at least most of them), you will meet up with Bill and eventually make your way to his home base of sorts in an abandoned church. Here, he will show you how to make the very useful Nail Bomb item, but don’t leave the area to test it out just yet. Before you leave the basement, check the back corner for a shelf with the red toolbox sitting on it.

Second tool location

Very early in Chapter 5, Pittsburgh, you will be attacked by a group of survivors. After taking them out, you will need to lift up a garage door to progress. Once inside, look to the shelves immediately to your left for the toolbox.

Third tool location

Moving on to Chapter 6 now, follow the main path through the sewers until you get to the point where Ellie repairs a generator and Henry pulls you out of the water. Follow the tunnel forward, but watch for a side path on your left side. Take the path to a small room with the toolbox lying on the ground.

Fourth tool location

Back in school during Chapter 8, The University, go all the way into the science building but don’t go up to the second floor quite yet. At the end of the hall, just past a vending machine, is a locked door you will need a shiv to pry open. Use one, get inside, and the toolbox will be sitting front and center on one of the lab tables.

Fifth tool location

Our final toolbox is waiting in Chapter 10. After an awkward start, eventually, you will come to the infamous giraffe scene and then trigger a cutscene. After it ends, you will be in the abandoned FEMA camp. Look for the open tent nearest the bus station and go inside. Directly to the right of the entrance is a table with the final toolbox sitting on top.

Jesse Lennox
Jesse Lennox loves writing, games, and complaining about not having time to write and play games. He knows the names of more…
How to access Lost Levels in The Last of Us Part 2 Remastered
Lev draws a bow in The Last of Us Part 2 Remastered.

The Last of Us Part 2 Remastered officially brings the popular Naughty Dog game to PlayStation 5 with a number of enhancements, including visual upgrades, a new roguelike mode, and a variety of fresh features that returning players may be interested in checking out. Among these new features are Lost Levels, which showcase early versions of areas that were ultimately cut from the game. There are three of these unique levels you can explore, including Jackson Dance, Seattle Sewers, and The Hunt — and they're all accessible right away, meaning you won't need to beat the main game to explore them. When you're ready to dive into The Last of Us Part 2 Remastered's Lost Levels, we'll tell you where to find them below.
How to access Lost Levels

The Lost Levels can be selected by booting up the game and loading up the main menu. At the bottom of the list of options will be a section titled Making Of. Click this to reveal the Lost Levels on the following page. From here, you can choose between the following bonus levels:

Read more
The Last of Us Part 2 Remastered: No Return tips and tricks for beginners
Tommy in The Last of Us 2 Remastered

The Last of Us Part 2 Remastered's campaign mostly just features visual upgrades over the PlayStation 4 original, but its new No Return mode provides players with a roguelike experience within the same world. This tense and challenging experience requires equal parts patience, strategy, and quick reflexes if you want to survive till the very end. In this guide, we'll share some things you'll want to keep in mind while tackling No Return.
Pick the right character for you
No Return features various characters from The Last of Us Part 2, each sporting unique initial loadouts, upgrade paths, and traits that can make a massive difference in your run. Picking one that suits the way you like to approach combat is extremely important, as certain characters will excel at some encounter types more than others.

For instance, Abby gets instant access to the Melee Upgrade Recipe and heals after killing an enemy with a melee attack, whereas Ellie gains extra supplements and gets immediate access to the Molotov Recipe for burning foes alive. Later, you can even unlock Yara, who will always bring along Lev as a sidekick to help you kill enemies in every encounter, though she sacrifices any other particularly unique extras as a result. As you can see, there's a character for every player, and a bit of trial and error should reveal which one works best for you.
Plan out your runs ahead of time

Read more
All hidden chest locations in Super Mario RPG
Toad explaining Hidden Treasures to Mario.

The remake of the SNES game Super Mario RPG is about as faithful as any fan could hope for. The classic characters, locations, combat mechanics, and music are all back in a new and charming graphical style. While there are a few new tweaks and additions here and there, for the most part, the world is just as you remember from your childhood. That includes those tricky Hidden Chests. Just like in the original, a special set of hidden chests are waiting to be found all across the game world, but for those who haven't played the original, you may go most (if not the entire) game without finding them. Hidden chests, in this case, are actually invisible until Mario jumps up and activates them. Mario is a superstar jumper, but even he would get tired of jumping everywhere possible in search of these secret chests. We'll point out where to find all 39 Hidden Chests in Super Mario RPG so you can reap the rewards without pulling your hair out while trying to find them.

We will list every Hidden Chest in the order you should naturally come across them as you're playing the game so you can follow along. However, if you've already missed some, none of them are missable, so you can always backtrack to get any you might have accidentally passed by. You should also equip the Signal Ring to alert you when a Hidden Chest is in your area.
Hidden Chest 1

Read more