
How to find and mine iron in Valheim

Anybody that’s ever played a crafting-based game knows how valuable resource gathering is to survival. Valheim is no different. You’ll be searching this open-world Viking experience for mineral ores to craft strong weapons and armor. The more tools you unlock, the better ore you can mine. The better ore you can mine, the better quality gear you can make.

There are six different ores you’ll be able to mine and mold into weapons and armor: Copper, Iron, Tin, Silver, Black Metal, and Obsidian. However, Iron may be the most coveted among them all. You’ll use Iron to craft most endgame-tier weapons and armor. Here, we’ll go over where to mine Iron in Valheim and how to use it.

See more:

Recommended Videos

First things first

Image used with permission by copyright holder

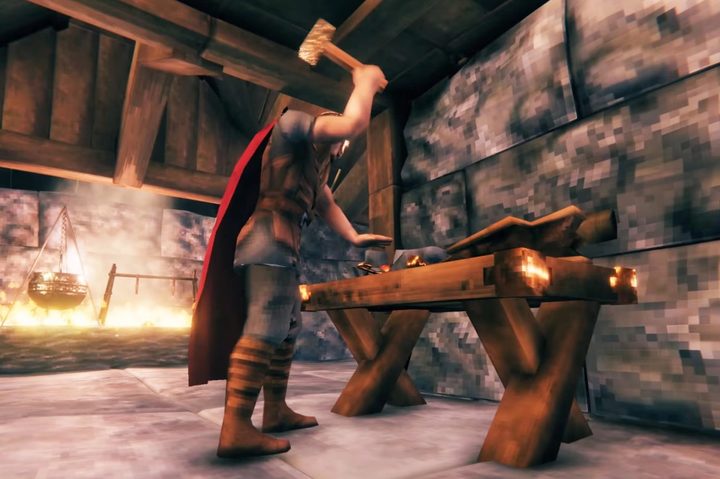
Before you can begin your quest to mine all the ore in Valheim, you’ll first need to build a Smelter. Combine 20x Stone and 5x Surtling Core at the workbench to craft a Smelter. Keep in mind, the Smelter must be placed on open terrain and cannot be placed on an existing structure. However, you can build around your Smelter if you’re looking to develop an aesthetically pleasing workshop. Along with all your ore, you’ll also need to stockpile Coal to power the Smelter.

Coal will drop from Surtlings and can be found in random chests. Players can also craft Coal via the Charcoal Kiln. You can place any wood in the Kiln to make Coal. It’s wise to keep your Kiln and Smelter nearby as you’ll be bouncing between the two quite often. With that settled, let’s dive into how to mine and grind Iron in Valheim.

Where to find Iron

Valheim How to Get Iron
Image used with permission by copyright holder

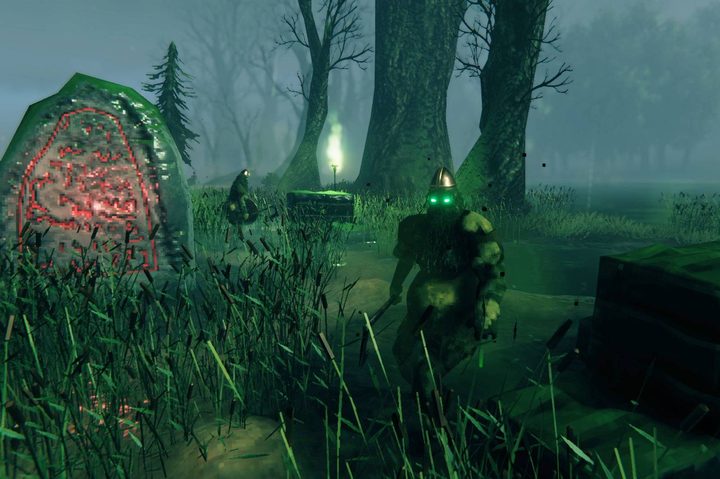
You’ll need the Antler Pickax or the Bronze Pickax to mine Iron in the Swamp Biome and Sunken Crypts. Use the Wishbone obtained by defeating Bonemass, Valheim‘s third boss, to locate Muddy Scrap Piles scattered around the area. You’ll know you’re close when the Wishbone begins to ping. Think of it as a metal detector. When it pings at its most rapid, you’ll know you’re standing over some gatherable Scrap Metal.

You’ll find more consistent deposits of Muddy Scrap Piles by exploring Sunken Crypts. They’re very hard to miss as they glow in bright green light and are surrounded by enemies. However, you won’t be able to access the Crypts without the Swamp Key obtained from defeating The Elder, Valheim‘s second boss.

Finally, the last bastion to find Iron in Valheim is to kill Oozers and mine Meteor Craters. Both these methods are rare, though. You’re better off sticking to Sunken Crypts and using the Wishbone.

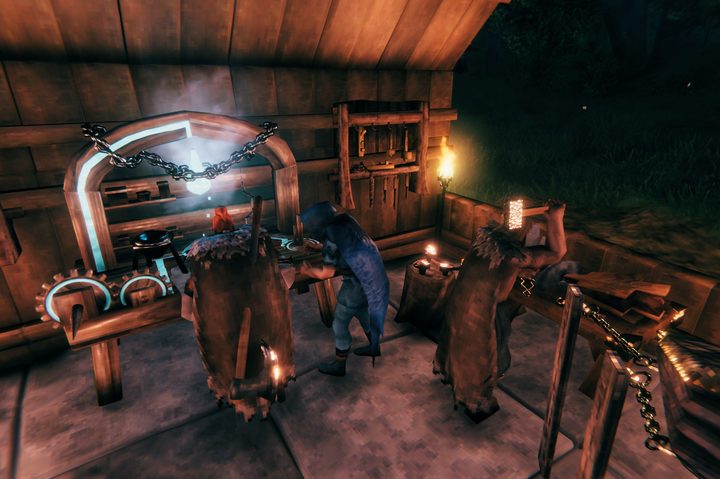
Smelting and using Iron

Image used with permission by copyright holder

Once you’ve found as many pieces of Scrap Metal as you can carry, head back to your Smelter and get smelting. Combine 2x Coal with 1x Scrap Metal to create an Iron Bar. These Iron Bars will be your primary resource in building all of Valheim‘s late-game craftables. Not only is Iron integral in crafting weapons and armor, but it’s going to be a key ingredient in every significant tool and upgrade.

Mike Colucci
Former Digital Trends Contributor
Michael Colucci is a lifelong video game fan based out of the greater Boston area. He's the one insistent on searching every…
How to get and use character edit vouchers in Monster Hunter Wilds
A haunter and palico in Monster Hunter Wilds.

There are a lot of unintuitive systems in Monster Hunter Wilds that you need to read a ton of tips and tricks to understand. For example, changing your character's appearance, changing your armor appearance, and editing your character are all different systems. The latter is especially odd since they require a consumable item called Character Edit Vouchers to access. To help you understand what the difference between these are and how you can get these special vouchers, here's a full breakdown of how you can edit your character in Monster Hunter Wilds.
How to get and use character edit vouchers

Before we get to the bad news regarding Character Edit Vouchers, let's first go over the situations in which you would even need one. You can change a ton about your character by just changing their appearance at your Base Camp, but not everything. The only options that are locked behind the use of a voucher are:

Read more
How to upgrade armor in Monster Hunter Wilds
A Monster Hunter Wilds character wielding the Lance.

Staying alive shouldn't be a surprising tip or trick you need to learn in Monster Hunter Wilds. While upgrading your weapons comes down to forging new ones with Gemma, which is made all the easier with the wishlist feature, the early hours of Monster Hunter Wilds will force you to make new armor sets if you want to increase your defense. Once you get a bit further into the story, though, you will be able to upgrade your existing armor so you can keep all your favorite perks and skills associated with it. Here is when you can upgrade your armor and how it works.
How to upgrade armor

You won't be able to upgrade your armor until the early parts of Chapter 2. Once you reach the Oilwell Basin region and can access the forge again, Gemma will tell you about armor upgrades.

Read more
Where to find iron in Monster Hunter Wilds
Gemma working the forge in Monster HUnter WIlds.

Ask any Monster Hunter Wilds player and they will tell you that the most important tip and trick to know is how vital it is to always upgrade your gear. There are no levels like a normal RPG, so the only way to get stronger is to forge better weapons and armor at the blacksmith. Like almost every game, you can't just make better gear for free. It costs you money and the raw materials to make it. One of the early materials you will need to get is iron. Unlike monster parts, you need to go out of your way to find deposits of iron to mine to get your hands on it. If you're at a loss for where to track down this ore, here's where you can find iron in Monster Hunter Wilds.
Where to find iron

Iron is a very common resource in the starting area of Monster Hunter Wilds, Windward Plains, but it also shows up in Scarlet Forest. You can see it as a big blue geode on the ground and a blue icon on your map. The easiest way to locate them on your map is to open your map and open the Filter Icons menu. Turn everything off except for the Mining Outcrop icons. Then, all you need to do is find an iron one on your map, set a waypoint, and have your Seikret take you there.

Read more