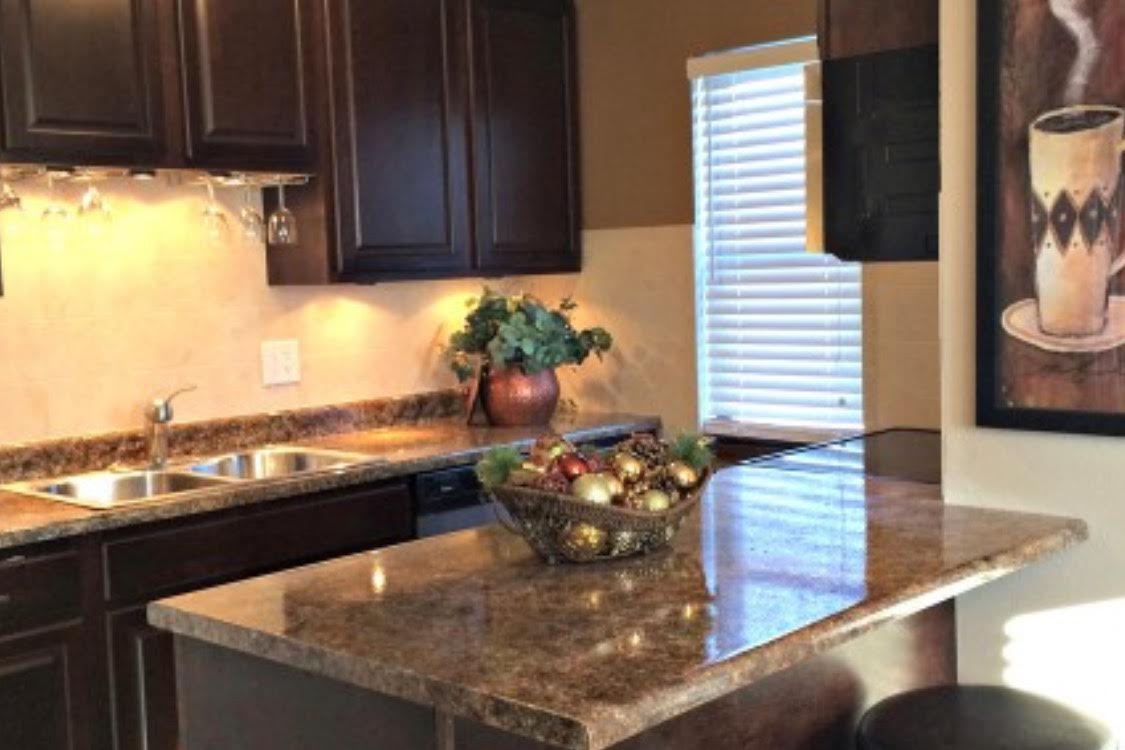
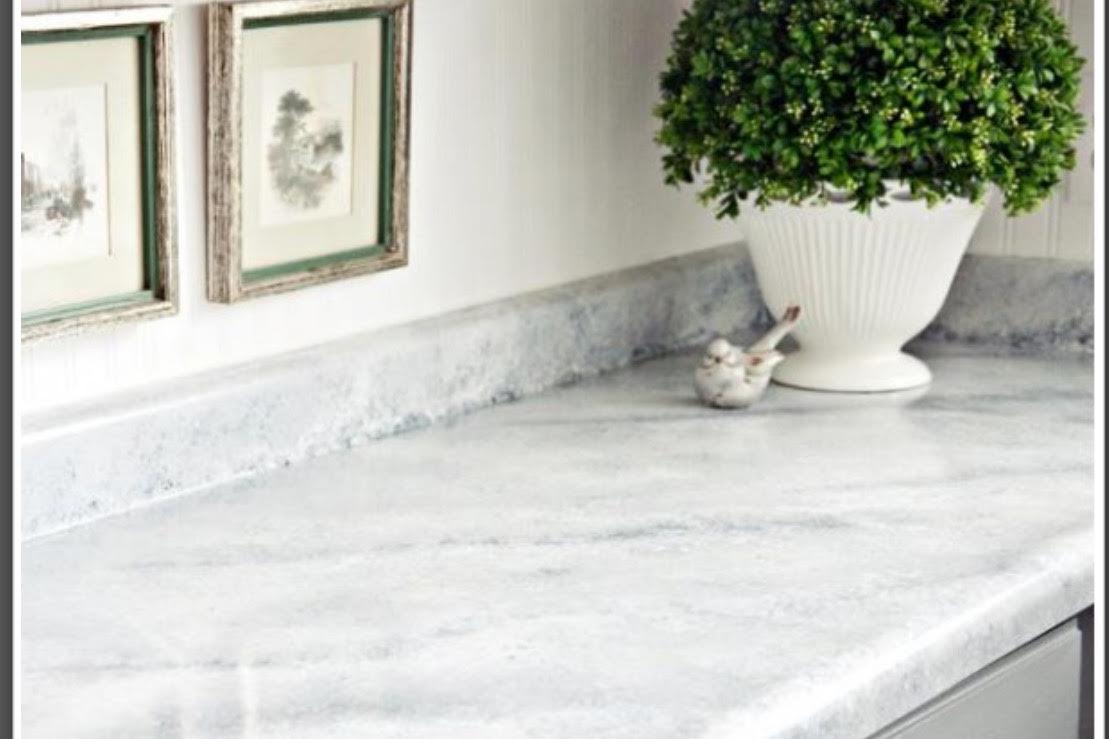
Granite, marble, and quartz are primo countertop surfaces and big wins when shopping for a new home. While they’re easy to clean and maintain, beautiful to look at, and able to withstand whatever utensils, appliances, and tough love you and yours bring to a kitchen, there’s a catch: With premium counters come premium pricing. If you’re thinking of renovating your counters to make your kitchen shine like a brand-new home, you’re looking between $2,000 and $4,000 to get the job done. Unless you’ve been putting money away for a restoration project, $4,000 can be a tough sum to stomach for a place your coffee maker will live.
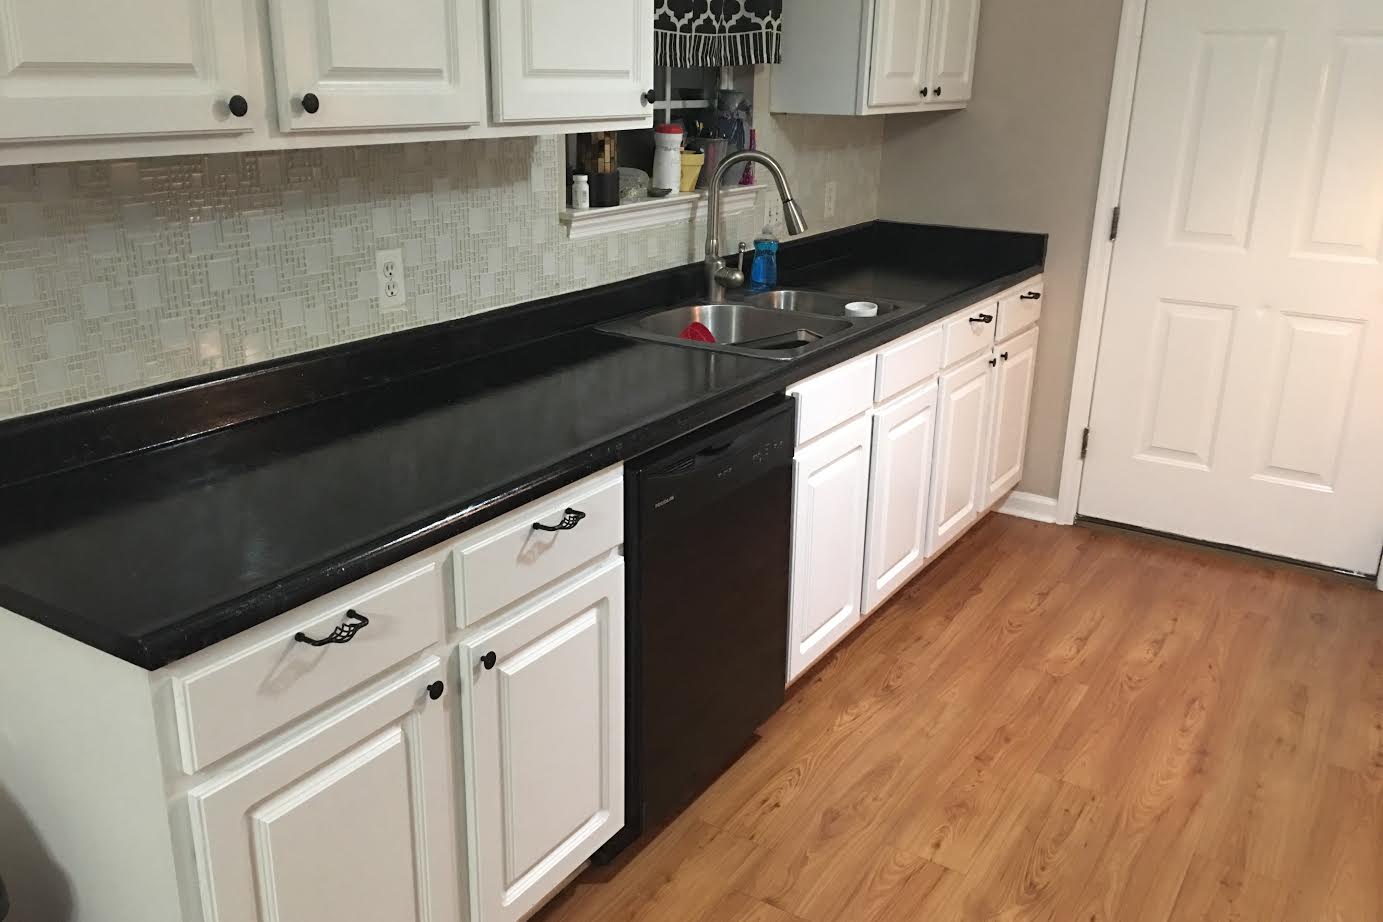
But did you know you can have countertops that look exactly like granite, marble, or quartz for under $100? Sure, it may require a bit of time and effort, but after about a weekend of work, you can have beautiful faux granite, marble, or quartz countertops without breaking the bank.
Here’s what you’ll need:
- A Giani countertop refinishing kit. The kits come in a variety of colors, including white diamond (which produces a marble-like finish), black (which produces a black quartz or a black granite-like finish), and sand (which produces a brown, granite-like finish). You can also purchase the materials separately in a different brand — you’ll need a roller designed for smooth surfaces, a craft sponge, a sponge painting brush, dark-colored primer (ideally gray or black primer), metallic-colored acrylic paints in a pearl white and other colors, and a water-based Polyurethane (like Minwax Polycrylic).
- Plastic drop covers to protect your cabinets and floors
- Metallic flakes
- Painter’s tape
- A plastic bag
- A magic eraser
- 600-grit sandpaper
- Brillo pads
- A few rags
- An Exacto knife
How to create faux granite, quartz, or marble countertops
Step 1: Remove everything from your counters, including all small appliances, food, and silicone caulk.
Step 2: Scrub your countertop thoroughly with a Brillo pad to remove all grease, wax, dirt, and oils. Avoid using any harsh cleaners, as this can prevent your new surface from adhering properly. Rinse the Brillo soap with clean water at least three times to ensure all of the soap is gone from your counters.
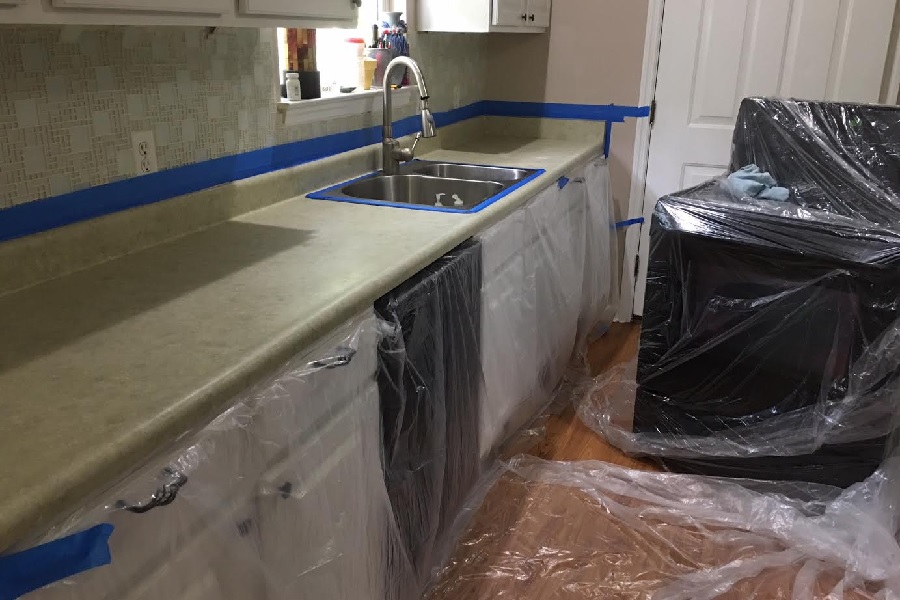
Step 3: Prep your area. Apply a liner of painter’s tape above your counter’s backsplash, on any walls next to your counters, and on any cabinets that touch your counters. Also, carefully apply painter’s tape around your sink, so you don’t accidentally paint it. Cover any areas with plastic sheets that you could drop paint on, and pull out your stove and cover it with plastic.
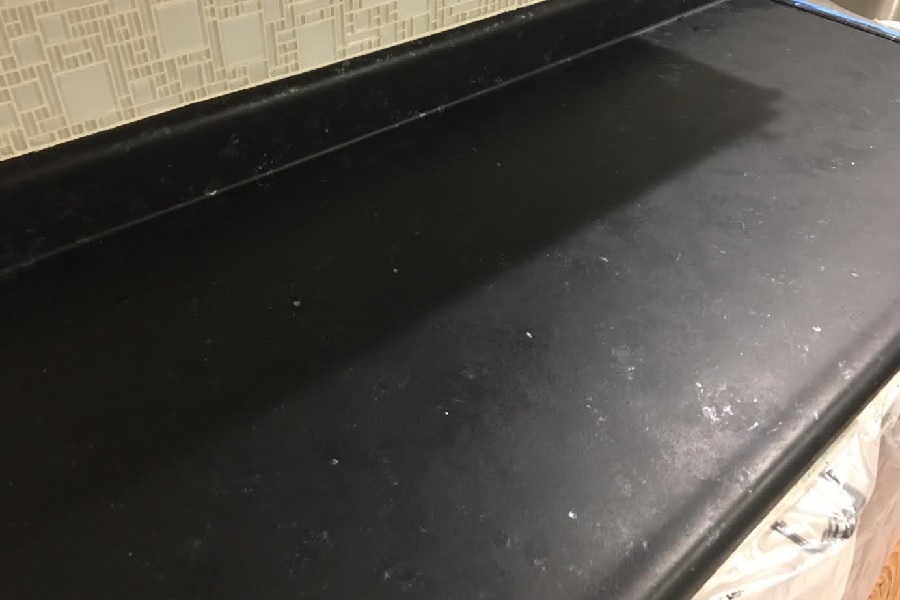
Step 4: Apply black primer to your clean counters. Use a roller that’s designed for smooth surfaces. Apply in even, thin layers, and paint small sections at a time. Use a sponge brush to apply the primer to your corners and backsplash. Apply two coats if necessary, but wait for at least two to three hours between coats. Once your counters are completely coated with primer, allow them to dry completely for at least six hours.
Step 5: Apply your mineral paints.
For granite: Thoroughly and randomly sponge on your pearl-white or beige color.
It should look like this:
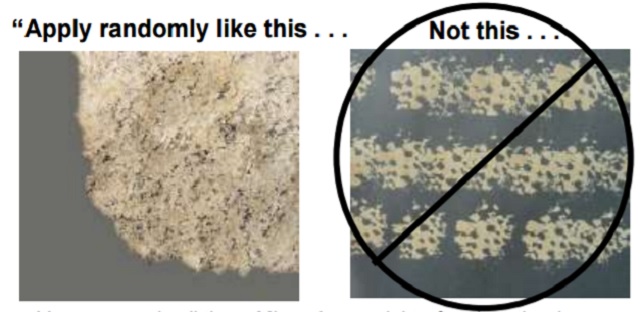
Then, apply your other colors (metallic browns, golds, and other colors) in a similar manner. You can also use a thin artist brush to add veining to your color scheme. On top of your veining, sponge on more whites and dark colors for a more realistic look.
For quartz: Sponge on your white thoroughly, as you would for a granite finish. After you complete your white, go back with an acrylic color that is a similar shade to your primer. For instance, if you used a black primer, use an acrylic black, and sponge that color all over your counter, only allowing a small amount of pearl white to show through. Avoid adding too many colors, as quartz counters typically do not have a busy finish. After that, go back in and sponge on some more of your primer to add more depth.
Add random silver or gold dots of acrylic paint throughout your design for a more realistic look.
For marble: Sponge on your white limestone thoroughly. You should have very few black undertones showing through. Sponge on your Inca gold and pearl mica. Then, sand your finish with 600-grit sandpaper. After you sand, wipe your surface with a damp cloth and allow it to dry completely. Go back and add long, dark-colored veins with an artist’s brush. Sponge back over your veining with more whites. If necessary, sand again to ensure a smooth and even surface.
Step 5b: Apply metal flakes to granite and quartz coatings. You can quickly and easily get metal flakes at any craft store or shop for them online using Amazon for around $10. Doing so offers added depth and shine, making your countertops resemble beautiful, natural stone.
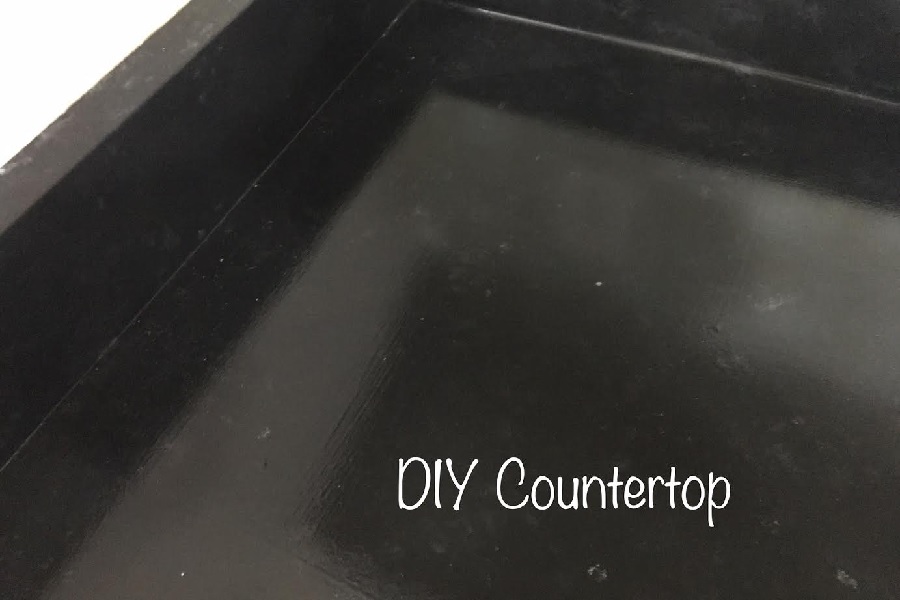
Step 6: Put on your surface coat. It’s important to note that this step is the most challenging portion of the whole method, as it is difficult to successfully apply the topcoat evenly without leaving streaks behind. We suggest using a roller or sponge applicator intended for smooth, even surfaces. We also recommend working swiftly and avoiding rolling back over the same area repeatedly. If you over-brush or over-roll, you can almost guarantee that you’ll have tons of streaks or bubbles. You can sand between coats using 600-grit sandpaper if needed. Add three coats of topcoat, then pause for at least two to four hours before you start applying the next coat. Furthermore, if you make a mistake on your topcoat application, you can always sand it off and start from scratch.
Step 7: Remove your painter’s tape and begin the clean-up process. Wipe off any paint that’s splattered on your walls with a magic eraser. Wait until your counters are completely dry (this usually takes around 24 hours) to remove the painter’s tape, though. Use an Exacto knife and trim along the sides of your tape so you don’t accidentally remove the finish when you remove the tape. Patch up any caulk or grout, and your countertops will be finished. If you need to, you can use your counters carefully, but they won’t be fully cured for a few weeks. Be sure to clean up any liquid spills immediately and lightly treat the counters for these first few weeks.
A few tips
- You can try to use a crinkled-up plastic bag to apply your acrylic mineral-colored paints. This can make your mineral paints look more like veins and less like spots.
- Make yourself a temporary kitchen area on a table, where you can make coffee or prep food. You will need this temporary kitchen for the next two days as your countertops are out of commission.
- Use a mild cleaner after you finish your counters, and avoid harsh cleaners, like bleach or ammonia.
- Compare the cost of a pre-made kit like “Giani Granite Countertop Paint” to buying the materials individually. Some DIYers have reported being able to do their counters for as little as $50, while a Giani kit will cost you around $70 to $80 (plus an extra $20 for extra materials and supplies).
