Pins are one of the simplest ways to mark an exact location in Google Maps, especially when the address is missing, wrong, or too vague to be useful. You can drop a pin to save a spot, get directions, send a meetup location, or mark a place you want to find again later.
Google Maps lets you drop pins on iPhone, Android, and desktop. The steps are slightly different depending on the device, but the basic idea is the same: find the spot, press or click the map, then use the location card to save, share, or navigate to it.
Difficulty
Duration
What You Need
-
Mobile device or computer
-
Google Maps app or Google Maps in a web browser
How to drop a pin in Google Maps on iPhone or Android
The Google Maps mobile app works almost the same way on iPhone and Android. You can search for a place, or you can manually drop a pin on the map if you need a more precise location.
Step 1: Open the Google Maps app on your iPhone or Android phone.
Step 2: Use the search bar to find an address, business, or general area. You can also move around the map manually until you find the exact location you want to pin.

Step 3: Press and hold the spot on the map where you want to drop the pin. A red pin should appear, and a location card will open at the bottom of the screen.
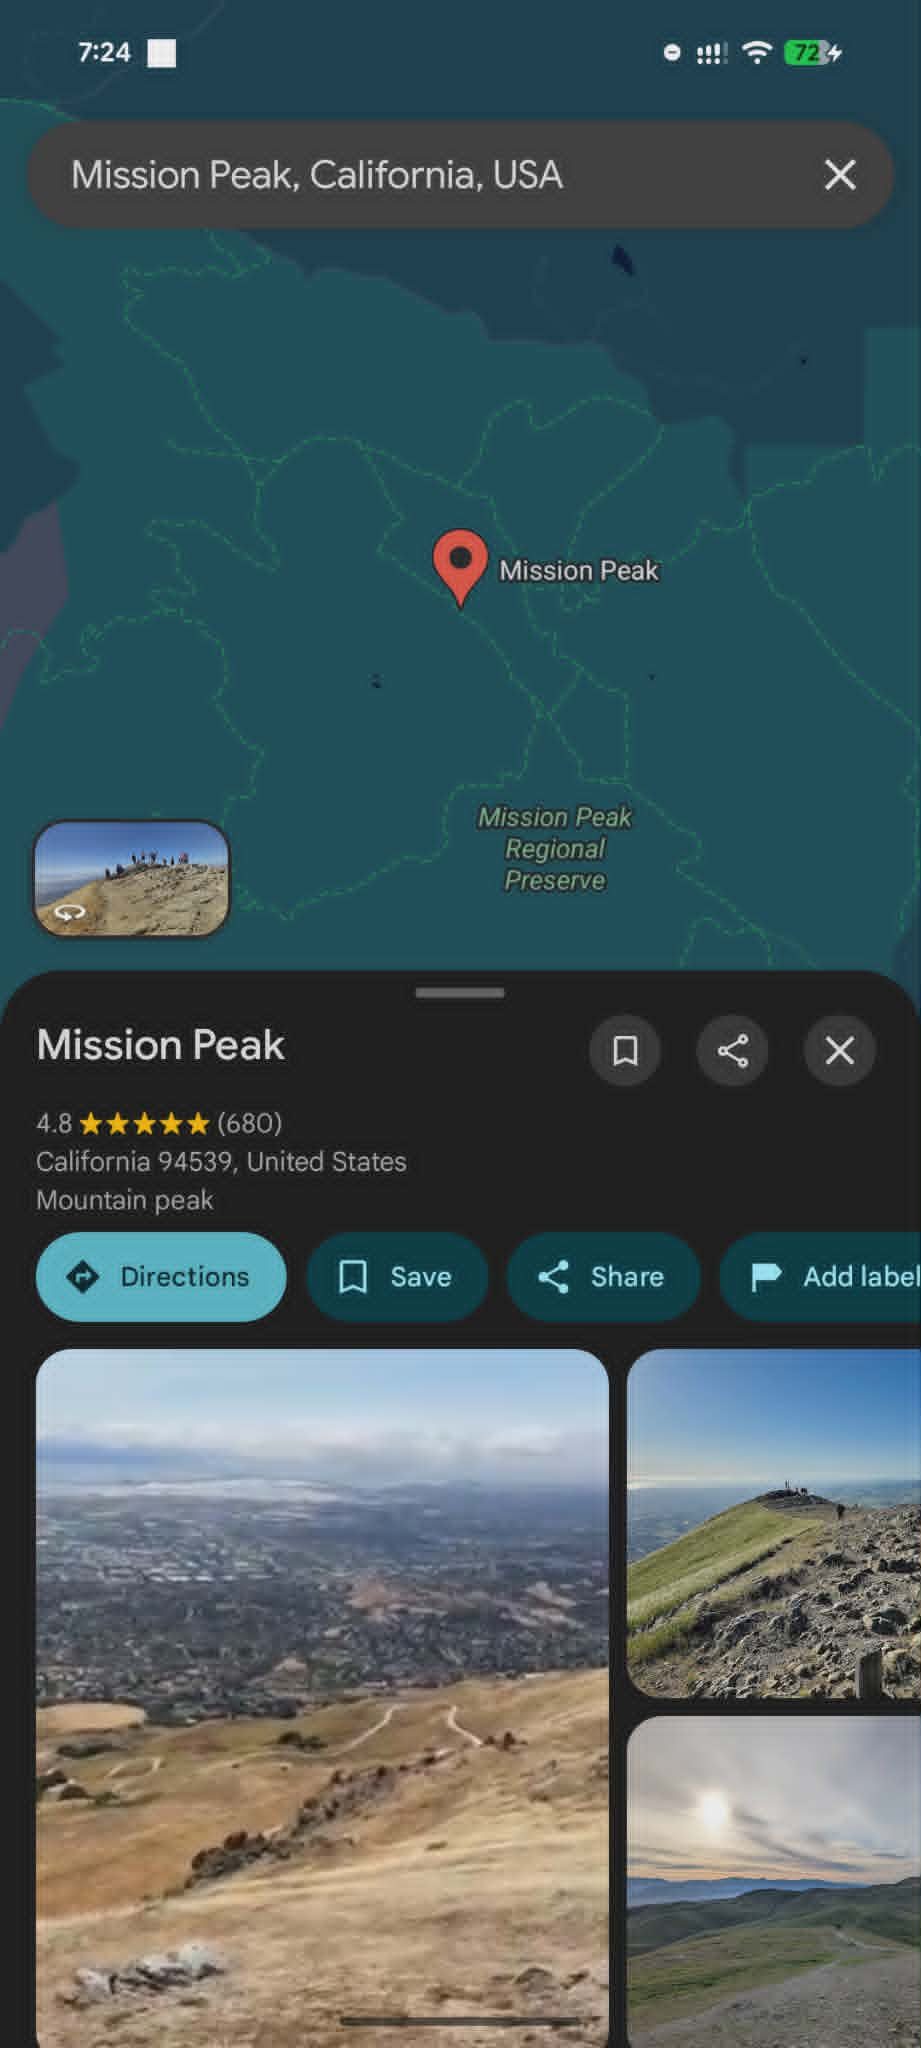
Step 4: Tap the location card to see more options. From here, you can tap Directions to navigate to the pin, Save to add it to a list, or Share to send the location to someone else.
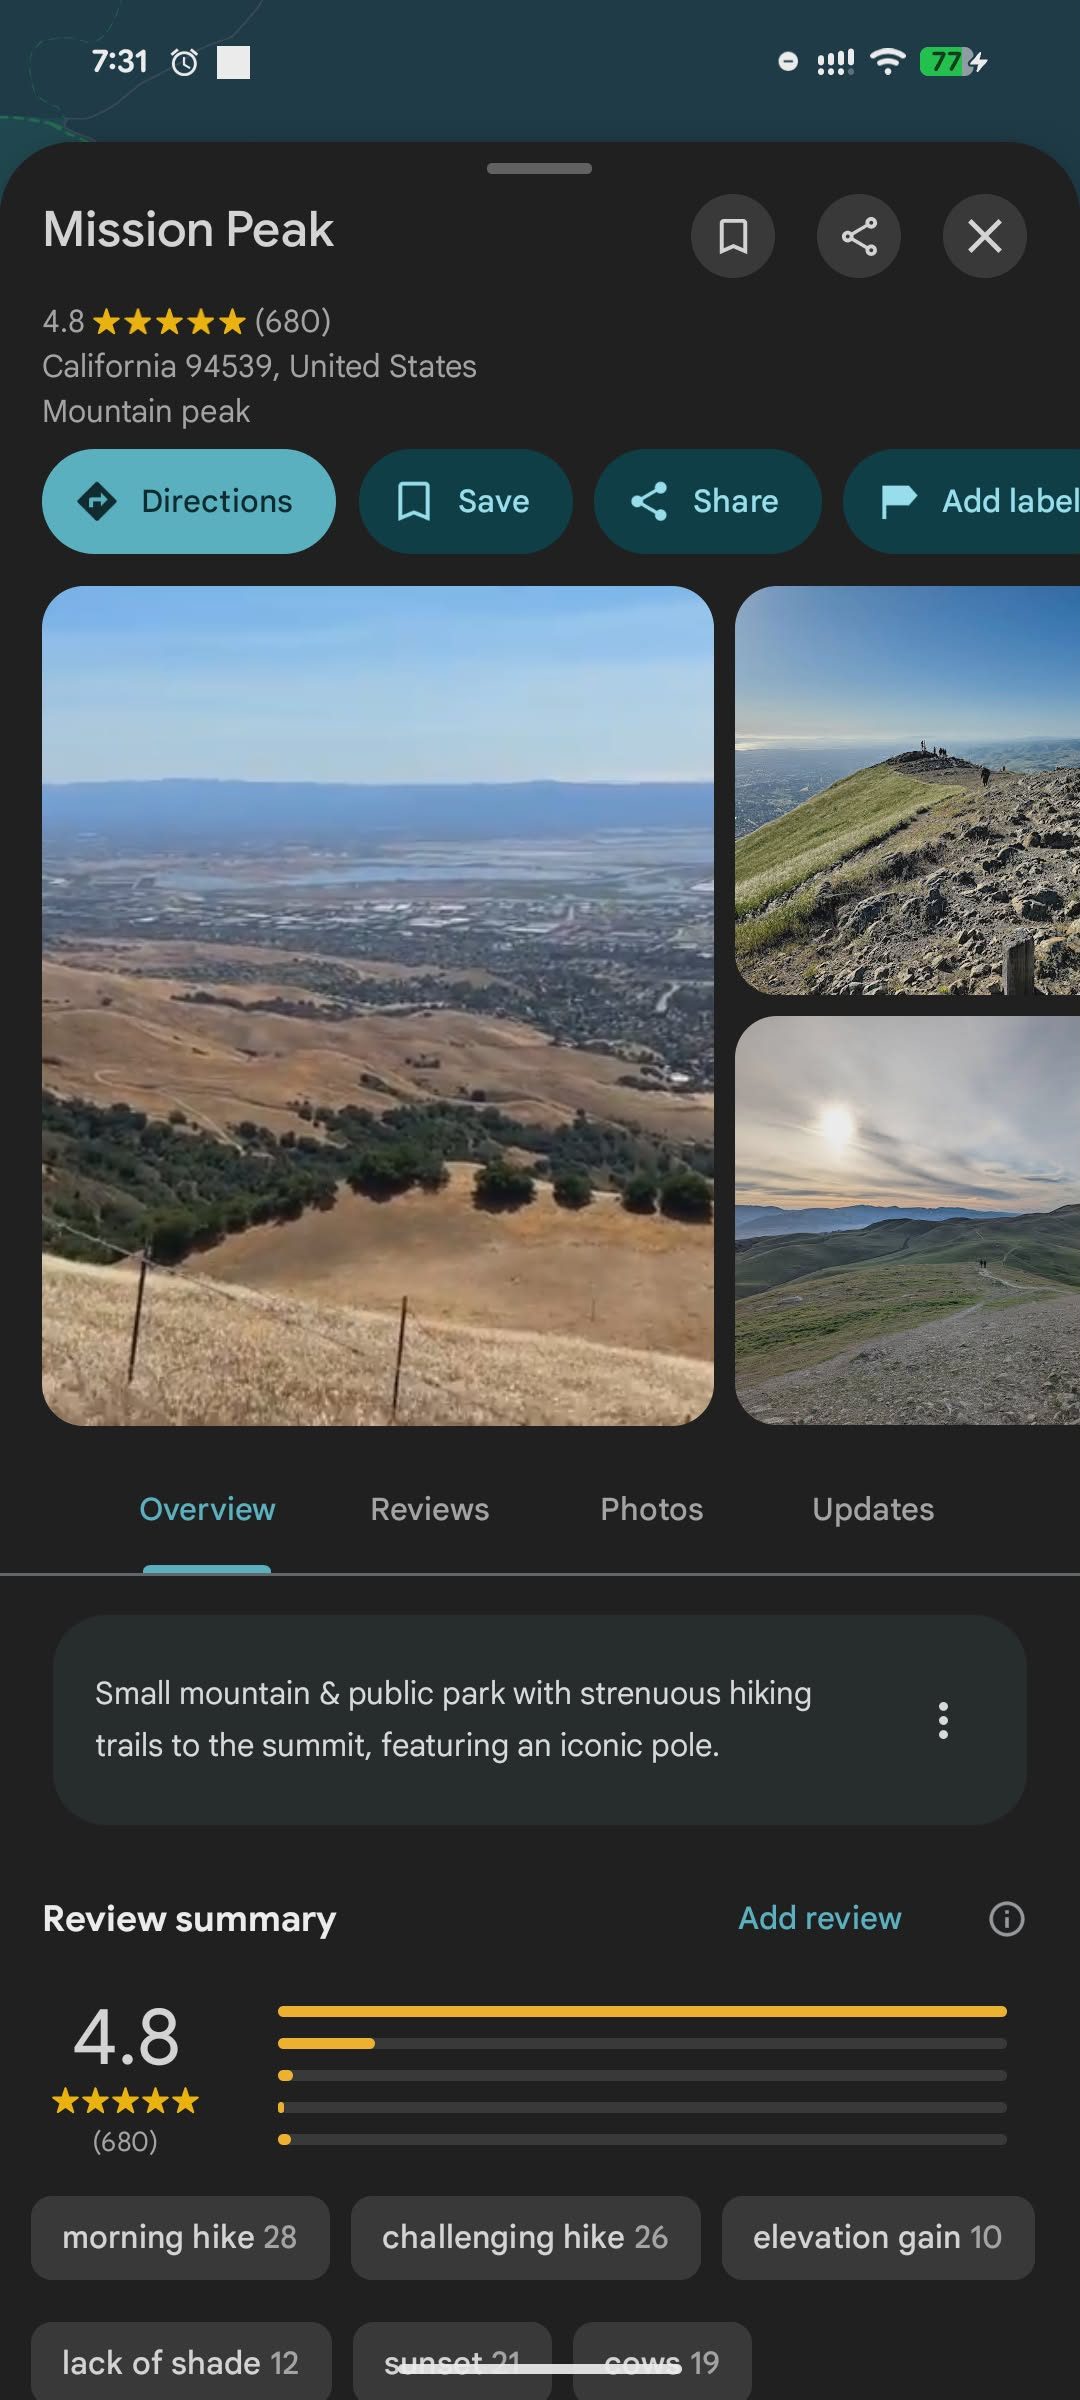
Step 5: To clear the dropped pin, tap the X in the search bar or tap away from the selected location. If the pin has been saved to a list, clearing it from the map will not delete it from your saved places.

How to drop a pin in Google Maps on desktop
Step 1: Go to the Google Maps website in your browser.
Step 2: Search for an address or place using the search bar in the upper-left corner. You can also zoom in and move around the map manually.
Step 3: Click the exact spot where you want to drop a pin. If there’s already a business marker or map label nearby, you may need to zoom in or click slightly beside it.
Step 4: A small pin and an information box should appear. Click the information box to open more details about the selected location.
Step 5: Use the available options to get directions, save the pin, copy a link, or share the location.
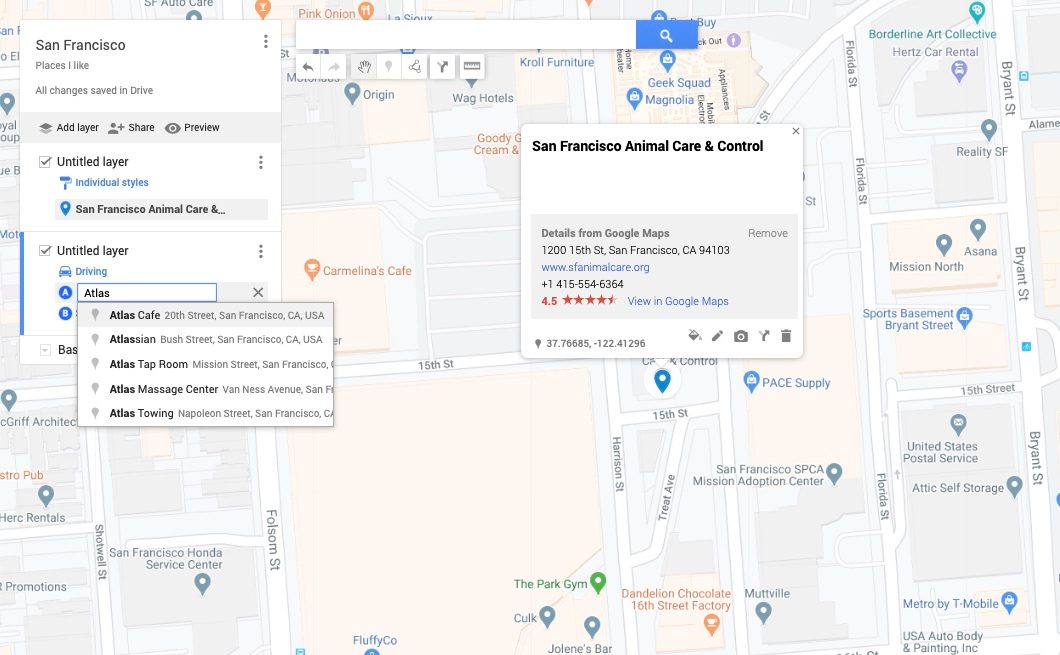
How to drop multiple pins in Google Maps
Google Maps only lets you work with one temporary dropped pin at a time in the regular map view. If you want to manage several pins together, use Google’s custom map feature.
Step 1: Go to Google Maps on desktop.
Step 2: Click the menu icon in the upper-left corner.
Step 3: Select Saved, then click the Maps tab.
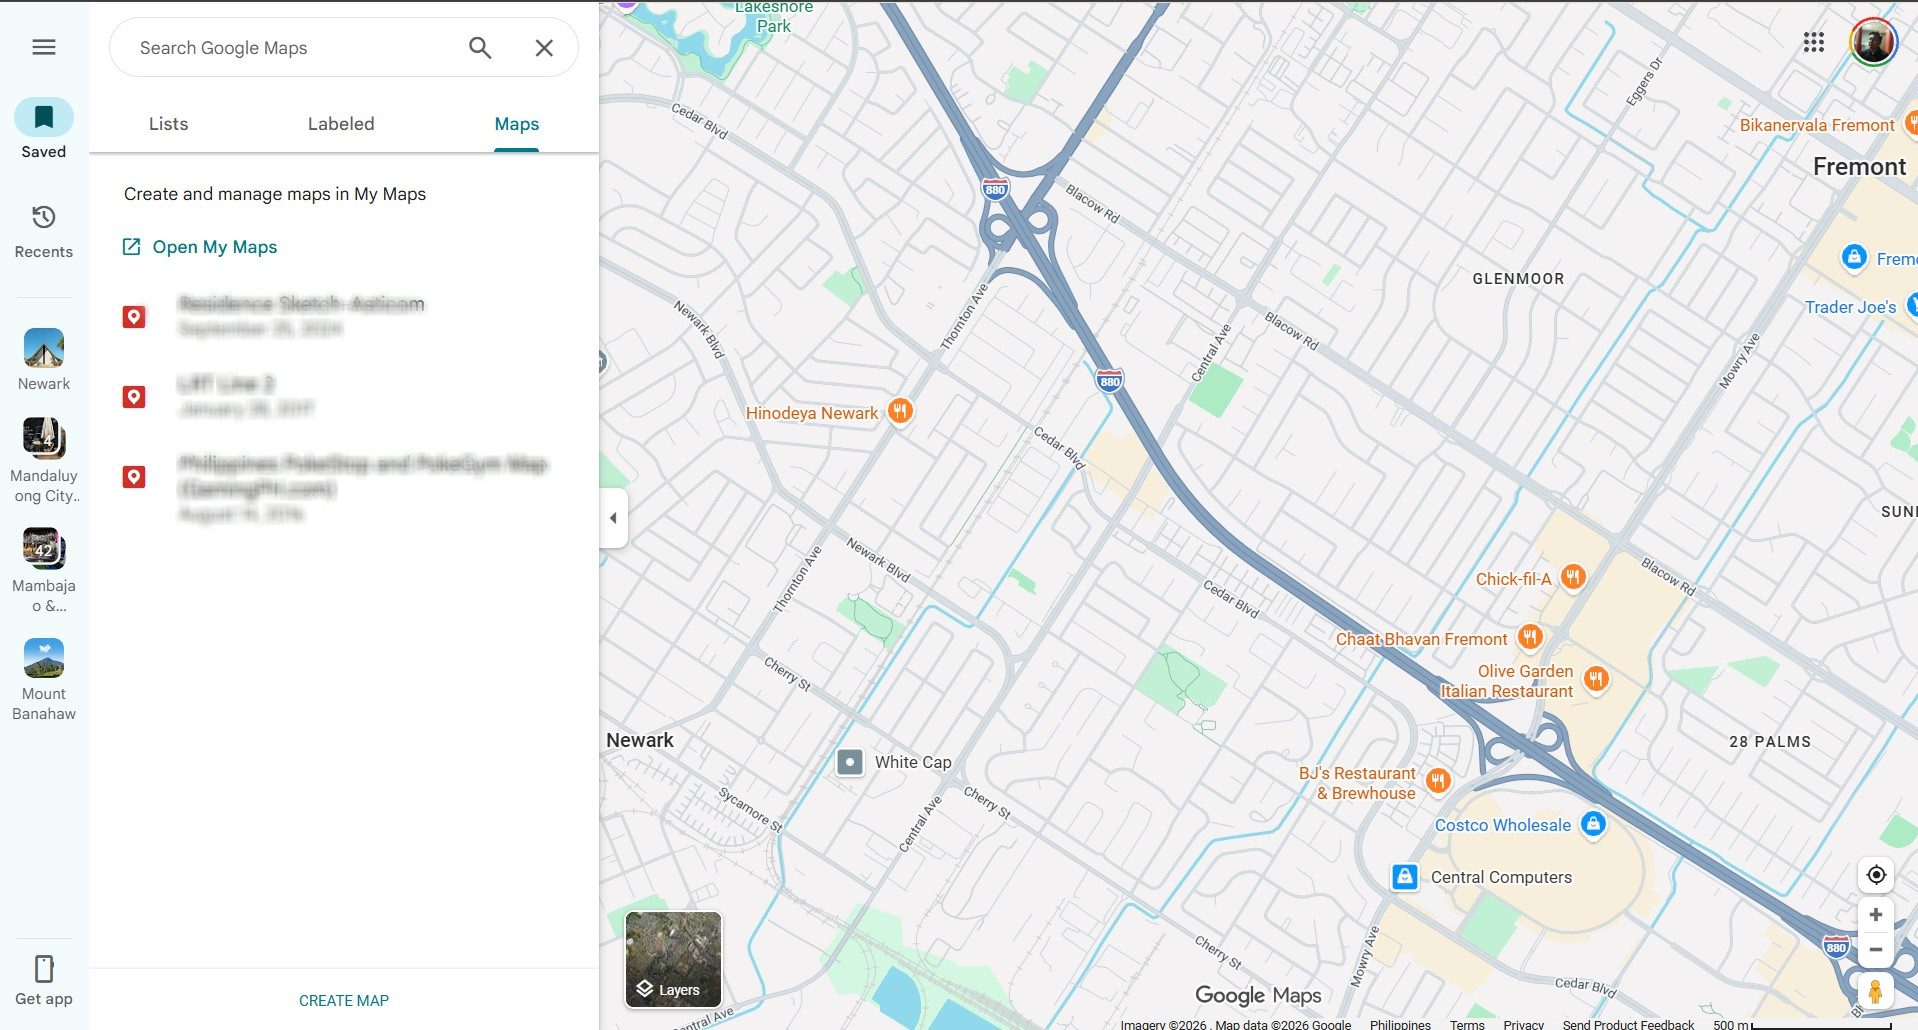
Step 4: Click Create Map. This opens Google My Maps in a new window.
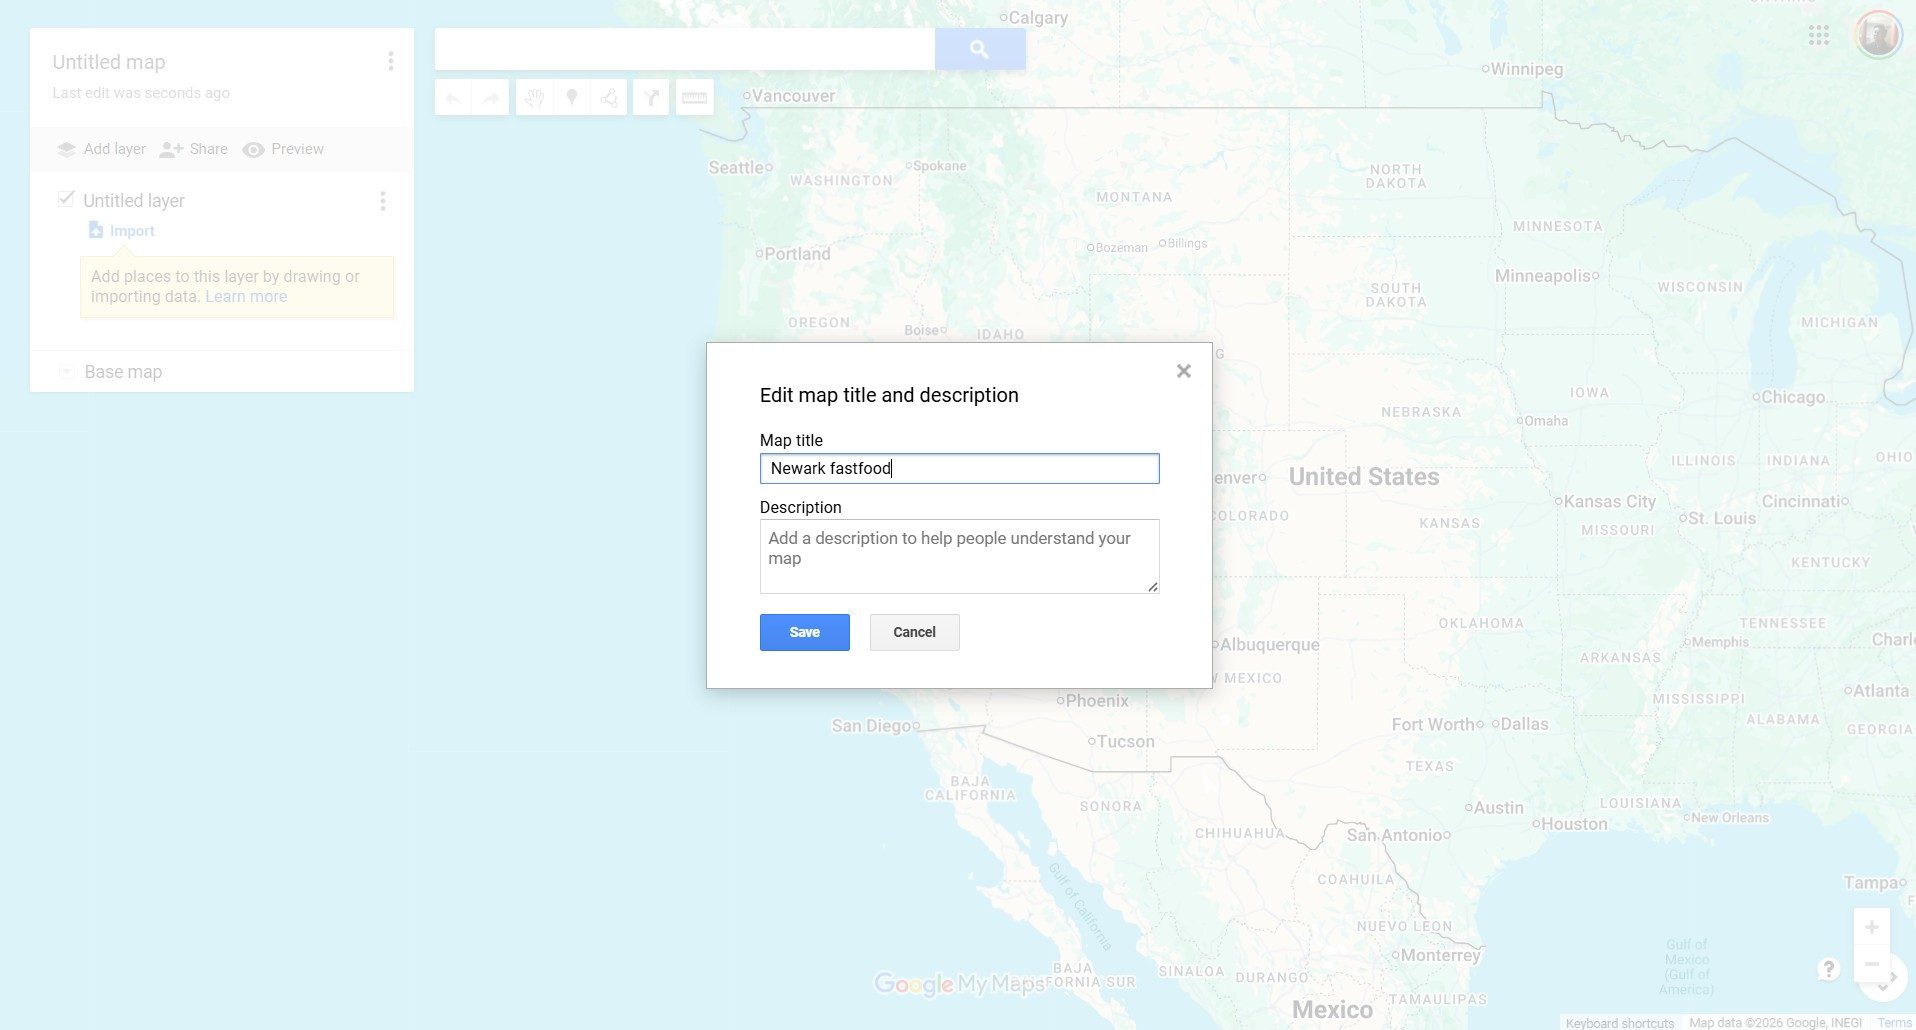
Step 5: Give your map a name by clicking Untitled map, then add a short description if needed.
Step 6: Use the marker icon under the search bar to add pins to your custom map. You can search for locations or click directly on the map.
Step 7: Use the directions icon if you want to connect locations into a route.
Step 8: If you want to share the custom map, click Share and choose the access settings you want.
How to share a dropped pin in Google Maps
You can save a dropped pin if you want to find it again later.
On mobile, tap the dropped pin’s location card, then tap Save. Choose a list such as Favorites, Want to go, Travel plans, or another list you’ve created.
On desktop, click the dropped pin’s information box, then select Save. The saved place will be tied to your Google account, so you’ll need to be signed in if you want it to sync across devices.
How to remove a dropped pin in Google Maps
A dropped pin is temporary unless you save it. Removing it only clears the marker from your current map view.
On mobile, tap the X in the search bar or tap another area of the map to clear the selected pin.
On desktop, click the X in the location panel or click somewhere else on the map. If you saved the pin to a list, you’ll need to remove it from that list separately.
FAQ
Can I drop a pin on my current location?
Yes. On mobile, tap the blue dot that shows your current location. From there, you can share your location or save it, depending on the options shown in Google Maps.
Can I drop a pin without signing in to Google?
Yes. You can drop a temporary pin without signing in. You’ll need to sign in if you want to save pins to your Google account, create lists, or sync saved places across devices.
Can I send a dropped pin to someone?
Yes. Drop the pin, open the location card, then choose Share. Google Maps will generate a link that you can send through a messaging app, email, or another sharing option.
Can I drop more than one pin at a time?
Not in the standard Google Maps view. For multiple pins on one map, use Google My Maps on desktop and create a custom map.