Google’s always added some cool photo editing features on its Pixel devices, such as the Magic Eraser with the Pixel 6. But with the Pixel 8 and Pixel 8 Pro, Google took things a step further with Magic Editor.
With Magic Editor, Google uses the power of AI to help you move objects around in your photo, resize or even remove them, alter the colors, or even change things up by applying a stylized effect to the overall image.
As long as you have a Google Pixel 8 or Pixel 8 Pro, you have access to the Magic Editor feature, and it’s pretty easy to use. We’ll show you how to get the most out of the Magic Editor here.
How to use Magic Editor

First and foremost, before you can use Magic Editor, you need to make sure that you have a Google Pixel 8 or
Secondly, Magic Editor won’t appear as an option until you have the photo you want to edit saved in the cloud with Google Photos. This should happen automatically if you’re on Wi-Fi, but if you’re not, then make sure that your selected photo is backed up via cellular by selecting the “upload to cloud” button (it looks like a cloud with an arrow pointing up in it).
Now that we have the basics squared away, here’s how to get to the Magic Editor.
- Open the Google Photos app on your Pixel 8 or Pixel 8 Pro if you’re not in it already.
- Find a photo on which you want to use Magic Editor and open it.
- Select Edit.
- Select the Magic Editor button. It’s a multicolored button that has a photo with a sparkle in the corner.
- Select sections of the photo that you want to erase or edit. You can also paint or circle over an area for more accurate results.
- To resize or move, tap and hold, then pinch or drag.
- For other editing options, tap the magic wand at the bottom. This can bring up choices like Sky or Golden Hour.
- Magic Editor will give you four possible options that are generated with AI. You can select the checkmark to save a copy of the edited image or scroll all the way to the right and select Get a new set of results if you don’t like the current ones.
- Select the checkmark, then select Save copy to save your edits in a copy, leaving the original safe.
We’ve found the results of the Magic Editor to be either hit or miss, as some images can be incredibly weird. Let’s take a look at the kind of results you can get with Magic Editor.
Examples of what Magic Editor can do
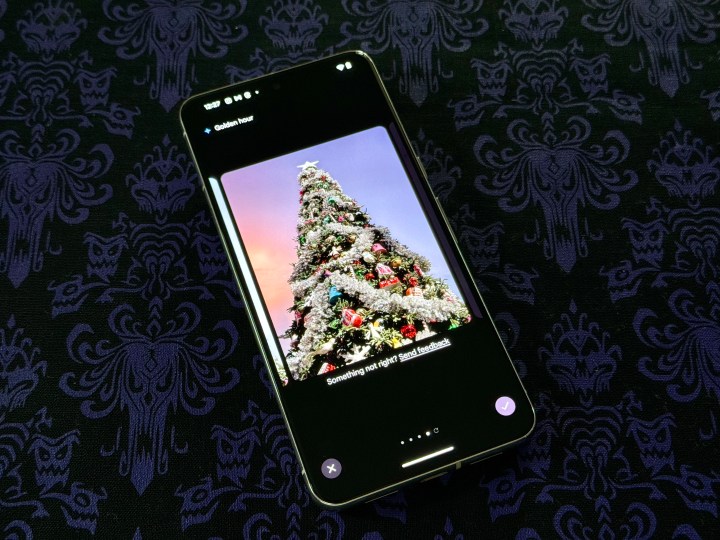
The kinds of edits that Magic Editor can do are determined by the image you’re using. Some images will let you change the appearance of the sky, while others can have more varied effects like recoloring or restyling. Other images can have funky results like imposing a part of the original image onto AI-generated backgrounds.
While getting some cool and interesting results with Magic Editor is possible, we’ve found the edits to be hit or miss. We tried it out with several photos taken at Disneyland, and the resulting images have sometimes left us scratching our heads.
- 1. Unedited photo of the Disneyland Hotel pool area.
- 2. Photo of Disneyland Hotel pool area edited with Magic Editor on Google Pixel 8 Pro.
First, we have a photo of the Disneyland Hotel pool area with the monorail-themed waterslide. For this one, we selected the sky area and “erased” it, so Magic Editor changed up the sky by making it a lighter blue with more white clouds and adding more leaves to the palm trees on the left. But it also kind of ruined the top of the hotel buildings by filling it in with AI. We’re assuming that’s because the sky changed, and the cut overlapped with the building.
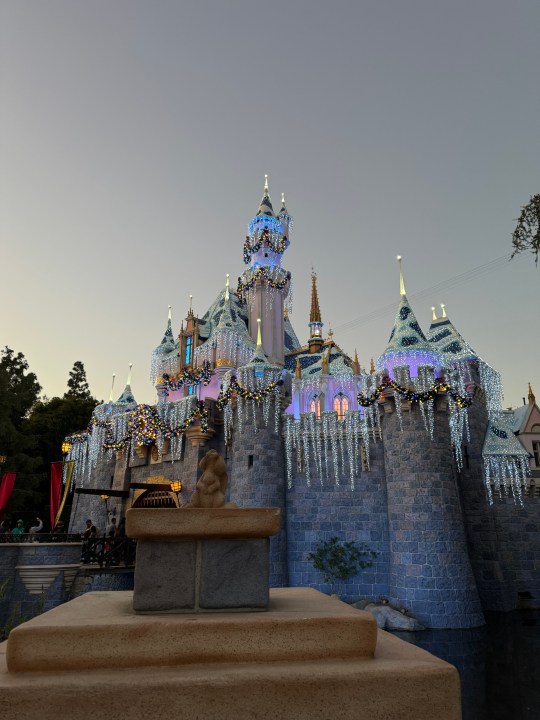
- 1. Unedited photo of Sleeping Beauty Castle at Disneyland.
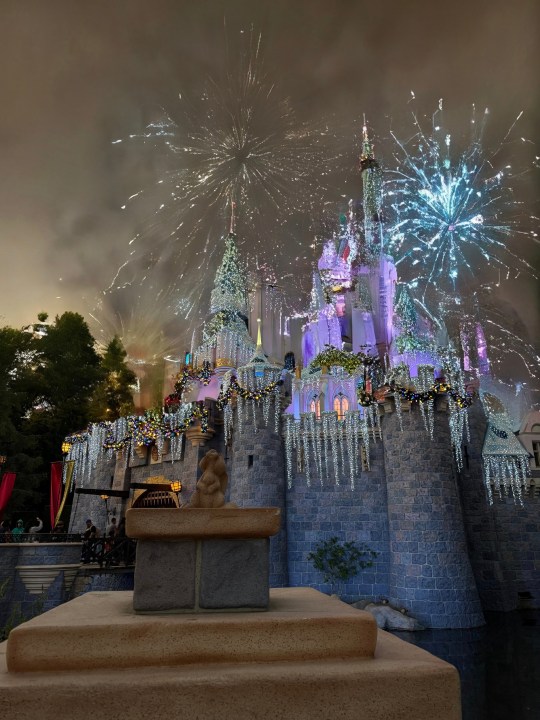
- 2. Sleeping Beauty Castle at Disneyland edited with Magic Editor on Google Pixel 8.
Next is a photo of Sleeping Beauty Castle at Disneyland, all decked out for the holiday season. The photo was taken a little before sunset. We selected the sky and nothing else, then hit erase. Magic Editor made the sky a bit darker and also added fireworks, which seemed like an interesting addition. However, it ended up ruining a lot of the castle in the process, as it pretty much changed all of the steeples into some AI-generated mess.
- 1. Unedited selfie taken at Disneyland.
- 2. Selfie at Disneyland edited with Magic Editor on Google Pixel 8 Pro.
This is a selfie taken at Disneyland in the late morning. In the original photo, the sky is a bright and vivid blue, and you can see the sun peeking through the set of Minnie peppermint ears. With Magic Editor, we applied the Golden Hour effect, and it turned the sky into a beautiful purple-pink gradient as if the sun were setting soon.
- 1. Unedited photo of a bunny.
- 2. Edited photo of a bunny using Magic Editor on Google Pixel 8 Pro.
This adorable bunny was at the park, and we managed to get some good photos of it while it was hopping around near a tree. Thanks to Magic Editor, we resized the bunny to make it larger and moved it to appear closer. Magic Editor filled up the spot where the rabbit was originally pretty well, so it looks natural. You can tell that something’s a bit off since the back feet look a little too straight, but overall, it’s an impressive edit.
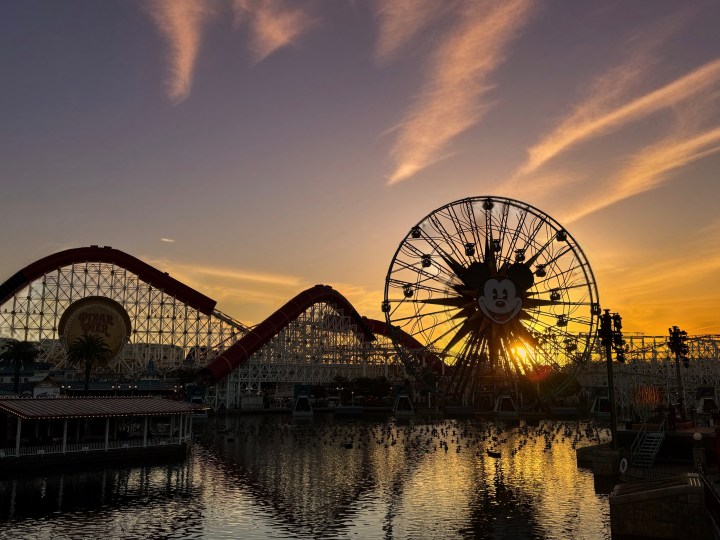
- 1. Unedited photo of Pixar Pier at Disney California Adventure.
- 2. Photo of Pixar Pier at Disney California Adventure edited with Magic Editor on Google Pixel 8 Pro.
Lastly, here’s a photo of the Pixar Pier at Disney California Adventure. It was taken around sunset, hence the golden hue near the horizon. We applied the Golden Hour effect with Magic Editor, and it turned the sky into a gorgeous purple-gold gradient that emphasizes the sunset even more. It also changed up the clouds without overdoing it.
You can get some great results
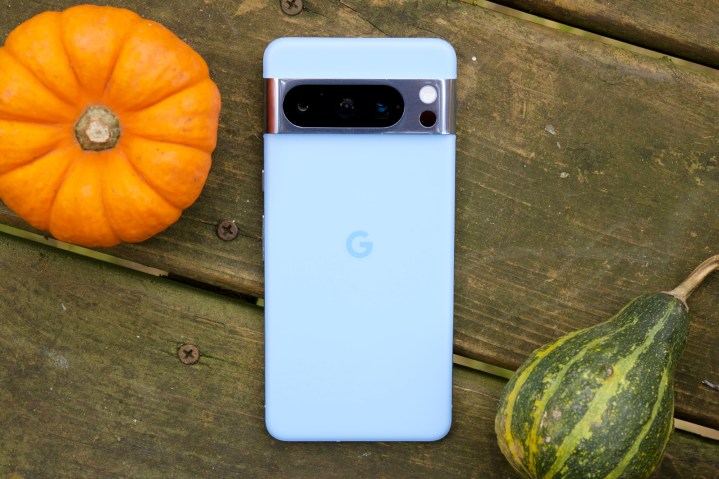
In our testing, we’ve found that Magic Editor can do some pretty great things, though certain results may leave you scratching your head. The resulting edited image can look stunning if you use the right presets and options. But if you kind of just use the “erase” option, results can get a bit weird if you don’t fine-tune your selections.
Overall, Magic Editor can get you some very cool photos if you take the time to play around with it. Magic Editor is currently only available on the Pixel 8 and
Editors' Recommendations
- I compared Google and Samsung’s AI photo-editing tools. It’s not even close
- A new Google Pixel Tablet is coming, but it’s not what you think
- The most common Google Pixel 8 problems and how to fix them
- Best Google Pixel deals: Save on Pixel 8, Pixel Buds, and Pixel Watch
- Why you need to be excited about the Google Pixel 8a


