At one time, transferring photos between a PC and a mobile device could be a real pain. That’s no longer the case, as PCs and Android devices now have built-in tools to help make transferring photos between the two even easier than ever.
In this guide, we divide the transfer methods between the three major operating systems:
We also used a pure build of Android 10 installed on Google’s Pixel 3. That said, the Android aspect may be a little different on your phone or tablet.
Windows 10

Use the Your Phone app
If you want to download photos from your Android device, this is the way to go. Plus, you have the added benefits of texting, making calls, and receiving Android-related notifications on your Windows 10 PC.
Step 1: Download and install Microsoft’s Your Phone Companion app from Google Play on your Android device.
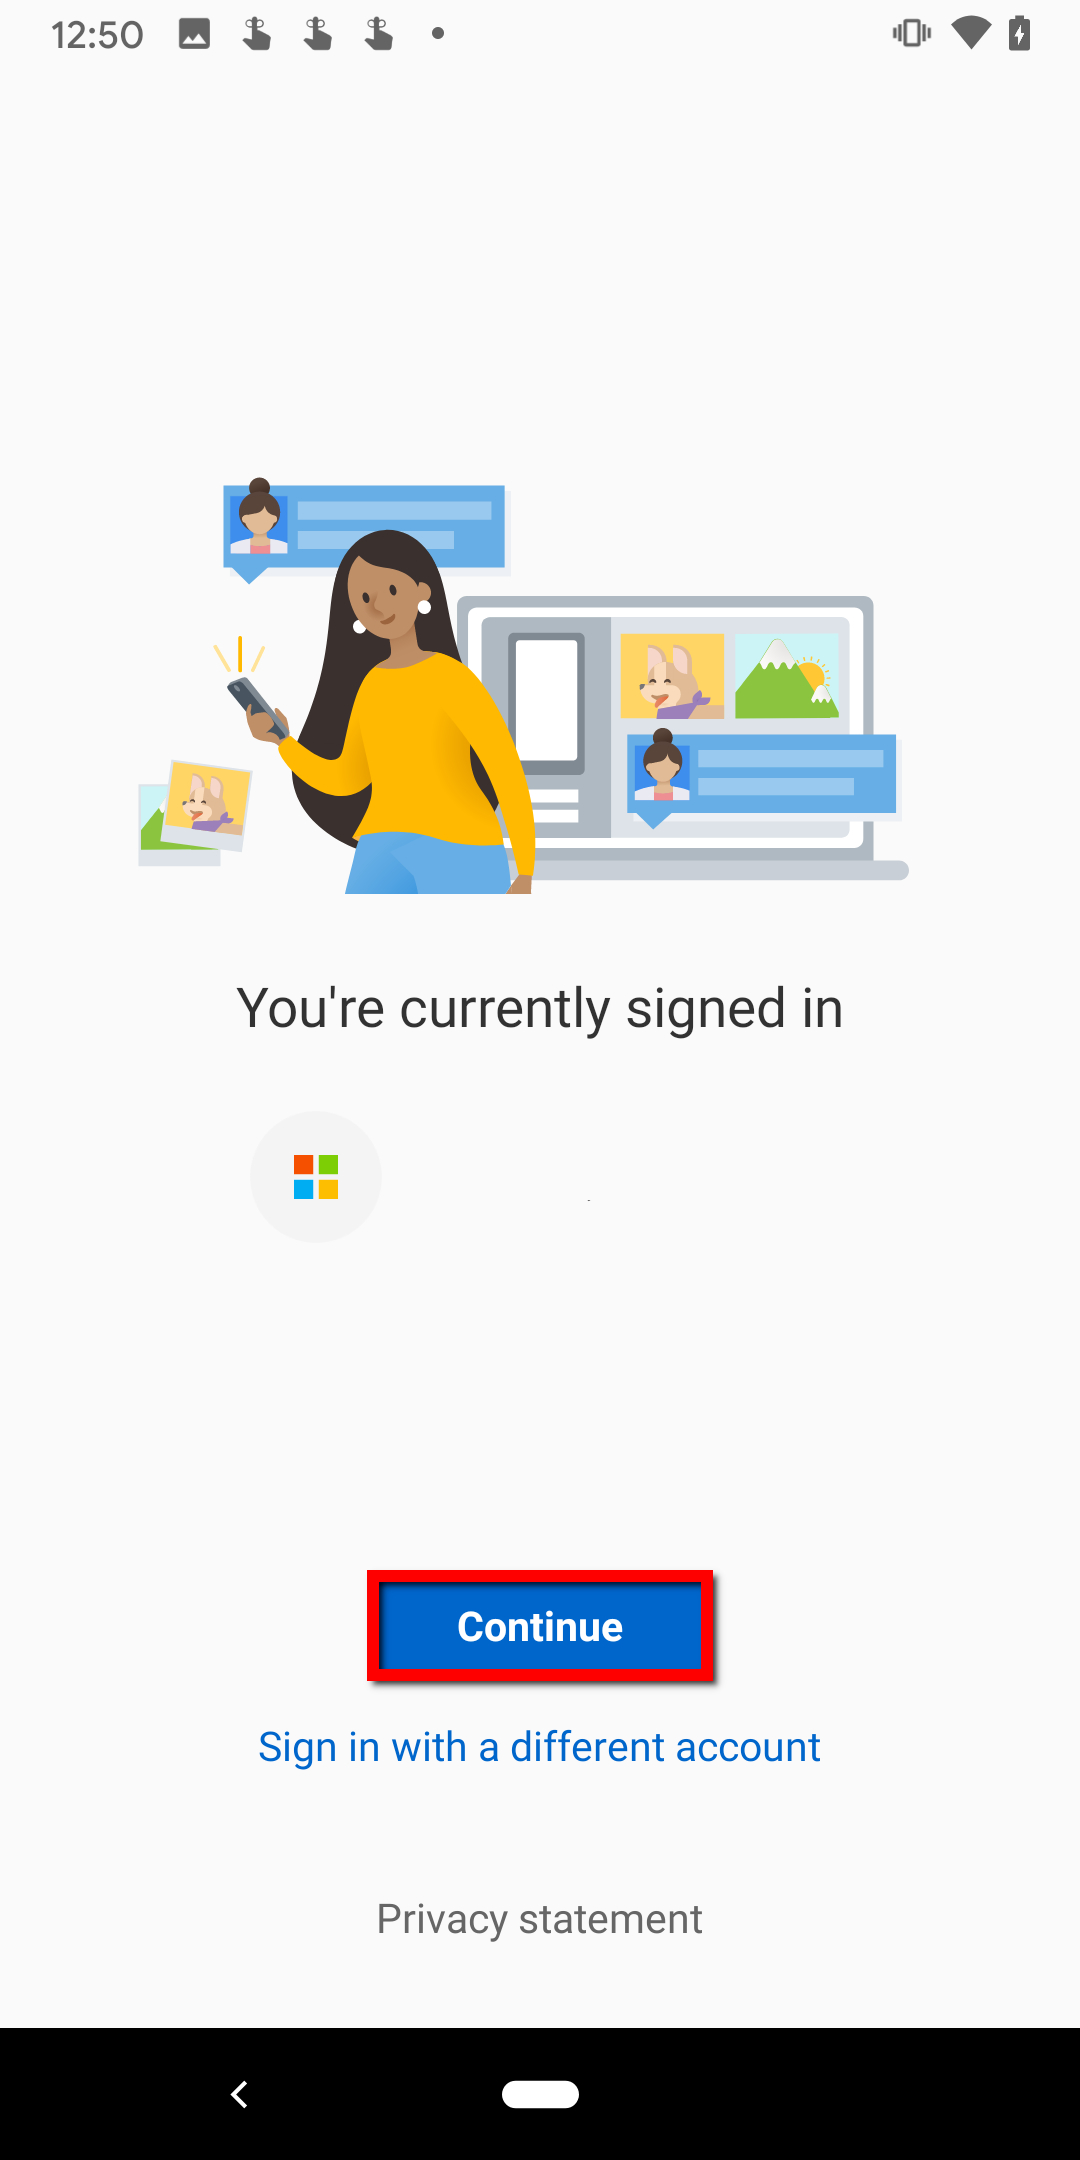
Step 2: Sign in to your Microsoft Account. If you’re already signed in via another Microsoft app, tap the blue Continue button instead.
Step 3: Tap the blue Continue button to allow permissions.
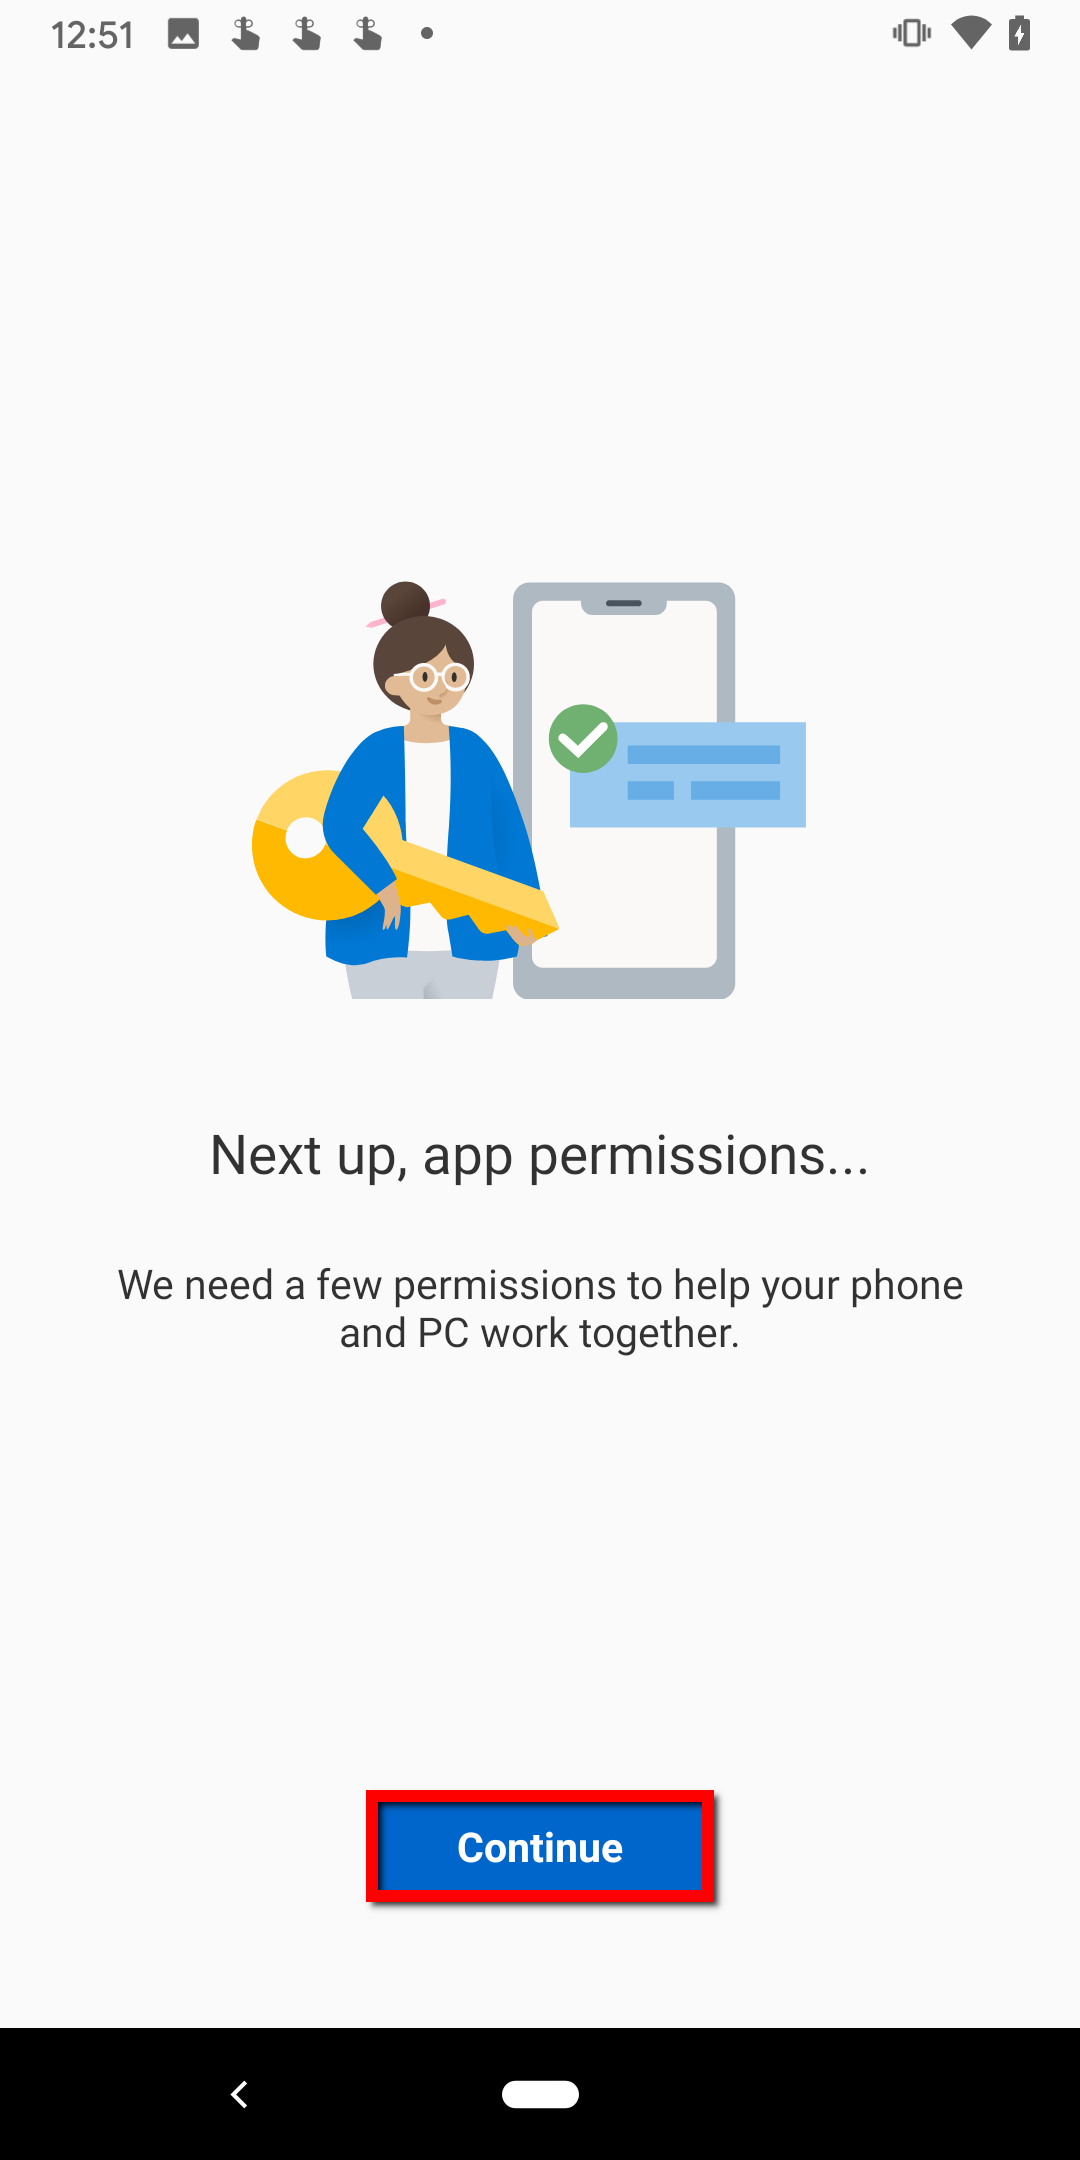
Step 4: Tap Allow on the following pop-ups to grant access to your contacts, make and manage phone calls, access photos and other media, and send and view SMS messages.
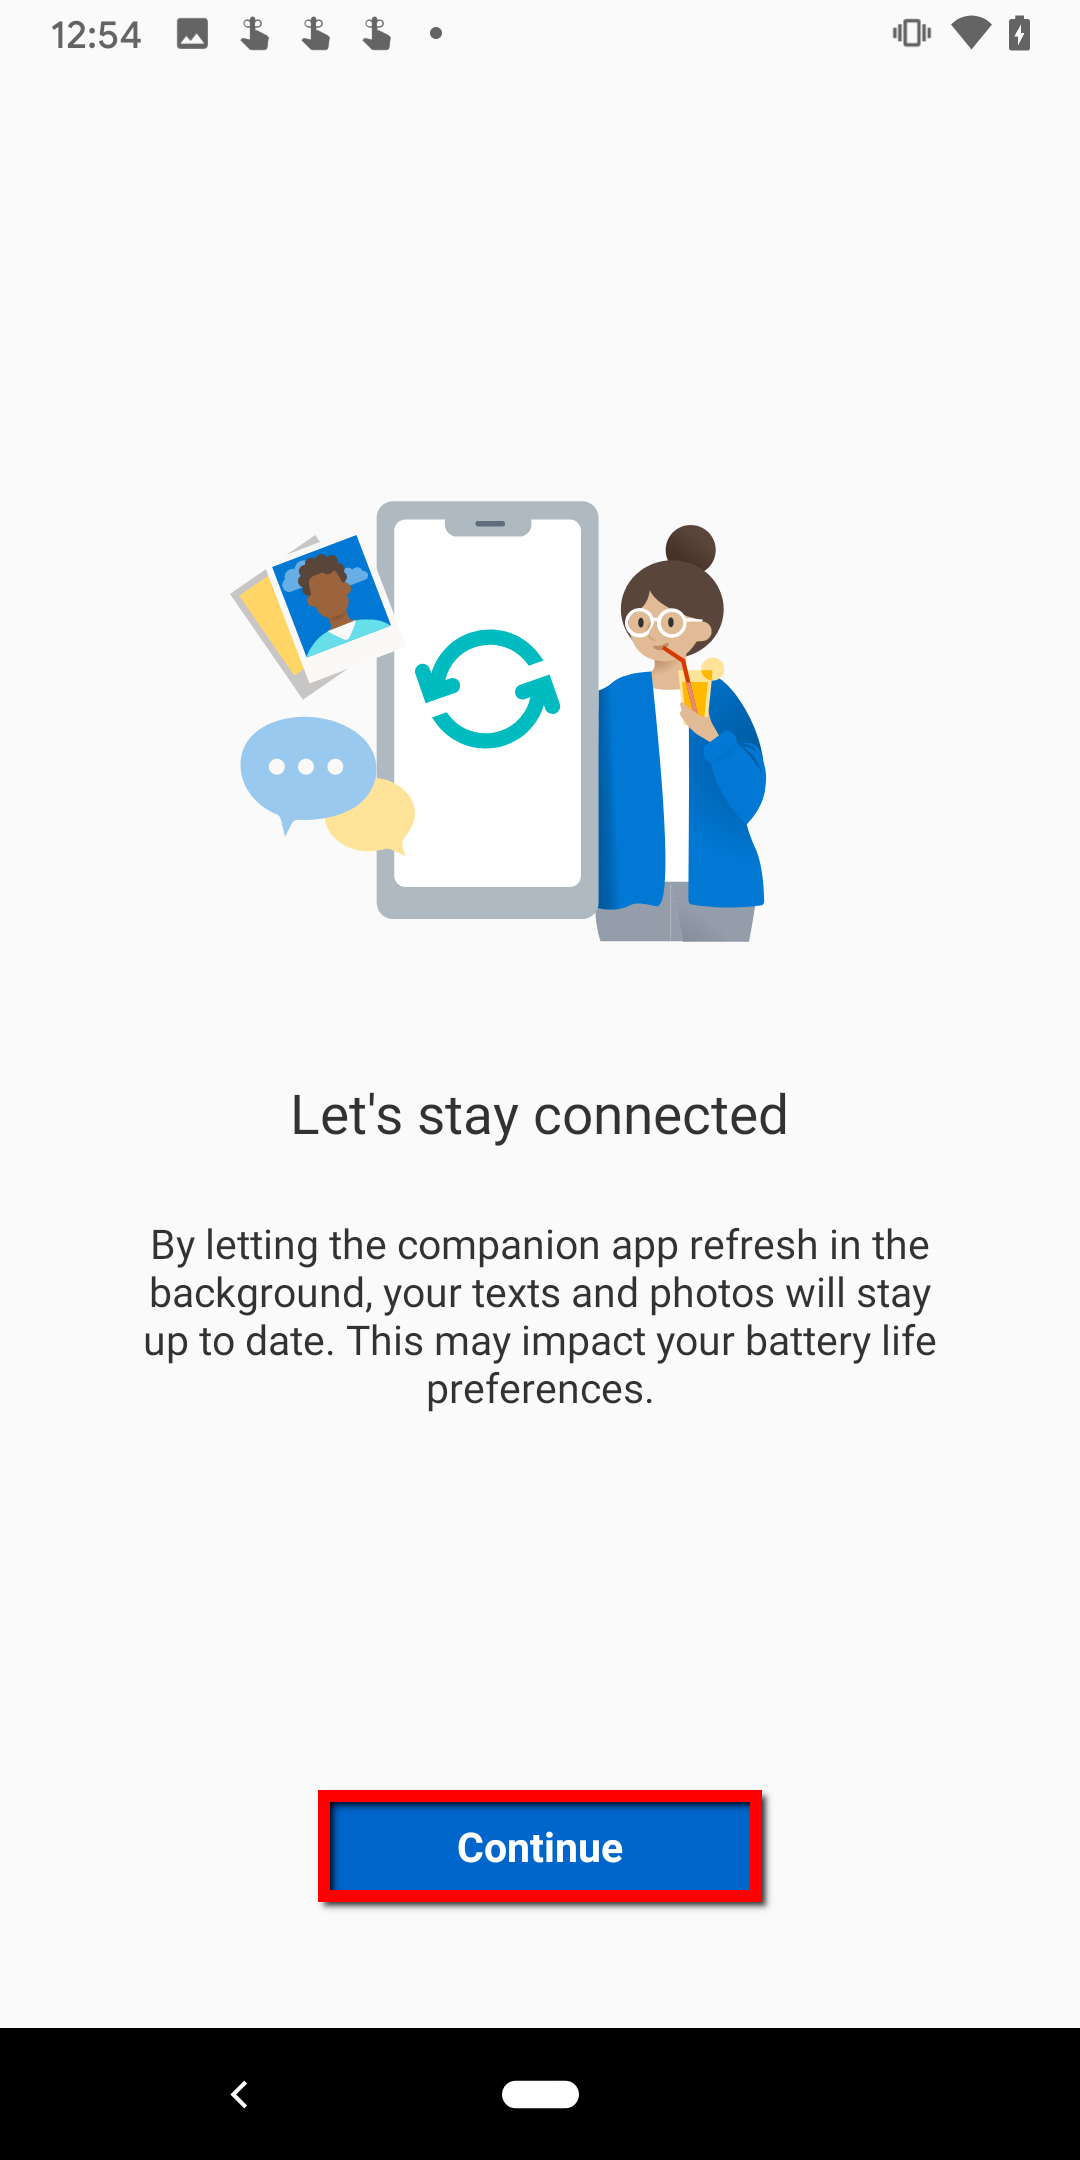
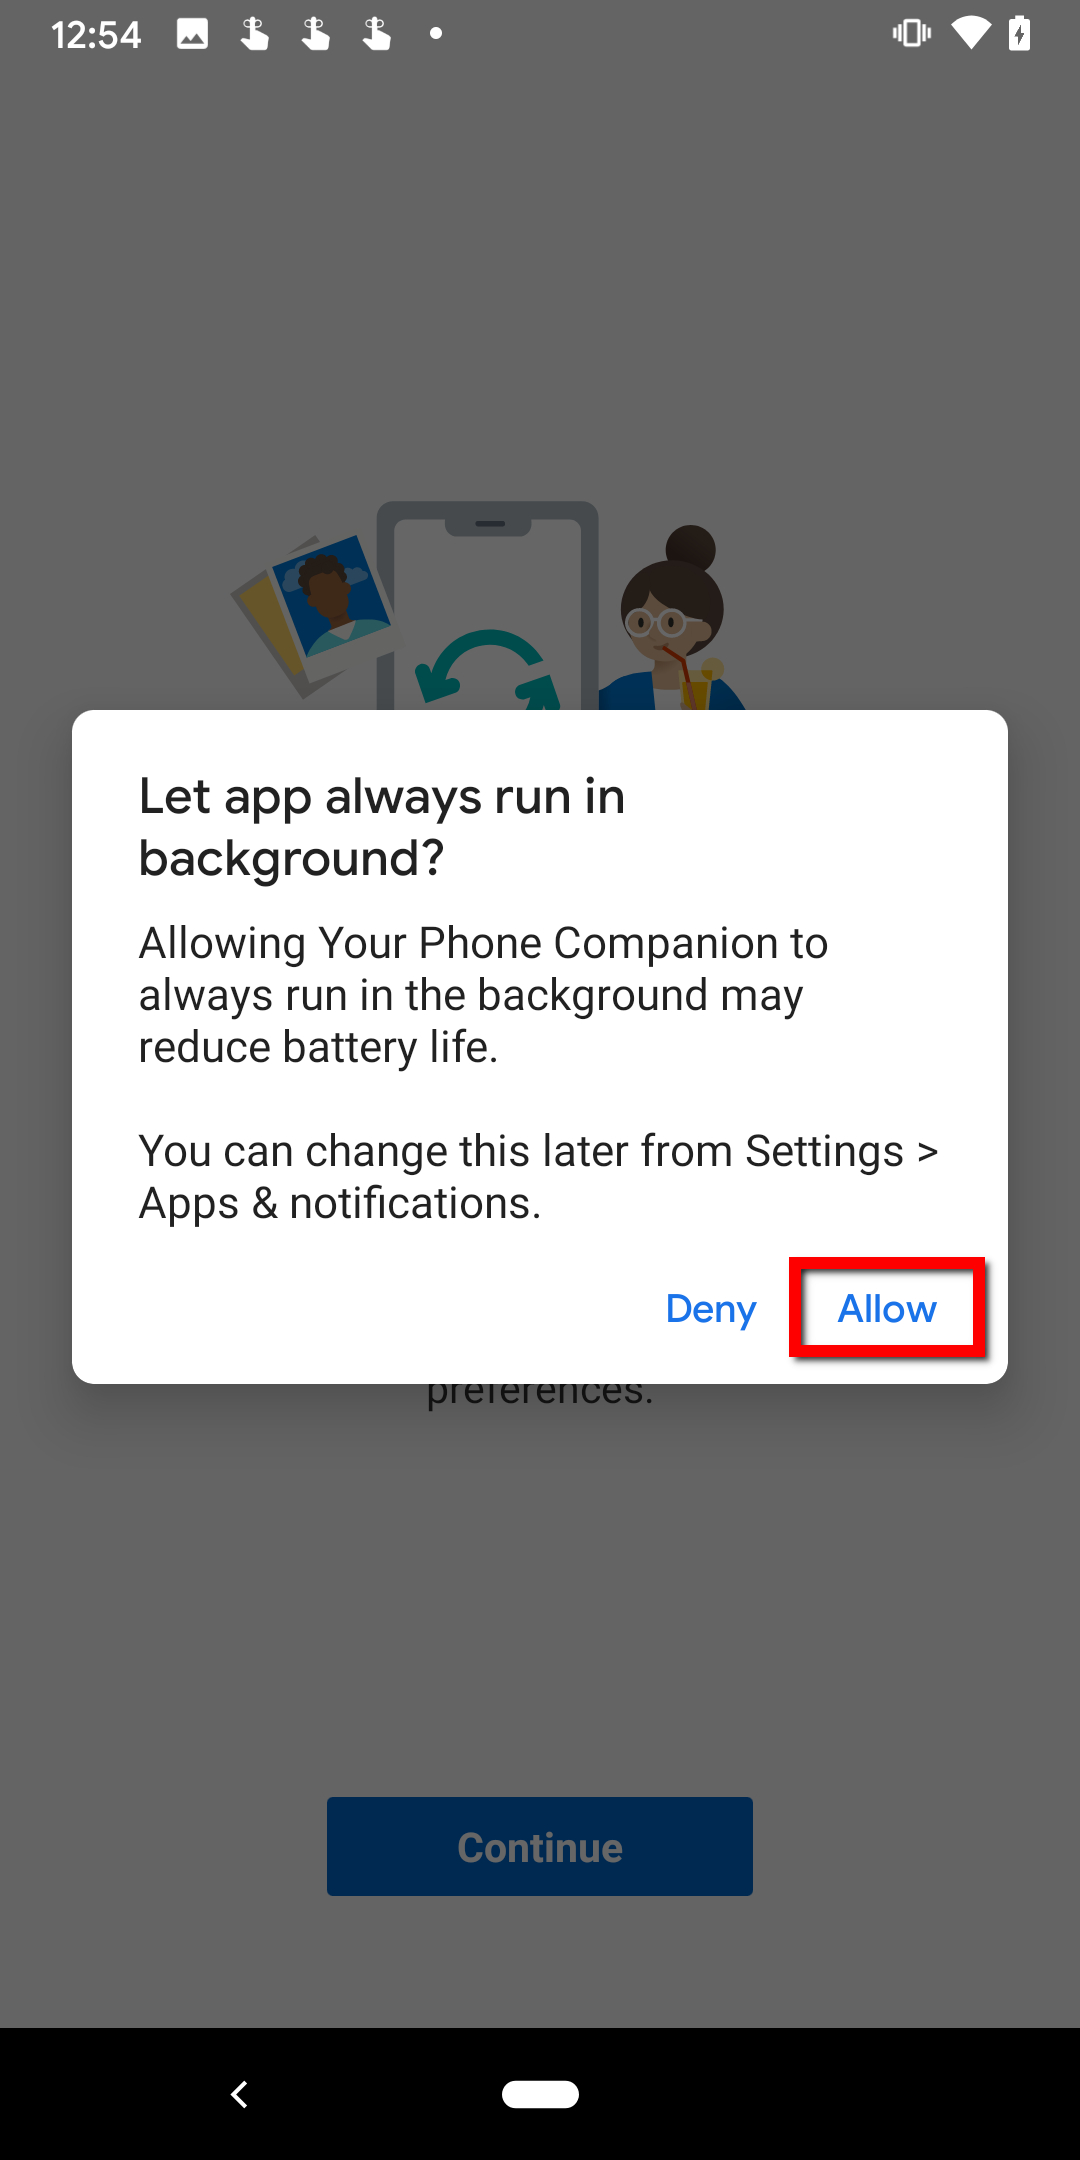
Step 5: Tap the blue Continue button followed by Allow to give permission for the app to refresh in the background.
Step 6: On Windows 10, tap to open the Your Phone app. You should already be signed in.
Step 7: Allow the pairing.
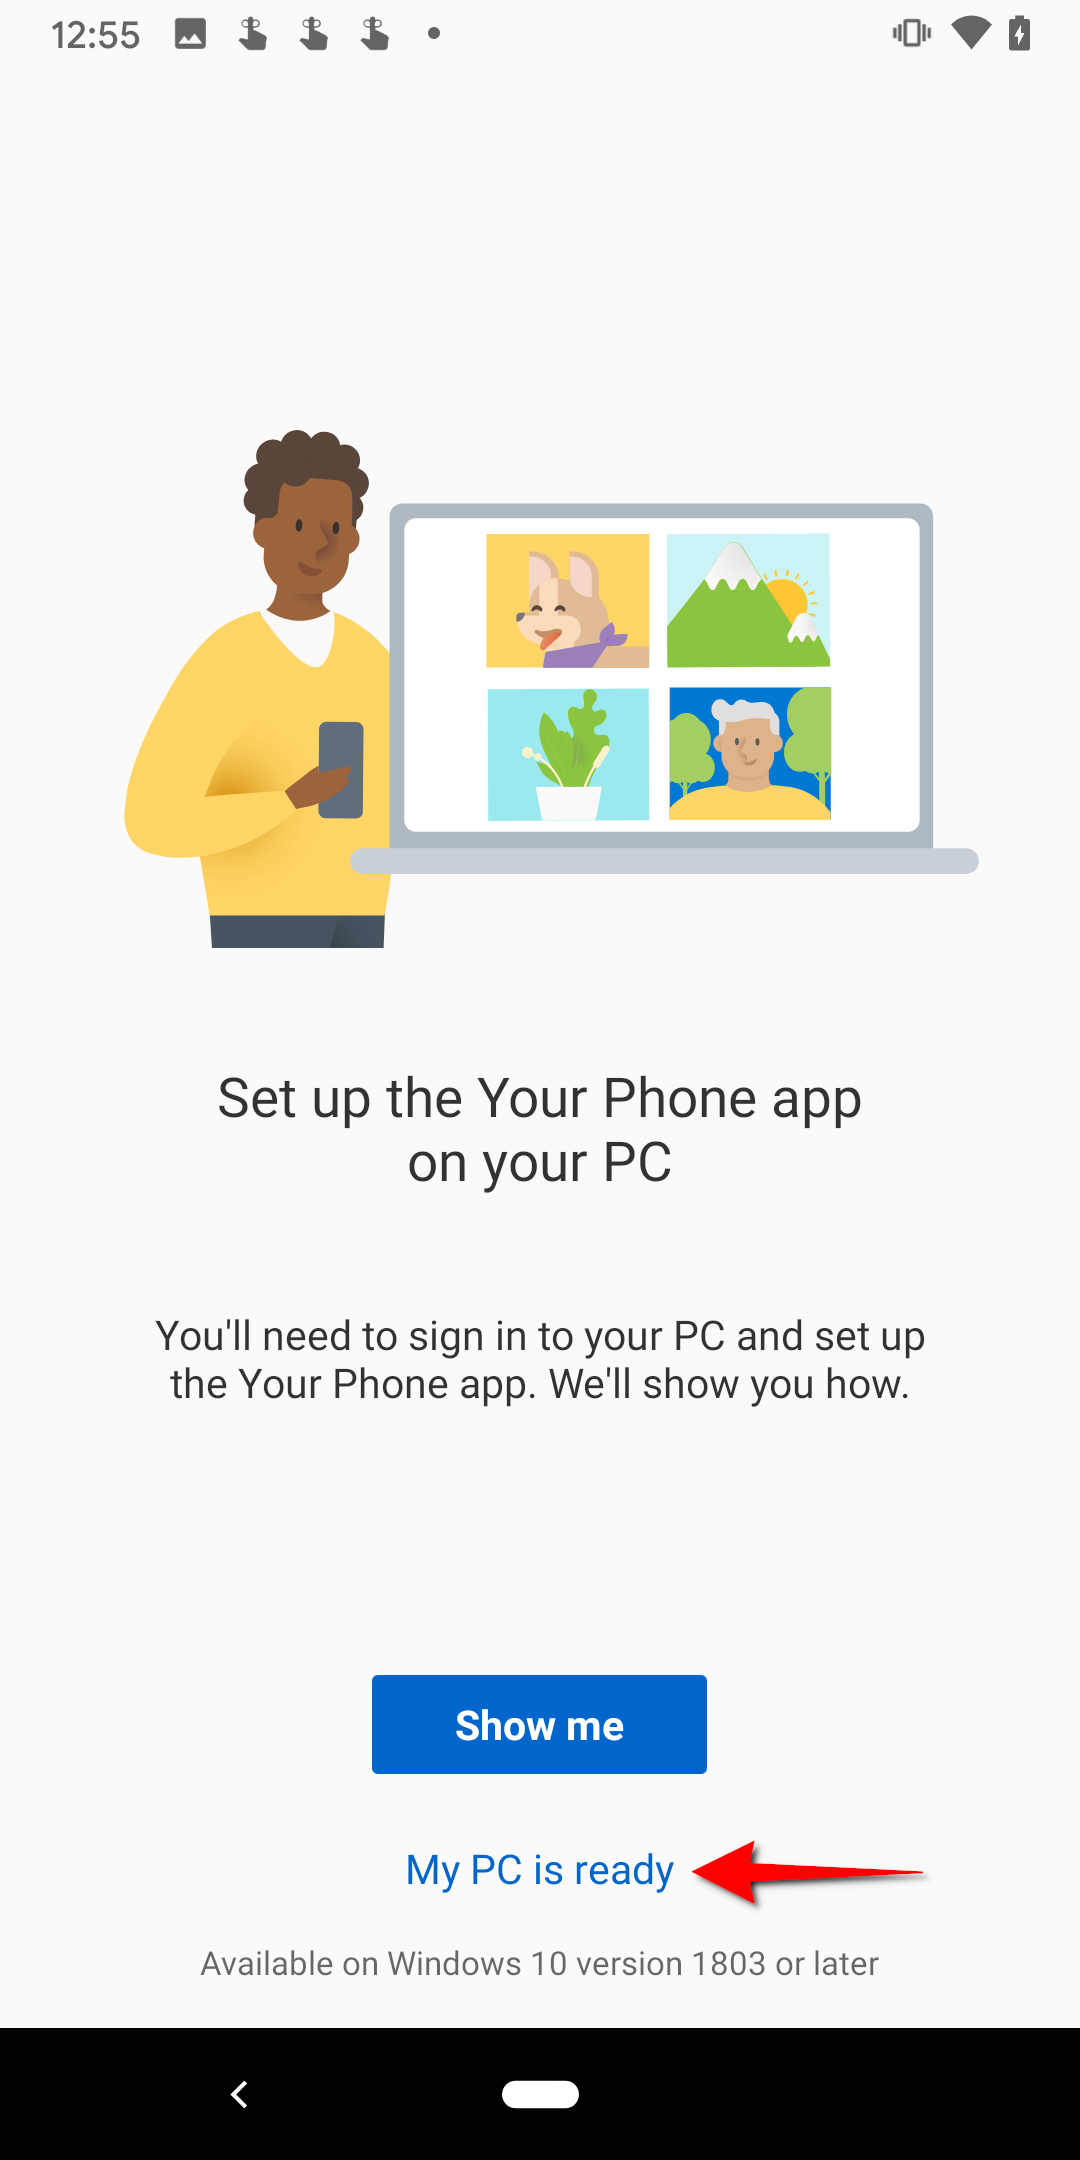


Step 8: Back on the Android phone, tap My PC is Ready.
Step 9: Tap the blue Allow button.
Step 10: Tap Done to finish the setup process.
Step 11: On the Windows 10 PC, allow the Your Phone app to pin itself to the taskbar. This is optional but makes accessing the app more convenient versus scrolling down the Start Menu to find the app.

The Your Phone app divides into four categories: Notifications, Messages, Photos, and Calling. Unfortunately, you can’t transfer just any file back and forth between PC and phone, but you can retrieve all photos stored on the Android device.
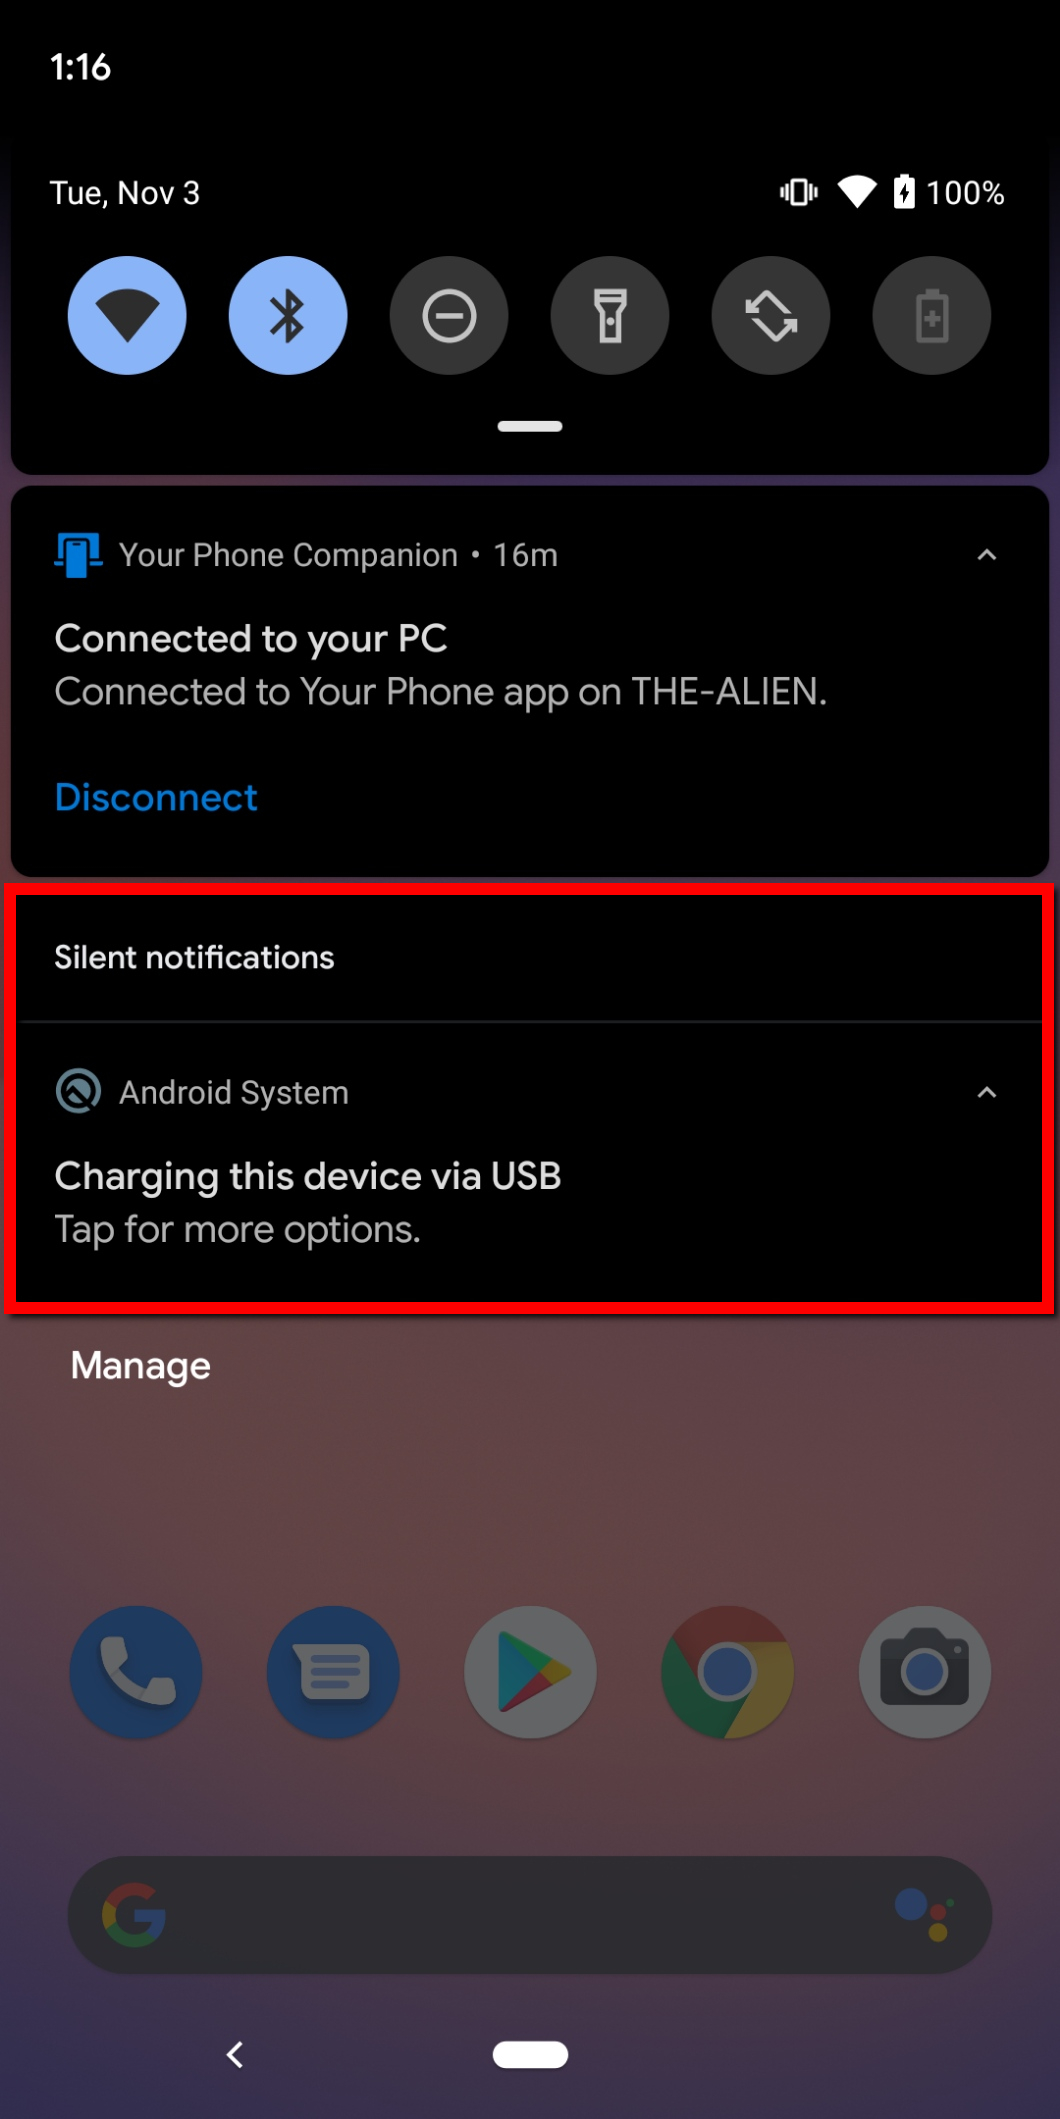
Note: To receive notifications, the Your Phone app will require permissions via the Android phone’s settings.
Use a USB connection

Make sure you have the right USB cable to connect your phone to your PC. Most modern phones require a USB-C cable, though double-check what connection your laptop or desktop has too, to make sure it can connect on the other end. Older phones usually require a micro-USB cable.

Step 1: With the Android phone unlocked, connect it to the PC using a USB cable.
Step 2: Tap the Charging this device via USB notification on the phone’s shade.
Step 3: Tap File Transfer listed under Use USB For.
Step 4: The phone should now appear in File Explorer as a USB drive. Move photos between the phone and PC like you would any USB flash drive.
Step 5: Eject the phone when done and unplug it from the PC.
Send a photo to Android using Bluetooth
Be sure both devices have Bluetooth enabled before moving forward.
Note: You won’t need to follow Steps 1 to 4 if you already paired the phone using the Your Phone Companion app.

Step 1: Open the Settings app on Windows 10 and select Devices.
Step 2: Select Bluetooth & Other Devices.
Step 3: Click Add Bluetooth or Other Device shown on the right.
Step 4: Select Bluetooth in the pop-up window.
Step 5: Click on your Android phone and follow the directions on each device to pair the two.

Step 6: Open File Explorer and find the photo you want to send to the Android device.
Step 7: Right-click on the file and select Send To on the pop-up menu.
Step 8: Select Bluetooth Device on the roll-out menu.
Step 9: Select the Bluetooth device and then click the Next button.
Step 10: On the Android phone, tap Allow.
Step 11: On the Windows 10 PC, click Finish.
Send a photo to Windows 10 using Bluetooth

Step 1: On Windows 10, right-click on the Bluetooth icon located next to the system clock and select Receive a File on the pop-up menu. You must do this first else the transfer will fail.

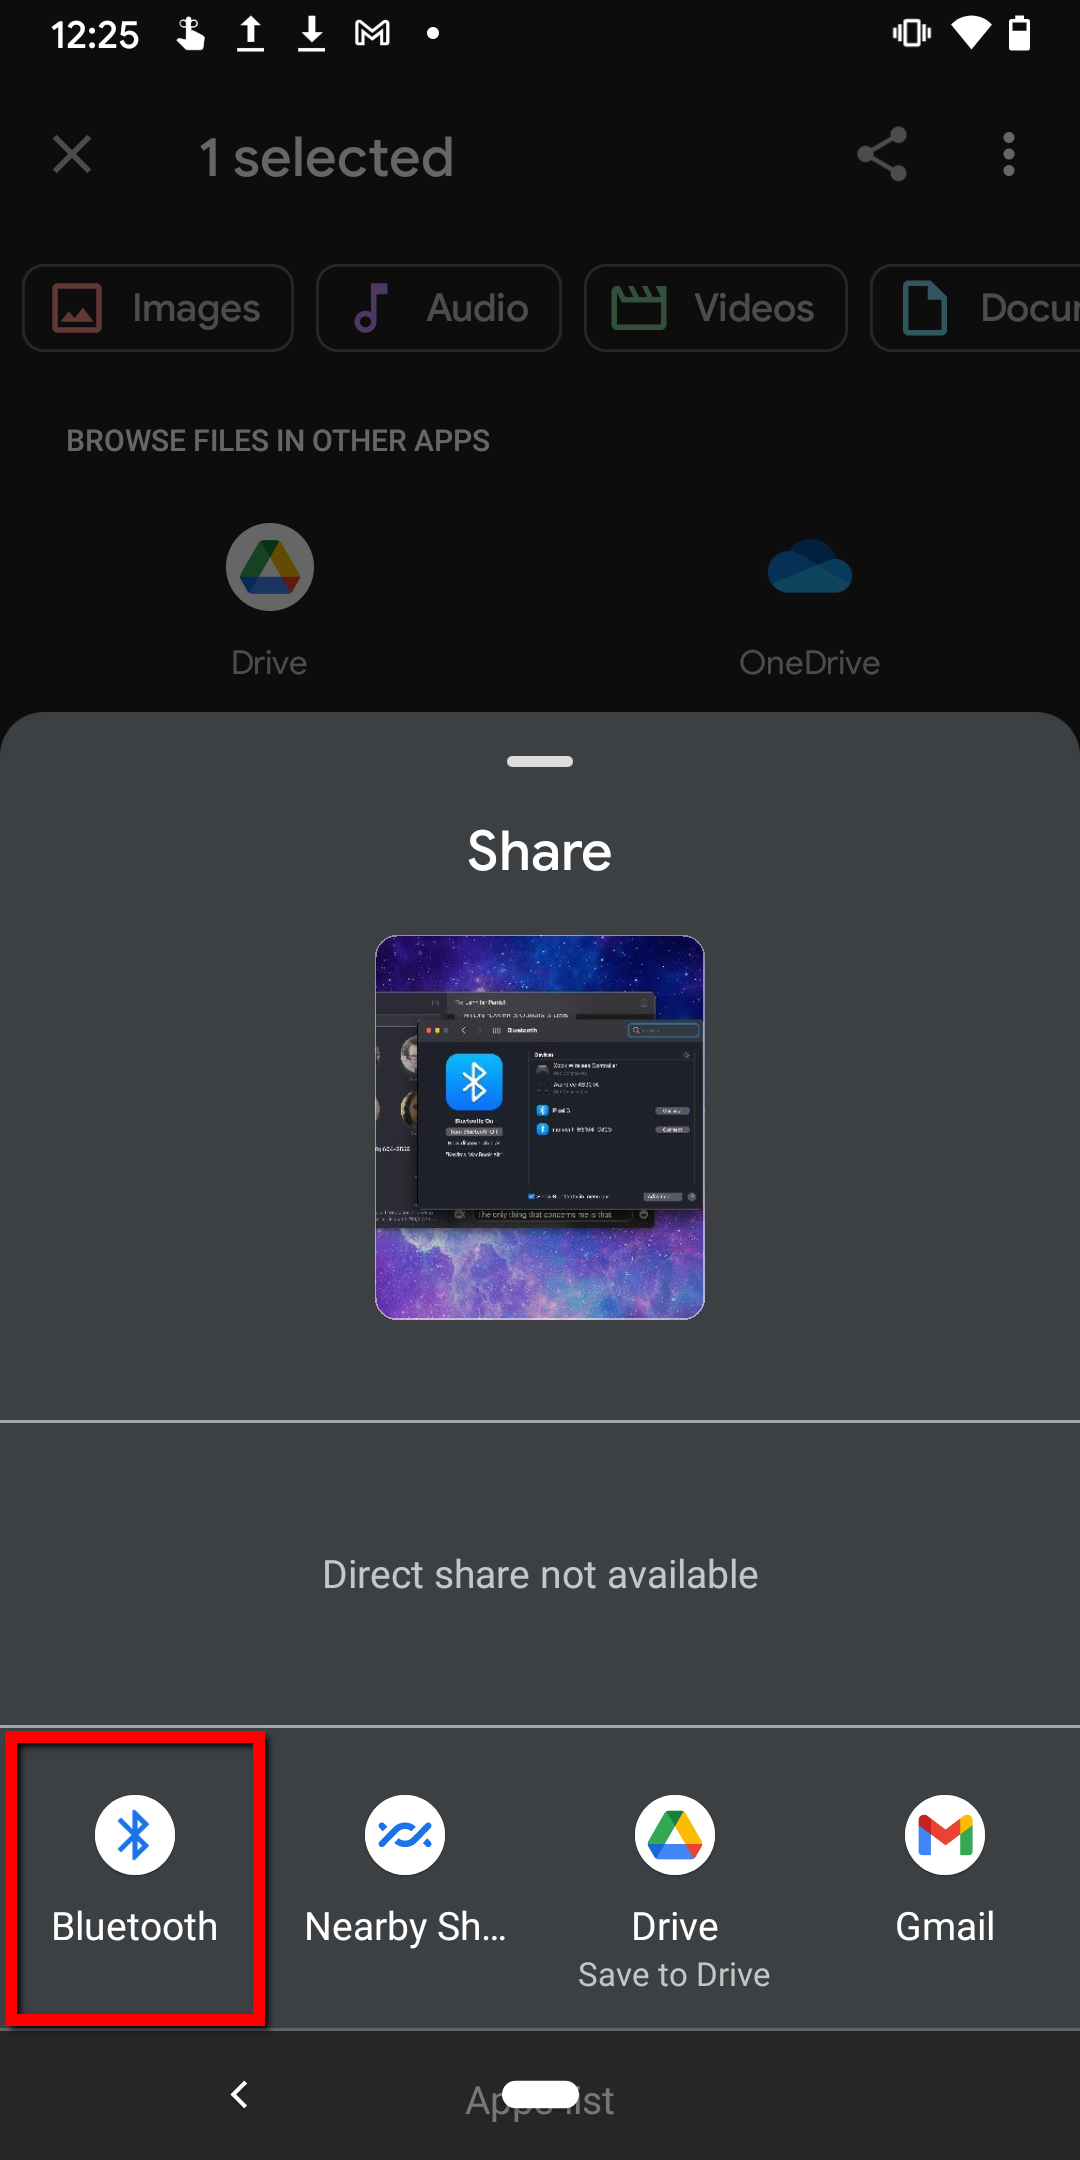
Step 2: On the Android device, long-press on the photo you want to send via Bluetooth.
Step3: Tap the Share button located at the top.
Step 4: Tap the Bluetooth button on the bottom toolbar.
Step 5: Select your Windows 10 PC on the list.
Step 6: On the Windows 10 PC, you’ll see the received photo listed in the Bluetooth File Transfer window. Click Finish to complete.
Use OneDrive
Your default go-to cloud service should be OneDrive. Just install the Microsoft OneDrive app on your Android device and have it automatically upload your photos to Microsoft’s cloud. If you’re not using the Camera Roll option, a good rule of thumb is to create an
Make sure all photos are synced to your Windows 10 PC so you’re swapping photos via File Explorer versus using a browser. Here’s how:

Step 1: Right-click on the cloud icon next to the system clock and select Settings on the pop-up menu.

Step 2: A pop-up window appears. Click the Account tab.
Step 3: Click the Choose Folders button.
Step 4: Click the box next to the folder you want synchronized with your Windows 10 PC.
Step 5: When you’re done, click the OK button.
Step 6: Open File Explorer and click on the Folder listed under OneDrive on the left. Photos uploaded from Android should now be accessible.
Step 7: In the OneDrive app for Android, you can access the same folder and download photos uploaded from your PC.
If you don’t want to use OneDrive, alternatives include Dropbox and Google Drive.
MacOS
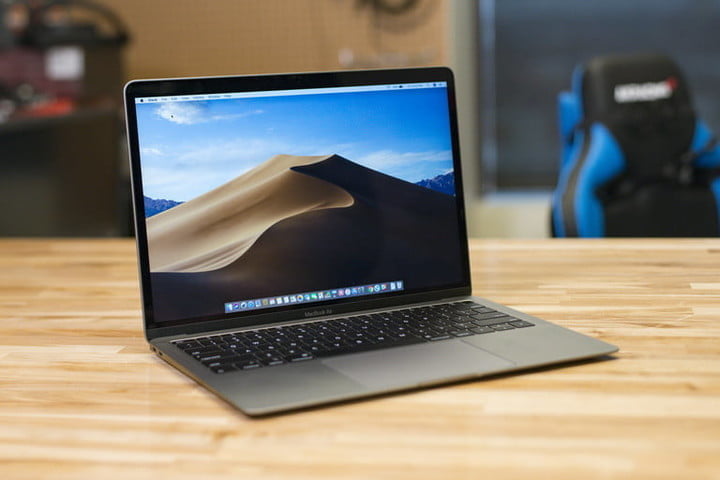
Use a USB connection
The same rule applies to Macs and MacBooks. You’ll need one of the following cables or an adapter:
- Micro-USB to USB-A
- Micro-USB to USB-C
- USB-C to USB-A
- USB-C to USB-C
Step 1: Download and install the Android File Transfer program from Google.
Step 2: Open Android File Transfer on the Mac. You’ll find it on the Launchpad.
Step 3: Unlock the Android phone and connect it to the Mac using a USB cable.
Step 4: Tap the Charging this device via USB notification on the phone.
Step 5: Tap File Transfer listed under Use USB For.
Step 6: The phone should now appear in Android File Transfer on Mac. Drag photos between Finder and
Step 7: Eject the phone when done and unplug it from the Mac.
Send a photo to Android using Bluetooth
Be sure both devices have Bluetooth enabled before moving forward.

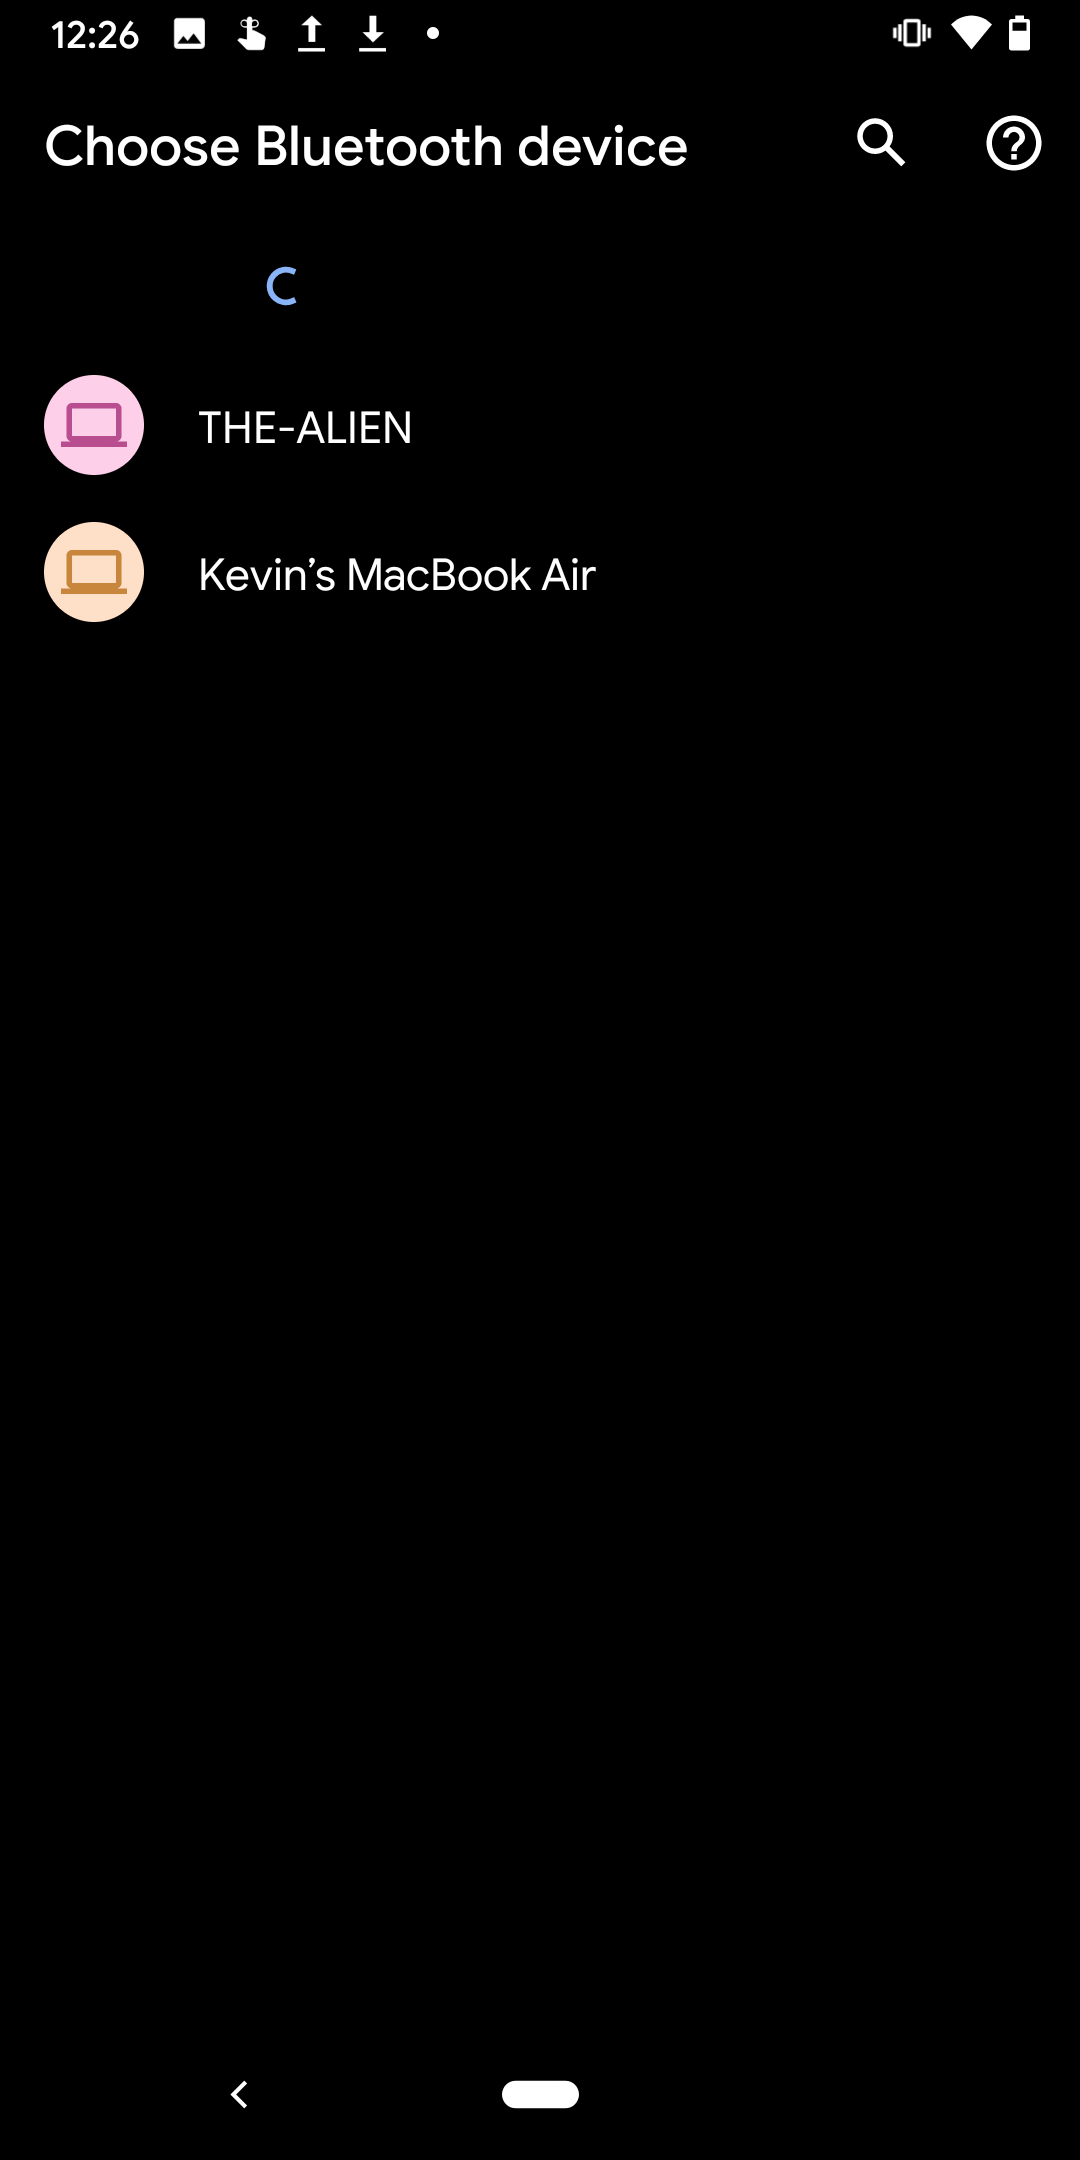
Step 1: On the Mac, open System Preferences and then select Bluetooth.
Step 2: Click the Connect button next to your listed Android device and follow the directions to pair the two.
Step 3: Go back to the main System Preferences screen and select Sharing.
Step 4: Click the box next to Bluetooth Sharing to enable file sharing via Bluetooth.

Step 5: Go back to Bluetooth in System Preferences and right-click on the paired Android device.
Step 6: Select Send File to Device on the pop-up menu.
Step 7: The Bluetooth File Exchange window opens. Select the photo you want to transfer and then click the Send button.
Step 8: On the Android device, tap Accept to receive the photo.
Send a photo to MacOS using Bluetooth
Step 1: On the Android device, long-press on the photo you want to send via Bluetooth.
Step 2: Tap the Share button that appears at the top.
Step 3: Tap the Bluetooth button on the toolbar at the bottom.
Step 4: Select your Mac on the list.
Use a cloud service
Unfortunately, you can’t use iCloud to push files between an Android device and a Mac. In this case, you’ll need Microsoft OneDrive (which is ideal if you also use a Windows 10 PC), Dropbox, or Google Drive.
Chrome OS

Of the three, you’d expect a Chromebook to feel more “native” when transferring photos between it and an Android device. But given the web-centric roots of Chrome OS, you have an easier time swapping photos on a Windows 10 PC. Nearby Share shows promise, but it’s still under development.
Use a USB connection
Step 1: Unlock the Android phone and connect it to the PC using a USB cable.
Step 2: Tap the Charging this device via USB notification on the phone.
Step 3: Tap File Transfer under Use USB For.
Step 4: The Files app opens in Chrome OS. Use it to drag photos back and forth between the devices.
Step 5: Disconnect the Android phone when you’re done.
Use Nearby Share
As previously stated, Google is currently working on a new feature that both replaces Android Beam, which relied on NFC, and mimics Apple’s AirDrop. Called Nearby Share, it establishes a wireless connection between two

Step 1: Enable the Sharesheet and Nearby Sharing flags via chrome://flags in the Chrome Omnibox.
Step 2: Verify that Nearby Share is enabled by opening Settings and clicking Connected Devices listed on the left. The Nearby Share feature, listed on the right, should be toggled on.

Step 3: Verify that Nearby Share is enabled on your Android device. Open Settings > Google > Device Connections > Nearby Share and make sure the feature is toggled on. This route may be different on third-party phones.
Step 4: In Files on the Chromebook, select the photo you want to share and then click the Share button.
Step 5: Select Nearby Share on the drop-down menu.
Step 6: On the Android phone, tap Accept to receive the photo.
Use Google Photos

This should be your first go-to cloud-based app to move photos between a Chromebook and an Android device. You can find this app already installed on the Launcher. However, it works best if Google Photos is the default photos app on
Step 1: With the Photos app open on a Chromebook, click to open the Photo you want to download.
Step 2: Click the three-dot More Options button located in the top right corner.
Step 3: Select Download on the drop-down menu. Alternatively, press the Shift + D keys.
To upload photos from a Chromebook, do the following:
Step 1: With the Photos web app open, click the Upload button located next to the search bar.
Step 2: Select Computer in the drop-down menu.
Step 3: The Files app opens on the screen. Locate the photo you want to upload and click the blue Open button on the bottom right corner.
Step 4: Select an upload size in the pop-up window and then click the blue Continue button to finish.
Use Google Drive
Google Drive should be your go-to cloud service for Chrome OS devices. It’s built into the Files app and listed on the menu to the left. In turn, use Google’s Files app on your Android device to easily move all files between it and a Chromebook, not just photos.
If you’re not fond of Google Drive, you can use Dropbox or Microsoft OneDrive to transfer files using a browser or the Android app.
Other solutions
Use an external drive (all)

With the right adapter, you can connect a USB drive to your Android phone to move photos to and from the device. However, the phone needs to support USB On-The-Go, which is a protocol for enabling data transfers through the phone’s USB-based charging port. This protocol supports file transfers, external peripherals, and so on.
On older Android phones, you’ll need a Micro-USB to USB-A adapter, as USB drives typically ship with USB-A connectors. Newer phones will need a USB-C to USB-A adapter.
Meanwhile, if you’re using an external hard drive or SSD, you can get away with purchasing a new cable with the connectors you need — if a compatible cable didn’t ship with the drive.
Use a MicroSD card
Unlike iPhones, Android smartphones support MicroSD cards to expand their storage capacity. They usually require you to open the tray using the supplied key or something similar (a push pin works) to remove it from the phone. You would then need an adapter to read this minuscule card on a PC with an SD card slot, or a USB adapter with an included MicroSD card slot.
Of all the available options, this method is not ideal but doable. Just remember to save all photos to this card before removing it from the phone.
Email your photos
If you just want to swap one of two photos, emailing them may be the quickest solution no matter the target PC. This way, you don’t need to set up apps and/or synchronize cloud storage folders. Just attach your photo to an email and click Send. BAM! You’re done.
Editors' Recommendations
- Android 15 might add a new way to charge your gadgets
- The 10 best photo editing apps for Android and iOS in 2024
- Can you take a picture of the solar eclipse with your phone? Here’s how to do it
- When is my phone getting Android 14? Here’s everything we know
- Qualcomm is about to make cheap Android phones better than ever