
A GoPro is perfect for capturing all of your outdoor adventures, but between the slopes and the swells, when you may not expressly need an action camera, you can still use it to capture some stunning footage. The time-lapse function built into Hero5 and Hero6 Black cameras can turn anything from your morning commute to an epic sunrise into a video worth watching. While it’s fairly easy to get it going, there are a few variables that affect the outcome and image quality.
When using the Time Lapse Video mode on your GoPro, the action cam will automatically capture still images at certain intervals which you define. When finished recording, the GoPro will automatically stitch the photos together to make a seamless video that warps through time without the need of complicated post-production software. Do note, this mode is different from Time Lapse Photo mode, which captures the still images but doesn’t stitch them together (this is the mode to choose if you prefer having more control in post-production).
Many of the same settings apply, but for the sake of brevity, we’ll be focusing on only Time Lapse Video mode within this article. It’s as simple as it gets, but you should pay attention to two key aspects: Video resolution and photo intervals.
Resolution and intervals
The exact resolution options available for Time Lapse Video mode vary from one GoPro model to the next, but the current Hero5 and Hero6 models offer 1080p, 2.7K, and 4K (as does the discontinued Hero4 Black).
The default shooting interval is one photo every half second, but you can also choose 1-, 2-, 5-, 10-, 30-, and 60-second intervals. The higher the interval you choose, the more condensed the time-lapse will be. If you plan to record a long period of time, like an hour of the sun rising or setting, a longer interval is probably best, so that you don’t end up with a video that is too long. Likewise, a shorter interval will be better for shorter activities.
In time-lapse mode, it takes 30 still images to result in one second of video since the resulting MP4 file plays back at 30 frames per second. So, if you select 5 seconds, it will take 150 seconds to capture just one second of final video.
Configuring Time Lapse Video mode
To get into Time Lapse Video mode on either the Hero5 or Hero6 Black — without the use of GoPro’s accompanying mobile app — there’s a few steps you need to take. Power on the camera and tap anywhere on the touch screen to bring up the control overlays. Tap the shooting mode button near the bottom left of the screen. Next, tap the clock icon in the upper right. This will bring up the time-lapse mode options. Select Time Lapse Video.


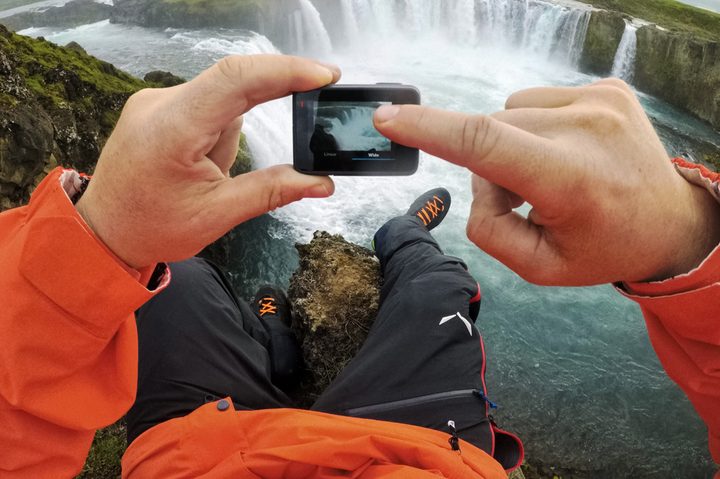
You should now see options for resolution, interval, and field of view. Tap INTR, and all the available intervals will be listed in two rows at the top and bottom of the screen. The selected interval will be displayed in large text right in the center. Tap any other interval to select it. Selecting a resolution and field of view will be similar. When all of your settings dialed in, tap the screen to return to live view and press the shutter button to start your time lapse when you’re ready.
On the Hero4 Black, which lacks a built-in monitor, you have to rely on the small information display on the front of the camera. Press the power/mode button to cycle through the different modes until you land on time-lapse and press the settings button on the side of the camera to select it. This will bring up the time-lapse options, including resolution and interval. Use the power/mode button to cycle through the list of options, and the shutter button to change them.
If you have GoPro’s accompanying smartphone app, you can control all of these settings through the app, which is much more straightforward. It’s available on both Android and iOS.
Other tips
Remember, in Time Lapse Video mode, your camera will only store the final MP4 video, not the individual stills captured. If you want to save the individual stills, select Time Lapse Photo mode. This won’t automatically stitch a video for you, but it will give you more control in post-production, where you can zoom and pan around the 12MP photos to add motion to your time-lapse video.
Also, as with any video, it’s helpful to record a little more than you think you’ll need. You never know when you’ll need a little more footage or need to trim the beginning and end for an intro. With a time-lapse, however, getting “a little more than you’ll need” may translate to quite a few minutes of extra recording time, depending on your interval, so it is best if you can plan your shot ahead of time and know exactly how much footage you’ll need.


