First things first, you’ve got an AVI file that you want to watch on something other than your computer, right? Well, burning it to a DVD is the most conventional way to go about it, but it’s actually one of the hardest ways to get that video file to your TV. In most cases, it’d be easier to just stream it.
Streaming an AVI file to your TV
Playing the video file in question on your TV is actually pretty easy if you’ve got the right setup. First, just make sure your PC is connected to the same wireless network as your TV or streaming device. Next, you might need a separate application to stream from your PC, and the best one out there right now is probably Plex.

Plex is a third-party app that makes it even easier to stream content from your PC to your TV, streaming device, or even your phone. There’s a lot of latitude when you’re using a service like Plex, but we only need a fraction of its capabilities for our purposes. So download and install Plex, and we’ll get on to the next part.
Once Plex is up and running on your PC, you’ll need to set it up on your streaming device. Luckily, Plex is compatible with pretty much everything, including the PlayStation 4, Xbox One, Chromecast, and a host of other popular devices. Navigate to your streaming device’s respective app store, and search for “Plex.”
Once you’re set up on both your PC and your streaming device, all you have to do is make sure to add your AVI file to your Plex library on your PC. Once you’ve added the movie, it should show in the Plex app on your streaming device. Then, just click play!
Playing an AVI file from a flash drive
If you don’t have a Plex-compatible streaming device, you still have options. Your TV, for instance, can probably play the AVI file just fine on its own.
First, go find a flash drive. Assuming it has enough storage space to house your AVI video, plug the drive into your computer and drag the AVI file onto the flash drive. The list of TVs that can run AVI files would be way too long to include here, so we’re going to try something quicker: just plug it in. If you have a recent HDTV, one built in the past decade, it’s probably equipped with a couple USB ports on the back or side.
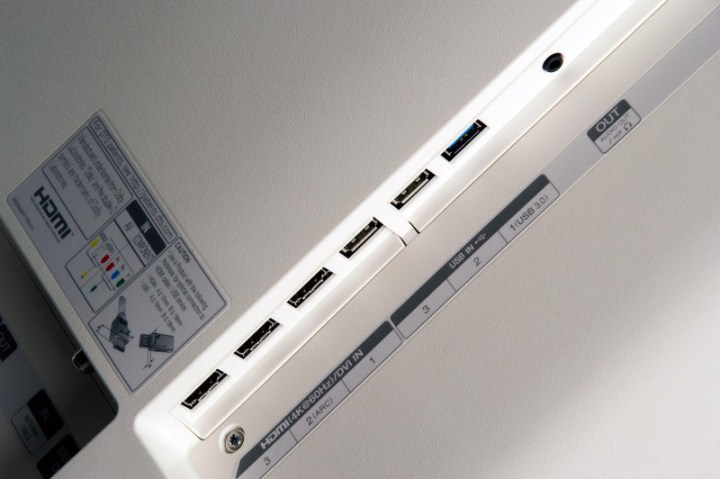
Plug in the flash drive. Next, using your TV’s remote, you’ll want to open the drive. Usually, it will show up as an Input option, but refer to your TV’s manual for exact details. Some TVs have an external drive menu, which will list all connected storage devices.
If your TV is listing the flash drive as empty, you might have to burn your AVI file to a DVD after all. If so, we’ve got you covered. Read on and make sure you’ve got some time to spare because this could take a while.
Burning an AVI file to a DVD
Now that we’ve exhausted all our other options, let’s burn that AVI file to a DVD. Go grab that stack of blank discs you got from Costco more than a decade ago and pull up a chair.
First, you’ll need to convert your video file to a DVD-compatible format, then you’ll need to burn it to a DVD. In the interest of providing a cross-platform solution, we’d suggest you use iSkySoft’s DVD Creator for the entire process. It’s going to take longer than you might be used to, but that’s normal. The software is going to re-encode and burn the video at the same time.
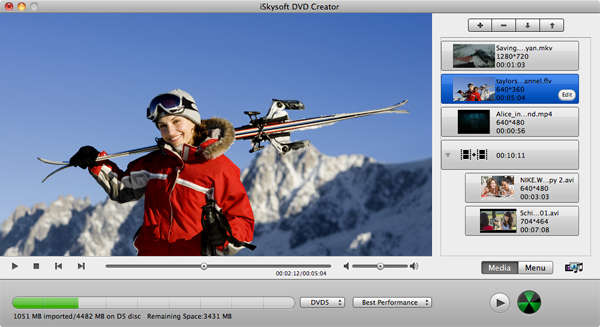
Step 1: Head over to the iSkySoft home page and download a free trial of DVD Creator for Windows or MacOS. Once you’ve downloaded and installed the application, fire it up. It should look something like this.
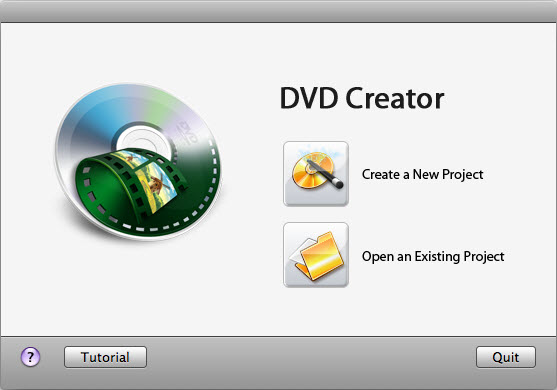
Step 2: Click Create a New Project and select the AVI file (or files) you want to import.
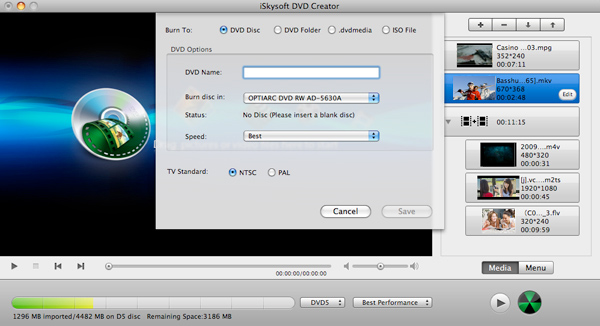
Step 3: Finally, double check your files and click the black-and-green icon at the bottom to start burning your disc. On this last menu, make sure you check the TV standard appropriate for your specific region. If you’re in North America, check NTSC, if you’re in Europe, check PAL. Keep in mind that it’ll take a little longer than a typical DVD to convert, as you’re converting the videos and burning the video simultaneously. It could take hours if your computer is no spring chicken.
Well, that should do it! Sit back, relax, and wait for your DVD to finish burning. Try not to do anything on your PC while the disc is being burned — just let it do its business.
Editors' Recommendations
- How hot is too hot for your CPU?
- How to change your router’s Wi-Fi password
- How to convert your VHS tapes to DVD, Blu-ray, or digital
- How Hyte is tying your gaming PC together with a single cable
- Is your PC acting up? Here’s how to fix it