At Digital Trends, we want our product reviews to provide readers with insight into a product’s technical performance–and its usability. To that end, we go beyond specs and measurements by placing emphasis on the user experience. For cameras, that means taking a close look at all the little touches that, taken together, make the difference between an ordinary camera and one you’ll want to buy and carry around with you at all times.
Also check out our picks for the best digital cameras as picked by our reviewers.
Opening The Box
We do not test prototypes or any camera that is not ready for primetime. We get full production models so the camera we test is the same as the one you’ll pick up at the store or delivered by UPS/FedEx. When it arrives, we unpack the camera and all of the supplied accessories. At that point, the battery gets charged which typically takes 2-3 hours.
Build Quality and Styling
When the battery is charged and placed in the camera, we turn it on, following the same instructions as you would for setting the time and date. Amazingly, we read the supplied owner’s manual. Yes, it’s heresy to admit, but no matter how many cameras we test, all are different and have their own nuances. At this point we begin walking through the menu system. This gives us a strong indication as to the camera’s overall engineering and design. A clunky or obtuse menu system usually means the company really hasn’t thought through the entire user experience. Fortunately, most top makers have improved their user interfaces dramatically over the years. They’re not iPhones or iPads, but good progress has been made. However, some companies bury important features deeply in the menu system and we point this out in our reviews, hoping beyond hope they take the hint and make positive changes for the next generation.
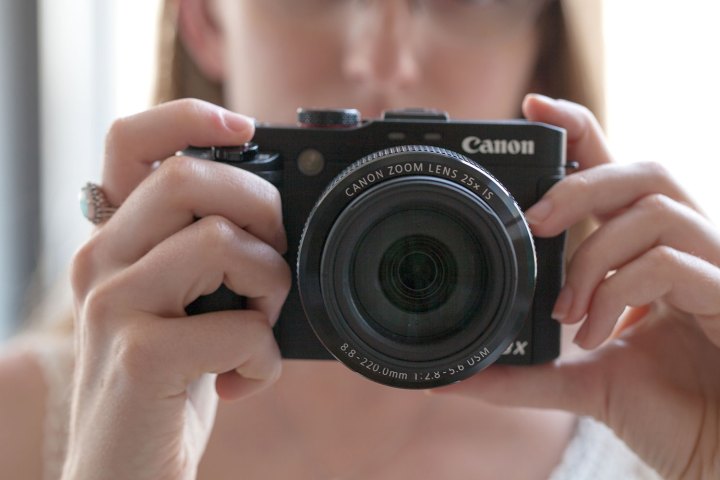
Next, we closely examine every camera, noting the position of the many buttons, levers and keys. Again, like the menu system, properly identified and logically placed controls are strong indicators a camera will be a winner or loser—at least ergonomically—picture and video quality is another story. What makes a pleasing industrial design is as individual as your favorite food or car. That doesn’t stop us from giving our opinion and it’s one that’s been honed by handling hundreds of cameras over the years. Again personal preferences are just that but we know a clunker when we see/handle one and will share our thoughts, no matter how touchy company ego.
Performance Testing
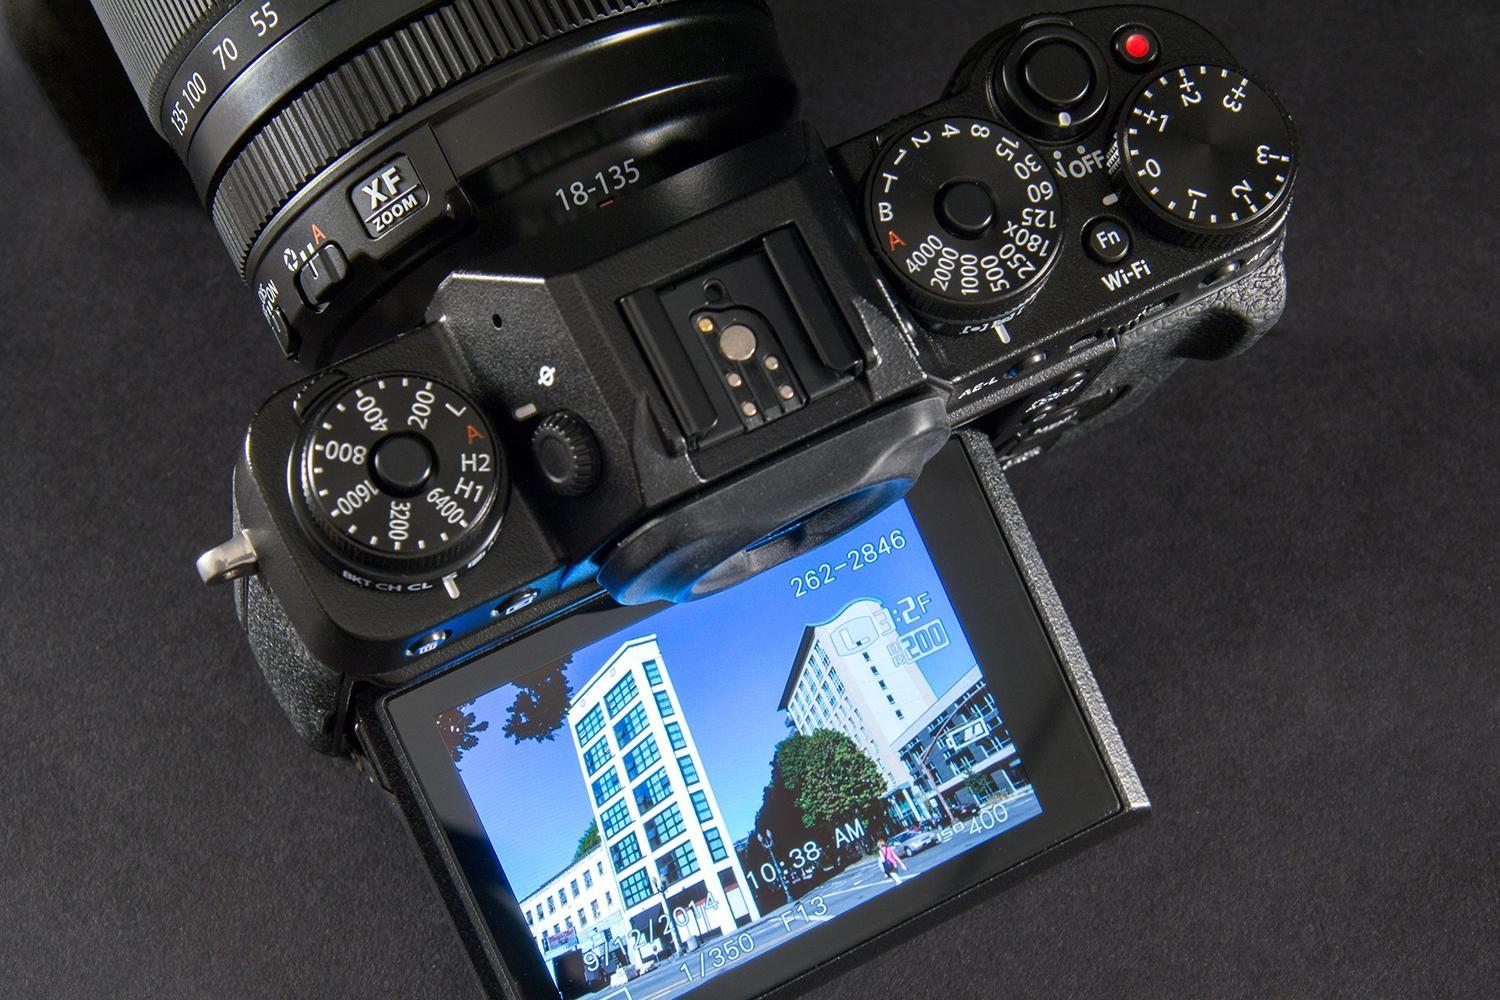
Once we’ve set the date/time and generally given the camera a careful examination, it’s time to load a memory card. Typically we use Class 6 or 10 SDHC or high-speed CompactFlash media. We always do a deep formatting of the card before we start shooting. Quality settings are adjusted to maximum levels for stills and movie clips. If a camera offers a RAW option, we’ll shoot RAW+JPEG as well as straight JPEGs. Continuous (burst) modes will be engaged whenever possible. Movies will also be set to top resolution. At this point, it’s time to start taking photographs and videos.
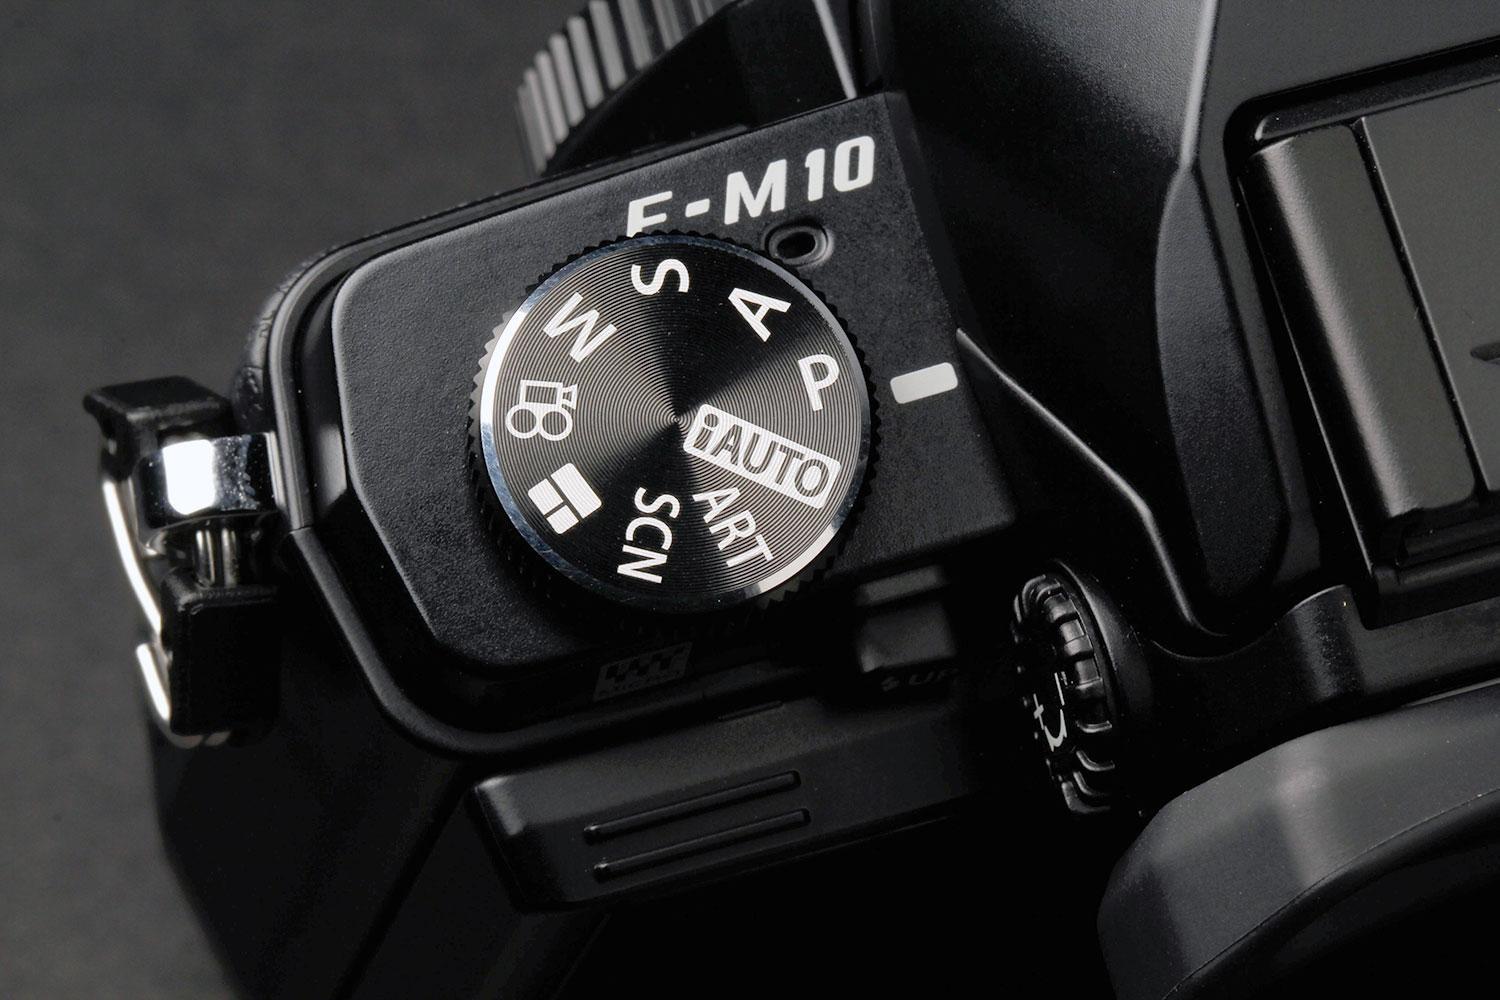
We’ll readily admit it’s a lot of fun taking new cameras with us wherever and whenever. Depending on the time of year, of course, subject matter will change dramatically as will location. If we’re testing an interchangeable lens camera, we’ll bring all the lenses supplied by the manufacturer in a sturdy backpack. We like taking our review samples to various locales, using them just as you would. That means we typically start off in auto mode. Again depending on the model, we’ll then move through all the options on the mode dial such as aperture- and shutter-priority as well as the various Scene modes. Increasingly, more cameras have art and special effects filters and we’ll capture our share of these shots as well. We’ll shoot videos but not nearly as many compared to stills. In the course of weeks-long shoots, we’ll take many hundreds of images and dozens of movie clips.
Checking Them Out
When we’re done, we review our efforts in a variety of ways—directly on a 50-inch HDTV via HDMI and via card readers on a PC. The large display gives a great indication of video quality as any compression artifacts will easily make themselves apparent as will any colors shifts and rolling shutter “jelly” effects. We don’t perform audiophile-level tests just let our years-long experience let us know if sound is pleasing or not. Scrolling through hundreds of images using a TV remote is not the most pleasant thing so we use the computer for that task.
Our Samsung monitors are calibrated using the supplied software and then we settle in for “pixel peeping.” When we find an interesting photo we proceed to enlarge it 100% or more in order to closely examine it. This gives us a real indication of color quality and the impact of digital noise. Besides our “real world” photos, we also take a series of shots of a test subject—a multi-colored beaded lampshade–with the flash off, of course. This not only shows when noise starts to kick in and degrade the photos but how well a camera’s image stabilization system functions.
As we’re doing the pixel-peeping, we’ll note which image we want to print. We do not make any changes to the file, such as Auto Fix—we want to see what the camera captures without any software fixes. At this point, we’ll make 8.5x11full-bleed prints on photo glossy inkjet paper with a 5-color Canon Pixma all-in-one printer using pigment-based ink (4800×1200 DPI). This gives us a proverbial hard copy to closely examine.
And The Envelope, Please
Once our testing and review process is complete, we take into consideration a camera’s overall performance, its cost and the competition it faces with similarly priced and featured models. Although prices of mainstream digital cameras have dropped as megapixel counts have risen, more pixels doesn’t mean better photos/videos. Cameras are much more than their imaging sensors and sometimes you really have to spend more for the best results. That’s why we do extensive hands-on reviews rather than merely recite speeds and feeds.
We want readers to walk away from our reviews with a solid idea of what it would be like to own any particular model, and whether the camera in question might be a good fit for your needs.
As always, we value reader feedback and will take comments, requests and questions into consideration as we refine our testing processes to reflect the needs of our readers.
Editors' Recommendations
- Fujifilm’s most-hyped camera has just started shipping
- Photography 101: Exposure, aperture, shutter speed, and ISO
- The best point-and-shoot cameras
- The best digital cameras
- What is Photoshop Camera? How Adobe’s new A.I. app edits photos before you take them