The Steam Deck is a very emulator-friendly system, and with a few tips and tricks, you can learn how to run emulators on the Steam Deck in just a few minutes. When Valve designed the Steam Deck, it knew that players would be interested in emulation to recreate their favorite gaming systems of years gone by to enjoy some timeless classics. That’s why the Steam Deck allows you to pick and run an emulator right out of the box.
Disclaimer: Emulation is a legal gray area, as the ROM files to play the games are rarely available through legal sources. Digital Trends doesn't condone the illegal downloading of any games you don't own, nor can we vouch for the veracity and security of any ROM files you download from unofficial sources.
How to run an emulator on the Steam Deck
Step 1: Turn on your Steam Deck. When it’s up and running, hold down the Power button on the top-right of the Steam Deck for a few seconds. When a menu opens, choose Switch to desktop. This will reboot the Steam Deck in Desktop Mode, where you can make important changes. It’s usually easier to navigate the Desktop Mode if you connect the Steam Deck to a larger monitor and a mouse/keyboard, but it’s not entirely necessary.
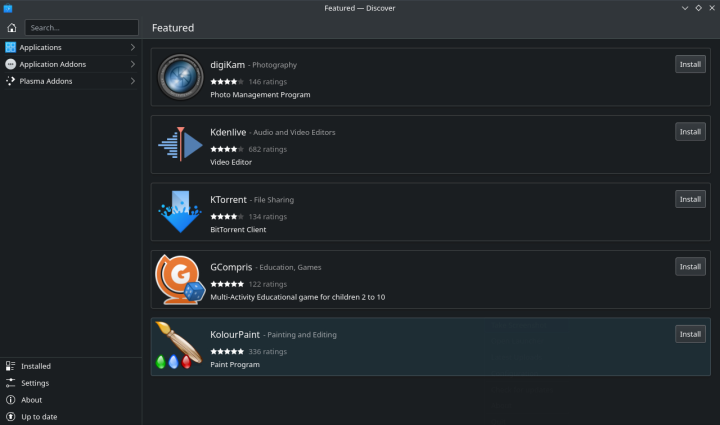
Step 2: The Steam Deck already has a lot of emulators waiting to be downloaded in the Discover app. However, that’s where things quickly get complicated. Instead, we suggest using a shortcut, specifically the EmuDeck program. EmuDeck takes care of all the details on the backend and will install and configure emulators — notably RetroArch, a front-end infrastructure that works well with the Steam Deck and one we recommend for emulation. Head to this webpage and select the Download app button to begin. If following the links is tricky, the URL is: emudeck.com/#download.
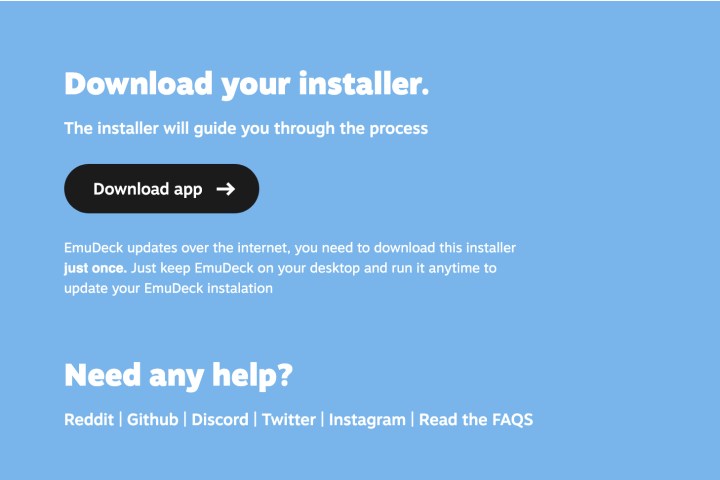
Step 3: Open the EmuDeck file in Desktop Mode and run it to install the program. EmuDeck will open a wizard that will walk you through the setup process. Follow the instructions closely. Eventually, you’ll be asked to run the Steam ROM Manager, which EmuDeck should make easy. When asked about overwriting emulators, you can choose to overwrite them all unless you’ve done previous customization with an emulator on the list.

Step 4: When prompted, select Preview, then choose Generate app list. EmuDeck will now work to create a library of classic games plus images and other important data. When it’s finished, select Save app to complete the process. This could take several minutes or more, so stay patient if it looks like the Deck is working through it.
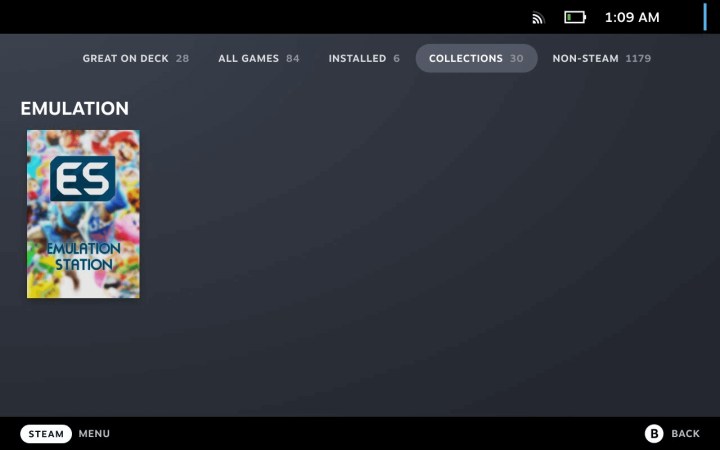
Step 5: Close your apps, and choose the Return to game mode icon in the upper-left corner. In your Steam Library, you should now see a new Emulation collection with the EmulationStation app ready to go.
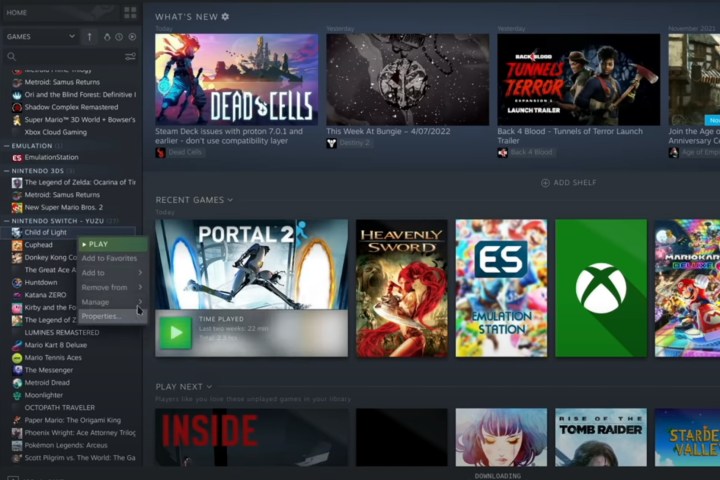
Step 6: When in doubt about managing ROM files, don’t hesitate to open the Steam ROM Manager again and check configurations, compatibility, and more. Remember, a lot is automated here, but you can choose what emulated consoles to see, how they look, what games you want, and more. EmuDeck should have done most of the work for you, but you still have customization options.
Step 7: If you are planning to keep your ROMs on a separate SD card for easier cataloging, make sure you get an SD card, configure it to your Steam Deck, and label it properly so you’ll know what’s waiting inside. SD cards using Ext4 or Btrfs filesystems will be compatible with EmuDeck. Make sure the SD card is installed and ready to go before you run EmuDeck.
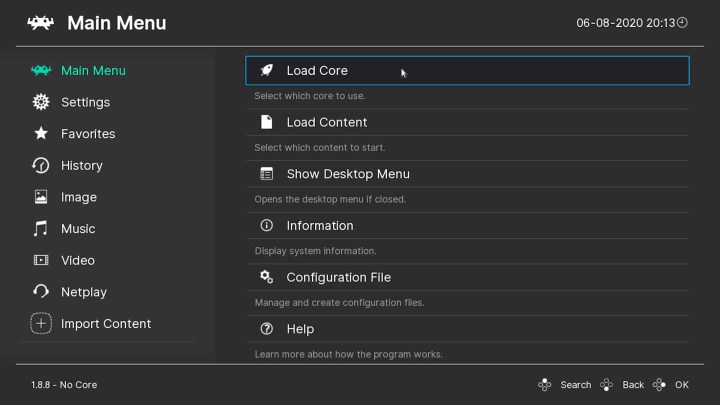
Step 8: If your Deck or an external controller is acting weird or not mapped correctly based on what you remember from the game, you can always change it. RetroArch, for example, has a Controls section in settings where you can remap buttons and save your configuration for each game. A little tinkering can go a long way.
Once you have your favorite games up and running, why not try playing them on your big screen TV? Alternatively, switch to the Steam Deck's Desktop Mode to get even more fine-tuned control.
Editors' Recommendations
- How to change your MAC address on Windows and Mac
- Buying a Steam Deck has never been cheaper
- NordVPN free trial: Try the service for free for a month
- Is this Razer’s Steam Deck killer?
- How to keep your laptop battery healthy and extend its life


