
How to wake all the Firsts in Minecraft Legends

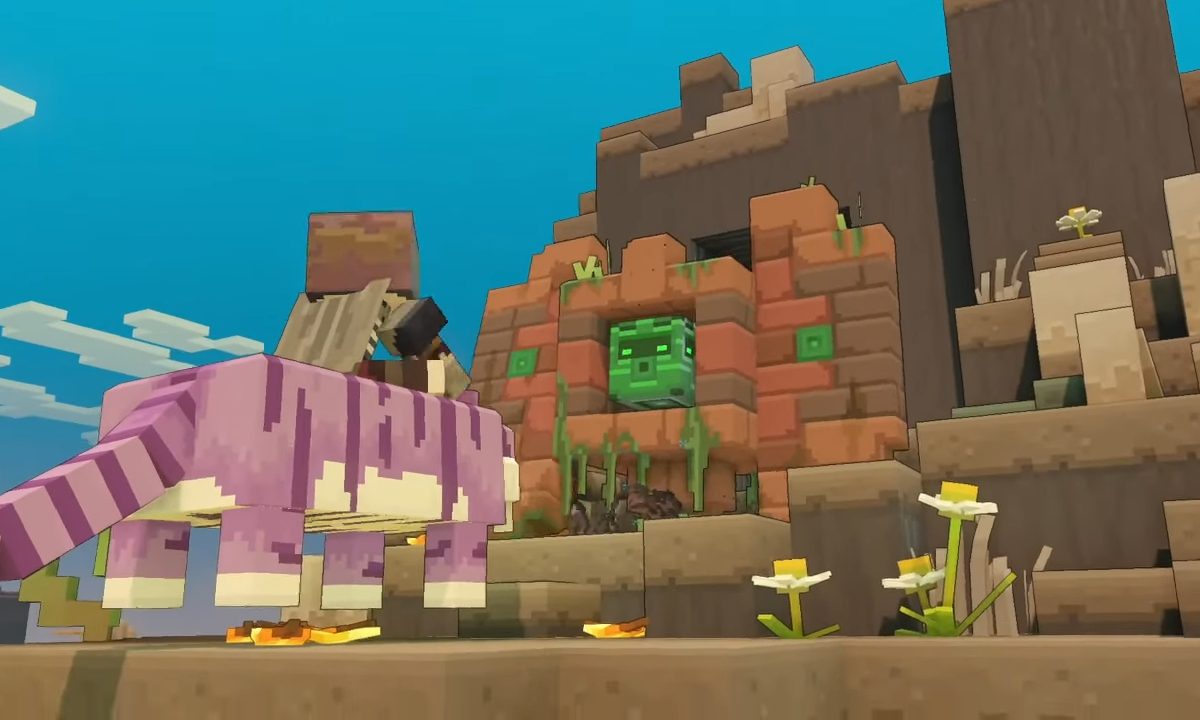
Firsts are a new special mob type introduced in Minecraft Legends that are considered the best units you can get in the entire game. Being so strong, they're not as easy as any of the game's other units to recruit into your army. These are special Golems that are hidden around the world, but unlike finding a mount, you can't simply press a button to add them to your fold. These sleeping giants need to be woken up first, and each one has a different requirement to do so. Here's the full breakdown of where to find each of the Firsts and how you can wake them up to fight for you in Minecraft Legends.

Difficulty

Moderate

Duration

20 minutes

There are four different Firsts to find across the map, so we will go through them all one at a time. There's no order you need to get them in, and each one has its own strengths, so feel free to seek out the one you want most first.

A minecraft man in a meadow with three golems.
Image used with permission by copyright holder

How to find and wake the First of Stone

The First of Stone is the most tanky Golem, able to absorb tons of damage. They also use their strength to toss massive rocks at enemies.

Step 1: Finding the First of Stone is a bit random, as is the case with most things in this game, but they will always show up in the Meadow biome. You'll know you're close to one when the yellow question mark icon appears on your map.

Step 2: Upon finding your first First, you will be given the Improvement: Wake the Firsts.

Step 3: Craft the improvement using 100 Prismarine and 100 Stone back at the Well of Fate.

Step 4: Once you've built that, head back to the First of Stone and you will be able to revive it ... for a cost.

Step 5: The First of Stone requires 100 Gold and 500 Stone to be revived.

How to find and wake the First of Diorite

The Diorite First is a very interesting Golem to add to your team. This one's ability is to spawn mobs to fight for you and bolster your numbers.

Step 1: The First of Diorite is native to the Jagged Peak biome.

Step 2: So long as you have the Wake the Firsts Improvement already, waking this Golem will cost 100 Gold and 125 Coal.

How to find and wake the First of Brick

The First of Brick is a defensive type unit. It will create shields that block damage to all allies within it and defends itself with basic stomping attacks.

Step 1: The First of Brick can be found slumbering in the Dy Savanna biome.

Step 2: The cost to wake this defensive unit up is 100 Gold and 125 Iron.

A minecraft man on a tiger in a forest.
Image used with permission by copyright holder

How to find and wake the First of Oak

The final First is a wooden Golem. The First of Oak is the best ranged unit in the game. It fires a powerful cannon attack that puts your Skeleton archers to shame.

Step 1: If you were looking for the First of Oak in the Jungle, you'd be wrong. This First is napping in the Badlands.

Step 2: Throw down 100 Gold and 500 Wood to add this fantastic ranged fighter to your team.

If any of your Firsts fall in battle, you can revive them as many times as you want for free. Simply go back to the nearest village or Wellhouse to retrieve them.

Editors' Recommendations

Jesse Lennox
Jesse Lennox loves writing, games, and complaining about not having time to write and play games. He knows the names of more…
All Fallout 4 cheats and console commands
Fallout 4 key art featuring the power armor suit hung up in an armory.

Cheat codes have somewhat become a thing of the past in modern gaming, with mods coming in to take their place. Most Bethesda games, such as Starfield and Fallout 4, enjoy plenty of mod support, but also have plenty of ways that you can tweak the game using some old-fashioned cheats and console commands.

Even as big as Fallout 4 is, it has shown its age at this point, so why not try out a few cheats to keep things exciting in the wasteland? Here are all the cheats and console commands you can use, and how to activate them.

Read more
All Teddy Bear locations in Fallout 76
A teddy bear in a train station in Fallout 76.

There's no shame in admitting that you enjoy the company of a teddy bear in Fallout 76 over the ghouls and mutants. In fact, we would probably prefer spending time finding these cuddly bears than playing with the other players, but these stuffed animals are a rare commodity in the wasteland. Technically, these are classified as a junk item that you can break down for materials, but who would do something like that? These are great display items to make your camp feel more like home, or just another annoying daily task you need to complete. Whatever your motivations are, here is where you can find each of the different teddy bear variations in Fallout 76.
All teddy bear locations
There are 12 different variations of teddy bears that all have a distinct color pattern, name, and value, but are otherwise identical. Like most items, they can be found in a ton of places around the map, but these are the easiest spots to get the one you're looking for.
Bubblegum Bear

Our first bear is going to be inside the Foundation. Once inside, go to Ward's trailer and pick it up off the couch.
Camden Park Bears

Read more
All Baobab Tree locations in Tales of Kenzera
Zau fights a dragon in Tales of Kenzera: Zau.

While it wasn't marketed as being a particularly punishing game, Tales of Kenzera: Zau is by no means easy. You will have plenty of environmental challenges that can instantly sap your life, and the enemies you face -- especially the bosses -- are no slouches. When you first begin, it will only take a couple of bad hits to send Zau to the land of the dead himself. Alongside the Trinkets you can unlock through hidden challenges around the map, there are also Baobab Trees where Zau can stop to reflect on his journey thus far, have a short dialogue with Kalunga, and get a small addition to his health bar. Like everything in the game, these trees aren't prohibitively hidden, but you could easily pass one by and have no idea where it was when trying to backtrack. These are all the Baobab Tree locations so you can max out your health bar.
All Baobab Tree locations
There are six Baobab Trees to find in Tales of Kenzera: Zau and each adds a small segment of health to your total. When you collect them all, you will roughly double your HP bar. Here are each of their locations in the rough order you should naturally find them in. Most can be picked up on your first time through that area.
Ikakaramba

This one is very hard to miss as it is directly on your critical path. If you do, you can fast travel to the nearby campfire to grab it.
The Great Cliffs

Read more