
You might know Cortana as the digital voice assistant on the now-defunct Windows Phone mobile platform. Starting with Windows 10, though, Cortana graduated to the desktop.
Named after the AI character in Microsoft’s Halo game series, Cortana is a virtual assistant that offers many customizable and personal functions. Here’s how to set up and use Cortana in Windows 10.
Sign in to get started
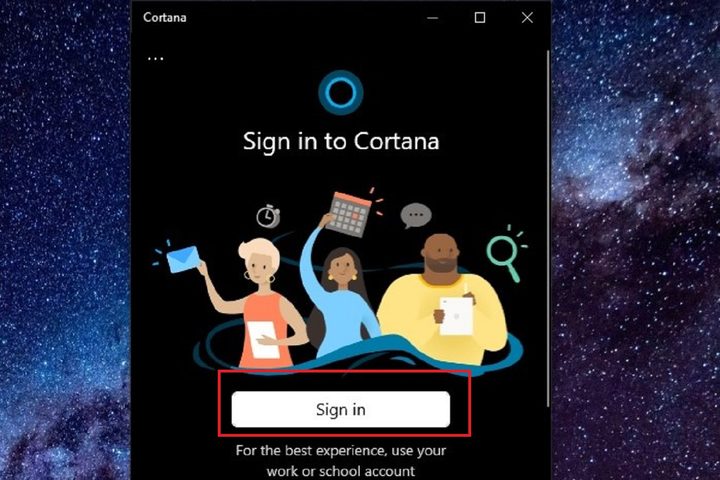
You can get the most functionality out of Cortana if you’re signed in to your Microsoft account. To do so, select the Cortana icon on the taskbar (located to the right of the search bar). Then click the Sign In button that appears and follow the on-screen instructions.
Set up Cortana

To access Cortana’s settings so that you can better customize it to your preferences, start by selecting the Cortana icon on the Taskbar. Then select the More icon (which looks like a set of three horizontally-oriented dots and is located in the top left corner). Choose Settings from the drop-down menu that appears.
There are three categories of settings you can configure in Cortana’s settings menu: This Device, Account, and Hardware.
Within the This Device section, you can choose how you interact with Cortana (typing to her or voice activation) and you can enable the permissions needed for each kind of interaction to occur. Under Keyboard Shortcut, you can do things like enable or disable the Windows Key + C shortcut which is used to activate Cortana and or choose what happens when you press that shortcut (be given the ability to type and speak to Cortana or only the ability to type to Cortana). The Microphone and Voice Activation subsections of the This Device section will allow you to enable the permissions necessary to use voice activation with Cortana. Once these permissions are enabled, you should be able to activate Cortana by simply saying “Cortana.”
Under the Account section of Cortana’s settings, (under the Privacy subsection) you can do things like revoke permissions you’ve granted to Cortana to access things like your calendar and contacts. You can also sign out of Cortana here. Additionally, since your queries to Cortana are logged and displayed as a chat history between you and her, you can use this section to clear that chat history as well as view and clear the data that Microsoft backs up to the cloud.
Lastly, the Hardware section allows you to manage and add any devices to Cortana such as Surface headphones or an Amazon Alexa device. For Surface headphones, click on Manage My Surface Headphones. For Amazon Alexa devices, click on Amazon Alexa Devices.
Show or hide the Cortana icon
If you’d rather not see the Cortana icon in your Taskbar, you can hide it. Right-click on the Taskbar. From the menu that appears, select Show Cortana Button, which will remove the checkmark next to it. Removing the checkmark hides the Cortana icon. If you want the icon to reappear, simply select the Show Cortana Button option again to add a checkmark next to it.
Cortana’s main screen
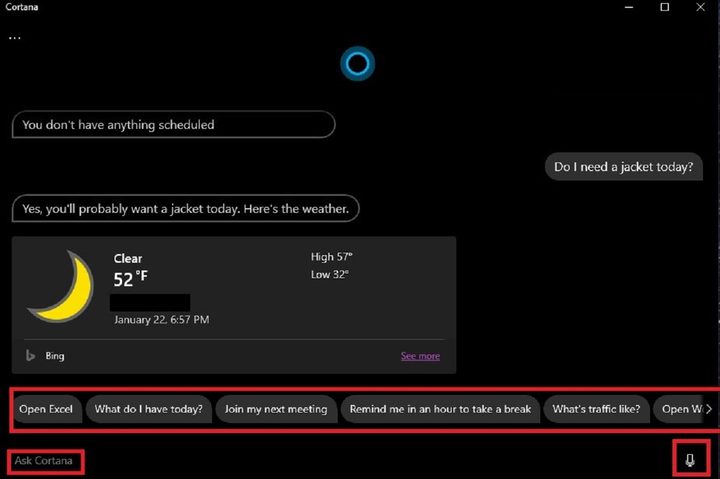
When you click on the Cortana icon on the Taskbar, you’ll be greeted with a very streamlined interface that resembles a simple chat history screen. Except this time, you’re chatting with Cortana herself. On this screen, you can either type your question or command in the Ask Cortana text box at the bottom of the screen or you can use your voice to activate Cortana and ask her your question that way. Just be sure to use her wake word, which is, you guessed it: “Cortana.” (If you forget the wake word, you can also just click on the microphone icon located in the bottom right corner of Cortana’s main screen.
The things you can do with Cortana are a bit limited but they do include: opening desktop apps for you, asking about current weather conditions, setting reminders for yourself, asking it trivia questions, asking it how to say words in other languages, and asking it if you have anything scheduled for a certain date or time.
You can track all of your past queries and Cortana’s responses to them on that chat screen. It also suggests other questions you can ask Cortana. These suggestions will display as little buttons that appear just above the Ask Cortana text box. You can click on them to ask Cortana those questions.
Reminders
Much like Siri and Amazon Echo, Cortana has a reminder feature. But while Cortana can set these reminders, you have to manage them using another Microsoft app called Microsoft To Do. So you’ll need to download and install this app before you can take full advantage of Cortana’s reminder function.
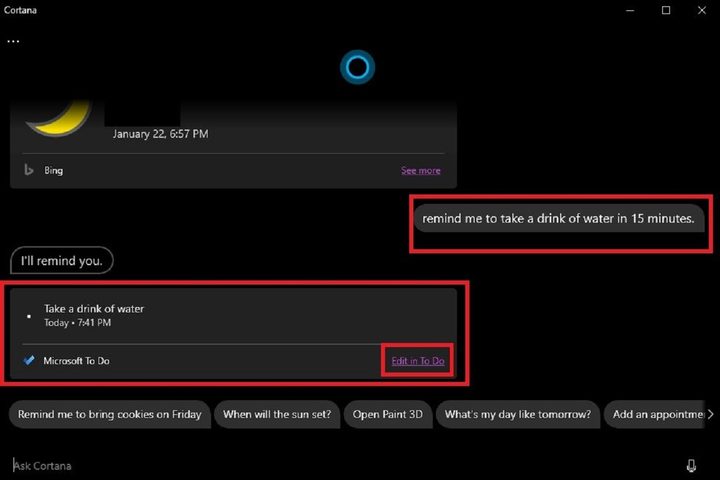
Setting a reminder using Cortana is easy. Just say “remind me to …[name of activity here] at [date and/or time]” and Cortana will automatically create a reminder for you within the Microsoft To Do app. She’ll also display the reminder she created in the chat history portion of the Cortana main screen. To make changes to a reminder that you asked Cortana to set, you can just navigate to the reminder in your chat history and click on Edit in To Do. That will take you to the To Do app, where you can edit or delete the reminder as needed.


