
Whether you’ve played a CRPG before, or even the classic pen-and-paper Dungeons & Dragons game, there’s no denying that Baldur’s Gate 3 has captured the attention of many gamers who are unfamiliar with the genre. This makes it quite intimidating to jump into for newcomers with just how deep the systems appear but with a little help, it isn’t terribly hard to become invested in this unique experience. While Baldur’s Gate 3 does do a lot to try and explain itself, there’s just far too much to take in for most players. Since you can’t exactly ask a DM to catch you up or remind you of how something works, we’ll help guide you through the early hours of Baldur’s Gate 3 with this set of tips and tricks.
Save a lot

Things can get very bad very fast in Baldur’s Gate 3, in and out of combat. In fights, there’s always the chance a bad roll will wipe your party or you came in with the completely wrong setup or companions. In that case, having a handy save is vital to jump back to and prevent you from either failing or using a ton of resources to squeak by.
Out of combat might have even greater consequences than in battle to be weary of. There’s always the chance a dialogue option doesn’t quite result in what you wanted, or attempting to use a skill check that fails sends you on a path you’d really rather avoid. Also, while just exploring and interacting with the world, you might trigger some unfortunate series of events due to the reactive nature of the world. It’s all too easy to accidentally set something (or someone) on fire or cause an entire group to turn against you. We suggest keeping a rotating list of at least three manual saves. The game does have an autosave function, but that should only be a last resort.
Having said that, don’t simply save scum just because you failed a skill check in a conversation. Unless it is something you simply can’t accept having happened, Baldur’s Gate 3 is made to allow you to get new and unique experiences through failing certain things. If it doesn’t kill you, why not see where it leads?
Class and Race matter

The first thing you do in Baldur’s Gate 3 (aside from watching the intro cinematic) is create your character. This will be where you make the two most important decisions of your playthrough: what race you are and what class you will be. Both of these choices will determine everything about your game, from how people treat you depending on your race and history, to what skills, magic, and weapons you are best suited for. While it might be tempting to get through this stage quickly to get into the game, take your time here looking over all the stats and skills before committing.
Learn the basics of D&D
Baldur’s Gate 3 is based on the world and rules of D&D, which means there are a lot of terms and rules you might be unfamiliar with, or at the very least not understand how they function in this game. First, and what you will become very familiar with, is that this game functions almost entirely on dice rolls, or simply rolls. While things like attacks keep the rolls in the background for pacing, things like skill checks will prompt an actual die to appear for you to roll, showing you what the minimum number you need to succeed is, as well as any modifiers you have based on your stats.
You will also notice perception checks pop up when successful. These are hidden rolls the game doesn’t show you unless you succeed, so you never really know you’re missing anything if your character doesn’t succeed in that role. These are great incentives for second playthroughs with different builds to see what other things your character could notice or pick up on across the game.
Those stats consist of Strength, Dexterity, Constitution, Intelligence, Wisdom, and Charisma. Each one has a point value from 1 through 20, with 20 being the absolute best, and essentially ensures you will succeed on any check based on that stat. You can choose to be great at a few things, or okay at everything, but not great at everything, so decide which stats you want to focus on most. For example, if you’re a melee class then Strength, Constitution, and perhaps Charisma as a third skill would be a good way to divide your points.
Think outside the box

As mentioned, Baldur’s Gate 3 has some immersive sim-style interactions that you can, and should, make note of. Obvious examples will be enemies in or around something flammable like oil that you can ignite with a fire spell, but also consider things like repositioning objects in the environment before a battle to create cover or sneaking by a fight altogether. Quests are also highly adaptable in how you can complete them without doing them exactly as intended.
Pick your companions
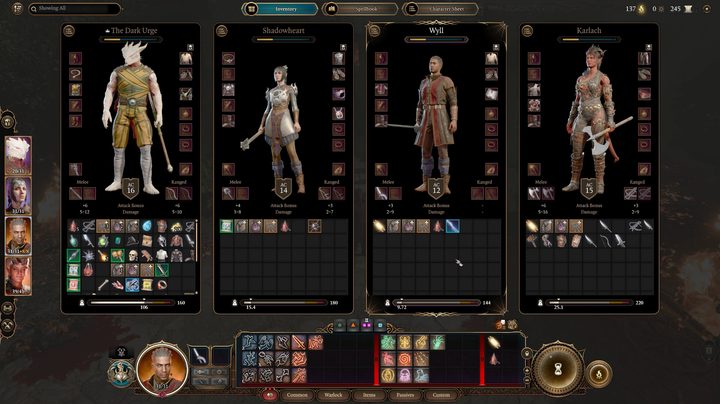
You’re only one part of your party in Baldur’s Gate 3, and who you bring along matters. It won’t take long before you have more potential companions than space in your party (four in total), so you will need to keep some characters on the bench. The obvious choice is to add characters that cover your weaknesses in combat, such as a tank if you’re a mage, or a healer if you’re a fighter. However, you also need to consider their personalities and skills, just like your own. Depending on where you are or what you’re doing, you may want to take control of a companion to speak to another character or take a skill check if they’re better suited for it than you. Don’t just think your character has to, or should be, the one to do everything.
Also, be wary of your companions’ personalities. If you’re constantly pissing them off with your decisions, it won’t do well for your relationship with them.
Make sure Karmic Dice is on

Finally, go into your settings and confirm that the Karmic Dice system is on. This might sound a little bit like cheating, but games cheat in the player’s favor all the time without telling you. In this case, this option makes dice rolls not fully random, but more “fair” in the sense that it tries to balance out your successes and failures. If it is off, you could theoretically roll 1s 10 or more times in a row if your luck is bad enough, while Karmic Dice will take pity after one and give you better odds of success after a failure.


