
Exploration and discovery are at the heart of what The Legend of Zelda: Breath of The Wild aims to engender in the player. It isn’t enough that the world of Hyrule is so vast and visually inviting, but it is also packed full of things worth your time to actually go out and explore for. From new Shrines to rare weapons and Korok Seeds, there are enough collectibles scattered around the lush landscape to occupy dozens of hours of your time without even thinking about the main quest. Of all the collectibles, though, the most interesting and insightful for anyone who wants to really dive into the lore and history of this version of Hyrule are undoubtedly the Captured Memories.
Unlike the other collectibles in Breath of the Wild, these memories are not items you can easily track and pick up. If you want the full story of Link and Zelda, but are having trouble decoding where you need to go in order to trigger these memories, here is where you can find all the captured memories.
See more
What Captured Memories are and how to find them
The captured memories are a special type of collectible in the world of Breath of the Wild. You learn about them from Impa, who will tell you that a series of 12 pictures in your Sheikah Slate’s Album were taken by Princess Zelda and that if you are able to locate the spots depicted in said pictures, you can recover some of Link’s memories that were lost during his century of sleep. This quest, appropriately titled the Captured Memories quest, will be unlocked during the Locked Mementos quest that leads you to Hateno Village.
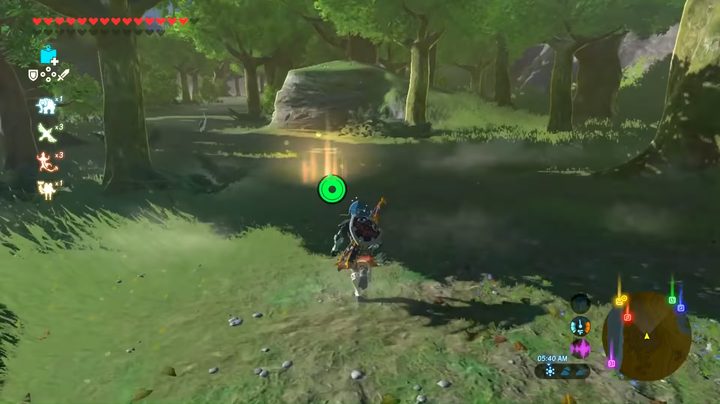
While this is an optional quest, as nearly all are in Breath of the Wild, it is far and away the most valuable for anyone who wants to get the full narrative experience of this game. Aside from the 12 pictures, you can also find the painter Pikango in certain stables across the game world, who can give you more hints as to where some memories are. The memories appear in the world as rings of light you need to walk into for a cutscene to play. Finally, once you have collected all 12 Captured Memories for the quest, one final one will be unlocked for you to find. You’ll want to make sure to get all of these for the extra scene you unlock at the game’s conclusion.
This list is ordered based on the memory’s location in your Sheikah Slate’s Album, starting on the top left and then going from left to right, top to bottom.
1. Sacred Ground Ruins
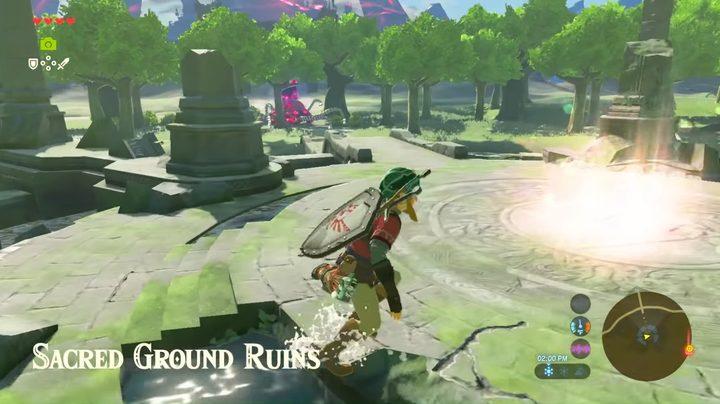
The first memory is of the Sacred Ground Ruins. You can find this location on the map just south of Hyrule Castle proper. The closest warp point is the Central Tower, and from there you just need to travel across the field to the ruins. Be aware that there is a Guardian that roams around this area, so either be prepared to take it out or sneak your way to the center of the ruins and into the light to trigger the memory before it spots you.
2. Lake Kolomo
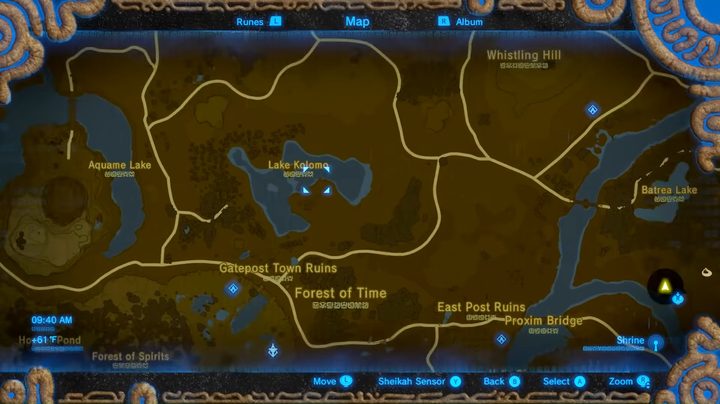
Your next picture of a lake is going to be Lake Kolomo in Central Hyrule. Warp to the Great Plateau Tower and paraglide north toward the lake, aiming for the southwest bank. Find the little raised chunk of land and climb up for an easy memory.
3. Ancient Columns

The image of these decaying pillars with the Devine Beast floating in the background, and a shrine if you haven’t found that one yet, is just on the west side of the Tabantha Great Bridge. If you’ve been to this shrine before but somehow missed the memory, you can warp basically right to it by going to the Tena Ko’sah Shrine, otherwise the Tabantha Tower is your best bet. The memory is in the grass to the right as you’re approaching the shrine’s entrance.
4. Kara Kara Bazaar

Next up you’ll be heading to the Gerudo Desert and into the Kara Kara Bazaar to find the desert oasis in the photo. This one is right off the main road and hard to miss on the edge of the small pool of water.
5. Eldin Canyon
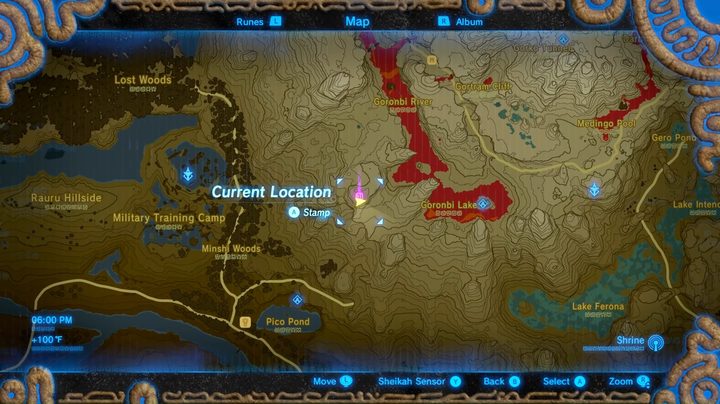
This memory is one of the more difficult ones to pin down since it is tucked deep in the mountains of Eldin Canyon. It is roughly between the Eldin and Woodland Towers. Your best bet is to warp to the Woodland Tower and glide southeast, aiming for the small patch of grass at the base of the mountain and then climbing up. You’ll know you’re in the right place if you see a stone circle Korok puzzle and some Lizalfos on the plateau.
6. Irch Plain

This picture is a little vague as well, but thankfully we have the massive Hyrule Castle in the background to give us a sense of direction. This field is the Irch Plain on the west side of the castle and northeast of the Ridgeland Tower. Warp there and you will be able to see the big tree above, just on the other side of the small lake, as you’re paragliding in.
7. West Necluda
Start off by warping to the Great Plateau Tower and glide down toward the Dueling Peaks. Make your way toward Scout’s Hill and turn into the little path of land between Deya Lake and Hylia River. The memory is up on top of a hill with a giant tree you can’t miss.
8. Hyrule Castle
This will be a difficult memory to reach until later in the game. You will have to make your way deep inside Hyrule Castle, all the way into Zelda’s room. The easiest point of entry will be from the west, but no matter where you approach from you’ll need to keep an eye out for the flying Guardian that circles the tower. You need to reach the very top room and run out onto the exposed bridge to snag this dangerous memory.
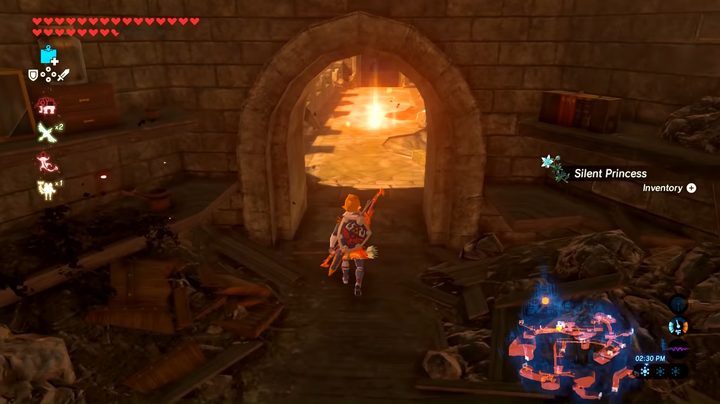
9. Spring of Power
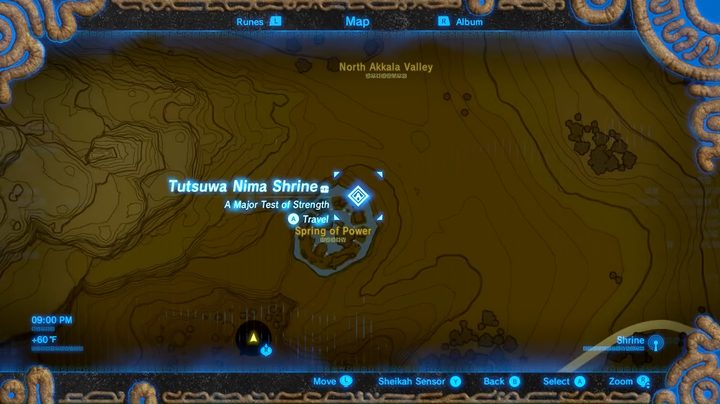
Back to an easier memory, the next picture is of the Spring of Power. This location is right between the Akkala Highlands and Deep Akkala. The Akkala Tower will be your closest warp point, unless you have already been here and activated the Tutsuwa Nima Shrine. It isn’t a hard location to find but is quite a ways off the beaten path if you’ve never been there, so you will probably want to stop and get a horse from the East Akkala Stable to cut your travel time down.
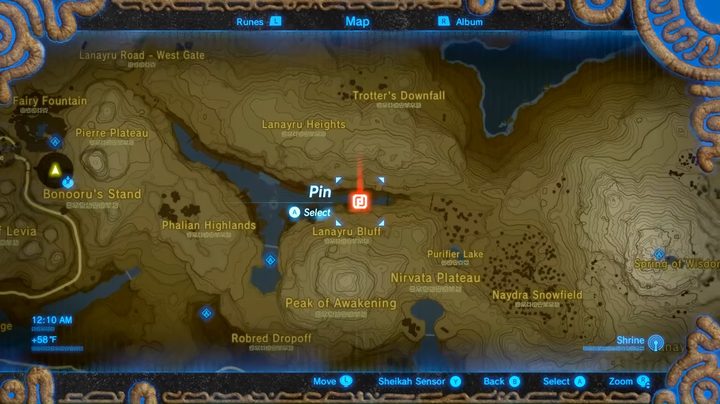
10. Sanidin Park Ruins
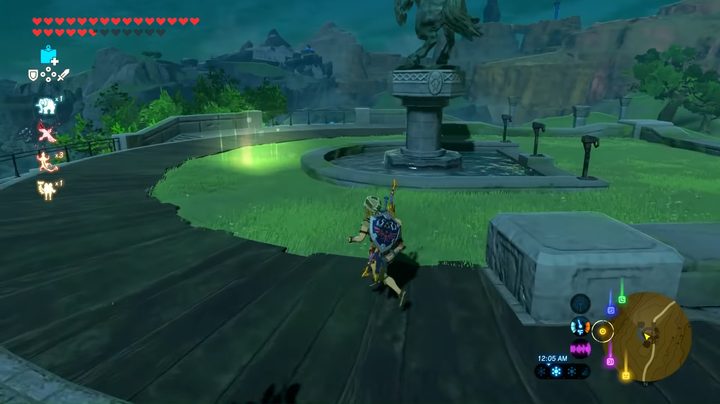
The Sanidin Park Ruins are right off the road that goes through Hyrule Ridge on the western side of the river. Warp to the Central Tower and head aest across the river toward the big hill with the statue of a horse on top. Make your way up and pick up this memory right in front of the statue.
11. Lanaryu Road – East Gate
The Lanaryu Road memory is another one that isn’t very convenient to go back to. If you head out from Kakariko Village, go through the hills with the Great Fairy Fountain and take the road on the east. You’ll go through a small gauntlet of Bokoblins but ultimately be taken right to the East Gate. The memory is right on the path after passing under a giant stone arch.
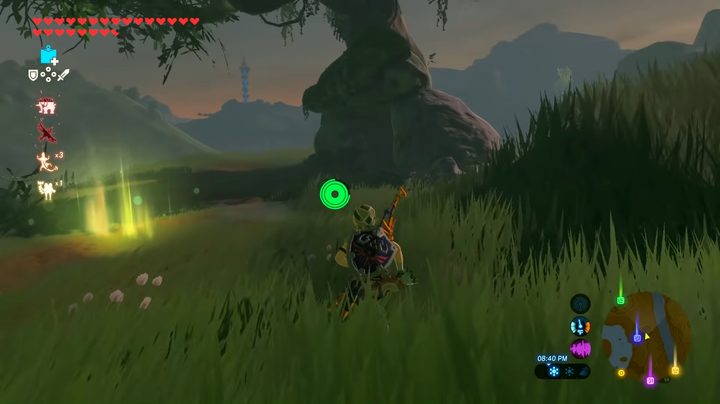
12. Hyrule Field
Of all the images, this one is probably the least descriptive. The forest area shown is actually just Hyrule Field, not far off from Central Tower. The path you’re looking for is on the eastern side of Hylia River to the north of the Bottomless Swamp. The little clearing isn’t too hard to find once you’re in the right area.
13. Blatchery Plain
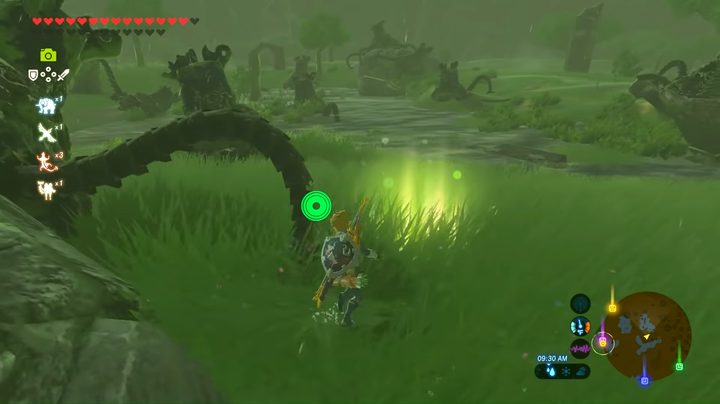
With all 12 of the captured memories recovered, you can return to Impa in Kakariko to learn about one final memory. This time the clue is the painting on the wall of a Guardian graveyard. You can snap a picture of the painting if you like, but odds are you know this location already. You almost certainly passed through this swampy field on your way to Hateno Village in the early hours of your quest. If you need a refresher, warp to Hateno Tower and look toward the Squabble River for the area littered with dead Guardians in front of Fort Hateno in Ash Swamp. Walk through the corpses to grab your final memory right in the middle of the swamp and unlock a nice little extra scene when you get around to defeating Gannon.


