
SIE Bend Studio’s Days Gone finally arrived on PS4 in 2019 after multiple delays. Since then, we’ve spent dozens of hours roaming the PS4 exclusive‘s post-apocalyptic version of Oregon and have learned a great deal about how the game works along the way. Our Days Gone beginner’s guide imparts 10 tips and tricks that will help you navigate through Freaker infestations, their Ripper wannabes, and Marauder camps as best as possible.
Further reading
Play it as a stealth game
Our first inclination was to play Days Gone like an action game, killing every Freaker (zombie) we saw with a combination of firepower and blunt force. This approach, however, isn’t the smart way to play Days Gone. In fact, if you play like Rambo, you’ll likely have a lot more trouble. This isn’t a cover shooter, and bullets are fairly limited from the start. On top of that, guns tend to be pretty weak. If you don’t shoot enemies in the head, you’ll waste a ton of ammunition taking them down.
Even worse, you’ll alert nearby Freakers. Moving cautiously while on foot and in mission areas is the best way to not only stay alive but to conserve your precious ammo for the human enemies that actually have guns as well. Freakers respond to sound. So the moment you fire your weapon, you’ll alert all of the Freakers in the area.
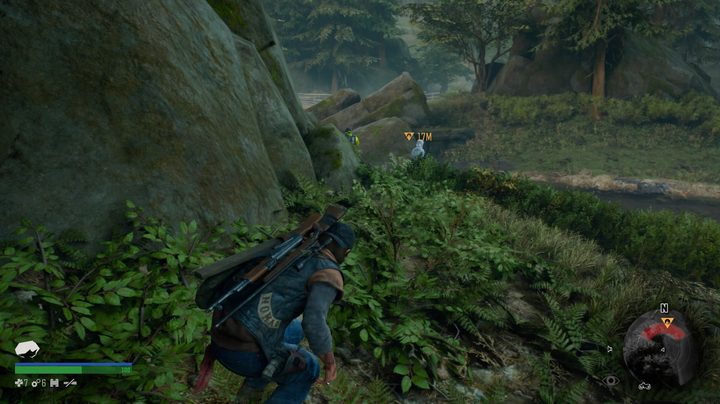
Days Gone‘s version of zombies is the fast kind. They’ll run up on you in a hurry. It’s best to crouch and sneak up on them. The eye icon in the lower right-hand corner of the screen corresponds with both sight and sound. Move slowly and a tiny “x” will remain over it. If you approach a Freaker from behind without being noticed, you can perform a stealth takedown with your boot knife. Rack up as many stealth takedowns as possible.
If you are noticed by Freakers, which inevitably happens, assess the situation before considering the use of firepower. If there are only a few in the area, you’ll have no problem dispatching them with melee combat. You only want to use your guns against them when you’re really surrounded. Stealth pays off in the early going, and you’ll soon find that many missions revolve around sneaking rather than shooting.
Since you will get into hairy situations where guns are required, you can help your cause by attaching suppressors to your weapons. Suppressors can be purchased in camps from the merchant.
Always restock ammo, refuel at camps

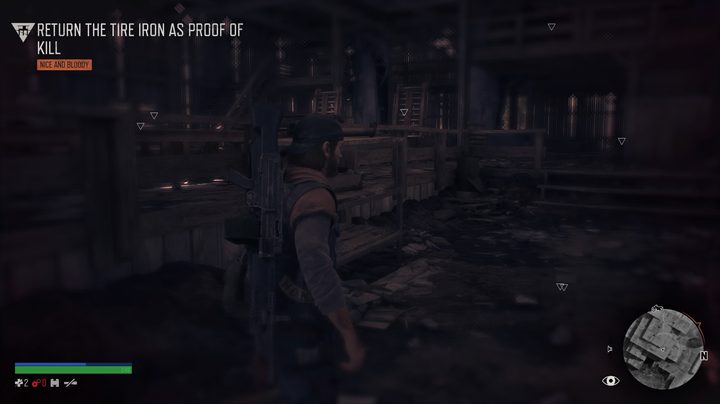
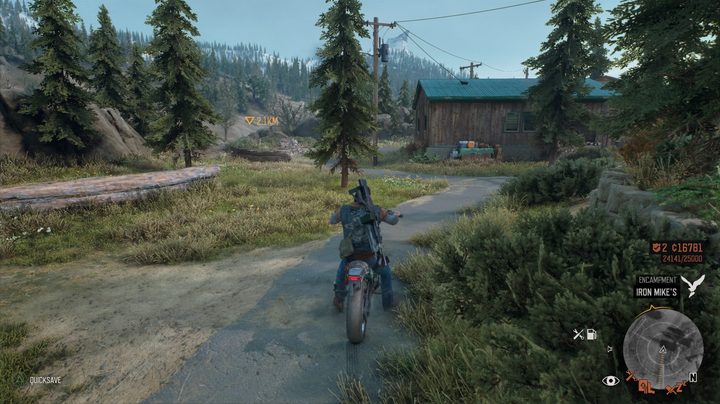
The several encampments you uncover throughout Days Gone serve as hubs to replenish your goods between missions. You frequently receive missions at encampments and have to return bounties to people who live there, so you’ll be behind the safety of their walls a lot. Always stop at the merchant and mechanic between missions. The merchant can restock ammo for your primary and secondary weapons and sidearm, and the mechanic can repair and refuel your bike.
Your bike’s gas gauge is always present in the lower right-hand corner next to the “x” made out of tools. Your bike burns fuel rather quickly at first, and running into anything, even Freakers, damages your bike. If Freakers knock over your bike while idle or you take gunfire while on it, that will also damage your bike. The mechanic can refuel and repair your bike for cheap. Even if you aren’t in dire need of either service, we recommend doing it. If you don’t, you may have to stop what you’re doing on the road and find some fuel (marked on the map) or search for Scrap to repair your bike.
Upgrade your bike
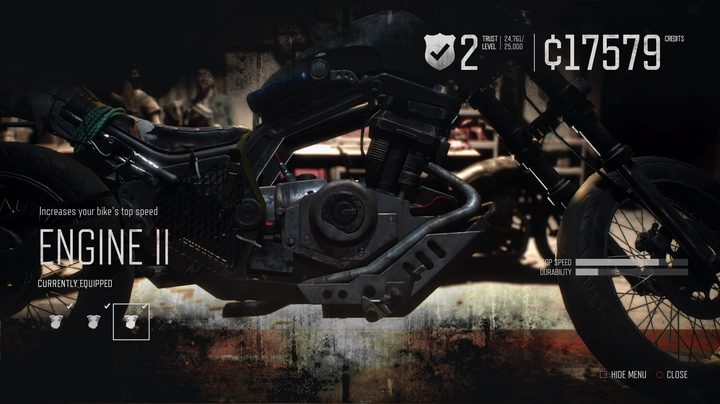
Deacon’s bike is annoyingly slow at first, and it will be like that until you visit the camps and complete a few missions. Completing missions increases Trust with a specific camp, which leads to the ability to buy more and better upgrades. Eventually, you’ll be able to access the Performance tab at the mechanic.
The first upgrade you should buy is for your engine. After that, you should purchase a fuel tank upgrade. From there, it’s really up to you, but the most important upgrades are the engine and fuel tank. After two upgrades, your bike will be able to travel long distances across the map on a single tank of fuel. And you’ll get to your destination more quickly.
Use ‘Focus’ often
Pressing R3 (down on the right thumbstick) activates Focus. Focus illuminates item locations in the area, from Scrap to melee weapons to materials to medkits to materials to craft explosives. Whenever you’re in or around a building, you should activate Focus.
Also, you’ll find pileups of cars everywhere. Some of these cars harbor items, too, in both the trunk and under the hood. While Days Gone doesn’t have a huge emphasis on crafting, you do need to make your own healing medicine and keep a healthy stock of materials for creating explosives.
Scrap, of which you can hold a max of 10, is specifically tied to repairing your bike and, later, melee weapons. You always want to pick up Scrap when you can. Focus also slows down combat, so it can help you aim better down your sights.
Upgrading skills
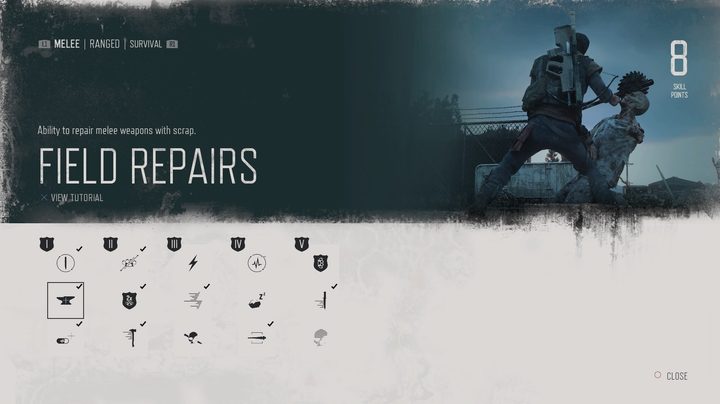
Don’t forget to use your skill points, which you earn through combat and completing missions. Skill points go toward upgrading three skill trees: Melee Combat, Ranged Combat, and Survival. Because melee combat is so important, we recommend focusing on the melee skill tree before diving into the ranged weapon tree. In particular, the Field Repairs skill can be unlocked early on. This lets you repair melee weapons using Scrap.
You’ll find melee weapons all throughout Days Gone, but mostly they’ll be bats and fence posts. These dull weapons aren’t the best for taking down Freakers. If you find an axe or machete, you’ll want to hang onto that as long as possible. These sharp weapons can takedown Freakers in a single hit. But all melee weapons outside of Deacon’s boot knife degrade. Repairing an ax or machete is worth the Scrap cost.
Clear out infestations
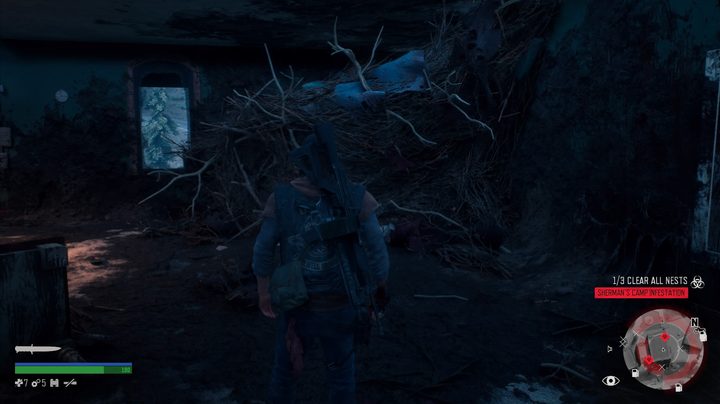
Early on, you’ll be introduced to Freaker nests. These gross looking zombie nests are located in walls inside buildings and tunnels. When you enter an area with an infestation, the number of nests will display on screen. While all of these are optional objectives, you should really consider handling them as you find them.
A portion of fast travel requirements is tied to infestations. You also need enough fuel to fast travel, but that’s an easy problem to fix. Freaker infestations, on the other hand, require you to go to that area and smoke them out to restore fast travel. All nests need to be burned with Molotovs. Once burned, several Freakers will emerge from the flames.
Nests appear in red on the map when you’re close to them, but they do require a bit of searching. If you leave the infestation area, Deacon will comment on that fact, so you’ll know that you went outside of the zone.
Craft while scavenging for items

As you pick up materials, open your weapon wheel and see what you can craft. It’s helpful to craft as much medicine and explosives as possible. That way you’re prepared for any upcoming firefights are Freaker bombardments. Also, you can run out of storage space for certain items very quickly. You can fix this by using those items to craft, which opens up more space in your inventory for said item.
Only the yellow missions are required
As with most open-world games, Days Gone has a ton of missions, many of which are not required. Each mission is part of a large storyline, so when you complete it, the percentage of the whole arc will get closer to 100. This can be somewhat confusing, as some storylines have both required and optional missions.
Required missions are marked with yellow icons, whereas optional missions can be either red or white/gray. Sometimes, you won’t have a yellow mission available at all. This doesn’t mean you have to complete optional missions to advance the main story, though. Just start riding away from a camp and after a few minutes, without fail, Deacon will receive a radio call and a new mainline mission will pop up.
Avoid hordes at first, and maybe even later
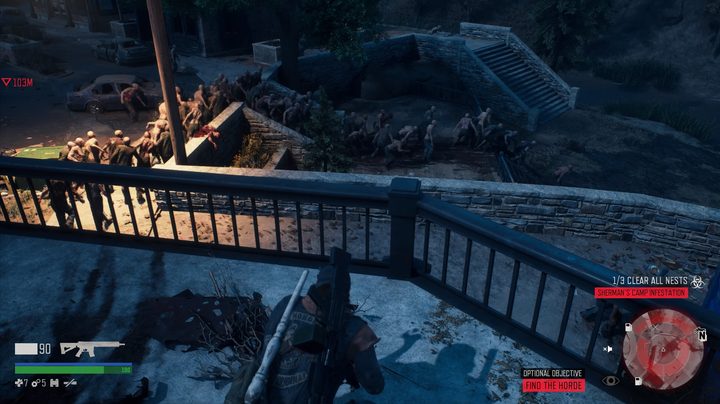
You’ll find Freakers scattered throughout Days Gone. They are practically everywhere besides the encampments. Sometimes, though, you’ll stumble across what the people of Days Gone refer to as a horde. A horde is comprised of hundreds of Freakers. If one of the pack sees you, all of them will converge on your location.
You can discover hordes at the beginning in Days Gone, but you should certainly avoid them at all costs. If they’re alerted about your specific location, jump on your bicycle and hit the road — fast. Hordes are extremely difficult to kill. Even in later situations in the game, destroying a whole horde is a tiresome and demanding endeavor when they become part of mainline missions. We promise not to spoil anything here, but while hordes are an essential component of Days Gone, you might want to try to ignore their existence for the sake of your own enjoyment.
Search NERO checkpoints to uncover stat upgrades
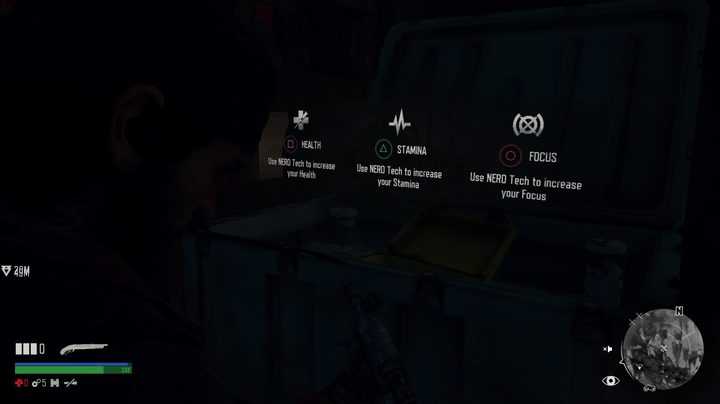
NERO is presented right at the start in Days Gone. When you happen upon one of their checkpoints, we suggest taking some time to enter the building. If you’re using this method, you’ll need to hunt down some fuel and restart a generator to recover power so you can open the doors. Later, you’ll need to cut the wires connected to any speakers on the roofs of the buildings so that Freakers won’t congregate at your spot.
Once you’re inside, you’ll always see a NERO box (this box looks like a government-issued treasure chest). When you open it, you’ll find a NERO injector, which you can use to enhance your health and energy levels permanently, focus, or stamina. You’ll discover NERO injector boxes in any area where NERO has been. Make sure to keep an eye out for them while you’re working on main missions.


