
After a challenging fight with an old adversary, story revelations are coming thick and fast in Final Fantasy XIV: Shadowbringers patch 5.4. Rather than face another regurgitation of your past, you’re off to fight the memory of someone else. The brawl against Shadowkeeper isn’t at all like any of the dog-focused fights you’ve had thus far. Instead, it’s a wholly original that’s actually fairly straightforward when you get down to it. Here’s how to fight Shadowkeeper and press on with the Eden’s Promise raid series.
Moveset
All Fours Form
- Forward Implosion — 180-degree strike from the front of the boss.
- Backward Implosion — 180-degree strike from the rear of the boss.
- Forward Shadow Implosion — 180-degree strike from the front of the shadow boss summoned by the gate (hits twice in Phase 2).
- Backward Shadow Implosion — 180-degree strike from the rear of the shadow boss summoned by the gate (hits twice in Phase 2).
- Deepshadow Nova — Raid-wide damage.
- Spawn Shadow — Spawns three clones around the arena.
- Shadow Warrior — Instructs the three clones to swap positions. The linked shadow then attacks the arena before disappearing. Flanks are safe.
- Fade to Shadow — Summons two shadow clones that strike the area around them after a time. Shifts into Bipedal Form after a follow-up radial hit.
Bipedal Form
- Umbral Smash — Hits the target four times in quick succession, applying Slashing Resistance Down with each.
- Shadow’s Edge — Linear tankbuster. Deals Slashing damage.
- Left/Right Giga Slash — 180-degree swing from the corresponding arm of the boss.
- Left/Right Shadow Slash — 180-degree swing from the shadow summoned by the gate.
- Voidgate — Summons multiple meteor towers.
Phase 1
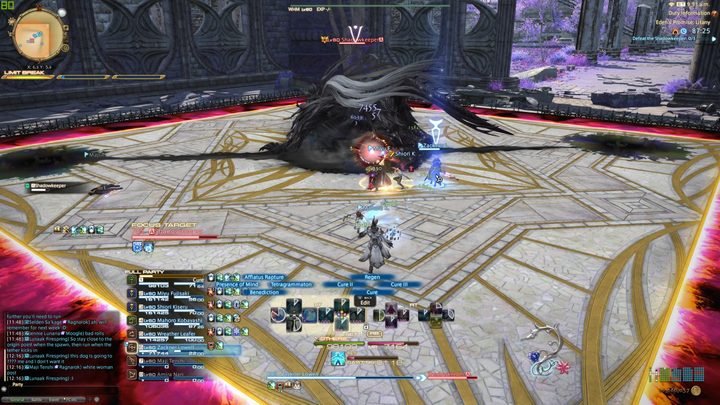
All Fours Form
Like the Cloud of Darkness, Shadowkeeper here introduces a fair few of its attacks before it really begins to do anything truly dangerous. Forward Implosion attacks the 180-degree space in front of it, while Backward Implosion does the opposite. In their “Shadow” states, the attack effects are the same, but they’ll come from a darker clone typically within the boss itself, albeit oriented differently, so it’s those you’ll need to watch. Within the same phase, raid-wide damage is dealt with Deepshadow Nova that will quickly overwhelm anyone caught out by a previous attack.
Soon, Spawn Shadow will be cast, causing three shadow clones of the boss to emerge around the edges of the area. Look for which is tethered to the boss, and you’ll know which to avoid. Once Shadow Warrior is cast, the tether will disappear, and the dogs will shuffle their position. To avoid a big hit, you want to get to the sides of the one that was originally tethered shortly after they come to a stop.
Now deciding to show off its core gimmick some more, Fade to Shadow is cast, slowly but surely spawning two more shadow clones in two corners at the end of the visible tethers. Get to either free corner to avoid their wide circle attack. This is all just a taste of what’s to come.
Shortly after this show of strength, Shadowkeeper becomes a show dog, getting up on its back legs to continue the offensive. As soon as you see it stand up, run. It’s about to grab a sword and do a nice big blast around itself.
Bipedal Form

Now on its feet and equipped with a blade, Slashing damage becomes the main gimmick. Expect Umbral Smash to be cast first: A series of swings directed at the tank that applies a stack of Slashing Resistance Down with each hit, making the next (and subsequent Slashing attacks) hit harder than the last. Tank swap to limit the stacks going out if possible; otherwise, the healers will need to be prepared for a long phase of heavy tank damage from both skills and auto-attacks.
Shadow’s Edge then comes crashing down as a linear tankbuster. If the target has Slashing Resistance Down, mitigation and heals will be needed. This is followed up with Left Giga Slash (a self-explanatory 180-degree swing) and the same attack again, this time in Shadow form, much like the Implosion skills from Phase 1.
Voidgate is a skill we’ve seen a few times before. Areas will spawn around the boss that need to be soaked by the same number of players denoted as there are pillars within. These tend to resolve themselves without much communication.
At this point, Left/Right Shadow Slash should come out again — with a twist. Watch for a second voidgate to appear. This will happen from now on, and it means the same move will be used by each of the summoned shadows in sequence. Focus on getting to the safe side of the first, then make a run for the second if needed.
After this, you’ll want to get into the middle to prevent the incoming knockback from hurtling you to the deadly edge of the arena or simply pop Arm’s Length/Surecast. With the boss then getting back onto all fours, you’ve successfully pushed into Phase 2. Don’t be afraid of what’s to come.
Phase 2
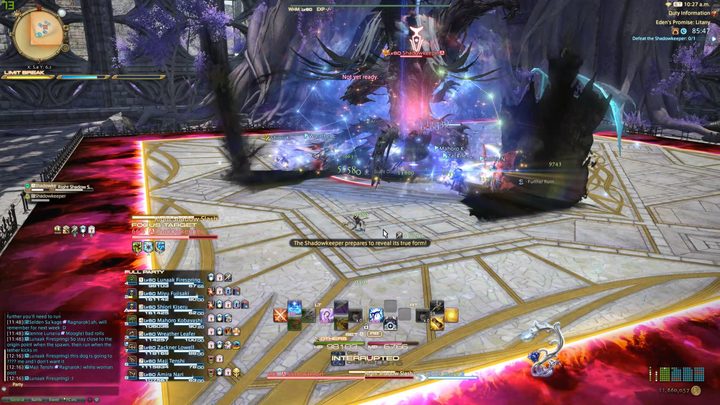
Now back into All Fours form, expect attacks to start weaving with others. First up, Shadowkeeper will pull out its Spawn Shadow plus Shadow Warrior combo again. Find the tether, watch as they shuffle, and get behind or to the flank of the tethered shadow. A new skill called Shadowy Eruption will come after this resolves, dropping large area attacks on four DPS or healers, so prepare to run straight out of the safe zone as they come crashing down. This new move will be woven into a lot of combos going forward, in a few different flavors.
After most positional-based attacks, Healers should expect something like Deepshadow Nova to attempt to clean up house. Shadow Implosion attacks will now benefit from that second voidgate, so use the lengthy cast time to work out each safe zone.
Like before, it’ll shift back into Bipedal Form after Fade to Shadow resolves. Here’s where you’ll need to do a dance. Giga Slash will attempt to mess up your Voidgate groups, making placements even more tricky to sustain. Additional Giga Slash combos will come thick and fast before devolving back into the Umbral Smash and Shadow’s Edge combo. It’s a good thing the Slashing Resistance Down doesn’t come before all that.
If Shadowy Eruption comes before or without another cast, expect it to target the same group three times. A knockback will then attempt to catch players out as they place these down, so either negate the push with relevant skills or ensure a player’s third drop is placed back close to the boss. With that, you should have seen everything. The fight will just repeat through the Phase 2 forms until it ends.


