
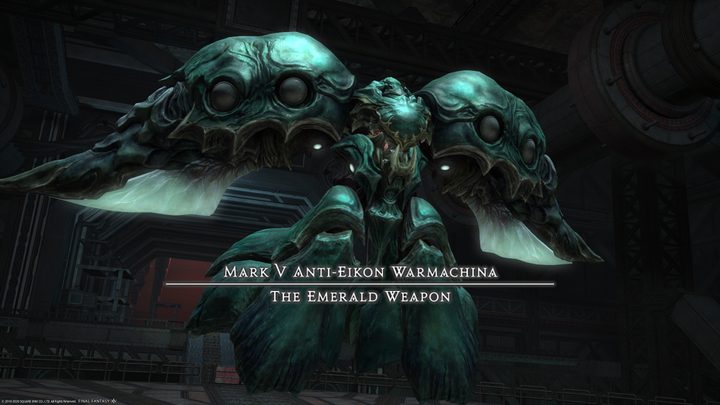
As the last of the Final Fantasy XIV: Shadowbringers Weapon battles, Emerald Weapon is here to do what the Ruby and Sapphire constructs could not. The Oversoul mechanism is well and truly part of the battle strategy, so prepare to fight not only a war machine, but the psued0-reincarnation of another fallen Garlean Empire great. Here’s how to beat Emerald Weapon at Castrum Marinum and even how to get to Terncliff if you happen to be lost.
How to get to Terncliff
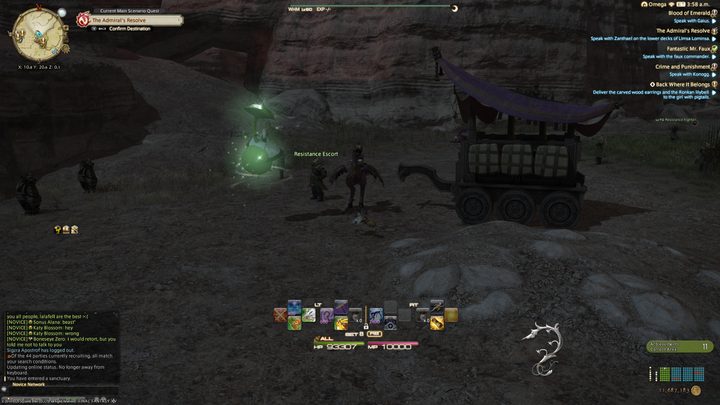
Before we can get into the nitty-gritty of Emerald Weapon tactics, it’s important to know how to get back to Terncliff, the fancy secluded village that’s been central to the whole Weapon project.
To get to Terncliff after accepting the new Emerald Weapon quest, just do a 180-degree turn from the quest giver in Porta Pretoria and head straight on along the ground. Before long, you’ll come across Resistance Escort, the NPC who’ll whisk you away to Terncliff at your request. Easy.
Moveset
Phase 1
- Emerald Shot — Heavy-hitting “tankbuster.”
- Emerald Beam — Rotating front/rear blasts with radial outward strikes from the center-out of the arena. Destroys an outer arena edge with each use.
- Magitech Magnetism — Summons magnetically-charged bombs that will shift their impact zone by attracting or repelling before detonation.
- Optimized Ultima — Deals heavy raid-wide damage.
- Sidescathe — Heavy strike to the left or right matching its glowing wing.
Phase 2
- Primus Terminus Est — Linear knockback effects on three targets paired with avoidable area attacks.
- Secundus Terminus Est — Unavoidable blast zones beneath each player. Resulting blades launch arena-wide strikes in the directions of the marker points, followed by the non-placeable version that resolves with a sequence of three strikes.
- Legio Phantasmatis — Summons a legion platoon around the arena edge. Upon formation, executes linear attacks in three waves with a single safe spot in each.
Phase 1
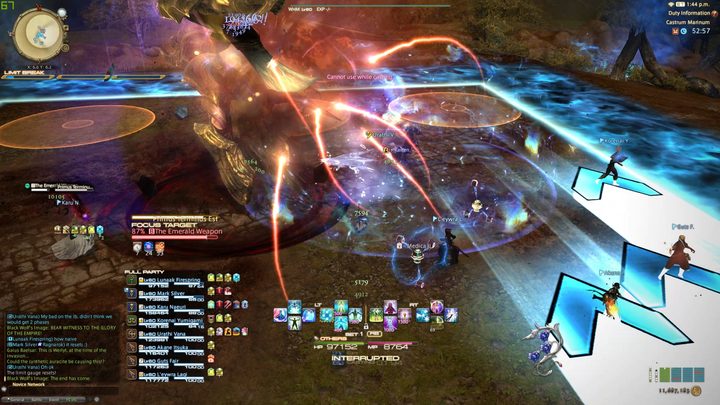
Right off the bat, Emerald Weapon will begin to hit like a truck. Get ready to deal with around six or seven different attacks in quick succession. Emerald Shot, a tankbuster mechanic, is the first, slamming the main tank for immense damage.
Emerald Beam
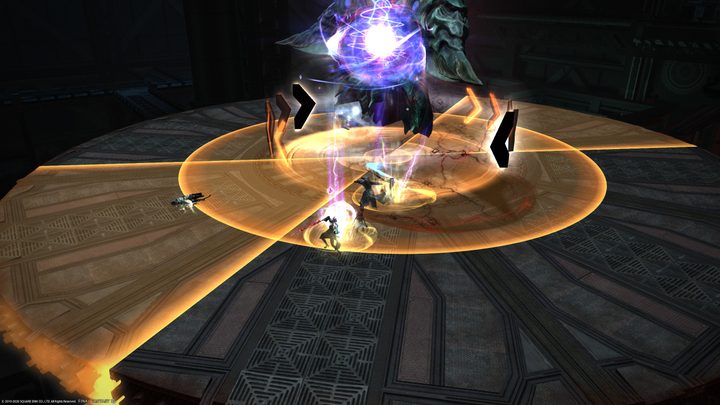
Next up is Emerald Beam, a lengthy assault that begins with a front/rear conal attack that continues as Emerald Weapon spins clockwise, with a pulsing AOE going out across the arena in chunks at the same time. All you need to do is zig-zag in and out as you run around dodging the beam, and you’ll dodge the secondary strikes, too. Each use of this shrinks the arena.
To potentially mop up any still-injured players, Magitek Magnetism attempts to catch players off guard. Tethered bombs come magnetically charged, meaning their impact zone will change before detonation as they attract or repel each other. The intersection of two positives is always a safe spot.
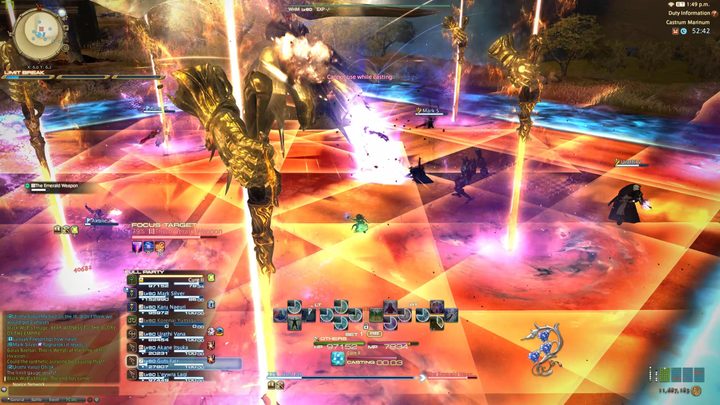
Now to really mop up, Optimized Ultima is cast, dealing heavy damage to the team. The boss then uses Split, shedding its legs to use against the team separate to the main body of attacks. Before it comes back down, take note of which of the boss’s wings are glowing, and get to the other side to avoid Sidescathe — a half-arena strike.
In its place should be a blue pushback field delivered from those shed legs. Position yourself far from the arena edge or use Arm’s Length/Surecast to ignore it and the legs will reattach. Prepare to have the arena cut down by the second (and last) Emerald Beam, then simply hug the boss to avoid the completely-uncalled-for donut attack soon after.
Soon enough, Divide Et Impera should be cast, — a move that appears to be a tankbuster but strikes the rest of the team afterward. The team presumably should be spaced apart for this. Deal with another Magitech Magnetism, and you’ll be introduced to Pulse Laser right after, which seems to just be a group of linear strikes that shouldn’t cause too much trouble.
With the next Split, Emerald Weapon’s floating hands will adorn the edges of the arena, sending slow-moving orb bombs to get in the team’s way. Just weave between these while dealing with Sidescathe and a sneaky leg knockback, and they’ll dissipate before long. After another Magitech Magnetism and Optimized Ultima combo, things should start to repeat until it’s dead.
Phase 2
But it’s not dead, is it? As was the case with the other Weapons, at 0% HP, the pilot of Emerald Weapon fires up Oversoul, transforming Emerald Weapon into something with sharper weapons.
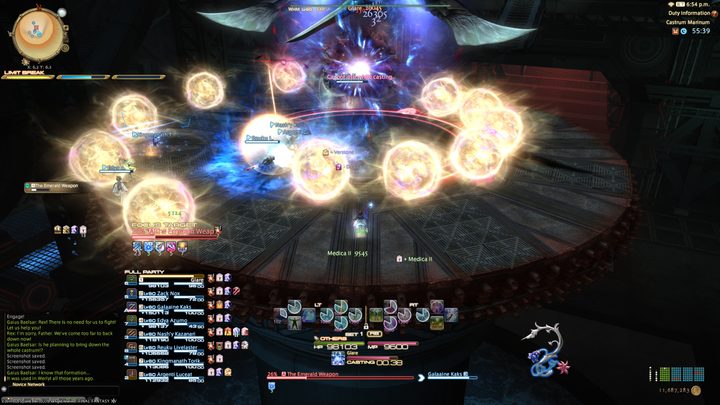
You’ve even transported to a hologram of Werlyt: The pilot’s decimated home. It’s a large, square arena, meaning there’s no chance of falling off now, but the edges are still deadly. This phase acts a checkpoint, though, so any team wipes here will simply send you back to this part of the fight. The pressure to perform is gone. Neat.
What this phase entails is little more than dancing around sequenced area attacks, mostly from Gunblades. It starts with a simple, thin slice across the arena for each person around but will evolve to far larger strikes later on that will require paying attention to spawn timings to effectively weave in and out of — similar to the radial effect of Emerald Beam.
Primus Terminus Est
One move that tends to trip people up early on is Prims Terminus Est — a linear knockback that sets its sights on three players. Other area attacks resolve at the same time on the field, so targeted players need to position themselves so the knockback doesn’t send them hurtling through it. The knockback affects anyone within, too, giving it the potential to end more than just three lives.
Secundus Terminus Est
Shortly after that move, Secundus Terminus Est causes familiar Gunblade X markers to appear under each party member. Once these land, they deal damage to the player and leave behind large swords that attack along the directions of their points.
This can — and will — cover a significant part of the arena, so pop Sprint and find a safe place in the mayhem. This will likely happen again after a short while, minus the placeable markers. These ones are in sequence and will cover the whole arena, so take note of the order they appear, and weave between as each resolves.
Legio Phantasmatis
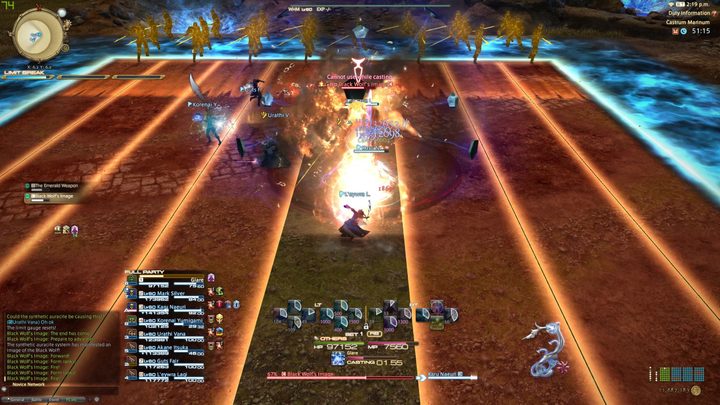
Another scary attack to look out for is Legio Phantasmatis. This lengthy cast calls a whole platoon of ghostly Garlean soldiers to attack from the outer edge of the arena. They’ll surround you, but after a Formation, they’ll all settle on one side — albeit in three layers — and attack in sequence.
All you need to do is identify the empty spots in each layer and, again, weave between them as the attacks come out.
Once you’ve seen this, you’ve basically seen the whole fight. The mechanics practically repeat until you beat Emerald Weapon down, killing the poor pilot within.


