
As the penultimate boss of the Final Fantasy XIV: Shadowbringers Eden raid series, this amalgamation of familiar faces signals a jump in difficulty that should stand to shake off any casual players attempting to make their way through Savage difficulty. Ascian Prime, Fatebreaker, Dread Hope, whatever you want to call it, this foreboding fusion of Ascian powers of yore is about to make good use of the patterned arena of Eulmore Gaol.
You’ll need a keen eye to see which attacks are coming your way, and where you’ll need to stand to avoid them. Remember: it’s all about the snake. Here’s a handy text guide with all the strategies and tactics you’ll need to put another seed-sowing Ascian out to pasture.
Moveset
- Burnished Glory: Deals raid-wide damage.
- Powder Mark: Tankbuster with an additional debuff that explodes in a small area as it expires.
- Burnt Strike: Strikes the area north and south of the boss. A second effect strikes just outside the area shortly after, with one of the following effects applying based on the snake in play at the time:
- Fire: Heavy knockback to all allies.
- Electric: Deals heavy damage.
- Bound of Faith: Follows one of two effects based on elemental attunement of the snake summoned during the cast:
- Fire: Roots the target and places a stack marker.
- Electric: The boss tethers the target before dashing, damaging those along the way, and applying a damage over time effect.
- Turn of the Heavens: Summons Fire and Electric rings across the arena. The area of effect size of each type of ring differs depending on the element of the snake summoned during the cast:
- Same element = Area attack twice the size of the ring.
- Different element = Area attack the same size as the ring.
- Shifting Sky: Pushback followed by a 270-degree sweep from the center of the arena and two different Burnt Strike attacks in sequence.
- Prismatic Deception: Spawns and cloaks three Fatebreaker’s Image that each cast Blasting Zone across the area. Get close enough to reveal their position.
Strategy

Fatebreaker doesn’t really do the traditional phases. There’s no obvious change — just a revolving door of lengthy, semi-complex attacks woven between some more generic hits and blasts. It’s all about how the two varieties of snake wrapped around the boss for each attack modifies the incoming attack.
Regular Attacks
Between the bigger hits, healers need to watch for both Burnished Glory and Powder Mark. The former is a simple raid-wide blow, whereas the second will hit the target for massive spike damage and leave a bomb marker on them for a time. Once it expires, the target explodes, dealing damage to anyone close by. The detonation takes a while and is telegraphed, so it’ll usually just mean the tank takes heads away from the group when running to a safe zone during a more significant team attack.
At some point, Bound of Faith will go out, applying one of two effects on a targeted healer that is based on the element of the serpent that arrives during the cast. If it’s Fire, stack with the target. If it’s Electric, get clear of the area immediately between the boss and the target.
Burnt Strike

More often than not, you’ll be introduced to Burnt Strike shortly after the start of the fight. This is the main mechanic you’ll want to keep an eye out for, as its secondary effect shifts with the element the summoned serpent holds at the time and extends beyond that into another move later on.
When cast, one of three different colored serpents appears and wraps itself around Fatebreaker. The axis along Fatebreaker’s front and rear is then struck for standard damage, with a secondary effect triggering just outside that strike zone a second later corresponding to the color/element of the snake. If it’s Fire-based, expect a knockback, so hug the initial impact zone to avoid being flung off the arena. An electric snake will trigger a high-damage hit along the same axis the size of the inner circle of the arena.
Turn of the Heavens

Once Fatebreaker decides you’ve had enough time to work out their tricks, Turn of the Heavens comes to test you on them. Pay close attention to the element of the snake coming out again: It’s a big part in working out the safe zone of this move. As the snake disappears, the arena is covered in Electric and Fire rings. Usually in a group, thankfully.
What you want to do is head to the front or back intersection between two matching circles that are not the same color/element of the snake. The AoE effect of these rings is smaller, creating pockets to keep you safe. Rings matching the snake’s element are much bigger and will overlap, greatly hurting you if you’re between opposite rings, or outright killing you if you’re between matching rings.
Shifting Sky

The bigger test of your attention comes with Shifting Sky. Like a mini phase change, Fatebreaker will zip out of the arena. After a pushback from the middle of the arena, the snake falls to the center and sweets a large portion of the arena. Get behind it to be safe. Then, two instances of Fatebreaker (and two opposite colored snakes) will spawn outside the arena on the north/south and east/west cardinal directions.
Each of these clones prep a Burnt Strike attack in the order they came down, so watch the element of their snakes and choose your spot carefully to dodge the total damage of the Electric attack and the knockback of the Fire attack.
Prismatic Deception
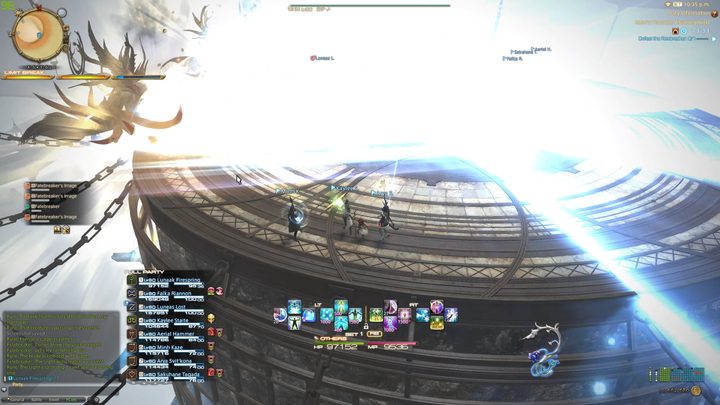
As you inch toward 50%, Fatebreaker will eventually cast Prismatic Deception, disappearing for a time and clouding the area outside the arena. Look at the enemy list and you’ll notice three Fatebreaker’s Image all casting Blasting Zone. Run around the edge of the arena and an Image will be revealed once you’re close enough.
They seem to group together, so once you’ve found one, assume the next two are just ahead. Stay where you are at that point and you should be safe from their incoming linear attack. If you happen to already have one in sight when the arena fogs, run back and forward to figure out where exactly the remaining two are.
Once you’ve seen all this, the fight simply repeats until Fatebreaker kicks the bucket. Congratulations; you’ve reached the final fight of Eden.


