Final Fantasy VII Remake will take around 40 hours to complete, assuming you do all the side quests. But die-hard fans will more than likely want to check out all that Midgar has to offer a second time. By switching to hard mode, you’ll get more than just a harder challenge. You’ll be able to face off with some new bosses, which makes taking a second look at the game worthwhile. If you’re thinking about running through the game on hard mode, here’s everything you should know before diving in.
Further reading
- Final Fantasy VII Remake boss guide
- Best weapon builds for Cloud Strife
- Best weapon builds for Tifa Lockhart
What is hard mode?

Upon completing Final Fantasy VII Remake the first time, you’ll unlock chapter select and hard mode. Instead of booting you back to the main screen, you’ll be stuck in Chapter 18 where you can replay chapters on the desired difficulty using chapter select. If you want to do a hard mode playthrough, simply start at Chapter 1. You’ll maintain your level and all your equipment, making hard mode akin to a New Game+ mode.
Hard mode isn’t just more difficult. Sure, enemies have more HP and their attacks do more damage, but that’s not what makes this difficulty tough. You can’t use items at all, no matter if you’re in battle, in a town, or just out exploring the world. Furthermore, benches only restore HP, not MP. The only way to recover MP within a chapter is to wait for it to slowly refill outside of battle or smash some Shinra crates.
You probably see what the problem is. You need to use spells to heal your party, which cost MP. However, you also need to save your MP for the boss battles at the end of most chapters. Hard mode is tough when it comes to combat, but it’s mostly a game about managing how much MP you have at your disposal.
That means you should level up as much as possible before starting a hard mode run. The level cap is 50, and you should be around level 40 at the end of a normal playthrough. Once you’ve beaten the game, you gain twice as much XP and three times as much AP, allowing you to level up and improve your Materia much faster. Grind out some battles in the coliseum in Chapter 9, and you’ll hit level 50 in a couple of hours.
New additions to hard mode
In addition to being a greater challenge, hard mode features all of Final Fantasy VII Remake’s post-game content, including two new bosses. More important, though, bosses on hard mode drop manuscripts, which provide SP to characters. With the additional SP, you can unlock weapon level 6, which gives you access to the most powerful weapon abilities in the game.
You should plan your loadout based on these abilities (we’ll recommend the best loadouts for each character next). If you want to grind SP outside of boss battles, replaying the side quests in Chapters 3, 8, 9, and 14 will award you with manuscripts.
There are two new bosses in hard mode, which offer the toughest challenge and the greatest rewards in the game. You can access them in the Chapter 17 Shinra Combat Simulator. The first boss is Malboro, which comes after a series of four fights with the game’s secret bosses. The fight itself is fairly simple. Avoid the Bad Breath skill, which will poison you, and you should be fine.
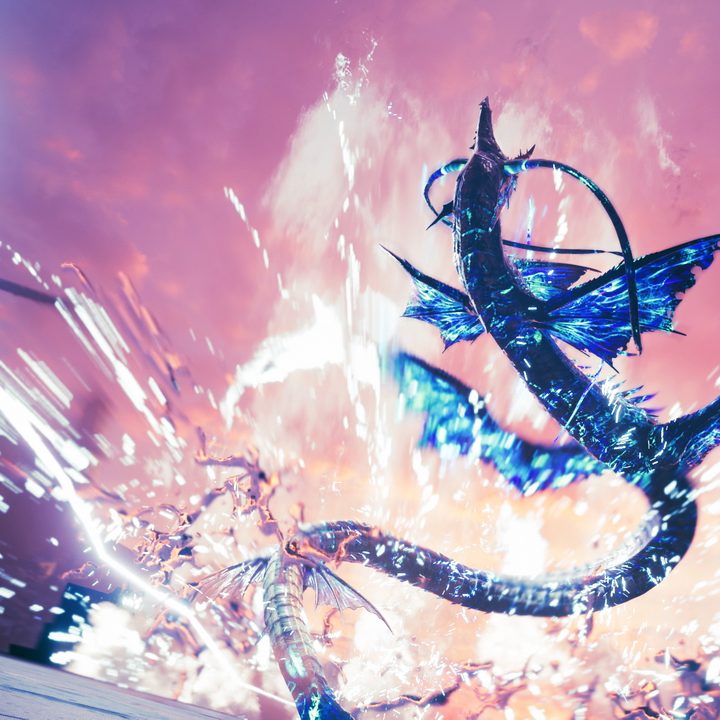
Pride and Joy Prototype, the last post-game boss, is much, much harder. Fighting Pride and Joy itself is straightforward — it’s weak to lightning and you can stagger it quickly if you’re aggressive. However, you’ll need to fight through all of the Summons in the game in a row before taking on Pride and Joy.
Since you can’t switch your loadout between fights, have Materia of each elemental type across your party and plenty of healing spells. Unfortunately, there isn’t any particular strategy for beating this gauntlet, outside of healing when possible, using your strongest ATB abilities, and avoiding damage at all costs. It’ll take around an hour to beat all of the bosses, but you’ll get the best accessory in the game at the end.
Taking down the Pride and Joy Prototype awards you with the Gotterdammerung. This accessory gives you an instant Limit Break at the start of each battle, and slowly recharges your Limit Break in battle. If you want an easier time on hard mode, it’s best to get this accessory in Chapter 17 using chapter select before beginning your playthrough.
Hard mode loadouts

Hard mode will test your skills, but the difficulty of it will largely depend on your loadout. You should change your equipped Materia throughout the game to account for enemies you’ll be facing. After all, you beat the game once, so you know the challenges for each level. There is some Materia you should have equipped at all times, though.
That’s two HP Up and MP Up for Tifa, Aerith, and Barret, and two HP Up and one MP Up for Cloud. You don’t need all of these equipped at once. There are only ever three characters in your party at any given time, so prioritize them. These boosts to your stats are essential when playing through on hard mode, so always have them equipped on your active party members.
Otherwise, it’s dependent on the situation, though we have a recommended loadout for each character below for the majority of circumstances.
Cloud
- Weapon: Twin Stinger
- Weapon Materia:
- Elemental linked with Fire, Ice, Lightning, or Wind
- First Strike
- 2x HP Up
- MP Up
- Armor: Chain Bangle
- Armor Materia:
- Healing
- Revival
- Barrier
- Steadfast Block
- Accessory: Champion Belt
Tifa
- Weapon: Sonic Strikers
- Weapon Materia:
- Elemental linked with Fire, Ice, Lightning, or Wind
- 2x HP Up
- 2x MP Up
- Armor: Cog Bangle
- Armor Materia
- Healing
- Revival
- First Strike
- Accessory: Champion Belt
Barret
- Weapon: Light Machine Gun
- Weapon Materia:
- Elemental linked with Fire, Ice, Lightning, or Wind
- 2x HP Up
- 2x MP Up
- Armor: Cog Bangle
- Armor Materia
- Magnify-Healing
- Revival
- Accessory: Champion Belt
Aerith
- Weapon: Reinforced Staff
- Weapon Materia:
- 2x Magic Up
- 2x HP Up
- 2x MP Up
- Armor: Rune Armlet
- Armor Materia
- Magnify-Healing
- Revival
- Accessory: Healing Carcanet
Don’t simply run with these loadouts for the entire game. The general idea behind them is that Tifa and Cloud attack up close, while Aerith and Barret attack from range. That makes the latter two better at healing, which is why they’re equipped with Magnify-Healing. In battles where Barret is essential — Airbuster comes to mind — consider switching Magnify out for First Strike to build ATB quicker.
There are only two Elemental Materias in the game, too, so you’ll need to switch them between Barret and Tifa (always keep one on Cloud). In its place, consider Prayer. It heals your party, but it doesn’t cost MP. If you have a party member with a full ATB gauge and little MP, Prayer can save you in a pinch.
Also, be sure to switch the Elemental Materia and its linked type between your weapon and armor depending on the circumstance. For instance, Reno attacks with Lightning, so you’ll want to have Elemental-Lightning on your armor for that battle.
Hard mode tips and tricks
Flee if possible
If you’re not at level 50 going into hard mode, you’ll reach it shortly after starting. Outside of AP, then, battles award you with nothing. The XP doesn’t matter, meaning fights between bosses are HP and MP hogs, nothing more. If you can avoid a battle, it’s best to do so. You want to save your MP for the boss, and since you can’t use items to heal, that means preserving your HP throughout the level.
Smash every crate
Crates will award you with items, which are useless during hard mode. Sometimes, however, they’ve give you back some MP through a Mako Shard. Smash every pile of crates you come across so you can, hopefully, enter the boss battle at the end of most chapters with a full charge. If you’re running low, you can also create a manual save right next to a set of crates. Smash them, reload the save, rinse and repeat.
Don’t get cocky
Of all the tips for hard mode, the most important is to not get cocky. With your full loadout and high level, it’s easy to write off early bosses like Roche and Scorpion Sentinel. These bosses are just as tough as the first time you faced them, though, even with all of your spells and ATB abilities, so you should approach them as cautiously as you did on your first playthrough.