How to fast travel in Forspoken

One of the most fun parts of Forspoken is the magical parkour system you can use to traverse the game's world. However, the areas in the game are much larger than you might expect, and it will still take a while to get from one end of a zone to the other. Thankfully, a fast travel system exists, but not immediately. Here's how to fast travel in Forspoken to cut down on your travel time.

Difficulty

Easy

Duration

5 minutes

What You Need

  • Unlock your first Pilgrim's Refuge

  • Reach chapter 3

Frey looking at old buildings.
Image used with permission by copyright holder

How to fast travel in Forspoken

Fast travel won't be available until you start the game's third chapter and are directed to the first Pilgrim's Refuge.

Step 1: After leaving the Cipal, activate the Pilgrim's Refuge by entering it to put it on your map

Step 2: By opening your map and highlighting this refuge, and any other Pilgrim's Refuge you unlock, you will be given the prompt to fast travel there. Alternatively, you can press the L3 button to bring up a list of locations you have discovered that you can fast travel to.

Step 3: Unlocking Belfries on your map will also make them available as fast travel points.

While you can only fast travel to these specific points, you are able to initiate fast travel from anywhere on the map at any time. The only instances where fast travel is restricted are when you're engaged in combat or in the middle of a main quest.

Editors' Recommendations

Jesse Lennox
Jesse Lennox loves writing, games, and complaining about not having time to write and play games. He knows the names of more…
All Teddy Bear locations in Fallout 76
A teddy bear in a train station in Fallout 76.

There's no shame in admitting that you enjoy the company of a teddy bear in Fallout 76 over the ghouls and mutants. In fact, we would probably prefer spending time finding these cuddly bears than playing with the other players, but these stuffed animals are a rare commodity in the wasteland. Technically, these are classified as a junk item that you can break down for materials, but who would do something like that? These are great display items to make your camp feel more like home, or just another annoying daily task you need to complete. Whatever your motivations are, here is where you can find each of the different teddy bear variations in Fallout 76.
All teddy bear locations
There are 12 different variations of teddy bears that all have a distinct color pattern, name, and value, but are otherwise identical. Like most items, they can be found in a ton of places around the map, but these are the easiest spots to get the one you're looking for.
Bubblegum Bear

Our first bear is going to be inside the Foundation. Once inside, go to Ward's trailer and pick it up off the couch.
Camden Park Bears

Read more
How to start the Automatron DLC in Fallout 4
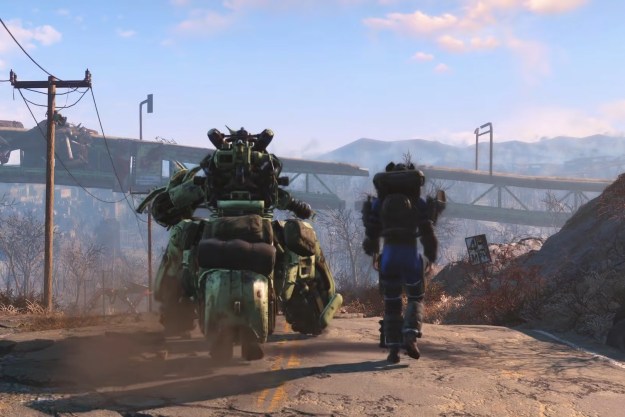
A man and a robot walking in the wastelands in Fallout 4.

Each piece of Fallout 4 DLC adds something substantial to the base experience. In the case of the Automatron expansion, an entire new questline pitting you against a robot army led by a figure known as the Mechanist. Starting it isn't as difficult as starting other DLCs like the Nuka-World expansion, but it-s still a bit cryptic. Buying the DLC doesn't automatically make it apparent how to actually start this new adventure, but we'll give you specific directions to find it in the wasteland.

Read more
How to start the Nuka-World DLC in Fallout 4
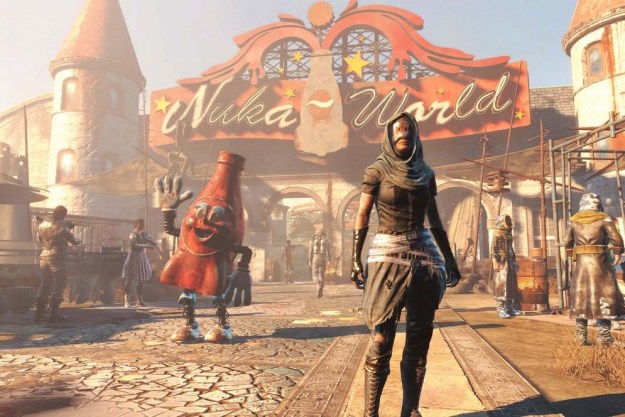
People standing outside Nuka World.

The first major DLC expansion for Fallout 4 lets players go to the abandoned amusement park called Nuka-World. While there's plenty of fun and excitement to be had here, don't expect it to come from the roller coasters or carnival games since this park is the battleground between rival raider gangs. This new zone adds a ton of new quests and side activities to the base experience, but it isn't as simple to get to as a real theme park. Don't worry if your Pip-Boy isn't helping you get to Nuka-World -- we'll show you how to start this DLC.

Read more