
Level editors and leveling editing modes in games have never been more popular among gamers interested in sharing their creations with friends and practicing their game development skills. From classics like the Little Big Planet series to the Super Mario Maker 2 to indie apps like Levelhead, choices abound … and now there’s a particularly powerful title on Switch called Game Builder Garage.
The premise of Buy at Nintendo is simple: It teaches gamers — in a form that’s fit for older kids and beyond — the basics of game design and how tools work, then sets them loose to program their own platformers, interactions, and player goals. However, learning how the tools interact with each other and build into a programming suite can quickly grow complex, and if you aren’t prepared, you may get mired in the details. These tips will help you improve, innovate, and master Garage so you can get on to planning your next incredible creation.
Play the Interactive Lessons
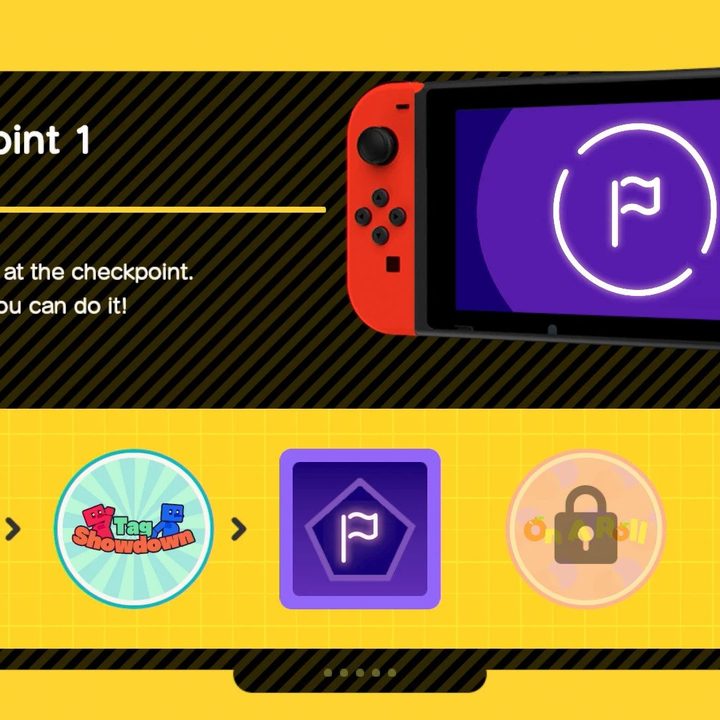
One of the first options you’ll see in Game Builder Garage is starting the Interactive Lessons for the game, which are seven tutorials (plus small quizzes at the end) that walk you through how to use the game’s various tools and link them together to create gaming scenarios. You absolutely need to begin here. Garage is simply too complex to skip the tutorials and strike out on your own, even if you’ve played level editors before.
In fact, we recommend quickly taking a lesson again if there is anything that you missed or found confusing the first time around. These are the building blocks that make the whole game work, so it’s important to master them. Spend as much time as you need. If you’re really serious, you may even want to take notes.
Master the Nodons
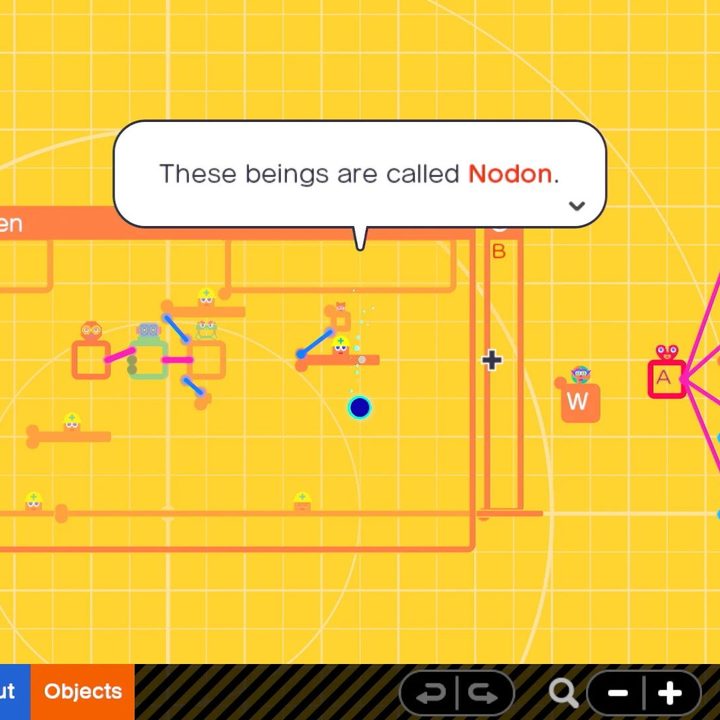
No actual code is involved in Game Builder Garage. Instead, players are given a set of a bit more than 80 different “Nodons,” each color-branded, that perform different functions. These functions, separated in Input, Middle, Output, and Objects, can be anything from creating objects and movement patterns to setting up Boolean operators or repositioning the game camera. The first step to becoming a master at building games here is to master this list of Nodons and how they interact. Each Nodon has a building screen allowing you to see what it does, make notes about a specific Nodon’s purpose, and set a wide variety of conditions for how the Nodon will behave in-game. Again, don’t be afraid to take your time.
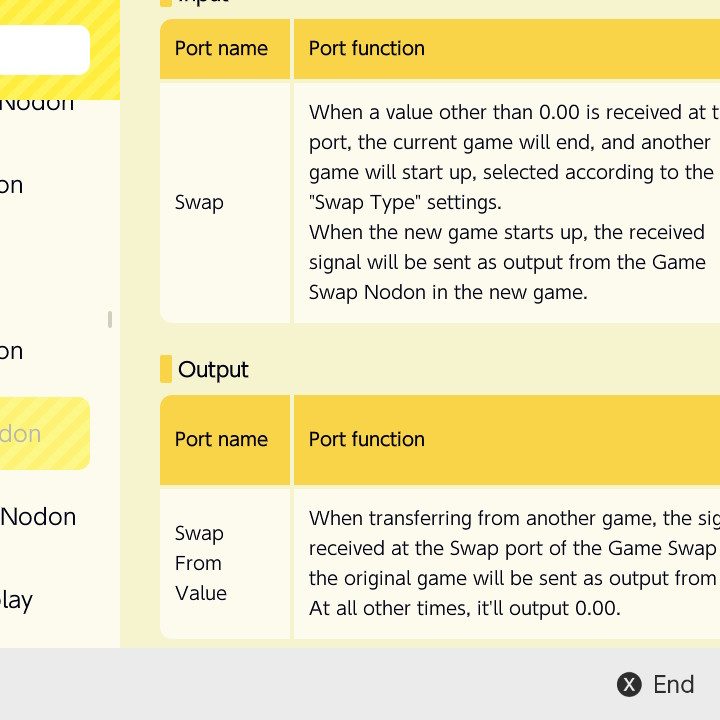
A single game can hold more than 500 Nodons, but that won’t be enough for the more ambitious players. Fortunately, there’s a swapping Nodon that can move players to a new game (think of it like entering a new area or level as a player).
Start out in 2D
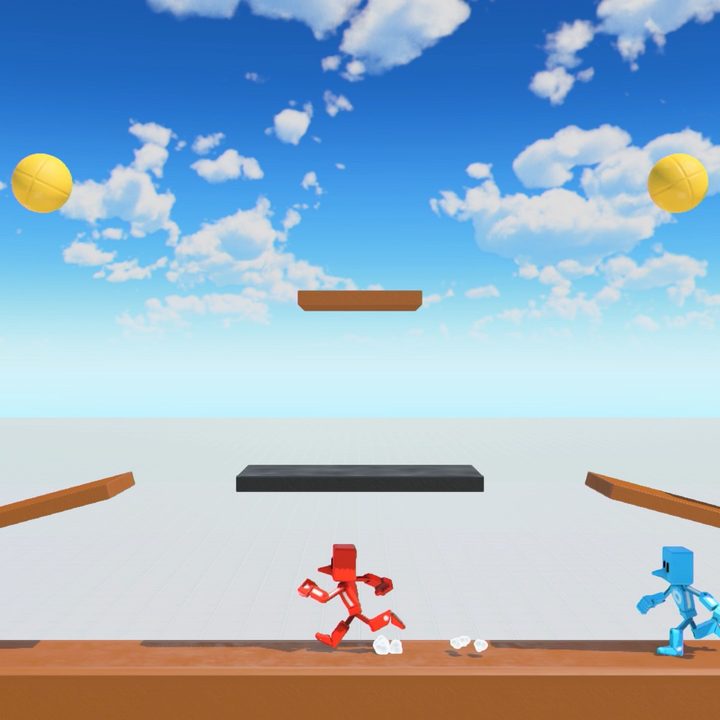
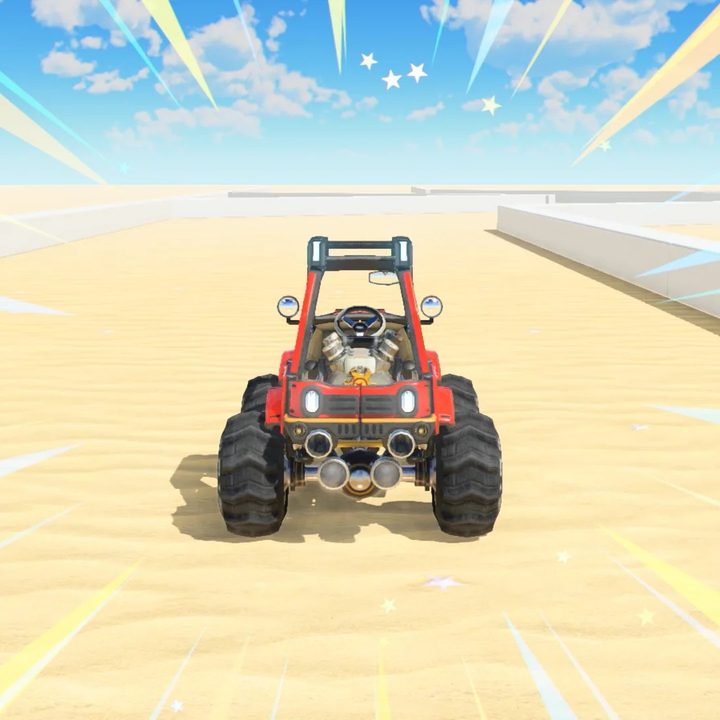
Technically, you can use Nodons to create a complex 3D game environment, but it’s a much better idea to start out on the 2D level first. This will give you enough time to master the mechanics of the Nodons before exploring more complex game designs.
Fortunately, you can still create plenty with a 2D world, including a wide variety of platformers. You can get creative by mapping out your own jumps, drops, and enemies to dodge, or you can practice by picking something like a classic stretch of Super Mario Bros. and replicating it in Garage.
Get used to the edit screen
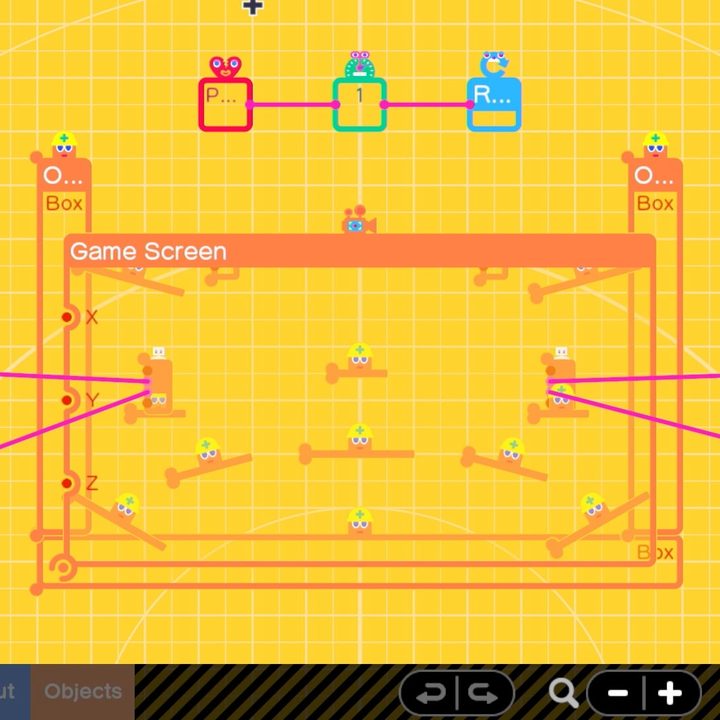
There are two primary ways to view your game in Garage – either the game screen, where you see how the game looks in real time, or the edit screen, the programming side where you see a view of all your Nodons and how they are linked.
At first glance, the edit screen can seem a little unintuitive, but we highly suggest getting very comfortable with this mode. This is where the math and mapping of Game Builder Garage take place, and it’s vital to be able to “see” the game you are building even while you are in the edit screen. Try to avoid the temptation to keep switching back to game mode after every step.
There are also handy controls in the edit screen that can help you build more quickly. L + ZL will undo your last move, and R+ ZR will redo a previous, for example. Hold down ZL or ZR + A, and you can use the left stick to drag across multiple Nodons at once to move or change them, which can be a big time-saver. Copying and pasting, either singly or as a group, is possible here, too. You can also lock a Nodon when it’s just how you want it to avoid unwanted changes.
Trying using a mouse
The Switch does support mice via its USB slot. For serious players who are trying to build more complex gaming mechanisms, the Switch controls and touchscreen themselves will probably be too slow. We suggest switching to a mouse when possible once you have covered the basics and then moving deeper into creation. The mouse-based controls are quick, intuitive, and generally just better when editing.
Use Nodopedia — all the time
You can access Nodopedia from the menu screen, or from any Nodon’s settings with the book-and-magnifying-glass icon. This will take you to a large guide that gives an in-depth explanation of the Nodon, what it can be used for, and what settings options you can work with. It’s a great way to cycle through the Nodons when you are first learning, and refer back to as needed when planning your next level. There are also additional guides, like the in-game character Alice’s Guide, to refer back to when understanding a particular concept.
Publish your game for the world to try (and try someone else’s)
Once you have a game complete, you can share it only with other players to experiment with and give the details to your friends so they can try it out. These shared games won’t exist online forever: If they go 12 months without activity, they’ll be automatically deleted, so you don’t really have to worry about curating them.
It’s also an excellent idea to try out some of the games other players are making. This is an effective way to get new ideas, find out new combinations of Nodons, and get lightbulb moments about how certain mechanics are supposed to work!


