
No open-world game would be complete without a bunch of collectibles. Among the many types in Hogwarts Legacy, the Landing Platforms are perhaps the most difficult to actually find. Unlike most objectives, places, and items that appear on your map, Landing Platforms have to be spotted by eye, with no help from your map. Aside from getting you one step closer to doing everything there is to do in this massive game, there are several rewards you can unlock by finding them, plus it is required if you want to get that Collector’s Edition trophy or achievement.
To save you the hassle of flying around aimlessly, here are all the Landing Platform locations in Hogwarts Legacy.
If you need a few more tips for your Hogwarts Legacy playthrough, be sure to check out our other guides on the best traits, best talents, and all spells in the game.
How do Landing Platforms work?
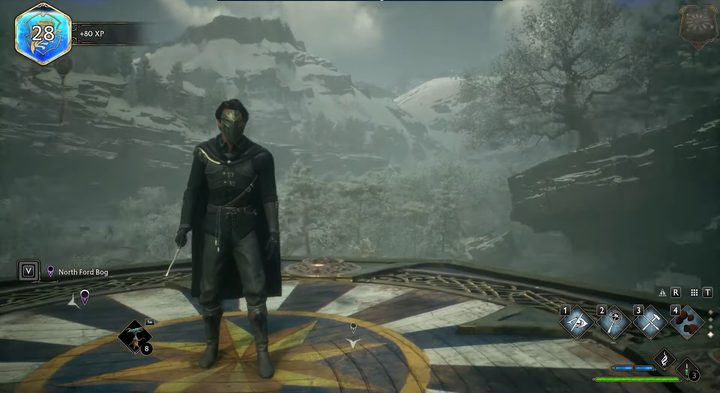
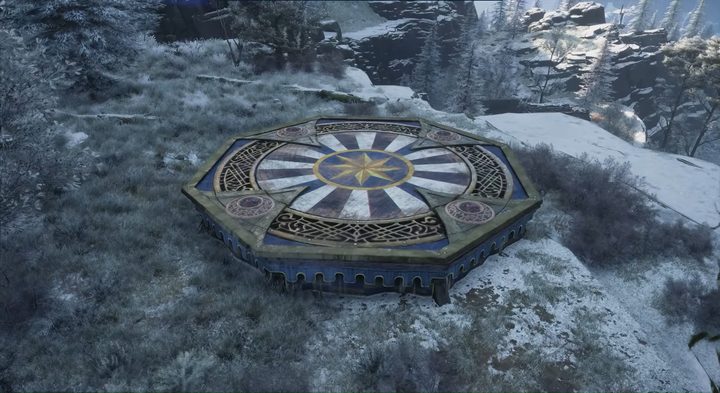
Landing Platforms are special, ornate-looking platforms that have four unlit braziers. You can only reach them once you’ve unlocked your broom, after which you can fly around and land on them to ignite the fires and “collect” them. Make sure you stand on them long enough for the platform to rotate and the fires are fully alight or it may not count. There are 20 in total, and as you find and activate them, you will get four total rewards from your Challenge menu.
While they don’t show up on your map, you can at least see how many are left in a given area by zooming out on your map and looking at the totals for each region.
All Landing Platform locations
We will list all the Landing Platforms going from north to south on the map and give directions based on the closest Floo Flame you can fast travel to. If you’re in the right area, but not seeing the platform, you can cast Revelio to highlight them through objects.
- In North Ford Bog, head directly south from the Pitt-Upon-Ford Floo Flame. It will be on top of a wooden scaffolding.
- From the East North Ford Bog flame, go due east and slightly north. This will be on another scaffold.
- Going down south to the very bottom of the Forbidden Forest, go straight west from the East North Hogwarts Region flame. The platform is on top of a small rocky outcropping.
- If you follow the river further west from the previous platform, you’ll find the next one along the cliff wall north of the river.
- This one is a long ride south from the East Hogsmeade Valley flame. Once you come to the ridge, the platform will be visible on a plateau.
- In the South Hogwarts Region, go south from the Aranshire flame. This is another one hiding on a plateau near the road.
- Down in Hogwarts Valley, go slightly north of the West Hogwarts Valley flame. This one is on the large, flat top of a ridge.
- Due northeast of North Feldcroft, this platform is on a grassy cliff beside the road.
- Follow the river northwest of Keenbridge and until you find some castle ruins. The platform is on top of one of the ruined buildings.
- Straight east of Feldcroft, this platform is on top of a ruined tower by the coast.
- This one is almost directly on top of the South Feldcroft flame on a tiny hill by the water.
- Take the Mine’s Eye flame and then move southwest. The platform is slightly hidden by some trees on the mountain.
- At the Irondale flame, go southwest along the river to the little island. It is up next to the ruins of a castle.
- On the Marunweem Bridge, go to the southeast side and to the top of the keep.
- Follow the mountains to the east from the Coastal Mine flame until you spot the platform near a series of banners.
- Starting at the Marunweem Ruins, go west to the peninsula. This platform is on its own spire out in the water.
- Due true north from the West Manor Cape, this one is also just off the coast on its own spit of land.
- From that same Floo Flame, this time follow the coast south and over the ocean to see this platform sticking out from the mainland.
- Go all the way to the south peninsula from the Cragcroft flame. Overlooking the water and some ruins is this platform.
- Ride east and slightly south from Clagmar Castle and over to the cliff’s ocean side. This platform is tucked along the cliff face.
All Landing Platform rewards
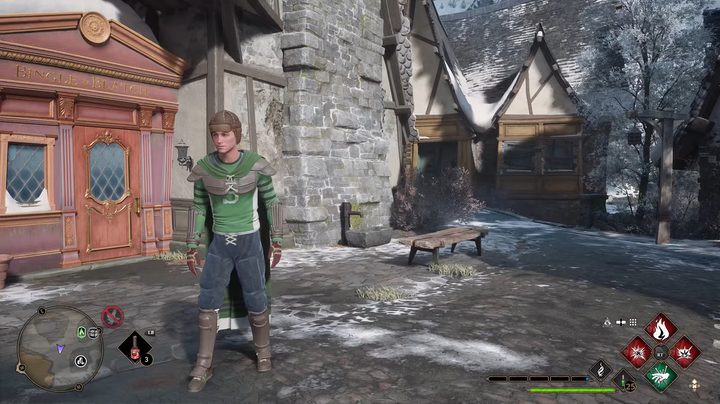
You will earn four different pieces of gear for specific increments of platforms you unlock that will result in the full Quidditch Captain set. While there’s unfortunately no way to actually play Quidditch in Hogwarts Legacy, you can at least pretend with this set. Here’s which pieces you unlock and when:
- Two platforms: Quidditch Captain’s Uniform
- Six platforms: Quidditch Captain’s Helmet
- 12 platforms: Quidditch Captain’s Gloves
- 20 platforms: Quidditch Captain’s Cape
These rewards are not given to you simply for finding the required number of Landing Platforms. Like any other Collection challenge in Hogwarts Legacy, you need to manually claim them as you go, or simply wait until you’ve gotten them all and get them all at once. To claim them, you need to go into your Collections menu and select them.


