As the 21st century slides into cyberpunk dystopia, online privacy is (or should be) on everyone’s mind, particularly given the United States Federal Communications Commission’s 2017 ruling on net neutrality. Virtual private networks (VPNs) are an increasingly popular way to assert a bit more control over your online activity, protecting your data from the prying eyes of nefarious hackers and greedy telecommunication monopolies alike. You can even set up VPNs for gaming consoles like the Xbox One, and in this guide, we’ll show you how.
Why use a VPN for your gaming console? The same reasons that you would use one in general: To protect your identity and activity from those who want to track you, including corporations, hackers, and the government; circumventing different countries’ versions of streaming services and storefronts; and — particularly key for gaming — preventing your internet service provider from throttling your bandwidth.
Before we begin, you need to find and sign up for a VPN service. (If you’d like a recommendation, we keep a running list of the
Connecting to a VPN through your router
There are two methods for setting up a VPN on Xbox One — through your router or through your PC. We recommend setting it up through your router, as the PC-based method requires you to keep your Xbox connected to your PC via Ethernet cable.
Step 1: Log in to your router’s control panel and enter the details provided by your VPN.
Generally, this entails entering your router’s IP address into a web browser connected to your local network, but refer to your router’s operating instructions for the particulars.

Step 2: Find the tab for controlling your router’s connection to the outside network. The name varies, but it’s generally called something like “Basic,” “Network,” or “WAN Setup.”
Step 3: Enter the details provided to you when you signed up for your VPN (IP, Subnet Mask, username and password, etc.). Again, the particulars will vary: When in doubt, follow the instructions provided by your
Step 4: Connect your Xbox One to the router. Press the Xbox button to bring up the Guide.
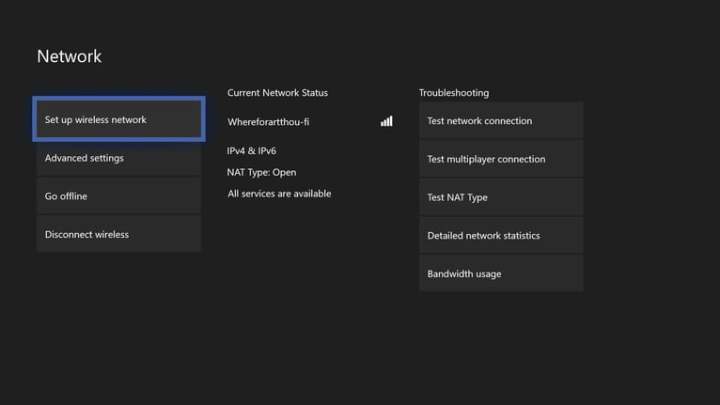
Step 5: Go all the way to the right into Settings, then go to Network.

Step 6: Highlight Network settings and press A.
Step 7: Select Set Up Wireless Network and configure your Xbox to use the router we connected to your VPN in Step 1.
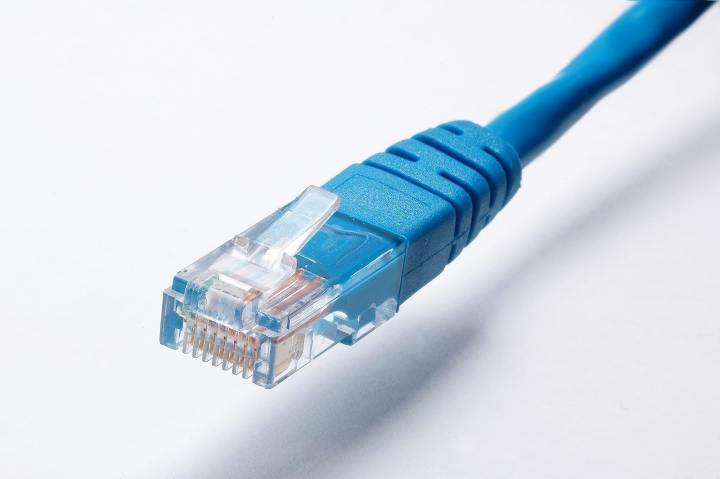
Step 8: If your layout allows, you can opt to connect your Xbox to the router directly via Ethernet, which we recommend for the most stable connection if online gaming is important to you.
That’s all you need to do! You’re now ready to browse, stream, and game in anonymous safety.
Connecting to a VPN through your computer
Note that running your Xbox One through your PC’s VPN connection requires that your PC have two network adapters — one for the internet and a second for the console. Laptops typically have both a wireless and a wired adapter, but desktop PCs vary more, especially if they were home-built.
If you don’t have two network adapters ready when you begin the process, some of the relevant configuration options will not even appear. Between that and the fact that hooking up your system this way requires you to keep your PC on whenever you use your Xbox One online, we generally recommend the previous method as it is simpler in the long term.
Step 1: Connect your computer to your VPN service. The particulars will vary depending on what

Step 2: Connect your Xbox directly to your computer’s network adapter via Ethernet cable.


For Windows: Enable Internet Connection Sharing
Make sure you are logged in as a user with administrator-level privileges. Press the Windows key plus “X” to open the Power User menu.
Step 1: Select Network Connections.
Step 2: Select Change Adapter options from the menu.
Step 3: Right-click on your VPN connection and select Properties.
Step 4: Open the Sharing tab.
Step 5: Check the box to "allow other network users to connect through this computer’s Internet connection."
Step 6: From the dropdown menu that appears, select Ethernet or Local Area Network.
Step 7: Press OK and your Xbox should now be able to get online through your computer’s VPN connection.
If your Xbox One is not recognizing the network, go to Network Settings and make sure it is set to connect through a wired network.
For Mac: Enable Internet Connection Sharing
Choose the apple symbol (located in the upper-left corner of the screen).
Step 1: Select System Preferences.
Step 2: Click Sharing.

Step 3: Pick Internet Sharing from the list on the left-hand side. A drop-down menu will appear beneath “Share Your Connection From”— pick your VPN’s network from this area.
Step 4: Another drop-down menu will appear under “To Computers Using” — select the “Ethernet” option here.
Step 5: After you do this, you need to check the box beside Internet Sharing.
Step 6: Once you’ve completed this step, a green circle will pop up. This signals that you’ve successfully set up internet-sharing capability, and it’s officially up and running.
If you run into issues along the way, double check to make sure you’ve finished all the steps correctly. A helpful tip is to open your Network Settings and see if it supports your specific network, as some may not be compatible.
It’s worth mentioning that VPNs can negatively affect the speed of your internet connection. Connection speed often depends on where your server is located. If it’s in a bad service area, you will experience slower connection and extended loading times. Although this is highly inconvenient, it’s worth the frustration to know your data is secure.
Editors' Recommendations
- How to increase fps and smooth gameplay on your PC
- How to get the Thunderbolt of Zeus in Fortnite
- How to refund Fortnite skins, cars, and other store items
- How to connect AirPods to Xbox Series X
- How to set up a PS5 passkey to protect your PSN account


