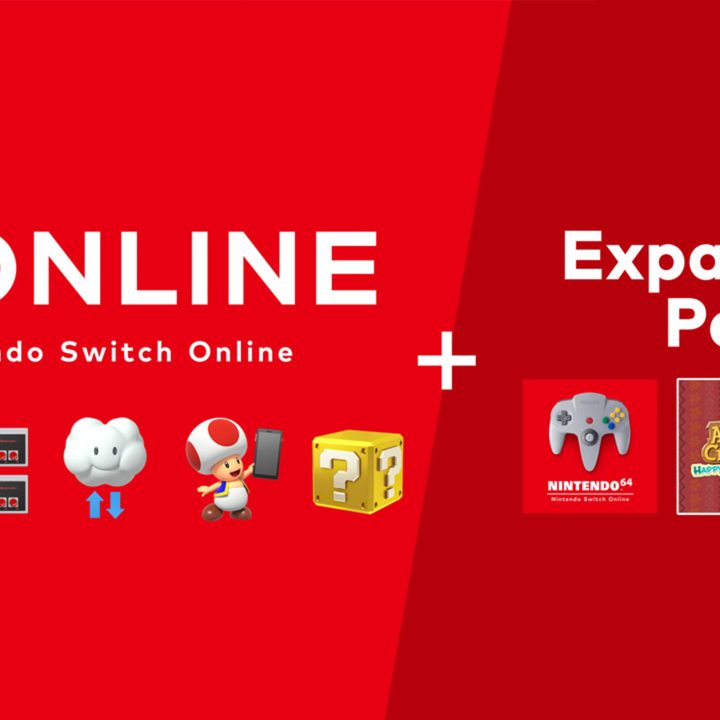
With the launch of the Nintendo Switch Online + Expansion Pack, players have the ability to upgrade from the standard Nintendo Switch Online membership. However, the upgrade path isn’t the most apparent thing, especially since there are numerous situations that change what you need to do. While many players might be diving into the new Expansion Pack membership outright, others might want to upgrade from an existing basic membership. Or perhaps you’re considering getting a family Switch Online + Expansion Pack plan.
Whatever situation you’re in, we’ve got all the details for upgrading to the new Nintendo Switch Online + Expansion Pack membership — for individual or family plans. Here’s everything you need to know about upgrading.
Recommended reading:
- Nintendo Switch Online + Expansion Pack shows the joy of short games
- Nintendo Switch Online’s Expansion Pack is a pricey online plan
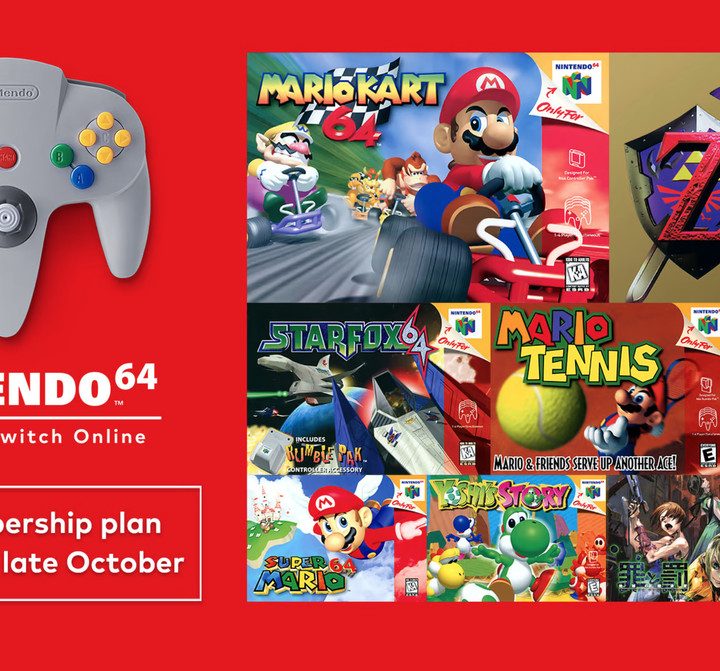
- Nintendo Switch Online + Expansion Pack: Price, game list, and release date
How to upgrade from the basic Nintendo Switch Online membership to the + Expansion Pack
It is possible to upgrade from the standard individual Nintendo Switch Online membership to an individual + Expansion Pack plan. The + Expansion Pack is normally $50 but Nintendo will allow you to pay the difference, using a pricing model of $0.05 per day. In other words, if you have 20 days left of your basic membership, Nintendo will knock $1 off the price to upgrade. If you have six months left, you’ll only have to pay around $41 to upgrade. All of this math is automated, so you don’t have to worry about doing the calculations yourself.
To upgrade, head to the eShop and select the account you’d like to use. Once you do, navigate to Nintendo Switch Online from the options on the left. Pick Membership Options and you’ll be presented with the ability to upgrade based on the prorated amount described above. Select Proceed to Purchase, and then confirm the auto-renewal options. You can also use your Gold Points towards your purchase, which is nifty.
Click Agree and then Confirm, and you’ll have access to Nintendo Switch Online + Expansion Pack for 365 days.
How to upgrade from basic Nintendo Switch Online membership to family + Expansion Pack
Much like the previous step, you can upgrade from the basic individual Nintendo Switch Online membership to a family + Expansion Pack membership by following the same steps. The family + Expansion Pack costs $80 but is much less expensive individually if all members split it. Once you reach the Membership Options section on the eShop, make sure you select Nintendo Switch Online + Expansion Pack Family membership. From here, follow the same steps as above to make the purchase.
The admin of the family plan can add up to seven other members (eight total) to the plan by visiting the Nintendo website. From here, choose Nintendo Account in the upper-left corner, and then select Family Group. You can then add members to the group. After they’re added, each member will receive an email to confirm their family membership, and upon doing so, they’ll all have access to the Nintendo Switch Online + Expansion Pack subscription. The more members added to the plan, the more you save (assuming everyone splits the cost evenly). $80 divided by eight members is only $10 apiece, which is much better than the $50 option for individual plans.
It seems only the admin has the ability to pay the difference if they already have a basic membership — any basic membership the additional members may have isn’t taken into consideration.
How to upgrade from basic Nintendo Switch Online family membership to individual + Expansion Pack
There isn’t a way to migrate from a basic Nintendo Switch Online family membership to an individual + Expansion Pack membership — at least, not with the ability to pay the difference. You can leave the family group if you aren’t the admin and then purchase the individual + Expansion Pack membership for yourself. If you are the admin, you’ll need to wait for it to expire before you can purchase an individual membership of any kind. Alternatively, an admin can upgrade from the standard family plan to the + Expansion Pack plan by paying the difference of $.09 per day.