Gradually improving, whether it be through your own skill or in-game upgrades, is the secret sauce to the best roguelikes. Rogue Legacy 2 takes that addictive concept of investing gold into a massive tree of upgrades introduced in the first one and adds even more ways you can improve your different heirs from run to run. The newest addition are Heirlooms, which not only grant new abilities but also in some cases are required to progress into different areas deeper in the game in a light Metroidvania style. These valuable trinkets are unique items that can only be obtained in specific areas, but apply permanently to all characters and runs going forward without the need to collect them again.
Heirlooms are located in specific puzzle rooms hidden within Rogue Legacy 2. Thankfully you can identify which rooms contain one by looking at the map and spotting the orange candle icon. Once there, you can use a special teleporter to transport you into the puzzle room where, if successful, you will exit with a new ability. Currently, there are seven Heirlooms you will need to collect to complete the set. If you’ve spent a generation searching the ever-changing layout of Rogue Legacy 2 for these Heirlooms, here’s a full guide on how to get them and what they do.
See more
Ananke’s Shawl

The first Heirloom you can get in Rogue Legacy 2 is Ananke’s Shawl, which can be picked up at the beginning of the game in Citadel Agartha. Simply locate the statue here, interact with it, and enter the challenge room. Complete the basic set of random challenge rooms without dying and you will pick up this item at the end.
Ananke’s Shawl is an essential Heirloom, hence why you get it so early. With it, you can now perform an air dash. Not only is this great for mobility and dodging options but is also necessary to reach the Estuary Lamech boss.
Aesop’s Tome
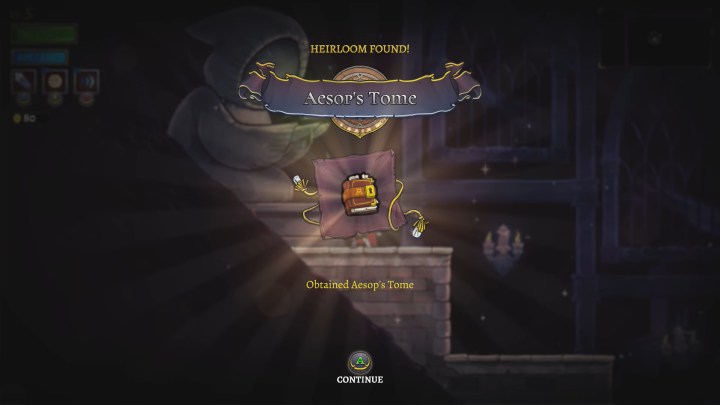
Next up we have the slightly different Aesop’s Tome, also located in Citadel Agartha. This one is found near a different statue from the first that, when interacted with, likes to make fun of your character’s weight. Regardless, the process will work exactly like last time.
Once you beat the series of challenge rooms, you will get this book that allows you to read memories and nightmares, which appear as little ghostly figments around the game. When you read them, they will give you some hints, secrets, or lore about the game. This isn’t the most exciting Heirloom for most, but it’s still worth grabbing if you passed it by the first time around.
Echo’s Boots

Of all the Heirlooms in Rogue Legacy 2, this was, in our experience, the hardest to track down. Echo’s Boots are found in Axis Mundi, right near the start since you actually can’t make much progress in this zone without them since the way ahead is over a pit far too big to jump across, even with your air dash. To find Echo’s Boots, head back into the room before the impassable pit and use your spin kick move to platform up a set of torches leading to the upper-right corner of the map. Continue up this path, take a left once in the next tower, and find the statue ahead. Once you beat the trials the statue presents you, you will earn these new shoes.
After lacing up these boots, you will unlock two important abilities you will need to master going forward that work hand in hand. First, you can now perform the spin kick move off Resonant surfaces. Second is that after each spin kick you do, you regain your air dash, allowing you to chain them together. Test it out by crossing that gap we mentioned before.
Aether’s Wings

The next Heirloom you have the ability to get are the Aether’s Wings. With the help of Echo’s Boots you will be able to continue farther into the game until you reach the Far Shores in Kerguelen Plateau. At the end of this zone you will come to a body of water that you will need to spin kick across until you make it to the next statue. Interact with it like normal and take on the new challenge it has for you.
Aether’s Wings give you what almost no 2D platforming game is complete without: A double jump. You will need this move to reach the Estuary Naamah’s boss battle in the Stygian Study. Not much else to say with this one, except enjoy your new sense of freedom and mobility.
Pallas’ Void Bell

The Void Bell is the last exciting Heirloom we have to get in Rogue Legacy 2, though the next one is still necessary for other reasons. The Void Bell is deep in the Stygian Study zone, but unlike the others, has no real point you can rely on to find it. Instead, you just have to keep exploring the rooms until you come across the statue, again checking your map for the telltale orange candle icon when in doubt. After you explore enough, you will eventually find it and be able to go into the challenge rooms.
Once you’ve picked up the Void Bell, your normal dash will be transformed into the Void Dash. This move works just like your normal dash, only has a longer range, can be canceled, and lets you pass through Void projectiles safely, go through Void Doors, and use Void Lifts. You will need it before you can attempt the Estuary Enoch boss fight or go to the Sun Tower.
Theia’s Sun Lantern
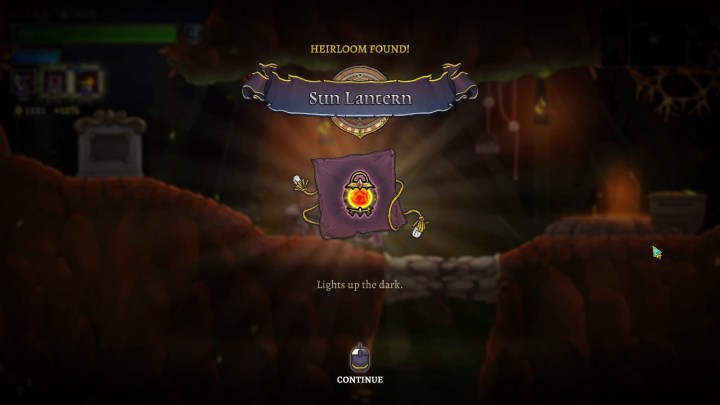
Our final true Heirloom in Rogue Legacy 2 is located in the Pishon Dry Lake, which only opens up after beating the Estuary Irad boss in the Sun Tower. Once here, you will come across an NPC named the Nameless Knight. They will give you Theia’s Sun Lantern, no strings attached.
This lantern, as you might guess, lights up the dark so you can progress through Pishon Dry Lake.
Gilgamesh’s Anchor
Technically classified as an Heirloom, Gilgamesh’s Anchor can’t be missed, and only has a very limited use. Without spoiling much, once you make it to the end of the final zone and pass through Golden Doors, you will pick up Gilgamesh’s Anchor, which will allow you to interact with the Binding Stones that only appear during the final sequence of the game.